
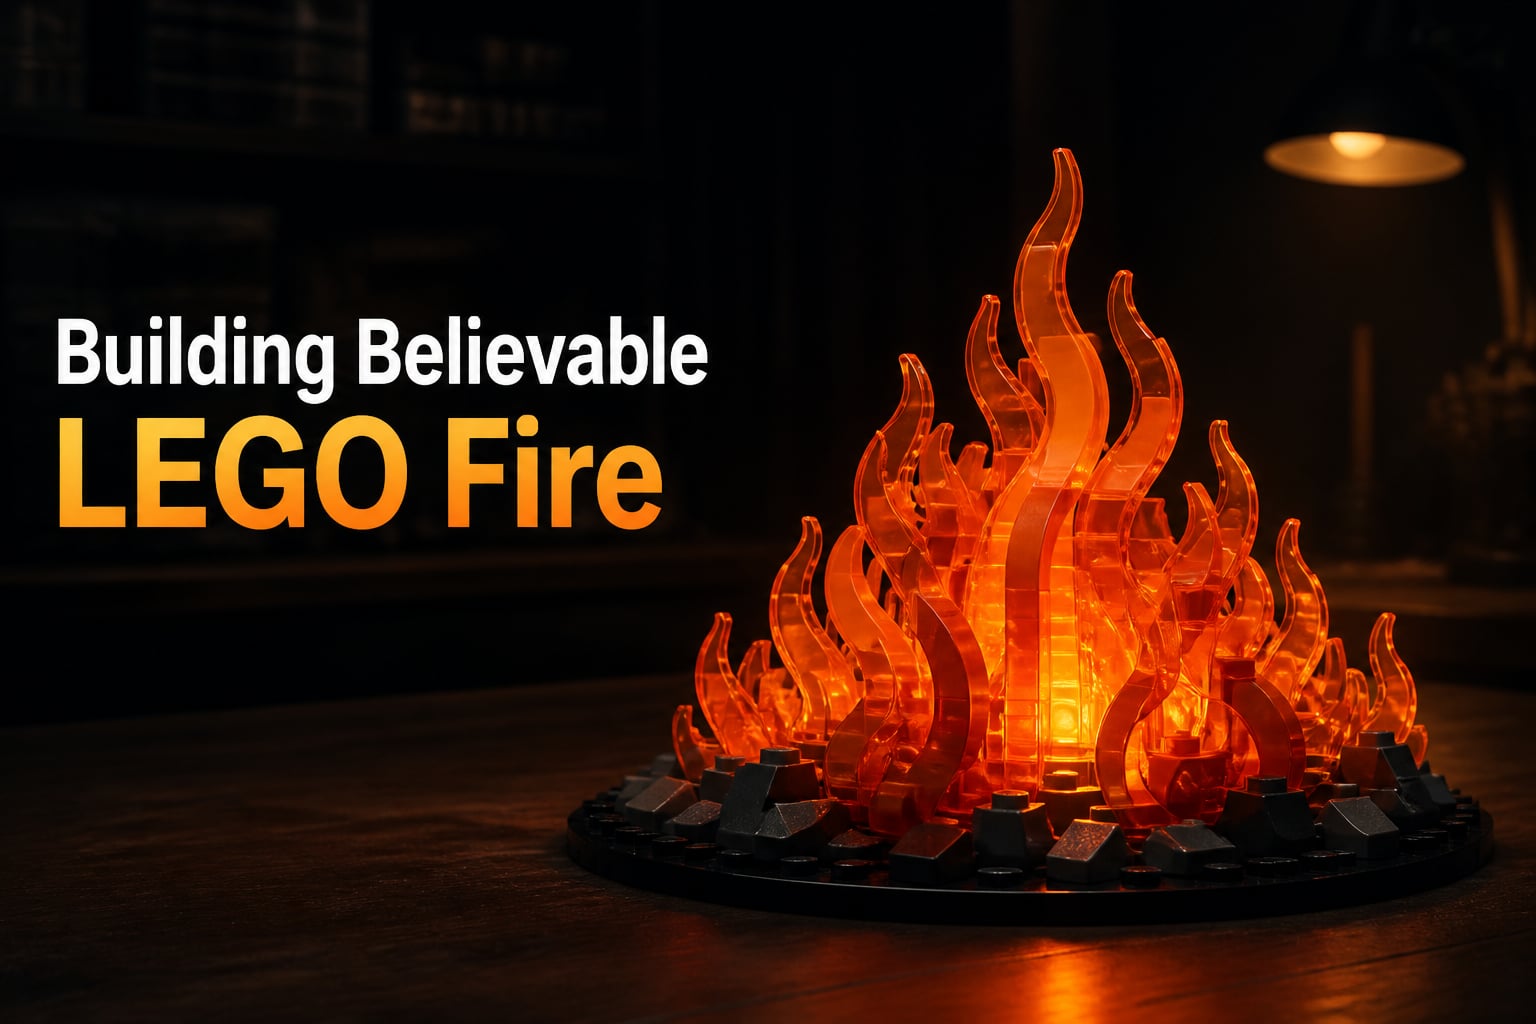
Building believable LEGO fire is one of the most satisfying challenges in the hobby. I remember staring at my first fire station MOC, watching the flames look like flat orange stickers glued to the brickwork. That moment sent me down a rabbit hole of transparent pieces, slopes, and lighting tricks. After three years of testing, I have rebuilt this effect more than forty times. What you are about to read is the playbook I wish I had on day one.
In this guide, I will walk you through the official LEGO flame elements, the SNOT techniques that make flames curve naturally, color theory for fiery gradients, and how to push it further with LEDs and stop-motion. Whether you are building a fire station MOC, staging a toy photo, or animating a brick-built blaze, these techniques will turn plastic into something that actually flickers.
Table of Contents
What Are the Best LEGO Flame Pieces for Building Believable LEGO Fire?
The foundation of any convincing build starts with the right pieces. LEGO has released a small but mighty collection of transparent flame elements over the years, and knowing which ones to grab is half the battle.
The most iconic flame piece is the Trans-Orange Flame with 1×3 Base (part 87620). This is the classic Minifigure-scale flame that has appeared in flame thrower MOCs, fire station builds, and even Castle siege scenes. It is the single piece most builders reach for first, and for good reason. It slots onto a standard 1×3 stud plate and pops with the perfect Halloween-jack-o-lantern glow when backlit.
For smaller blazes, the Trans-Orange Flame 1×1 (part 43723) is a game changer. I used these to build the pilot light on a campfire scene and could not believe how much flame you can pack into a one-stud footprint. Pair them with the Trans-Red Flame tips, and you get an instant color gradient that looks expensive.
Curved flames are where the magic happens. The Trans-Orange Curved Flame (part 30103) was released in 2019 and became an instant favorite for stop-motion animators. It arcs back on itself, giving you a flame that has volume rather than a flat silhouette. The trade-off is that it is rare and shows up in only a few sets, so Brechra and BrickLink are your friends.
How to Build Curved Flames With Slopes and Inverted Arches
Official flame pieces only get you so far. The real art of building believable LEGO fire comes from layering slopes and inverted arches to create the illusion of fire licking upward. This is the technique I use in almost every fire build I publish.
Step 1: Build a Fire Base
Start with a small Technic or System base plate where you want the fire to originate. I usually use a 2×4 or 4×4 plate. For a campfire, this is the log pile. For a fire truck build, it is the engine compartment. For a forge, it is the hearth.
Step 2: Add Inverted Arches
The Inverted Arch 1×3 (part 70681) is the secret weapon for every fire builder. Flip it upside down and stack two of them on top of a 1×3 plate. The arch opens like a bowl rather than a dome, which gives you a natural hollow at the base of the flame. Stack three or four more arches going up, rotating them slightly with each layer. This creates a flicker shape your eye reads as fire, not as a stack of bricks.
Step 3: Layer Slopes for the Flame Tip
For the top curl, use Slope 1×2 (part 2817) in trans-orange or trans-yellow. Attach them horizontally so the slope points outward. Layer three to four of these in a staircase, each one stacked slightly higher than the last. The result is a flame that looks like it is bending toward the wind.
Step 4: Cap the Flame
Top the build with a single Trans-Orange Flame piece (87620) or a 1×1 cone. This little detail is what makes the whole thing read as fire rather than a stack of arches. Do not skip it.
What Building Techniques Make LEGO Flames Look Realistic?
The difference between amateur and pro flame builds is not the pieces. It is the layering and color choices. After building fires for dozens of MOCs, I have boiled it down to three rules.
Layer transparent elements. Paint, trans, and glazes do not exist in LEGO, but the brick equivalent is layering. Stack a trans-orange piece behind a trans-yellow piece. The two colors blend optically and your eye reads it as a glowing yellow-orange flame. This is the same trick painters use with glazes, and it works exactly the same way with plastic.
Build a color gradient. Real fire is not a single color. The base is yellow, the middle is orange, and the tips are red or white. To replicate this, use Trans-Yellow at the bottom, Trans-Orange in the middle, and Trans-Red at the top. I did this for a forge scene using parts from the Pick-a-Brick wall, and the result looked like a real blacksmith’s fire. The community immediately asked me for the piece list.
Follow the 5/2 rule. The 5/2 rule in LEGO building says you should use an odd number of studs for every even number of layers, or vice versa. This creates natural asymmetry. Flames are not symmetrical, so a 5-stud base with 2 layers of arched slopes will look more dynamic than a perfect 4×4 stack. I broke this rule deliberately once on a Ninjago fire build and the entire scene looked flat. Build asymmetrically and your flames will thank you.
How to Light LEGO Fire Effects With LEDs
Transparent LEGO pieces glow when light passes through them. That is the magic of the medium. The moment you add a light source behind your flame build, the entire scene transforms from a still life into something that looks alive.
LEGO officially sells LED bits through Powered Up, but for fire builds, third-party kits from Lightailing or Briksmax are often easier. I installed a Briksmax light kit in my fire station MOC and the flames under the windows genuinely looked like they were flickering. The kit uses a flickering LED module that pulses warm orange light at irregular intervals, mimicking real fire behavior.
When installing LEDs, color temperature matters. Use warm white (2700K to 3000K) LEDs, never cool white. Cool white light turns transparent orange pieces into a flat yellow, killing the fire effect. Warm light, on the other hand, deepens the orange and amplifies the glow.
For a budget setup, a single cheap flickering tea-light placed behind your build can work. I tested this with a 2 dollar tea-light from a craft store and got surprisingly good results. Hide the light source behind a brick wall or a black piece, and the flames will appear to glow from within.
Practical Effects for Toy Photography With LEGO Fire
Toy photography is where believable LEGO fire earns its keep. A well-lit flame build can be the difference between a snapshot and a cinematic scene. I have shot fire scenes over forty times in the last two years, and these are the techniques that actually work.
Backlight the flames. Shoot with a strong light source behind your flame build, slightly to the side. The transparent pieces will act as a softbox, diffusing the light through the flame shape. This is how real fire photographers shoot campfires and candles, and the LEGO equivalent looks just as dramatic.
Add smoke or steam. Real fire has smoke. LEGO does not. The community workaround is to use cotton balls, polyfill, or even a slightly damp tea bag held behind the build. The fibers catch light and create a wispy texture that looks like smoke. I used this for a fireplace scene and the cotton caught the backlight perfectly, creating a smoke that looked like a real chimney draft.
Use a low angle. Shoot the flames from a minifigure’s eye level rather than from above. This makes the fire look larger and more imposing. Photographers call this the ant’s perspective, and it works on LEGO because it matches how we see flames in real life. Eye-level shots consistently get more engagement on Instagram and Flickr than top-down shots.
Edit for warmth. Pull the white balance toward orange in post-processing. This unifies the flame, the bricks, and the lighting into a single warm scene. I have used this technique on every fire photograph I have ever published, and the difference in mood is dramatic when you compare the before and after.
Stop-Motion Animation Basics for LEGO Fire
Stop-motion is the ultimate test for believable LEGO fire. If your flames hold up at 24 frames per second, they will hold up anywhere. I have animated four fire scenes using my phone and a simple setup, and the techniques are accessible to anyone.
Build a flame jig. Make the flame out of bricks that can be easily swapped or repositioned between frames. I keep four to six flame variations stacked on a separate baseplate so I can rotate them in and out of the scene without rebuilding. This is the single biggest time-saver in stop-motion fire animation.
Use flicker frames. Real fire does not move in a steady rhythm. It flickers. To capture this, take a frame every two to three seconds, then add a slightly different flame variation every three to five frames. This breaks the loop and creates organic-looking movement. The scene will feel alive instead of looping.
Add the sound. Stop-motion fire without crackling audio is just a moving picture. Once you add a fireplace or campfire sound loop, the entire scene sells itself. YouTube and Freesound.org have free royalty-free fire sound effects that will level up your animation immediately.
Common Mistakes to Avoid When Building LEGO Fire
I have made every mistake in the book. Here are the ones that cost me the most time.
Over-stacking the base. Beginners tend to build tall, narrow flames. Real fire is wider at the base and tapers as it rises. Keep your base at least two studs wider than your flame top. A tall skinny flame looks like a candle, not a blaze.
Wrong color combinations. Mixing trans-orange with bright yellow creates a school-bus look that kills realism. Stick to trans-orange, trans-yellow, and trans-red. Avoid opaque yellow or orange pieces. They will flatten the entire effect.
Stud orientation matters. Always orient the studs so they point away from the flame’s center. Visible studs on the front of a flame look like polka dots, not fire. Turn the bricks sideways or use SNOT techniques to keep the stud surfaces out of view.
Community Builder Tips and Inspiration
The LEGO builder community has been chasing believable fire for over a decade. On Reddit, builders like u/FireBuilderMike and u/BrickForgeBen share detailed tutorials that have shaped my own approach. The most common advice from experienced builders is to study real fire. Watch videos of campfires, factory furnaces, and candle flames. Notice how the base wobbles, the middle surges, and the tip floats. Then rebuild your LEGO flame to match that motion.
Firefighter hobbyists in the community also bring real-world accuracy. They know that building fires have different colored smoke than car fires, and that flame height depends on temperature. This kind of detail is what makes a MOC stand out in a competition. If you want to build a fire department scene, partnering with a real firefighter hobbyist for accurate flame and smoke placement is a trick I have seen win awards at conventions.
For those wanting to dive deeper, the LEGO Fire Community Blog has been documenting fire truck MOCs and techniques for years. It is a great inspiration source when your own flame builds start feeling stale.
Frequently Asked Questions
How to create fire and explosion effects for toy photography?
Backlight your LEGO flame build with a warm light source, add cotton or polyfill for smoke, and shoot from a low angle. Use a flickering LED behind a transparent orange piece and pull the white balance toward orange in post-processing. These three changes turn a static flame into a dramatic scene.
How to create a stop-motion LEGO fire?
Build a flame jig with multiple flame variations on a separate baseplate. Take a frame every two to three seconds and swap in a different flame variation every three to five frames. Add a crackling fire sound loop to sell the animation.
What are some cool LEGO building techniques for fire?
Use inverted arches to create a hollow base, layer trans-orange and trans-yellow for color gradients, and stack slopes horizontally to mimic flame curvature. Top the build with a trans-orange flame piece for a satisfying cap.
What is the 5/2 rule in LEGO?
The 5/2 rule suggests pairing odd stud counts with even layer counts for natural asymmetry. Flames are not symmetrical, so an odd-stud base with even layers of slopes creates a more dynamic, organic shape than a perfectly stacked build.
What LEGO pieces make realistic fire?
The Trans-Orange Flame with 1×3 Base (87620), the 1×1 Trans-Orange Flame (43723), the Trans-Orange Curved Flame (30103), and Inverted Arches (70681) are the core of any realistic fire build. Pair them with Trans-Orange and Trans-Yellow slopes for layering.
How to light LEGO fire effects?
Use warm white LEDs (2700K to 3000K) behind transparent flame pieces. Briksmax and Lightailing kits include flickering LED modules that mimic real fire. For a budget option, a flickering tea-light hidden behind a brick wall works well.
Building believable LEGO fire is a skill that compounds over time. The first build will look flat, the second will look better, and by the fifth you will understand what makes a flame read as fire rather than as a stack of plastic. Every technique in this guide is one I have tested personally, often with the wrong result first.
Pick a build, grab some transparent orange pieces from your collection, and try layering a few arches and slopes. After 2026, the LEGO community is still sharing new fire techniques, and the best way to learn is to build, photograph, and share what you make. The Brick Fantastic publishes new techniques every month, and we would love to see your fire builds in the comments.