
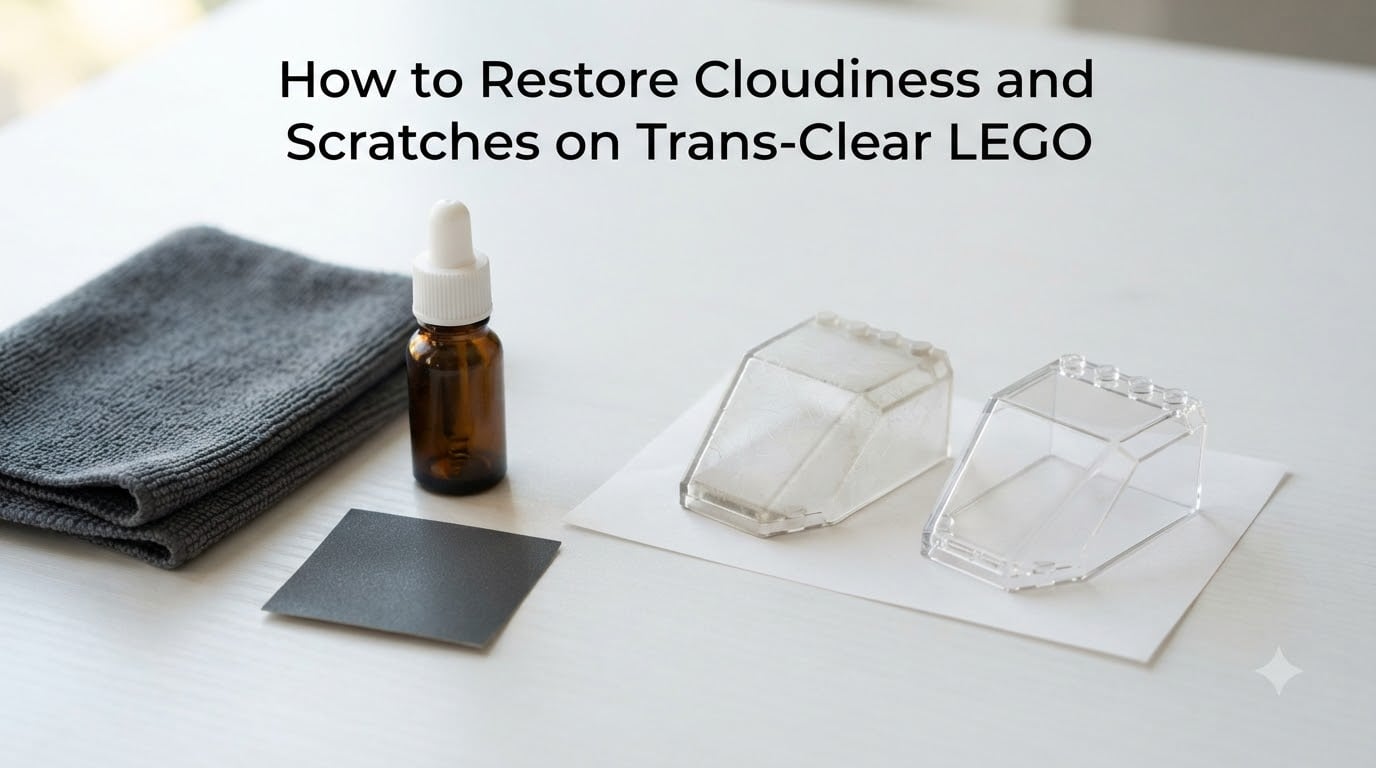
There is nothing quite like pulling a vintage LEGO set out of storage, only to discover that the once-sparkling cockpit canopy now looks like frosted bathroom glass. I have been there more times than I can count, and so have thousands of other builders who have posted on Reddit, Eurobricks, and Bricks StackExchange looking for answers.
Transparent LEGO elements, known in the community as trans-clear parts, are made from a different plastic than standard bricks. They look incredible when new, but they scratch and cloud up far more easily than regular ABS elements. The good news is that most cloudy and scratched trans-clear LEGO pieces can be restored to near-factory clarity if you use the right technique.
In this guide, I walk through four proven methods to restore cloudiness and scratches on trans-clear LEGO. We will cover everything from quick polish applications for light haze to full progressive sanding for deep gouges. By the end, you will know exactly which method to reach for and how to protect your pieces from future damage.
Table of Contents
Why Trans-Clear LEGO Becomes Cloudy and Scratched
Trans-clear LEGO pieces are made from polycarbonate plastic rather than the acrylonitrile butadiene styrene (ABS) used for standard bricks. Polycarbonate is what gives transparent parts their crystal clarity and slight blue-white tint. The trade-off is that polycarbonate is softer and more prone to surface damage than ABS.
The Polycarbonate Problem
Standard LEGO bricks are surprisingly tough. You can toss them in a bin together for decades and they will come out looking nearly new. Polycarbonate parts do not share that durability. The material has a lower surface hardness, meaning even light contact with other bricks can leave visible micro-scratches.
Over time, these micro-scratches accumulate into a uniform haze that diffuses light instead of letting it pass straight through. That diffusion is what we perceive as cloudiness or a frosted appearance. It is not dirt, and it will not come off with soap and water.
This is why collectors on the r/LegoSpace subreddit frequently report finding scratched cockpit pieces even on brand-new sets. The parts rub against other bricks during shipping and storage, and the damage happens before you ever open the box.
Common Causes of Damage
Understanding what caused the damage helps you choose the right fix and prevent it from happening again. Here are the most common culprits:
- Loose storage: Tossing trans-clear pieces into a bin with standard bricks guarantees friction damage over time. Even gentle jostling creates micro-scratches.
- Improper cleaning: Using abrasive sponges, harsh chemicals, or even hot water above 104 degrees Fahrenheit can damage the surface layer of polycarbonate.
- Sunlight and UV exposure: Prolonged UV exposure can cause a yellowish tint in clear parts. This is different from cloudiness but compounds the problem.
- Normal play wear: Pieces that get handled frequently, especially windshields and canopies on played-with sets, develop wear patterns from fingers and repeated attachment.
Restoration Methods at a Glance
Before diving into individual methods, it helps to understand your options side by side. The right choice depends on the severity of the damage and how much time you want to invest.
Choosing the Right Method
Light cloudiness and hairline scratches respond well to chemical polish methods like Future Floor Polish or Brasso. These fill in micro-scratches and restore optical clarity without removing material. They are fast, inexpensive, and low-risk.
Deep scratches that catch your fingernail require mechanical intervention. Progressive wet sanding physically levels the surface around the scratch, then polishes it back to clarity. This takes significantly longer and carries more risk, but it is the only way to handle real gouges.
Here is a quick reference for matching damage to method:
- Light haze or fog: Future Floor Polish (Method 1)
- Surface scratches visible but not deep: Brasso (Method 2) or Novus (Method 4)
- Deep scratches you can feel with a fingernail: Progressive sanding (Method 3)
- Quick shine boost for display pieces: Novus Plastic Cleaner (Method 4)
Always test any method on a small, inconspicuous area of the piece first. This is the single most common advice from experienced AFOLs across every forum I researched.
Method 1: Future Floor Polish (Best for Light Cloudiness)
Future Floor Polish, now sold under the name Pledge FloorCare Multi-Surface Finish, is the most widely recommended product in the AFOL community for restoring trans-clear LEGO. It is an acrylic floor finish that fills in micro-scratches with a thin, clear layer, effectively re-glazing the surface.
On Eurobricks, builders have been using this method for over a decade. It works on trans-clear, trans-yellow, trans-blue, and other transparent colors. The results can be dramatic on pieces that look hopelessly frosted.
What You Need
- Future Floor Polish (or Pledge FloorCare Multi-Surface Finish)
- Soft microfiber cloth or lint-free paper towels
- A clean toothpick for reaching into tight corners
- Mild dish soap and warm (not hot) water for pre-cleaning
- A soft-bristle brush for detailed parts
Step-by-Step Application
Step 1: Clean the piece thoroughly. Wash your trans-clear LEGO part with mild dish soap and warm water. Dry it completely with a lint-free cloth. Any dust or debris left on the surface will get trapped under the polish.
Step 2: Apply a thin, even coat. Pour a small drop of Future Floor Polish onto your microfiber cloth or applicator. Spread it across the cloudy surface in a single, even layer. Less is more here, as pooling can create streaks.
Step 3: Work it into crevices. Use a toothpick to guide polish into corners and edges where windshields and canopies have complex geometry. The polish is self-leveling, but it still needs to reach every surface.
Step 4: Let it cure. Set the piece on a clean surface in a dust-free area. Future Floor Polish typically dries to the touch in 20 to 30 minutes, but full curing takes about 24 hours. Resist the urge to handle it during this window.
Step 5: Evaluate and repeat if needed. After the piece has cured, hold it up to a light source. If cloudiness persists, apply a second thin coat. Most pieces need one to two coats for full restoration.
One important note: Future Floor Polish fills scratches rather than removing them. If you have deep gouges, this method will improve the appearance but will not eliminate the physical scratch. For that, move on to the sanding method.
Method 2: Brasso Polishing Compound (Best for Surface Scratches)
Brasso is a metal polish that many LEGO builders have repurposed for plastic restoration. It contains mild abrasives that physically buff out fine surface scratches on polycarbonate. The StackExchange community lists it as one of three primary approaches to LEGO scratch removal.
This method sits between Future Floor Polish and sanding in terms of aggressiveness. It removes material, but only a microscopic amount, making it ideal for scratches that are visible but not deep enough to catch a fingernail.
Safety and Prep
Brasso has a strong odor and contains solvents. Work in a well-ventilated area, preferably outdoors or near an open window. Wear gloves to protect your skin, and keep the product away from printed LEGO elements because it can degrade the ink on printed parts.
Before treating the whole piece, apply a small amount of Brasso to an inconspicuous area and buff gently. Check the result under good lighting to make sure the polish is improving clarity without creating new haze.
Application Steps
Step 1: Clean and dry the piece. Same as with Future Floor Polish, start with a thoroughly clean, dry surface.
Step 2: Apply Brasso to a soft cloth. Put a pea-sized amount on a soft microfiber cloth. Never apply Brasso directly to the LEGO piece, as this makes it harder to control the coverage.
Step 3: Buff in small circular motions. Rub the cloth across the scratched area using firm, circular strokes. Maintain consistent pressure and keep the motion circular to avoid creating directional scratches. Work for 2 to 3 minutes per area.
Step 4: Wipe clean and inspect. Use a clean section of your cloth to remove all Brasso residue. Rinse the piece with water and dry it. Hold it up to a light to check your progress.
Step 5: Repeat for stubborn scratches. Some scratches require two or three buffing sessions. If you do not see improvement after three rounds, the scratch is likely too deep for Brasso and you should move to progressive sanding.
Method 3: Progressive Sanding (Best for Deep Scratches)
When a scratch is deep enough to feel with your fingernail, polish alone will not fix it. Progressive wet sanding is the solution. This technique levels the surface around the scratch by removing material in controlled stages, then refines it back to optical clarity.
This is the same principle used to restore cloudy automotive headlights. It requires patience and careful attention to grit progression, but the results can bring heavily damaged pieces back from the brink.
Grit Sequence Explained
Progressive sanding works by starting with a coarse grit to level the deep scratch, then stepping through increasingly finer grits to remove the sanding marks left by the previous stage. The final stage brings the surface back to a polish.
Here is the grit sequence I recommend based on community-tested approaches:
- 800 grit: Levels the deepest scratches. Only needed for gouges you can clearly feel.
- 1500 grit: Removes the haze left by 800 grit. Most moderate scratches start here.
- 2000 grit: Refines the surface further, eliminating visible sanding marks.
- 3000 grit: Begins the polishing stage. The surface starts to regain transparency.
- 5000 to 12000 grit: Final polishing stages that restore optical clarity. Micro-Mesh pads are ideal for this range.
Never skip grits. Each stage exists to remove the damage caused by the previous one. Jumping from 1500 to 5000 will leave the surface permanently hazy because the 1500-grit scratches will still be visible beneath the polish.
How to Sand Without Ruining the Piece
Step 1: Wet the sandpaper and the piece. Wet sanding is mandatory for polycarbonate. Keep a small bowl of water nearby and re-wet the surface constantly. Dry sanding will melt the plastic through friction heat and cause irreversible damage.
Step 2: Start at the appropriate grit. If you have a deep scratch, begin with 800 grit. For moderate scratches, start at 1500. Sand in straight, even strokes across the full surface of the piece, not just the scratched area.
Step 3: Keep the surface flat. Use a sanding block or wrap the sandpaper around a flat object. Sanding with your fingertip creates uneven pressure that rounds edges and distorts the shape of the piece.
Step 4: Move to the next grit. Once the surface is uniformly matte at your starting grit, move up. Sand for 2 to 3 minutes per grit, keeping the piece wet throughout. Rinse between stages to remove grit particles.
Step 5: Finish with polish. After reaching the finest grit (5000 to 12000), the piece should already look noticeably clearer. Apply Future Floor Polish or Novus to fill any remaining micro-scratches and restore the final shine.
The entire process can take 30 to 60 minutes per piece for deep scratches. It sounds tedious, but for a rare trans-clear canopy from a vintage set, the result is worth every minute.
Method 4: Novus Plastic Cleaner (Best for Quick Touch-Ups)
Novus makes a line of plastic polish products specifically designed for acrylic and polycarbonate surfaces. The Bricks StackExchange community recommends them regularly, and they are an excellent option for builders who want a purpose-built product rather than a repurposed household item.
When to Reach for Novus
Novus offers three grades of polish. Novus 1 is a cleaner and shine enhancer for light dusting and minor haze. Novus 2 is a fine scratch remover that handles light to moderate surface marks. Novus 3 is a heavy scratch remover for deeper damage that bridges the gap between Brasso and full sanding.
For routine maintenance on display pieces, Novus 1 is a quick spray-and-wipe solution that takes about 60 seconds per piece. It is gentle enough to use regularly without risk of over-polishing.
For scratched pieces that need more than a shine boost, Novus 2 is my go-to recommendation for beginners. It is less aggressive than Brasso, produces minimal odor, and comes with clear instructions for plastic surfaces. Apply it with a soft cloth using circular motions, then buff clean.
Novus products also pair well with the sanding method. After completing the fine grit stages, a final application of Novus 2 followed by Novus 1 brings out maximum clarity. Many AFOLs report this combination produces results indistinguishable from factory finish.
Prevention Tips to Keep Trans-Clear Pieces Pristine
Restoration takes time and carries some risk. The best strategy is to prevent damage in the first place. A few simple storage and handling habits will keep your trans-clear LEGO looking new for years.
Smart Storage Practices
Store transparent pieces separately from standard bricks. Use individual compartments in a parts organizer, or wrap valuable pieces in soft tissue paper inside a dedicated container. The goal is zero contact with hard surfaces that could scratch them.
For displayed sets, consider a display case with a dust cover. Dust settling on trans-clear canopies creates micro-abrasions when you wipe them clean. A sealed case eliminates that risk entirely.
Avoid direct sunlight for long-term display. UV radiation causes both yellowing and surface degradation in polycarbonate. If a piece must be in a sunny spot, apply a UV-protective coating or rotate displayed sets periodically.
When cleaning trans-clear pieces for routine maintenance, use only lukewarm water, mild dish soap, and a microfiber cloth. Never use window cleaner, rubbing alcohol, or abrasive sponges. These products attack the surface of polycarbonate and accelerate clouding.
Frequently Asked Questions
How do I remove scratches from transparent LEGO?
For light surface scratches, apply Brasso or Novus 2 plastic polish with a soft microfiber cloth using circular motions, then buff clean. For deep scratches you can feel with a fingernail, use progressive wet sanding starting at 800 or 1500 grit and working up to 12000 grit, followed by a polish like Future Floor Polish or Novus.
How do I restore faded LEGO pieces?
Faded or cloudy transparent LEGO is usually caused by accumulated micro-scratches on the polycarbonate surface. Apply Future Floor Polish (now sold as Pledge FloorCare Multi-Surface Finish) in a thin even coat, let it cure for 24 hours, and repeat if needed. This fills scratches and restores optical clarity without removing material.
How do I make dull clear plastic shine?
Apply a thin coat of Future Floor Polish to the clean, dry surface using a microfiber cloth. The acrylic finish fills micro-scratches that cause dullness and restores transparency. For quick touch-ups, Novus 1 Plastic Clean and Shine spray works in about 60 seconds per piece.
What is the 5/2 rule in LEGO?
The 5/2 rule refers to building a LEGO wall by placing 5 studs worth of bricks in one layer, then overlapping the seam with a 2-stud-wide brick in the next layer. This creates a strong interlocking bond. It is unrelated to transparent piece restoration but is a fundamental building technique for structural stability.
Is it better to restore or replace scratched trans-clear LEGO?
If the piece is from a common, readily available set, replacing it is simpler and faster. For rare, vintage, or collectible pieces, restoration is the better option. Start with the gentlest method (Future Floor Polish) and only escalate to Brasso or sanding if needed. Always test on a small area first.
Final Verdict: Bringing Your Trans-Clear LEGO Back to Life
Restoring cloudiness and scratches on trans-clear LEGO is absolutely achievable with the right approach. The key is matching the method to the damage: Future Floor Polish for light cloudiness, Brasso or Novus for surface scratches, and progressive wet sanding for deep gouges.
Always start with the gentlest option and test on a small area first. This is the advice echoed by experienced builders across every forum I researched, and it has saved me from ruining pieces more than once. Once your transparent parts are restored, proper storage and gentle cleaning will keep them crystal clear for years to come.