
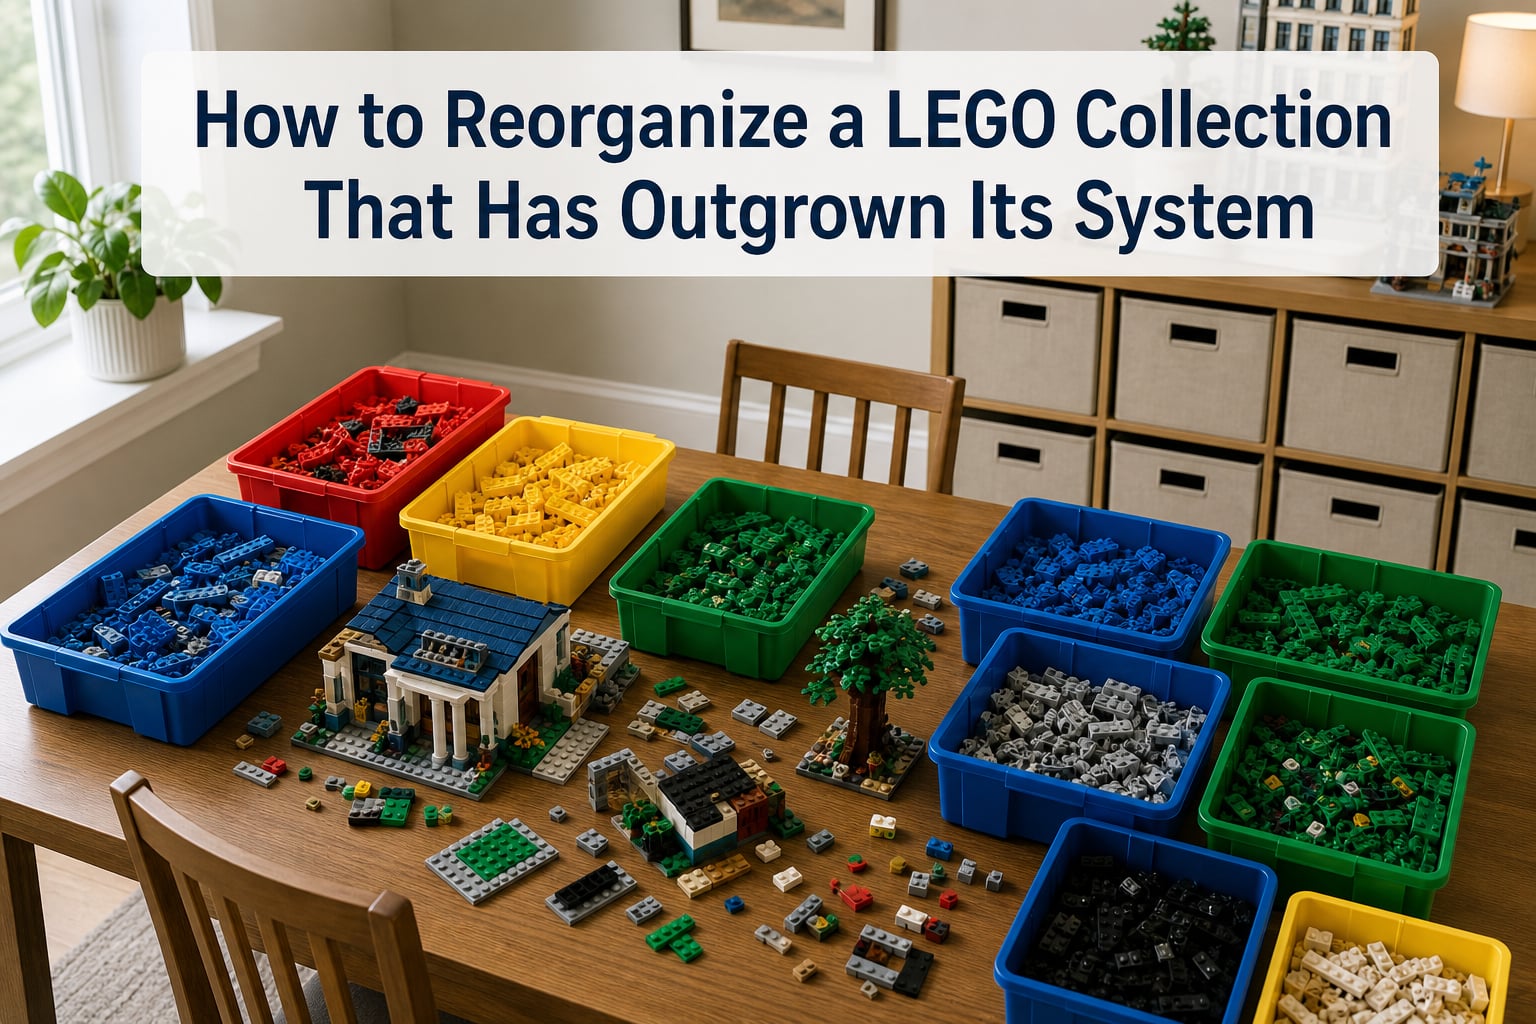
I know exactly how it happens. One weekend you build a Modular Building, the next month your kid brings home a Friends set, and somewhere between the two, your “organized” LEGO collection turned into a single pile that eats the corner of the dining room. If you have been quietly wondering how to reorganize a LEGO collection that has outgrown its system, you are not alone – and you are not failing at this. Almost every adult fan of LEGO (AFOL) I talk to has hit the same wall at least once.
Over the past two years I have reorganized my own collection twice, helped four friends do the same, and read every guide from Brick Architect, BrickNerd, and a dozen Reddit threads to put this walkthrough together. The goal here is to give you a clear, step-by-step plan that scales whether you have 2,000 pieces on the floor or 200,000 in storage totes. You will learn how to assess your collection, pick the right sorting method, set up storage that actually lasts, and keep it all from collapsing into chaos again next year.
Table of Contents
Signs Your LEGO Collection Has Outgrown Its Current System
Reorganization is overdue when your collection starts working against you. You cannot find a 2×4 plate at 10pm, you dread starting a new set because it means a treasure hunt, and your kids have begun using your precious sorting drawers as a launching pad for marble runs. These are not personality flaws. They are the predictable symptoms of a system that has stopped scaling with you.
The cost of staying disorganized is real. I have rebuilt three sets just to find a missing wedge plate, and once I gave up on a UCS Millennium Falcon rebuild because I was missing 47 pieces I could not locate anywhere. A collection that cannot be browsed is a collection you stop enjoying.
The fix is not to buy better bins – at least not yet. The fix is to step back, admit the current system has been outgrown, and run through a deliberate reorganization. The five steps below are the exact process I use and recommend.
Step 1: Assess Your Collection Size Before Reorganizing LEGO Pieces
Sorting strategy is almost entirely a function of how many pieces you actually own. This is why Brick Architect’s piece count threshold chart is the most-shared graphic in the entire LEGO organization niche, and why we are starting here. Guess wrong on size, and you will end up with too many bins (or too few) by the end of the weekend.
A quick way to estimate without counting one brick at a time: weigh a known quantity. One loose LEGO 2×4 brick weighs about 2.5 grams. Pull out a sandwich bag, count 50 bricks, weigh it on a kitchen scale, and use that as your unit. Multiply the total weight of your collection by 20 and you have a reasonable estimate. For sets still in bags, just add up the piece counts printed on the box.
Once you have a number, use the same thresholds the AFOL community has settled on:
- Under 3,000 pieces: A few small bins or a single drawer tower is plenty. Sort by set or by color.
- 3,000 to 10,000 pieces: Time to commit to sorting by part within color groups. A 12 to 20 drawer cabinet will work.
- 10,000 to 50,000 pieces: Full part-level sorting. Expect a 30 to 60 drawer system, or a wall of stackable bins.
- Over 50,000 pieces: You are entering part-out territory. BrickLink, dedicated shelving, and possibly a separate room become realistic.
- Over 250,000 pieces: Welcome to the deep end. Most collectors at this level use industrial shelving and a hybrid part / category system.
Your honest number decides everything that follows. I went through a phase where I told myself I had “maybe 15,000” pieces, did a careful weigh-in, and discovered I was north of 40,000. That one hour of counting saved me from buying a system that was too small by half.
Step 2: Choose a Sorting Method for Your LEGO Bricks
Once you know the size of the problem, you need a method. There are three primary ways to sort LEGO, and each has a clear best-use case. The mistake I see most often is people pick the wrong method for their size, then blame themselves for the chaos that follows.
Sorting by Set
You keep sets intact, ideally in original boxes or labeled bins, and only break them apart when actively building. This works beautifully for collectors who display sets, who only build a few times a year, or who have under 3,000 pieces. The downside is that you cannot easily free-build – if you need a specific wheel or wedge plate, you have to crack open the set it came in.
Sorting by Color
The classic method. Every red brick with red bricks, every blue plate with blue plates. Visually satisfying, photographable, and a great starting point if your collection has been in one giant pile. The problem: as your collection grows past 10,000 pieces, color buckets become useless for actually finding parts. A 2×2 red brick and a 1×6 red plate look identical from across the room, but they are not interchangeable when you are mid-build.
Sorting by Part
The AFOL standard. Every brick shape, regardless of color, lives in its own compartment. Plates separated from bricks separated from tiles, with variations like 1×2, 1×3, 1×4 in their own slots. This takes far more space and far more time to set up, but it scales to enormous collections and it is the only system where you can find any specific element in under 30 seconds.
The 5/2 Rule and Hybrid Approaches
The 5/2 rule comes from Brick Architect’s Tom Alphin and it is the practical answer for people stuck between by-color and by-part. The idea: sort only the five most common brick types by part (1×1, 1×2, 1×3, 1×4, 2×2 bricks are a good starter set) and sort the remaining 70 or so less common elements by color. You get 80% of the speed of full part sorting with 20% of the bin space.
For most collections between 5,000 and 25,000 pieces, the 5/2 rule is the sweet spot. It is also the easiest upgrade path: you can start with color sorting today and gradually promote common parts into their own bins as you discover which ones you actually reach for.
Step 3: Set Up the Right Storage System
Sorting method and storage system are linked. A by-part collection needs a lot of small compartments; a by-set collection can live happily in a few large bins. Buy storage before sorting only if you already know what method you are committing to. Otherwise you end up with drawers that are too big, dividers that do not fit, and a stubborn feeling that you wasted money.
The three container families that cover 95% of LEGO setups are drawer cabinets (think Akro-Mils or Harbor Freight), stackable bins with lids (the IKEA Samla line, Really Useful Boxes, and clear craft bins), and open shelving for built sets and displays. I personally run a 44-drawer Akro-Mils cabinet for part sorting, two Samla bins for oversized pieces, and a Billy bookcase for built models.
For kid-friendly setups, the IKEA Trofast system is the perennial favorite. The bins are deep enough that a toddler can dig, low enough to stay accessible, and replaceable when one gets cracked. Pair Trofast with a flat-top LEGO table and you have a system a 5-year-old can actually use and maintain.
Labels matter more than people think. A piece of painter’s tape with a Sharpie is fine for a year; printed or engraved labels hold up to a decade. Label the outside of drawers so you can find pieces without opening every compartment, and use color-coded dots for sorting status (red for in-progress, green for sorted and shelved).
Step 4: The Actual Reorganization Process for Your LEGO Collection
Now the part nobody likes to talk about: the hours of work. Reorganizing a LEGO collection is physical, repetitive, and best done in sessions. The BrickNerd article “Sorting Your Way Out of a Dark Age” calls this out perfectly – “Sorting LEGO is a losing proposition. I’ll never get it perfect. I’ll never even truly finish.” Accepting that is the first step to actually getting it done.
Stage 1: Dismantle and Stack
Pull out any built sets you are willing to break apart. Stack the instruction booklets in a separate box. The point of this stage is to get all loose pieces out of every drawer, bin, bag, and shelf into a single working pile. Expect this to take 30 to 90 minutes for a typical household collection.
Stage 2: Pull Out Large and Obnoxious Pieces
Baseplates, large slopes, technic beams over 8 studs long, and big wedge pieces go into their own dedicated bins first. These are the items that are hardest to find later if you leave them mixed in. A single “large pieces” bin per category (or one per color, if you are sticking with color sorting) saves a surprising amount of frustration.
Stage 3: Initial Color Pass
Even if you plan to sort by part, a color pass is the fastest way to get the pile down to a manageable size. Sort everything else into rough color groups first, then move on to the finer sort. Do not try to be perfect at this stage – just cut the chaos in half.
Stage 4: Sort by Part and Put Away
Work through each color group one drawer of your new cabinet at a time. Pull out 1×1 plates, 1×2 plates, 1×3 plates, 2×2 bricks, and so on. Put each in its labeled compartment before moving to the next type. This is where the 5/2 rule pays off – you only need to fully part-sort the parts you actually use.
Stage 5: Stop at 85%
The most important stage. Reorganizing LEGO is a marathon, not a sprint, and finishing 100% of your collection in one weekend is how people burn out and quit. The community generally agrees that 85% completion is excellent and 95% is heroic. The last 5% of oddball pieces in colors you never use is not worth the next 20 hours. Stop, shelve what you have, and come back next month if you feel like it.
Step 5: Reorganizing LEGO After Moving or Inheriting a Collection
Some of the hardest reorganization jobs start with no system at all. If you just moved, if you inherited a collection from a parent or sibling, or if you have been using a giant garbage bag for years, the standard advice still applies – it just takes longer up front.
For inherited collections, the first decision is whether the sets are intact. If they are, decide early which ones you actually want to keep and which ones you are willing to part out, donate, or sell. Trying to reorganize an inherited collection without making these calls means you are sorting parts you will never use.
If the collection is one giant unsorted pile – and I have seen two of these in person – the order matters. Sort by obvious major category first (plates vs bricks vs tiles vs technic), then by color within each, then by part. Do not start with the 1×1 round plates at the bottom of the pile. Start with the things that are easiest to identify and group. Momentum is your friend.
When the collection has come out of storage after a move, expect to find moisture damage, missing instruction booklets, and at least one mystery bag with a mix of 1990s Space and 2010s City parts. A soft toothbrush, a dry microfiber cloth, and patience will handle most cleaning needs. Do not put LEGO in the dishwasher, no matter what the forums say.
Alternative Approaches: KonMari and Digital Cataloging for LEGO
Most of what I have shared so far is the practical mechanics. If you prefer a more philosophical framework, the KonMari method has been adapted for LEGO by a number of collectors. The basic idea is to gather every piece into one place, hold each category, and ask whether it sparks joy or has a clear purpose. Practically, this looks like deciding which sets to keep built, which to part out, and which to give away.
The KonMari LEGO method works best for collections over 30,000 pieces where storage space is genuinely limited. It is less useful if you actually build with your collection, since you are often parting out useful elements. I find a hybrid is more honest: keep what you actively use, part out or donate the rest, and stop once the marginal piece no longer adds value.
For tech-minded collectors, BrickLink Studio and the BrickLink catalog are the digital catalog standard. You can scan or input your sets, track part counts, and even design MOCs directly from your inventory. This is overkill for a 5,000-piece collection but invaluable for anyone north of 50,000 pieces or anyone serious about parting out duplicates for resale.
Common Mistakes to Avoid When You Reorganize LEGO Pieces
I have made most of these mistakes personally, which is how I know to warn you about them.
The first mistake is buying storage before deciding on a sorting method. The cabinet that looked perfect for by-set storage turned out to be useless for by-part sorting, and I had to eat the cost. Decide the method, measure a sample of your pieces, then size your drawers to fit.
The second mistake is over-sorting from day one. Trying to separate every single rare piece into its own compartment on the first weekend leads to a system so granular you cannot keep it up. Start with the parts you actually touch, then expand.
The third mistake is ignoring clutch power. Modern LEGO clutch is tighter than vintage LEGO clutch, and mixing the two in the same drawer can damage older bricks. If you have inherited pieces from the 1980s, consider keeping them in separate bins.
The fourth mistake is trying to be perfect. There is no perfect LEGO organization system. There is only the system you will actually maintain. Aim for “findable in 60 seconds” and you will enjoy your collection again.
Maintaining Your New LEGO Organization System Long-Term
An organization system that lasts a year is the goal. The first month is the hardest because every build is a temptation to shove pieces back in random bins. Build a habit instead: at the end of each build, sort the pieces you used back into their labeled drawers before you touch the next set. It adds 10 minutes per build and it is the difference between a system that survives and one that collapses.
For incoming sets, adopt a one-touch rule. When a new set arrives, you either build it and put parts away immediately, or you store it intact in a labeled bin. No half-built sets left on the table for two months.
Every six months, do a quick audit. Pull out three or four drawers at random, see if pieces have drifted, and reset them. This 30-minute check is much easier than the next full reorganization.
If you have kids, involve them. Even a 4-year-old can sort yellow plates into a yellow bin. The system stays intact longer when the people using it feel ownership.
Frequently Asked Questions About Reorganizing LEGO Collections
What is the 5/2 rule in LEGO?
The 5/2 rule is a hybrid sorting strategy from Brick Architect. You sort your five most commonly used brick types (typically 1×1, 1×2, 1×3, 1×4, and 2×2 bricks) by part, and sort everything else by color. It gives you about 80% of the speed of full part sorting while using roughly 20% of the drawer space.
How do you sort a large LEGO collection?
Start by weighing or counting to estimate total pieces. Use the 3,000 / 10,000 / 50,000 / 250,000 thresholds to pick a method. For large collections, sort by part within color groups, work in 60 to 90 minute sessions, and stop at 85% completion to avoid burnout. Label every drawer before you start, and commit to a 10-minute post-build tidy to keep the system intact.
What is the KonMari method for legos?
The KonMari method for LEGO means gathering every piece, deciding which sets and parts spark joy or serve a purpose, and letting go of the rest. It works best for collectors with limited storage or inherited collections. Practically, you keep what you build with, part out duplicates, and donate sets you will never display or rebuild.
Should I sort LEGO by color or by part?
Sort by color if your collection is under 10,000 pieces and you want a quick, visual system. Sort by part if your collection is over 10,000 pieces or if you regularly free-build and need to find specific elements fast. The 5/2 hybrid rule is a good middle ground for most households.
How long does it take to reorganize a LEGO collection?
For a 10,000 piece collection, expect 8 to 15 hours of actual sorting time spread across a few weekends. A 50,000 piece collection typically takes 30 to 60 hours. The size of the drawer system, your sorting method, and how distractible you are all affect the total. Plan sessions of 60 to 90 minutes to keep your hands and patience in good shape.
How do you organize an inherited LEGO collection?
Start by deciding which sets to keep intact and which to part out. Sort the rest by major category first (plates, bricks, tiles, technic), then by color, then by part. Set aside any rare or vintage pieces for separate handling, and accept that an inherited collection may take months to fully process rather than days.
Final Thoughts on Reorganizing a LEGO Collection That Has Outgrown Its System
You do not need the perfect system. You need a workable system you will actually maintain. Assess your collection, pick the sorting method that matches the size of the problem, set up storage that fits the method, work in sessions, and stop at 85%. Then build something fun with the time you just got back.
The honest truth is that learning how to reorganize a LEGO collection that has outgrown its system is really about giving yourself permission to enjoy what you already own. Every minute you spend digging through piles is a minute you are not building. Get the chaos under control this month, and the rest of 2026 is yours to actually play with your bricks.