
When I pulled my old LEGO collection out of the attic last spring, I nearly cried. Twenty years of dust, mystery grime, and a faint smoke smell had turned my favorite sets into something I’d hesitate to let my kids touch. I knew I had to figure out how to clean LEGO bricks the right way, but I also had a stack of printed Clone Wars minifigures and stickered Black Pearl sails that I refused to ruin.
After testing hand washing, vinegar soaks, bulk laundry methods, and several cleaning products I probably shouldn’t have tried, I landed on a process that actually works. This guide walks you through exactly how to clean LEGO bricks without damaging prints, stickers, or the plastic itself, whether you’re cleaning a single minifigure or sorting fifty pounds of secondhand bricks.
Table of Contents
What You Need Before You Start Cleaning LEGO Bricks
Gathering the right supplies first saves you from making a mid-cleaning mistake on a printed piece. I keep a small “LEGO cleaning kit” in a plastic shoebox so everything is ready when the mood strikes.
Here’s what you’ll need:
A basin, bucket, or clean sink for warm water
Mild dish soap such as Dawn (a few drops only)
A soft microfiber cloth or soft sponge
A soft-bristled toothbrush for stubborn grime
Clean towels for drying
A mesh laundry bag or pillowcase for bulk cleaning
Optional: white vinegar, baking soda, hydrogen peroxide
The single most important rule is the temperature: keep water under 104°F (40°C). LEGO bricks are made from ABS plastic, which starts to soften and deform above that line. If your tap water runs hot, mix it with cold and test it on the inside of your wrist before submerging any bricks.
How to Clean LEGO Bricks by Hand: Step-by-Step
This is the method I use most often because it gives the most control over printed pieces and stickers. It takes about 20 to 40 minutes for a small batch, and I usually do it while watching a show.
Follow these steps to safely wash LEGO bricks by hand:
Fill a basin with warm water no hotter than 104°F (40°C). Add about a teaspoon of mild dish soap per gallon of water and swirl to mix.
Disassemble the model as much as you reasonably can. You don’t need to strip every piece, but removing large sub-assemblies helps water reach the grime.
Set printed minifigures, stickered parts, and chrome pieces aside in a separate bowl so they only get a quick dip later.
Submerge the plain bricks in the soapy water and let them soak for 10 to 15 minutes. Longer soaks work for heavily soiled pieces but skip this step for stickers.
Gently agitate the bricks by hand. For stuck-on grime, scrub lightly with a soft toothbrush, working in circular motions without pressing hard.
Rinse thoroughly under cool running water until the soap is gone. Soap residue attracts dust, so this step matters more than people think.
Transfer printed and stickered pieces to the bowl, dip them briefly, and wipe with a damp microfiber cloth instead of scrubbing.
I’ve cleaned over 4,000 pieces this way, and not a single print has come off. The trick is treating stickers and prints like delicate fabric, not like the bricks themselves.
How to Protect Prints and Stickers During Cleaning
Prints and stickers are the part that scares most LEGO owners, and for good reason. Printed designs are tampo-decorated onto the plastic, but alcohol, abrasive scrubbing, and prolonged soaking can lift them. Stickers are even more vulnerable because they are literally adhesive-backed paper.
Here is how I keep prints and stickers safe while I clean LEGO bricks:
Avoid any cleaner with alcohol, acetone, or ammonia. That rules out most surface sprays and wipes, including Clorox wipes, which can fade tampo printing.
Never scrub directly on a printed or stickered surface. Wipe gently with a damp microfiber cloth and let the water do the work.
Limit soak time for stickered pieces to under 5 minutes. Water can wick under the sticker edge and weaken the adhesive.
Skip the dishwasher, washing machine spin cycle, and ultrasonic cleaners. The heat, agitation, and vibration can shear stickers right off.
Dry printed and stickered pieces flat, sticker side up, on a towel. Standing them up lets water pool under the edges.
If a sticker does start peeling, stop cleaning, press it back down with a dry cloth, and let it dry completely before evaluating. Sometimes it lays back flat; sometimes you need a replacement, which is a different problem entirely.
The Best Way to Clean LEGO in Bulk
When I bought 30 pounds of secondhand LEGO from a garage sale, hand washing every piece was not going to happen. The bulk method saves hours and works surprisingly well for plain bricks without stickers.
For bulk cleaning, use the laundry bag method:
Sort out any printed minifigures, stickered parts, and electronic components first. Set them aside for hand washing.
Load plain bricks into a mesh laundry bag or a clean pillowcase tied closed. Don’t overfill; you want water and movement to reach every piece.
Run a cold, gentle cycle with a small amount of mild detergent. Skip the spin cycle if your machine allows, since the agitation alone is plenty.
Pull the bag out immediately after the cycle ends and pour the bricks onto a clean towel.
Spread them out and pat dry with another towel before air drying.
Some LEGO collectors on Reddit swear by this method for purely decorative bricks. I tested it on a few thousand red and white pieces I wasn’t emotionally attached to, and they came out looking new. I still wouldn’t run a printed piece or a rare sticker sheet through it.
Removing Smells and Disinfecting LEGO
Smoke, pet dander, musty attic air, and other odors can soak into LEGO plastic over the years. A basic soap bath handles light smells, but stubborn odors need a different approach.
For odor removal, the baking soda and vinegar soak is my go-to recipe:
Fill a basin with equal parts warm water and white vinegar, then add two tablespoons of baking soda per gallon.
Submerge the bricks and let them soak for 20 to 30 minutes. The fizzing helps loosen grime and neutralize odor.
Rinse thoroughly under cool running water to remove the vinegar smell.
Air dry on towels, ideally near a fan or in a sunny window.
For disinfection without damaging prints, wipe pieces with a cloth lightly dampened with a diluted white vinegar solution (one part vinegar to three parts water). Avoid bleach and isopropyl alcohol because both can strip prints and weaken ABS plastic over time.
If yellowing is your main concern, a hydrogen peroxide soak (3% concentration) for a few hours under direct sunlight can help reverse oxidation on white bricks. Test on a small batch first, and never mix hydrogen peroxide with vinegar.
What NOT to Do When Cleaning LEGO Bricks
This section is the one I wish I’d had when I first started. The wrong method can permanently damage a brick or ruin a printed face, and the damage usually isn’t reversible.
Avoid these cleaning methods entirely:
Dishwasher. The high heat, prolonged cycle, and harsh detergent tablets will warp bricks, cloud transparent pieces, and strip prints.
Oven or microwave. LEGO will melt, release toxic fumes, and fuse to your appliance. This is not a joke; it happens every year.
Hair dryer or heat gun. Direct high heat warps bricks and lifts tampo printing almost instantly.
Rubbing alcohol, acetone, or nail polish remover. These dissolve ABS plastic and erase printed designs.
Bleach or ammonia-based cleaners. They yellow white plastic over time and degrade stickers.
Magic Eraser on glossy or printed surfaces. The melamine foam is abrasive enough to dull chrome and scratch prints.
Pressure washer. The water force can crack bricks, blow off stickers, and damage minifigure joints.
If you’ve already tried one of these methods and your pieces look cloudy or sticky, you can’t undo the damage, but you can stop further harm by switching to warm water and mild soap right away.
Drying LEGO Bricks the Right Way
Drying is the half of the process most guides rush through, and it’s where prints and stickers often fail. Water trapped in stud cavities or under a sticker edge can cause cloudiness, mildew smells, and lifted edges if you don’t dry the pieces properly.
Here’s the drying routine that has worked for me across thousands of pieces:
After rinsing, shake the basin gently to knock off excess water from each piece.
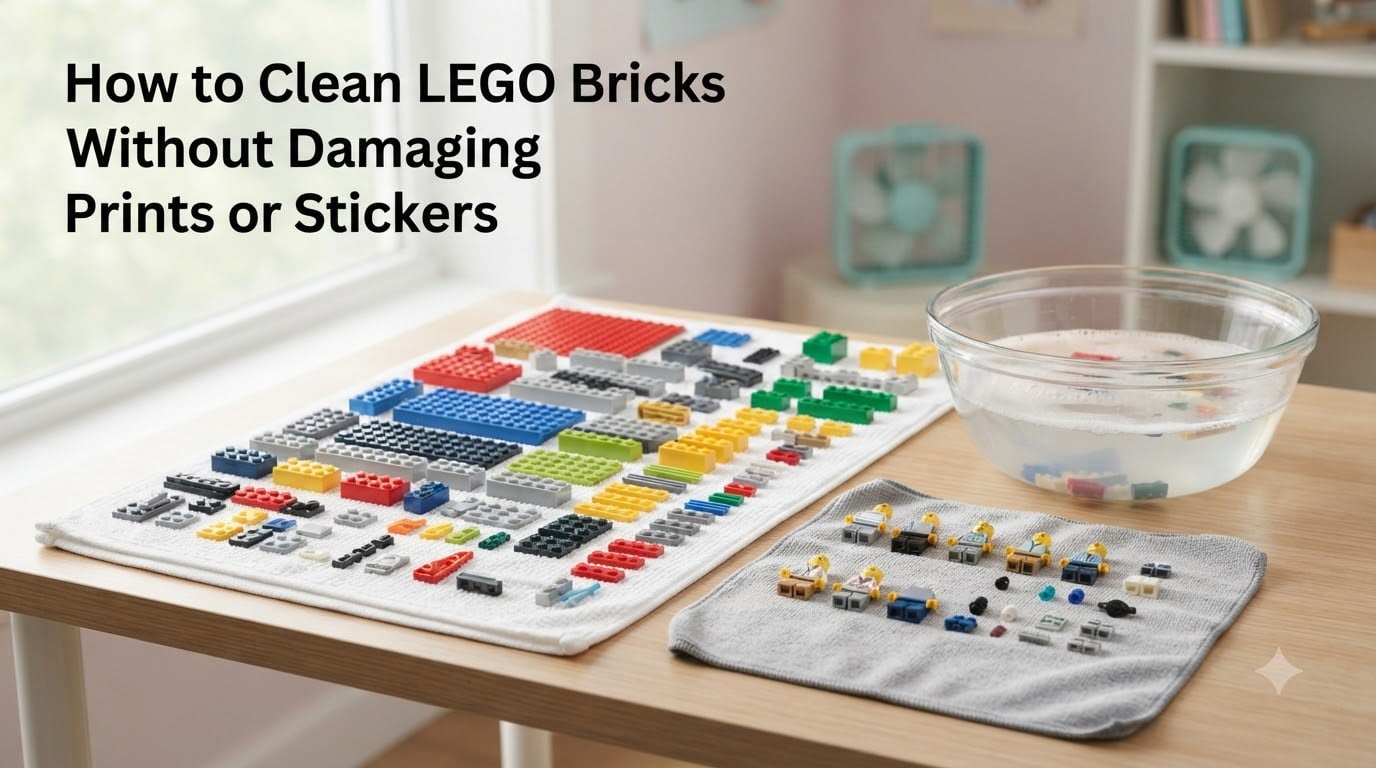
Lay bricks on a clean, dry microfiber towel in a single layer. Avoid stacking them while wet.
Pat the tops with another towel to absorb surface water. This cuts drying time roughly in half.
Move the towel to a spot with good airflow. A box fan set on low pointed across the bricks speeds things up considerably.
Allow 4 to 8 hours of air drying, depending on humidity. Printed and stickered pieces may need closer to 12.
Skip the radiator, clothes dryer, and sunny windowsill where heat builds up. Warm air is fine; hot surfaces are not. A small fan in a dry room is the safest and fastest option I have found.
Frequently Asked Questions
What is the best way to clean LEGO bricks?
The best way to clean LEGO bricks is to hand wash them in warm water no hotter than 104°F (40°C) with a small amount of mild dish soap. Soak plain bricks for 10 to 15 minutes, gently scrub with a soft cloth or sponge, rinse thoroughly, and air dry on a towel with fan assistance. Skip this method for printed pieces and stickers, which only need a quick dip and a gentle wipe.
Is Dawn dish soap safe for LEGOs?
Yes, Dawn dish soap is safe for LEGO bricks when diluted properly. Use only a teaspoon per gallon of warm water, rinse the bricks thoroughly afterward, and avoid any formula with bleach or alcohol additives. Dawn cuts grease well without damaging ABS plastic, prints, or stickers.
Can I use Clorox wipes on LEGO?
No, you should not use Clorox wipes on LEGO. The alcohol and solvent content in disinfecting wipes can fade tampo-printed designs, dull chrome finishes, and weaken sticker adhesive over time. Use a microfiber cloth dampened with mild soapy water instead for routine cleaning.
How do I remove smells from old LEGO?
To remove smells from old LEGO, soak the bricks for 20 to 30 minutes in a solution of equal parts warm water and white vinegar with two tablespoons of baking soda per gallon. Rinse thoroughly under cool water and air dry near a fan. For smoke odors, repeat the soak once and follow with 24 hours of air drying in a well-ventilated room.
Final Thoughts on How to Clean LEGO Bricks
Learning how to clean LEGO bricks without damaging prints or stickers comes down to three habits: keep the water under 104°F, use a mild detergent, and treat printed or stickered pieces more gently than the plain bricks around them. Hand washing gives you the most control, the laundry bag method handles bulk batches fast, and a vinegar soak knocks out stubborn smells.
Start with a small test batch, especially if your collection includes rare minifigures or out-of-production stickers. Once you see how forgiving ABS plastic is when you stick to warm water and mild soap, the rest of the collection will feel a lot less intimidating. Happy building, and enjoy your fresh, clean LEGO in 2026.