
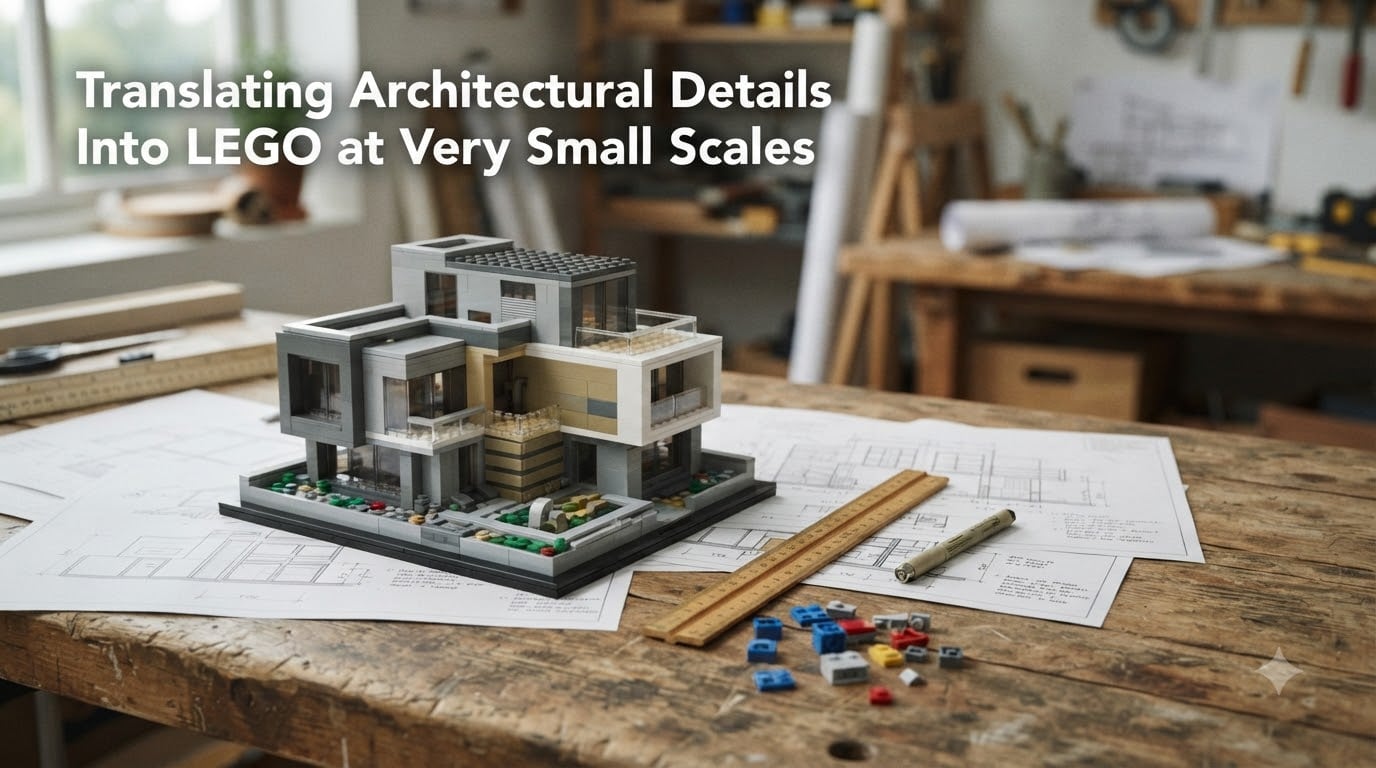
Translating architectural details into LEGO at very small scales is the hardest part of any brick build. I learned this the hard way on my first microscale city, where I lost every window, every cornice, and every hint of texture on the facade. After three redesigns and roughly 4,000 pieces later, I finally cracked a repeatable method, and that is what I want to share with you.
In this guide, I will walk you through how LEGO scale actually works, the differences between minifigure, microscale, and Miniland ratios, and a step-by-step system for converting real-world measurements into studs. We will also cover the techniques that preserve architectural detail at very small scales, the tools I use, and the trade-offs you have to accept when you go small. By the end, you will be able to pick a scale, do the math, and build a model that actually looks like the building you started with.
Table of Contents
Understanding LEGO Scale: The Fundamentals
LEGO scale is the relationship between the size of your LEGO model and the real-world building it represents. It works because every LEGO brick has a fixed set of dimensions that act as your unit of measurement.
A standard LEGO stud is 8 mm wide, and the brick underneath each stud is 9.6 mm tall. Plates are exactly one-third of a brick in height, which gives you 3 plates for every 1 brick of vertical space. That 3:1 ratio is sometimes called the 3 plate rule, and it is the foundation of almost every LEGO building technique.
Another ratio worth memorizing is the 5/2 rule. The 5/2 rule in LEGO means that for every 5 studs of horizontal length, you add 2 plates of vertical height to maintain visually correct proportions. Builders use it constantly when laying out walls, towers, and stairs because the human eye reads certain height-to-width relationships as natural. If your wall is 10 studs wide, the eye expects roughly 4 plates of height. If your wall is 15 studs wide, around 6 plates feels right.
One thing I want to flag right away: LEGO scale is not perfectly proportional. The studs are 8 mm apart, but a minifigure is 4 bricks tall (about 1.6 inches), which means a “minifigure scale” building of 1:42 puts a single brick at roughly 40 cm in real life. That is taller than most real doors. This is the trade-off you accept when you build in LEGO. You have to choose whether to honor brick-based proportions or real-world proportions, and we will come back to that choice later.
The Main LEGO Scale Categories
LEGO builders generally work in three scale families. Each one makes different design decisions easy or hard, so picking the right one matters before you place a single brick.
Minifigure Scale (1:42 / 1:48)
Minifigure scale is the most popular scale for architectural builds. The classic ratio is 1:42, meaning every 1 stud equals roughly 40 cm in the real world. In practice, builders often round to 1:48 because it lines up cleanly with real building dimensions, especially for North American residential homes.
At minifigure scale, you can usually show windows, doors, roof tiles, and basic textures. A minifigure fits comfortably through a doorway, which is satisfying if your scene includes people. The trade-off is that the model gets large fast. A 2,000 sq ft house becomes a build of roughly 18 x 12 studs for the footprint, which is hundreds of bricks just for the walls.
Microscale (1:230 and Beyond)
Microscale is where you shrink the building so far that individual minifigures can no longer fit. Typical microscale ratios are 1:300, 1:400, and 1:650. At these scales, a single 1×1 brick might represent a whole window or even a section of wall.
This is where architectural translation gets really tricky. You stop trying to replicate every detail and instead focus on the silhouette, massing, and a few signature elements. A microscale Empire State Building works because the set-back massing reads instantly. A microscale suburban ranch house looks like a blank box. Choose microscale when the building has a strong, recognizable shape.
Miniland Scale (1:20)
Miniland scale, used in LEGOLAND parks, is closer to true scale at roughly 1:20. At this ratio, a minifigure would be 1 stud tall, which means you can build detailed interiors. Almost no home builder works in Miniland scale because the models become enormous. It is worth knowing it exists so you understand the upper limit of LEGO scale.
Common LEGO Scales at a Glance
- Minifigure scale (1:42) – Best for architectural detail with people. Default choice for most MOCs.
- Minifigure scale, adjusted (1:48) – Cleaner numbers for residential buildings.
- Microscale (1:300) – Whole-city builds, skylines, recognizable landmarks.
- Microscale, fine (1:650) – Tiny massing studies, mostly for show.
- Miniland (1:20) – Near-true scale, very large models.
How to Translate Real Building Dimensions Into LEGO Studs
Here is the conversion method I use on every architectural build. It is a five-step process, and once you do it a few times, it becomes second nature.
Step 1: Gather Real-World Measurements
You cannot translate what you have not measured. I pull dimensions from three sources depending on what is available. Google Earth is my starting point for footprint and roof outline because it gives you a top-down view with measurement tools. For buildings I can visit, I measure wall heights, window spacing, and door heights with a tape measure and take reference photos from straight on. For buildings I cannot visit, I use blueprints or original architectural drawings when I can find them online.
For a typical two-story American house, the rough numbers I work from are 30 ft wide x 40 ft deep, with 8 ft ceilings on each floor and a 6 ft 8 in door height. Knowing these defaults lets me sketch proportions even before I have exact data.
Step 2: Pick a Scale Ratio
Match the scale to your goal. If I want people in the scene, I pick 1:42 or 1:48. If I am building a city block with 10 buildings, I drop to microscale around 1:300. The goal of the build dictates the scale, not the other way around.
Step 3: Convert Feet and Inches to Studs
The conversion formula is straightforward. One stud at 1:48 equals 4 inches of real length, because a standard 2×4 LEGO brick is 32 mm wide (1.26 in), which is exactly 1/32 scale at 8 mm per stud. That works out to 4 inches per stud at 1:48, or 4.5 inches per stud at 1:42. I round to whole numbers wherever possible because LEGO pieces come in 1-stud increments.
For my 30 ft x 40 ft house at 1:48: 30 ft = 360 in. Divided by 4 in per stud = 90 studs wide. That is enormous. So I drop to 1:96 (which is two stud per 8 in), giving me 45 studs wide. Still huge, which is why microscale exists for city-scale work.
Step 4: Convert Vertical Measurements
Vertical conversion uses plate height, not stud spacing. At 1:48, 1 plate (3.2 mm) represents about 6 in of real-world height, because 1 ft equals 1 brick (9.6 mm) which equals 3 plates. So a standard 8 ft ceiling becomes 8 plates, and a 6 ft 8 in door becomes about 13 plates tall. Now you are working in plate counts, which makes the math friendlier.
Step 5: Apply the 5/2 Rule to Sanity-Check
Once you have your stud count and plate count, run the 5/2 rule. If your wall is 10 studs wide, you want about 4 plates of height for visual proportion. If the math gives you 8 plates for an 8 ft ceiling at 1:48, that is 1 plate per stud width of 10, which is twice as tall as the eye expects. This is exactly the kind of conflict that tells you the scale is wrong or the proportions need an artistic override.
Preserving Architectural Detail at Very Small Scales
Detail preservation is where most microscale builds fall apart. Once you drop below minifigure scale, you lose the ability to put a 1×1 brick next to a window to suggest a frame. You have to use indirect cues, and that is a skill.
SNOT Building (Studs Not On Top)
SNOT stands for Studs Not On Top. It means rotating bricks so their studs face sideways or upward at 90 degrees from the base. This is the single most important technique for small-scale detail because it lets you add features that stick out from a wall, like cornices, window sills, and roof trim. Without SNOT, a small-scale building looks like a smooth box. With SNOT, you can suggest depth.
I use SNOT in two main ways at microscale: I attach 1×1 plates sideways to suggest window frames, and I use 1×1 round tiles or jumper plates to add texture without raising the height much. Both keep the build compact while adding visual interest.
Window and Door Representation
At microscale, individual windows disappear. The trick is to suggest windows through pattern, not realism. A 1×2 dark gray tile on a light gray wall reads as a window from across the room. A row of alternating dark and light tiles reads as a strip of windows. This is how the best microscale city builders get away with hundreds of windows without using a single 1×1 transparent piece.
For doors, I use color contrast. A door is a darker rectangle on a lighter wall, positioned at the bottom. That is enough for the brain to interpret. At minifigure scale, you can use actual 1x2x3 door frames or printed door tiles. At microscale, you give up on representation and lean on shape.
Color and Texture
Color does most of the heavy lifting in small-scale builds. A 2-plate stripe of dark green across a tan wall reads as a cornice. A 1-plate band of reddish brown at the top reads as a roof line. I keep a small palette of dark colors specifically for shadow detail, because the contrast is what the eye actually sees, not the bricks themselves.
Choosing What to Keep
You cannot keep everything. Pick two or three signature features of the real building and protect them at the cost of other details. For a Victorian house, that might be the turret and the wrap-around porch. For a skyscraper, that is the set-backs and the spire. Everything else can be implied with color and silhouette.
Tools and Resources for Scale Translation
You do not need many tools to do this well, but a few save real time.
Studs.sariel.pl
This is the most-used LEGO scale converter on the internet, and for good reason. You type in a real measurement, choose a scale, and it gives you studs and plates. I use it every time I sit down with a new building reference. It supports multiple unit systems and the common scale ratios out of the box.
BrickLink Studio / Stud.io
BrickLink Studio (often just called Stud.io) is a free CAD program for LEGO. I build every architectural model in Stud.io before I order a single brick. It lets you test scale, place exact pieces, count studs and plates, and generate a parts list. For very small scale work, it is the only practical way to verify that a 1×1 tile on a 6-stud wall will actually read as a window.
Google Earth
For footprint measurements and roof outlines, Google Earth Pro is free and good enough. The ruler tool handles long distances, and the 3D view helps with massing for larger buildings. For exact wall heights you still need blueprints or on-site measurements.
BrickLink Marketplace
Once you have your parts list from Stud.io, BrickLink is where you actually buy the pieces. For small-scale builds, you will want parts that LEGO never put in sets, like 1×1 jumper plates and SNOT bricks. Plan to order from 3 or 4 different sellers to fill a single parts list.
Choosing the Right Scale for Your Project
Picking the wrong scale is the most common reason architectural builds fail. Before you commit, work through these five questions.
What Is the Goal of the Build?
If the goal is a tabletop display piece, minifigure scale gives you the detail viewers want. If the goal is a city skyline you can put on a shelf, microscale is the only practical choice. The goal drives everything else.
Which Features Need to Be Recognizable?
List the three most important visual features of the real building. If you can name them in one sentence, minifigure scale is enough. If the building is famous for a single shape (the Empire State Building set-backs, the Gherkin’s curve), microscale works because the shape itself carries the recognition.
How Big Will the Footprint Be?
At 1:48, a 30 ft x 40 ft house is 90 x 120 studs. At 1:96, it is 45 x 60. At 1:300 (microscale), it is 14 x 19. Pick a scale that gives you a build size you can physically store and move.
How Much Can You Spend on Bricks?
Minifigure scale on a 30 x 40 house build will run 1,500 to 3,000 bricks. Microscale of the same building might use 300 to 600 bricks. Budget scales with size, so if you have a tight budget, microscale stretches your dollars further.
Common Mistakes to Avoid
The biggest mistake is starting at minifigure scale because it “feels right” and then discovering your building is too big to finish. The second biggest mistake is choosing microscale for a building whose main appeal is texture rather than shape. A thatched cottage with rough walls loses everything at microscale. The third mistake is ignoring the 5/2 rule and ending up with buildings that look stretched or squashed.
If you remember nothing else, remember this: pick the scale that lets you finish the build with the recognizable features intact.
Frequently Asked Questions
What is the 5/2 rule in LEGO?
The 5/2 rule in LEGO means that for every 5 studs of horizontal length on a wall or structure, you should add 2 plates of vertical height to keep proportions looking natural to the eye. It is a visual guideline, not a strict measurement rule, and builders use it to quickly check whether a wall feels right before committing to a full build.
What scale is LEGO Architecture?
LEGO Architecture sets generally use minifigure scale at 1:42, which makes the minifigure the reference point. Some Architecture sets, especially the landmark Skyline series, use microscale around 1:300 to 1:650 to fit an entire recognizable structure in a small footprint.
What scale is LEGO closest to?
LEGO minifigure scale is closest to 1:42 in real-world terms. A standard minifigure is about 1.6 inches (4 cm) tall, which lines up with a 6 ft tall human when scaled down by 42 times. This is the scale most builders default to when they want people in their scenes.
How do I convert real measurements to LEGO studs?
At 1:48 scale, 1 stud equals 4 inches of real length, and 1 plate equals 6 inches of real height. At 1:42 scale, 1 stud equals about 4.5 inches. The easiest way is to use the Studs.sariel.pl converter, where you enter real measurements and pick the scale to get your stud and plate counts instantly.
What is the best scale for preserving detail?
Minifigure scale (1:42 or 1:48) is the best scale for preserving architectural detail. Below that, microscale requires you to suggest detail through color, silhouette, and pattern rather than replicate it. If detail matters more than size, stay at minifigure scale and accept a larger build.
Final Thoughts on Translating Architectural Details Into LEGO
Translating architectural details into LEGO at very small scales comes down to three habits. Pick the scale that matches your goal, not the scale that “feels right.” Convert real measurements into studs and plates before you place a single brick, and use the 5/2 rule to sanity-check the proportions. Finally, decide which architectural features you will protect, and let everything else become implied through color, silhouette, and SNOT details.
If you stick to this approach, your next architectural MOC will look like the building you set out to copy, no matter how small you build it. Start with a simple shape, run it through Studs.sariel.pl, sketch it in Stud.io, and order your bricks. The math stops being intimidating the third time you do it, and the result is always worth the work.