
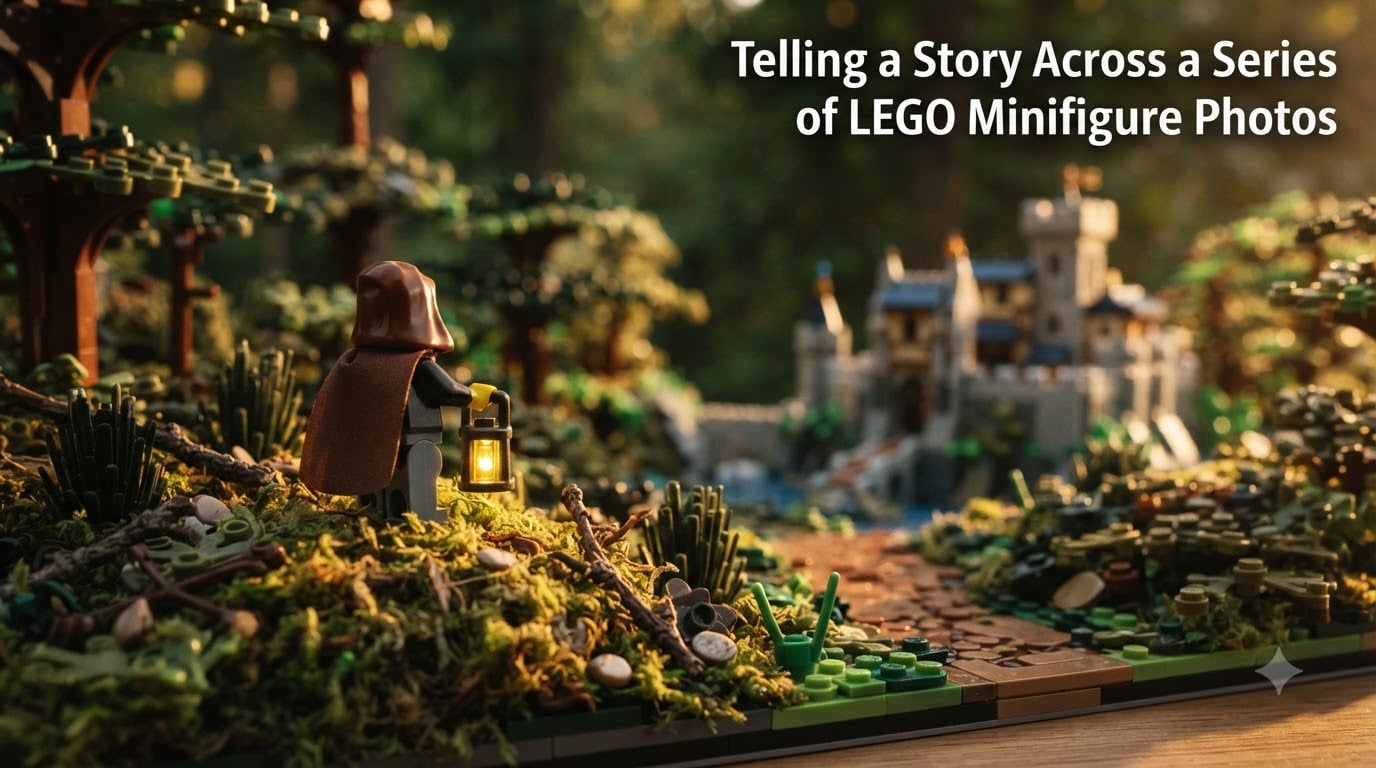
Visual storytelling in LEGO minifigure photography is the practice of using a sequence of photos to convey a beginning, middle, and end, where each image builds on the last to move a character or scene forward. Single photos can capture a mood, but a series creates a journey. After photographing LEGO scenes for the last few years, I have found that the photos people remember most are the ones that read like a tiny movie, not just a pretty picture.
In this guide, I will walk you through how I plan, shoot, and connect LEGO minifigure photos so they tell one coherent story. We will cover composition, lighting, expression, transitions, and a beginner exercise you can try this weekend.
Table of Contents
What Is Visual Storytelling in LEGO Minifigure Photography?
Visual storytelling in LEGO minifigure photography is the deliberate arrangement of characters, props, lighting, and framing across multiple images so viewers can read a narrative in order. Each photo acts like a sentence, and the series together forms a paragraph.
Many LEGO photos on social media are single snapshots of a cool build. Storytelling is different. You pick a protagonist, give them a goal or conflict, and let the camera follow their journey. A knight does not just pose with a sword. She treks through a forest, faces a dragon, and returns home changed. Three photos, one arc.
The shift from single image to series is where most beginners stumble. A pretty photo can stand alone, but a story needs structure. That structure is what separates snapshots from narrative work.
Why Storytelling Matters When Photographing LEGO Minifigures
Storytelling matters because viewers do not just look at photos, they finish them in their imagination. When you give them a hero, a problem, and a moment of change, the brain fills in the rest. I have had readers tell me they spent ten minutes looking at a five-photo set because they wanted to know what happened next.
Practical benefits I have noticed in my own work:
- Higher engagement rates on multi-photo posts versus single images.
- More comments asking about the character’s next move.
- Easier to build a recognizable style and audience.
A series also gives you room to take creative risks. If one frame feels weak, the next can rescue it. With a single photo, every choice has to land perfectly. With a series, you have pacing on your side.
How to Plan a Story Before You Shoot Your First Photo
Planning saves hours of frustration at the shooting table. I learned this the hard way after building elaborate sets that had no clear narrative through-line. Now I write a one-paragraph outline before I unbox a single brick.
Here is the four-step planning framework I use for every LEGO minifigure story series.
Step 1: Pick Your Hero and Their Want
Every story needs a character who wants something. The astronaut wants to fix the antenna. The detective wants the missing briefcase. The pirate wants the map. Pick one minifigure as your hero and write one sentence about what they want.
Keep it simple. A single clear desire is easier to shoot across three to five frames than a complex backstory.
Step 2: Sketch a Three-Act Structure
Three acts is the minimum for any narrative arc. In LEGO photography terms:
- Setup – Introduce your hero and the world. Establish what is normal.
- Confrontation – The hero meets the obstacle, antagonist, or mystery.
- Resolution – The hero changes, wins, loses, or simply moves on.
Five photos work well for a richer arc. Seven is the upper limit before most viewers lose the thread.
Step 3: List the Visual Beats
Convert each story beat into a single visual idea. For example:
- Setup – Wide shot of the hero at the launchpad.
- Confrontation – Close-up of the broken antenna.
- Resolution – Hero with a fixed antenna, smiling under helmet visor.
Writing the visual beats down forces you to think in camera terms, not just plot terms.
Step 4: Gather Props and Backdrops First
Once the beats are locked, build or collect the props you need before shooting starts. Nothing kills momentum like realizing you are missing the right minifig accessory mid-series.
Composition Techniques That Build Narrative Across Multiple Frames
Composition is the grammar of visual storytelling. Each frame uses the same rules a single photo does, but a series adds one extra rule: each frame must relate to the others. I think of it as visual rhyme.
Use the Rule of Thirds to Guide the Eye
Place your hero on a third-line rather than dead center for most shots. Center framing works for one image of confrontation, but off-center framing reads more naturally across a series. Your viewer’s eye lands in roughly the same spot every photo, which feels intentional.
Vary Shot Sizes for Pacing
A series that uses only wide shots feels distant. One that uses only close-ups feels claustrophobic. Mix them.
- Wide – Establish the scene (setup).
- Medium – Show action (confrontation).
- Close-up – Reveal emotion (turning point).
- Wide again – Show the new normal (resolution).
This rhythm mirrors how films are edited and keeps viewers engaged across the set.
Leave Room to Move
Always leave negative space on the side your hero is moving toward. If the knight walks right, give her empty space on the right of the frame. Across the series, the direction of empty space tells the viewer which way time is flowing.
Using Lighting and Color to Carry the Story Forward
Lighting is the easiest way to signal mood without changing your set. A minifigure in warm sunset light feels hopeful. The same minifigure under blue moonlight feels tense. I use this trick constantly.
Shift Color Temperature Between Beats
Color temperature changes can mark time passing. A series shot entirely in noon daylight can feel like it happens in one minute. Mix a warm golden-hour setup shot with a cool blue confrontation shot, and viewers read it as hours passing.
Use Shadows to Foreshadow
A long shadow of an unseen threat creeping into a calm frame is a classic film technique that works in LEGO photography too. Place a minifigure you do not plan to show fully in the background, lit by a single harsh light source. The audience senses something is coming before they see it.
Keep Lighting Consistent Within a Single Frame
While mood can change between frames, lighting within a single photo should look like it came from one believable source. Mixing a candle on the left and a fluorescent bulb on the right breaks the illusion faster than anything.
Adding Emotional Depth With Minifigure Expressions and Body Language
Plastic faces have a surprising emotional range when you choose the right minifigures. LEGO has released hundreds of facial prints, from determined to terrified to smug. Selecting the right head is the single biggest storytelling upgrade you can make.
Match the Expression to the Beat
Your hero cannot smile through every photo. Build the emotional arc the same way you built the plot arc. Confident in the setup. Worried in the confrontation. Relieved in the resolution.
Use Body Language, Not Just Faces
Because minifigure faces are small and often hidden under helmets, body language does most of the emotional heavy lifting. A tilted torso reads as hesitation. Raised arms read as triumph. A slight backward lean reads as fear.
Invest in ball-jointed minifigure parts or 3D-printed accessories if you can. They unlock poses that standard minifigures cannot hold.
Give Secondary Characters Distinct Reactions
If you include background minifigures, vary their reactions to the hero’s actions. One onlooker might cheer while another looks confused. These tiny differences make the world feel alive and reward careful viewers.
Creating Smooth Transitions Between Photos in a Series
This is the technique almost no one talks about, and it is the one that separates good series from great ones. A transition is a visual element that appears in two or more frames and carries the viewer’s eye from one photo to the next.
Recurring Props as Anchors
Choose one object that appears in every frame. A map, a lantern, a torn flag. When viewers see it in photo two, they subconsciously link it to photo one. It builds continuity.
Match on Action or Color
End one photo with a strong color (a red flare) and start the next with that same red. End one with motion blur on a hand and start the next with the hand landing on a surface. These match cuts are how editors pace films.
Vary Angles, Not Just Positions
Shooting the entire series from the same tripod height makes it feel static. Lower the camera for the confrontation. Raise it for the resolution. The angle change alone signals that something has shifted.
Use a Consistent Color Palette Across the Whole Series
Pick two or three dominant colors before you start shooting. The same palette across all frames visually unifies the series, even if the lighting shifts.
Common Mistakes to Avoid in LEGO Minifigure Story Series
I have made most of these mistakes, so you do not have to.
- Too many characters. Three to five named characters is plenty. Crowded frames lose narrative focus.
- No clear protagonist. If the viewer cannot tell who to follow, they follow no one.
- Identical framing every shot. Vary scale and angle. Identical framing is a slideshow, not a story.
- Skipping the setup. Jumping straight to the action skips the calm before the storm that makes conflict meaningful.
- Over-editing in post. Heavy filters can mask lighting problems but they also flatten the plasticity of LEGO, making figures look uncanny.
Practical Exercise: Build Your First Three-Photo Story
Pick one minifigure from your collection. Give them a simple goal. Shoot three photos:
- A wide shot showing them at the start of their journey.
- A medium shot showing them facing an obstacle.
- A close-up of their reaction to the outcome.
Post them in order and ask a friend what they think happens between frames. If they can fill in the gap, you have told a story. If they cannot, revisit your setup or your protagonist.
This exercise takes an afternoon, costs nothing, and will teach you more about storytelling than any amount of theory.
How to tell a story with a series of photos?
Start by choosing a hero minifigure with one clear goal. Plan a three-act structure: a setup shot that introduces the character, a confrontation shot that introduces an obstacle, and a resolution shot that shows the outcome. Vary composition between wide, medium, and close-up frames, and use a recurring prop or color to link the images together.
What is telling a story through pictures called?
Telling a story through pictures is called visual storytelling or narrative photography. In LEGO minifigure photography specifically, it refers to arranging characters, props, lighting, and framing across multiple images so viewers can read a beginning, middle, and end. A single image shows a moment, while a series shows a journey.
How to tell a story through photos?
Pick one subject, give them a goal, and show them facing and resolving a problem across three to seven frames. Vary your camera angle and shot size between photos to control pacing. Use lighting shifts and matching colors to bridge transitions. Most importantly, choose minifigure expressions and body language that match each story beat so the emotion reads clearly.
Final Thoughts on LEGO Minifigure Photography Storytelling
Telling a story across a series of LEGO minifigure photos comes down to three things: a clear hero, a defined arc, and visual bridges that link your frames. Once you stop thinking about each photo as an end product and start thinking about it as part of a sequence, the entire craft clicks into place.
Pick one minifigure, write a one-sentence goal, and shoot three frames this week. The lessons you learn from that small series will outpace anything you read in another tutorial. LEGO minifigure photography storytelling is a practice, and the only way to get better is to keep building scenes that move.