
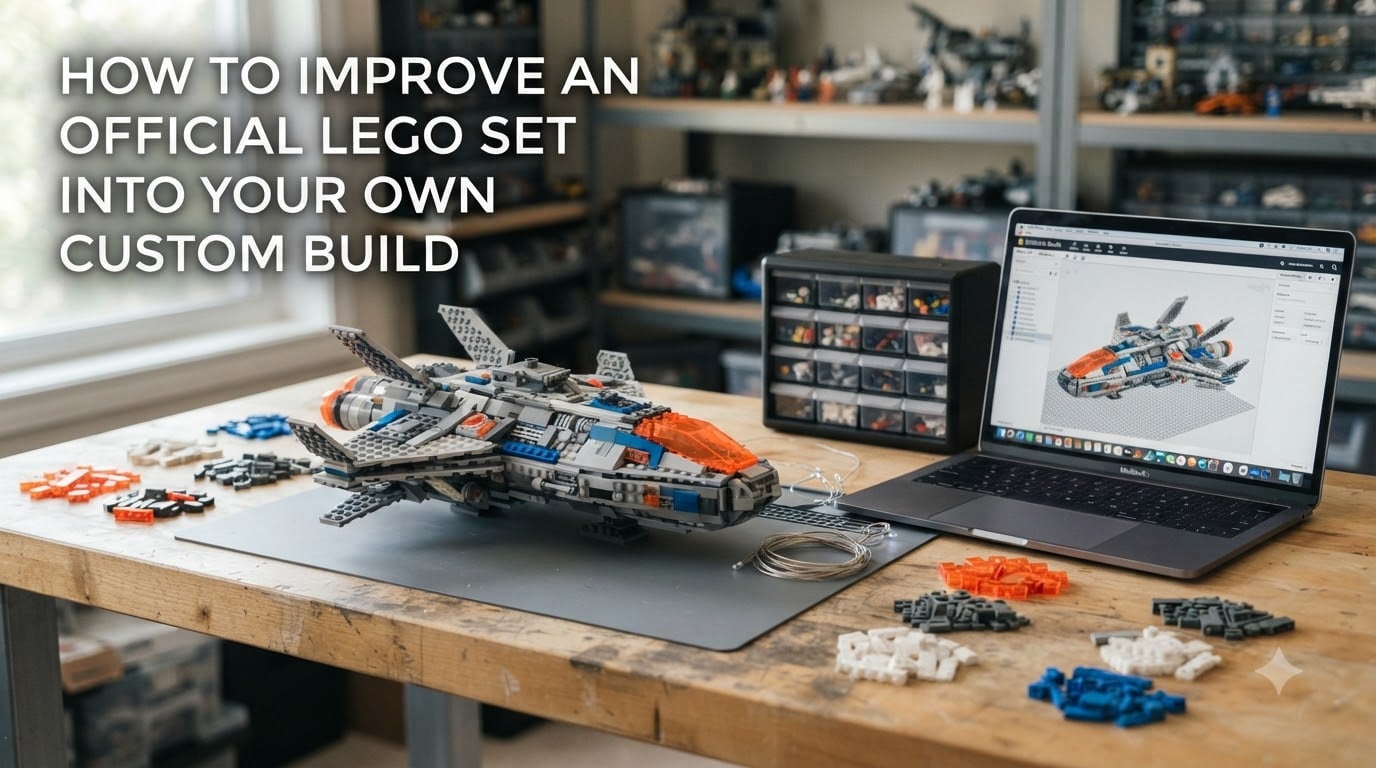
Turning an official LEGO set into your own custom build is one of the most rewarding jumps a hobbyist can make. I’ve spent the last few years transforming boxed sets into My Own Creations (MOCs), and the process has changed how I think about every brick in my collection. In this guide, I’ll walk you through exactly how to improve an official LEGO set into your own custom build, from gathering inspiration to finalizing a part list on BrickLink.
If you’ve finished a set, set the instructions aside, and thought “what if I rebuilt this my way?” you’re already thinking like a custom builder. The rest is just method, tools, and a little practice.
Table of Contents
What Is a MOC and Why Transform Official LEGO Sets
A MOC, short for My Own Creation, is any LEGO build you design yourself instead of following official instructions. A “re-moc” is when you take an existing official set and rebuild, modify, or reimagine it as your own design.
Transforming official sets is the most natural gateway into custom building. You already have a working model, a pile of parts, and a sense of what works and what doesn’t. I started by tweaking color schemes on a 10255 Assembly Square before moving to fully original designs. That single project taught me more about structural integrity than any instructions sheet ever did.
Custom builds let you fix what you don’t like about a set, add details the designer left out, and end up with something no one else has on their shelf. For collectors and hobbyists, that’s the whole point.
Essential Design Tools for Custom LEGO Builds
Before you touch a brick, you should design your build in software. Designing digitally lets you stress-test ideas, count parts, and avoid buying pieces you don’t need. Three tools dominate this space for beginners.
BrickLink Studio
BrickLink Studio is the free, community-standard tool for designing LEGO models digitally. It has the largest part library of any LEGO design software, includes real-time collision and stability checks, and connects directly to BrickLink’s wanted list system for sourcing parts. I use Studio for almost every custom build because it tells me exactly how many of each piece I need before I spend a cent.
LEGO Digital Designer
LEGO Digital Designer (LDD) was the official LEGO design tool before it was retired in 2018. It’s still available for download from some archives and works well for simple models. The interface is friendlier than Studio, but the part catalog is smaller and the building logic is more relaxed. Use LDD if you want to sketch quickly without learning Studio’s deeper toolset.
Rebrickable
Rebrickable isn’t a design tool, it’s a part inventory and MOC database. Upload your collection and Rebrickable tells you which MOCs you can build with the pieces you already own. It’s also the best place to publish a finished MOC and watch other builders try your design. Pair Rebrickable with BrickLink Studio and you have a complete design-to-source workflow.
How to Find Inspiration for Your Custom Build
Inspiration rarely shows up out of nowhere. Most of my best ideas come from three places: real-world reference, other builders’ MOCs, and the LEGO parts catalog itself.
Real-world reference means photos of actual buildings, vehicles, and machines. Architectural photography, factory tours, and even video game concept art all work. I keep a folder on my phone of buildings I want to try someday.
Other builders’ MOCs are everywhere if you know where to look. Flickr’s LEGO group, the r/LegoCreations subreddit, and Rebrickable’s MOC index are full of finished designs with part lists you can study. Looking at how someone else solved a structural problem is the fastest way to learn.
The LEGO parts catalog is an underrated source. Browsing Pick-a-Brick or BrickLink by part family often sparks ideas. A weird specialty piece in your collection can become the centerpiece of a whole build if you let it lead.
Planning Your Custom LEGO Build Step by Step
Planning is where most beginner custom builds go wrong. Builders grab parts and start stacking, then realize halfway through that the model won’t hold together. A simple planning workflow fixes this.
- Sketch the silhouette on paper or in a digital drawing app. Capture proportions, not details.
- Block out the rough shape in BrickLink Studio using cheap plates and bricks. Confirm the footprint and height.
- Add structural elements like internal walls, Technic frames, or SNOT (Studs Not On Top) sections.
- Layer on details and color, working section by section until the build matches your sketch.
- Generate the parts list, review it for missing or rare elements, and create a BrickLink wanted list.
I redo step two at least twice on every build. The first block-out almost never survives contact with real geometry, and that’s normal.
Basic Building Techniques to Improve Your LEGO Models
Good custom builds are built on a small set of reliable techniques. Master these and your models will look more professional overnight.
Brick Overlap and Structural Integrity
Stagger your bricks so vertical seams don’t line up. A wall with aligned seams is structurally weak and visually flat. Offsetting each course by half a brick (or using a mix of 1×2 and 1×3 bricks) creates stronger walls and adds subtle texture. This single technique separates beginner builds from advanced ones.
SNOT (Studs Not On Top)
Most official sets use studs-up construction, where every brick points the same way. SNOT builds rotate plates and bricks so studs face sideways or down, letting you attach details to vertical surfaces. SNOT is how you add windows, signage, and tile work to the side of a building. It looks intimidating but mostly uses plates, headlight bricks, and jumper plates.
The LEGO 5-2 Rule
The LEGO 5-2 rule is a color-scheme guideline for keeping custom builds visually balanced. The idea is simple: pick one dominant color that covers roughly 50% of the build, a secondary color that covers about 20%, and three accent colors that split the remaining 30%. This ratio produces builds that feel intentional rather than busy.
For a medieval castle, dark stone gray might be the 50%, light stone gray the 20%, and red, blue, and yellow as the accents for flags and banners. Apply the rule loosely, but always pick a dominant color first.
Color Schemes and Part Variety
Beyond the 5-2 rule, mix part shapes within each color so the build doesn’t look like a single flat texture. Combine plates, slopes, tiles, and curves in the same hue. The eye reads variety of shape as more sophisticated design, even when the color count stays the same.
Sourcing and Organizing Parts for Custom Builds
Once your digital design is done, you need to turn it into actual bricks. Part sourcing is where most custom builds stall, because finding the right pieces in the right colors is harder than the building itself.
BrickLink is the main marketplace for individual LEGO parts. Sort sellers by price and location to avoid long shipping waits, and always check the condition note for used parts. Buying in bulk lots for common pieces like 2×4 bricks and 1×2 plates saves real money.
Rebrickable’s wanted list tool connects directly to BrickLink and auto-generates orders across multiple sellers, which is the fastest way to fill a long parts list. For rare or discontinued elements, the LEGO Pick-a-Brick wall in official stores is worth a trip.
Organization matters just as much as sourcing. Sort incoming parts by category (plates, bricks, slopes, Technic) rather than by color at first. Once you have a working inventory system, color sorting becomes useful for finding pieces during a build.
Frequently Asked Questions
What is the LEGO 5 2 rule?
The LEGO 5-2 rule is a color-scheme guideline that helps custom builds look balanced. Pick one dominant color covering about 50% of the model, a secondary color around 20%, and three accent colors splitting the remaining 30%. This ratio keeps builds from looking too busy or too flat, and it’s how most professional MOC designers choose their palette.
How to make your LEGO builds better?
Use staggered brick overlap for stronger walls, learn SNOT techniques for sideways details, follow the LEGO 5-2 color rule, mix part shapes within each color, and always design digitally in BrickLink Studio before buying parts. Studying finished MOCs from Flickr and Rebrickable is also one of the fastest ways to level up your building skills.
Can I make my own custom LEGO set?
Yes. A custom LEGO set is called a MOC (My Own Creation) and you can design one using free tools like BrickLink Studio, source the parts through BrickLink or Rebrickable’s wanted lists, build it physically, and then share it on platforms like Rebrickable, Flickr, or LEGO Ideas if you want official production.
What is the hardest type of LEGO to build?
Large-scale architectural MOCs and detailed mecha or spaceship designs are generally the hardest types of LEGO to build. They require advanced SNOT techniques, custom decals, rare parts, and careful structural planning to avoid sag. Beginners usually find microscale builds and simple modifications of official sets the most approachable starting point.
Final Thoughts on Building Custom LEGO Sets
Improving an official LEGO set into your own custom build is less about talent and more about workflow. Use BrickLink Studio to design digitally, follow the LEGO 5-2 rule for color balance, master a few core techniques like brick overlap and SNOT, and source your parts through BrickLink wanted lists.
Start with a small re-moc of a set you already own, share your work on Rebrickable or r/LegoCreations, and iterate based on the feedback you get. Within a few projects, you’ll have the skills to design original MOCs from scratch, and you’ll never look at a boxed set the same way again.