
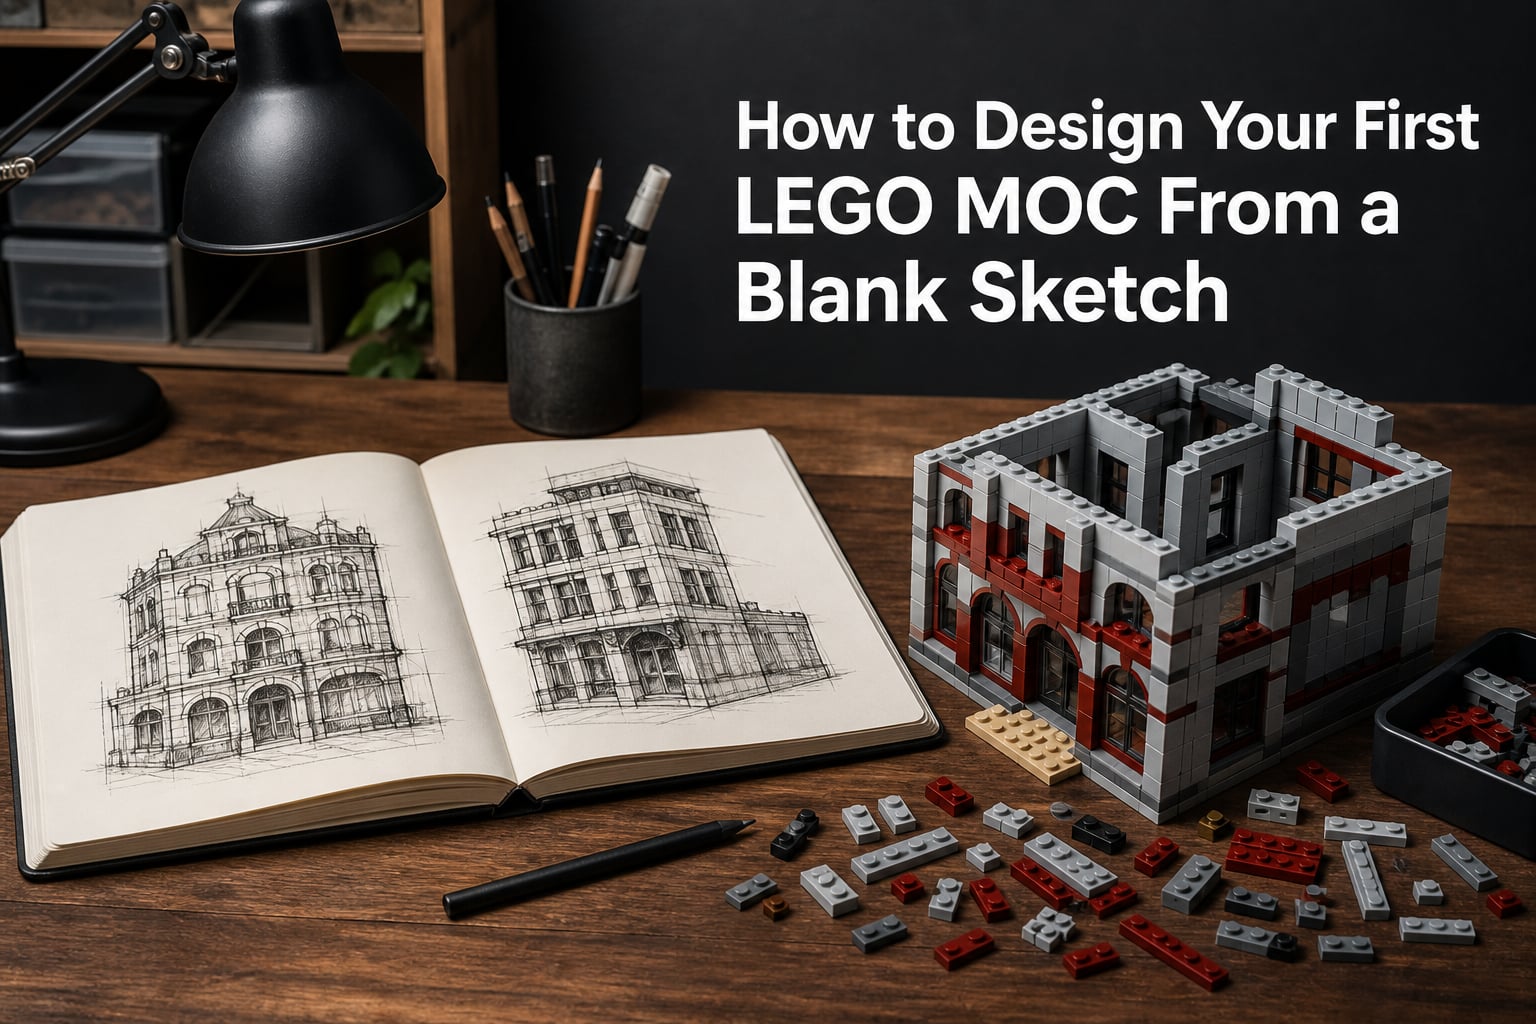
You have built the sets. You have followed every instruction booklet to the letter. Now you are staring at a pile of loose bricks, and a sketchbook sits open in front of you with nothing on the page. That blank page is where the real fun begins.
Learning how to design your first LEGO MOC from a blank sketch is one of the most rewarding things a builder can do. A MOC (My Own Creation) is a custom LEGO design that comes entirely from your imagination rather than an official set. No instructions, no right answer, just you and your bricks.
I remember my first MOC attempt. It was supposed to be a medieval watchtower. It came out looking like a lopsided mailbox. But that wobbly little mailbox taught me more about building than any set ever did. Every experienced AFOL (Adult Fan of LEGO) I have spoken with says the same thing. The first one does not need to be perfect. It just needs to exist.
This guide walks you through the entire process from that intimidating blank sketch to a finished custom build. I have pulled advice from forum threads on r/legomoc and Eurobricks, tips from seasoned builders, and the same step-by-step structure that turns a vague idea into real bricks on a baseplate.
Table of Contents
What Is a LEGO MOC?
A LEGO MOC stands for “My Own Creation.” It is any custom LEGO build designed by a fan rather than produced as an official set by the LEGO Group. MOCs can be anything from a tiny brick-built mouse to a sprawling modular city block.
The MOC community is massive. Builders share their creations on sites like Rebrickable, Flickr, Eurobricks, and Reddit. Some MOC designers sell instructions. Others build for display at conventions like BrickWorld and Skærbæk. The point is that once you start designing your own builds, you join a worldwide community of creators who all started exactly where you are right now.
You do not need a massive collection to begin. Some of the most celebrated MOCs were built from small parts inventories. What you need is a process, and that is what this guide gives you.
Why Start With a Sketch?
The single biggest pain point beginners report on forums is translating the picture in their head into actual bricks. You can see the build perfectly in your mind. But when you start connecting pieces, nothing matches the vision. That gap between imagination and execution is where most new MOC builders give up.
A sketch bridges that gap. It forces you to make decisions before you touch a single brick. What shape is the build? How tall is it? Where are the interesting details? When you sketch first, you give your brain a roadmap to follow.
Your sketch does not need to be art. I am terrible at drawing, and my sketches look like diagrams a kindergartener would reject. Stick figures, boxes, and arrows are fine. The goal is to externalize your idea so you can look at it objectively and plan your build.
How to Design Your First LEGO MOC From a Blank Sketch: The Process
Every builder develops their own workflow over time, but the core process is the same whether you are building a tiny robot or a castle. Here is the five-step path that takes you from blank sketch to finished MOC.
Find your inspiration
Plan and sketch your design
Choose your scale and proportions
Build your first draft
Refine and iterate
We will walk through each step in detail. By the end, you will have a repeatable process you can use for every MOC you build.
Step 1: Finding Your Inspiration
Every MOC starts with a spark. Sometimes it comes from a movie, a video game, or a building you passed on the street. Other times it comes from a single interesting LEGO piece that catches your eye. The key is to pay attention to what excites you.
Forum builders on r/legomoc consistently recommend starting small for your first build. One popular suggestion is to pick something simple like a mouse, a soccer ball, or your favorite houseplant. These small subjects teach you shape, proportion, and color without overwhelming you with structural complexity.
Keep an inspiration folder. Snap photos of things that catch your eye. Bookmark MOCs you admire on Rebrickable and Flickr. When you feel stuck, browse your folder and pick something that sparks joy. Experienced builders also recommend recreating a MOC that inspires you as a learning exercise. Building someone else’s design teaches you techniques you would never discover on your own.
One more tip from the forums. Do not wait for the perfect idea. Pick something, anything, and commit. The perfect idea usually shows up while you are already building.
Step 2: Planning Your MOC (Sketching Basics)
Now that you have your subject, it is time to sketch. This is where many beginners freeze. Remember, your sketch is a tool, not artwork. It exists to help you plan, not to impress anyone.
Start by drawing your subject from the front. Just the outline. Then draw it from the side. These two views give you the basic shape and proportions you need to start thinking in bricks. Add a top-down view if your build has an interesting footprint.
Next, identify the defining features. These are the elements that make your subject recognizable. If you are building a cat, the defining features might be the ears, the tail, and the whiskers. Mark these on your sketch with circles or arrows. These are the areas where you will focus your detail work.
Now think about color. Write down two or three main colors for your build. Beginners often use too many colors and the result looks cluttered. Pick a dominant color, a secondary color, and maybe an accent. You can always add more later, but a limited palette forces better design decisions.
Finally, make notes about any tricky sections. If part of your build needs to be hollow, write that down. If a section needs to support weight above it, mark it. These notes become your engineering checklist when you start building.
Many builders I have talked to keep a small notebook dedicated to MOC planning. Having all your sketches in one place lets you revisit old ideas and track your progress as a designer.
Step 3: Choosing Your Scale and Proportions
Scale is one of the most important decisions you will make, and it affects everything that follows. Scale-setting means choosing how big your build will be relative to the real-world subject.
The most common scale for character and vehicle MOCs is minifigure scale, where the build is sized to accommodate a standard LEGO minifig. This gives your build instant context and lets you populate it with characters. If you are building your first MOC, minifigure scale is a friendly starting point because you always have a reference object.
Microscale is another option. These builds use tiny pieces to represent large subjects, like a whole city in a few hundred bricks. Microscale is great for beginners because it keeps part counts low and build times short. A microscale castle might use 100 pieces. A minifigure-scale castle could use 2,000.
Whatever scale you choose, pick it early and stick with it. Changing scale halfway through a build means starting over. Measure your proportions against your sketch and check them constantly as you build.
Step 4: Building Your First Draft
This is where the sketch meets the bricks. Your first draft will not be perfect, and that is the whole point. Think of it as a rough draft of an essay. You are getting the basic structure down so you have something to improve.
Start with the core structure. Build the frame or skeleton of your model first. This is the part that everything else attaches to, so it needs to be solid. Use overlapping bricks to create strong connections, staggering the joints the way real masonry does.
One technique every MOC builder should know is SNOT, which stands for Studs Not On Top. SNOT techniques let you orient bricks sideways or upside down, giving you smooth surfaces and angles that are impossible with standard stacking. Even basic SNOT can transform a blocky model into something with real shape. You do not need to master every SNOT technique for your first build, but experimenting with a few modified bricks and brackets will open up new possibilities.
Work on your defining features next. These are the elements you identified during sketching. Getting the recognizable details right early gives you confidence and direction for the rest of the build.
Do not worry about colors or details at this stage. Use whatever bricks you have. Many builders use a single color for their first draft, then swap in the final colors once the structure is locked in. This is sometimes called a gray draft, and it keeps you focused on shape rather than getting distracted by whether you have enough dark red slopes.
One forum builder put it perfectly. Build ugly first, pretty later. Get the shape right, then worry about making it look good.
Step 5: Refinement and Iteration
Refinement is where good MOCs become great ones. This is the process of reviewing your draft, identifying what does not work, and improving it. Every experienced builder I have encountered treats iteration as the most important step.
Walk away from your build before you start refining. Building for hours creates tunnel vision. Step back, take a break, maybe sleep on it. When you come back with fresh eyes, problems you could not see before become obvious.
Take photos of your build from multiple angles. Photos reveal issues that are invisible in person, especially proportion and symmetry problems. Compare the photos to your original sketch to see where your build diverged from the plan.
Share your work-in-progress with the community. Post it on r/legomoc, Eurobricks, or a LEGO Discord server. Builders on these forums are overwhelmingly supportive, and outside feedback catches things you will always miss. Community critique is one of the fastest ways to improve as a MOC designer.
Keep multiple projects going at once. Several experienced builders on the forums recommend this strategy. When you get stuck or frustrated on one build, switch to another. This keeps you productive and prevents the creative burnout that kills MOC projects.
Digital Tools for Designing LEGO MOCs
You do not need any software to design a MOC, but digital tools can be incredibly helpful, especially if your physical parts collection is limited. They let you experiment freely without buying anything.
BrickLink Studio is the most popular free LEGO design software available. It includes a massive parts catalog, a building interface that mirrors physical building, and a built-in renderer that produces photorealistic images of your designs. Studio also integrates with BrickLink, so once you finish a digital MOC, you can generate a parts list and order everything you need in one click.
For beginners, Studio is perfect for prototyping. You can test whether a technique works before committing physical bricks. You can try different color schemes instantly. And you can build without the pressure of running out of a specific piece.
Rebrickable is another essential resource. While it is not design software, it hosts thousands of MOC instructions submitted by builders worldwide. You can search by theme, parts, or difficulty. Browsing Rebrickable’s MOC library is a great way to find inspiration and study how other builders solved problems you are facing.
One common question on the forums is whether to design digitally or physically first. There is no wrong answer. Some builders prefer the tactile feedback of physical bricks and use digital tools only for documentation. Others design entirely in Studio and then order parts. Try both approaches and see which feels natural to you.
Applying Color Theory to Your MOC
Color can make or break a MOC. A structurally excellent build with a chaotic color scheme will look amateur, while a simple build with a thoughtful palette can look stunning. This is an area where most beginner guides fall short, so let’s give it the attention it deserves.
Start with a dominant color that covers about 60 percent of your build. Choose a secondary color for roughly 30 percent. Use an accent color for the remaining 10 percent, focusing it on your defining features. This 60-30-10 ratio is a classic design principle that creates visual balance.
Consider the emotional impact of colors. Earth tones like brown, dark orange, and olive green evoke age and warmth. They work well for historical and nature builds. Bright primary colors feel energetic and playful, making them ideal for character and vehicle MOCs.
Pay attention to color availability. Not every LEGO color exists in every part. Before you commit to a color scheme, check BrickLink or Studio to confirm the pieces you need are available in your chosen colors. There is nothing worse than designing a beautiful MOC and discovering a key piece does not exist in dark purple.
Common Mistakes to Avoid
Every MOC builder makes mistakes, and that is part of the learning process. But some pitfalls are easy to avoid once you know about them.
The biggest mistake beginners make is starting too big. A full-scale Millennium Falcon is not a good first MOC. Start with something you can finish in an evening. Completing a small build builds confidence and teaches you more than abandoning a massive project halfway through.
Another common mistake is ignoring structural integrity. A MOC that looks great but falls apart when you pick it up is not a finished build. Always test the stability of your connections. If a section feels fragile, reinforce it before moving on.
Using too many colors is the most visible beginner mistake. A rainbow build rarely looks intentional. Stick to your color plan and resist the urge to add one more shade just because you have the piece.
Finally, do not get discouraged when your build does not match your vision. Forum builders report this frustration constantly. The gap between what you imagine and what you can build narrows with every MOC you complete. Set it aside, revisit it later, and keep building.
How to Join the LEGO MOC Community
Building MOCs is more fun when you share them with people who get it. The LEGO community is one of the most welcoming fan communities in the world, and there are plenty of ways to get involved.
Reddit has several active communities. r/legomoc is dedicated specifically to custom builds and is perfect for sharing works in progress and getting feedback. r/lego and r/AFOL are larger communities where MOCs are regularly featured. r/legocastles and r/legotechnic cater to specific building themes.
Eurobricks is the longest-running LEGO fan forum and a goldmine of technique discussions and build showcases. Joining a LUG (LEGO User Group) connects you with local builders for in-person events and shared parts inventories. You can find LUGs through the LEGO Ambassador Network.
Rebrickable lets you publish your MOC instructions for others to build. Sharing your designs is a great way to contribute to the community and get your work seen by thousands of builders.
Are LEGO MOCs Allowed? (Legal and Copyright Basics)
Yes, LEGO MOCs are completely allowed. The LEGO Group actively encourages fan creativity and has never prohibited custom building. Building MOCs for personal use is absolutely fine.
Where things get more nuanced is when you want to sell MOCs or MOC instructions. You cannot use copyrighted intellectual property, like Star Wars or Marvel characters, in MOCs you sell commercially. Selling instructions for original designs is generally accepted in the community and is the business model for many professional MOC designers on platforms like Rebrickable.
If you are building for fun and sharing online, you have nothing to worry about. Just be mindful of IP if you ever decide to monetize your designs.
What Is the 5/2 Rule in LEGO?
The 5/2 rule is a simple structural guideline that helps builders create stable connections. It means that for a secure overlap between two brick layers, each brick should overlap at least two studs of the brick below it rather than just one. The numbers refer to the proportions of overlapping bricks in a wall pattern. This staggering creates interlocking strength similar to real masonry and prevents your walls from splitting along seam lines.
Cost-Effective MOC Building Tips
One of the biggest barriers to MOC building is cost. Buying individual pieces adds up quickly, but there are smart strategies to keep your budget under control.
Buy used lots rather than individual pieces. Sites like BrickLink and eBay sell bulk used bricks by the pound at a fraction of new-piece prices. You will get a random assortment, but random assortments force creativity.
Design digitally first and generate a parts list. This lets you buy exactly what you need with no wasted purchases. Studio’s integration with BrickLink makes ordering specific parts straightforward.
Canonicalize your color choices. Sticking to common colors like gray, black, white, and dark red keeps part costs down. Rare colors are almost always more expensive.
Trade with other builders. LUGs and online communities frequently organize parts swaps. What you have in duplicate might be exactly the piece someone else needs.
FAQ
How do I start designing LEGO MOCs?
Start by choosing a small, simple subject like a plant or animal. Sketch the basic shape from front and side views. Pick two or three colors, build a rough first draft from your parts, and then refine it over several sessions. Free software like BrickLink Studio lets you design without buying any bricks.
What is the 5/2 rule in LEGO?
The 5/2 rule is a structural guideline for overlapping bricks. For a secure wall, each brick should overlap at least two studs of the brick below it rather than just one. This interlocking pattern creates strength similar to real masonry and prevents walls from splitting along seam lines.
Are LEGO MOCs allowed?
Yes, LEGO MOCs are completely allowed. The LEGO Group encourages fan creativity and has never prohibited custom building. You can build, share, and display MOCs freely. Selling MOCs that use copyrighted intellectual property is restricted, but selling instructions for original designs is widely accepted.
What are the hardest LEGO MOCs to build?
The hardest MOCs typically involve complex geometry, large scale, or mechanical functionality. Examples include working Technic engines, large architectural replicas with curved surfaces, and builds that use advanced SNOT techniques for smooth, seamless exteriors. Spherical shapes are especially difficult because they require careful parts selection and precise angles.
Should I use digital software or build physically first?
Both approaches work well. Building physically gives you tactile feedback and lets you test stability immediately. Designing digitally in BrickLink Studio lets you experiment freely without needing parts and makes it easy to generate a parts list for ordering. Try both and use whichever feels more natural for your workflow.
What pieces should I buy for my first MOC?
For your first MOC, focus on basic bricks, plates, and a few modified pieces with side studs or brackets for SNOT techniques. Buy a small bulk lot of used bricks in two or three colors. Avoid specialty pieces until you know what your design actually needs. Design in Studio first to generate an exact parts list.
Conclusion
Designing your first LEGO MOC from a blank sketch is about trusting the process. Find your inspiration, sketch the basic shape, choose your scale, build an ugly first draft, and then refine it until it becomes something you are proud of. No builder gets it right the first time, and every experienced AFOL started with the same blank page you are looking at right now.
Grab your sketchbook, pick something small, and start building. Your first MOC is waiting, and the only way to get there is to put the first brick down.