
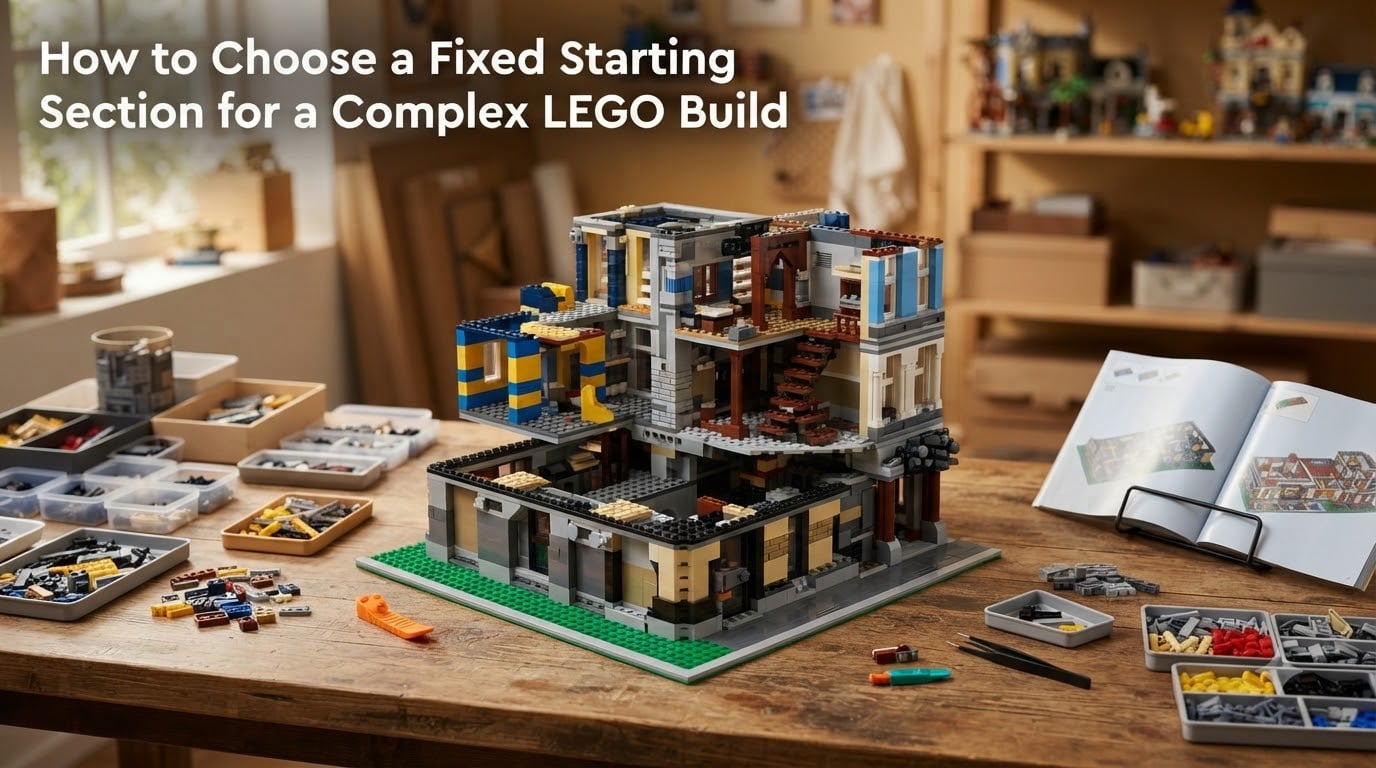
Starting a complex LEGO build without a plan is like laying bricks without a foundation. Everything looks fine for the first few layers, then things go sideways. Literally. I have watched beautifully designed MOCs collapse midway through construction because the builder picked the wrong place to start.
If you have ever stared at a pile of sorted elements and wondered where to begin, you are not alone. It is one of the most common pain points builders share in communities like r/lego and r/LegoTechniques. The good news is that choosing where to start is a learnable skill.
In this guide, I will walk you through how to choose a fixed starting section for a complex LEGO build. We will cover the principles that make a starting section solid, a step-by-step process for picking the right anchor point, and how to adapt your approach for different types of builds.
Whether you are building your first large-scale MOC or tackling a multi-section architectural model, these strategies will save you hours of rework.
Table of Contents
What Is a Fixed Starting Section in LEGO Building?
A fixed starting section is the foundational area of a complex build where construction begins. It acts as the anchor point that every subsequent section connects to and aligns against.
Think of it as the cornerstone of a building. In masonry, the cornerstone sets the position and orientation for the entire structure. The same principle applies to LEGO. Once your fixed starting section is locked in, every brick that follows references it for alignment, height, and structural connection.
Most experienced MOC builders identify their fixed starting section before snapping a single brick together. It is usually the most structurally important part of the model. That might be the baseplate assembly, a central core, a load-bearing wall, or the chassis of a vehicle.
The opposite of a fixed starting section is building randomly from multiple directions at once. That approach leads to misaligned sections, weak connections, and builds that do not fit together when you try to join them.
Why Your Starting Section Makes or Breaks a Complex Build
The starting section determines three things that are nearly impossible to fix later: overall alignment, structural integrity, and build sequence efficiency.
Alignment problems are the most common consequence of a poor starting section. When two sections built from different starting points meet, they rarely line up. Studs do not match. Heights are off by a plate or two. Gaps appear where sections should connect seamlessly.
Structural integrity suffers just as much. If your starting section is weak or poorly connected, every layer built on top of it inherits that weakness. A model that looks complete can flex, sag, or shatter when you pick it up. I have seen builders finish a 3,000-piece MOC only to watch it crack in half during transport because the starting section lacked proper interlocking.
Forum discussions on r/LegoTechniques highlight this repeatedly. Builders who rush the starting section end up rebuilding large portions of their models. Those who take time to plan report smoother builds, better-looking results, and less frustration.
A strong starting section also makes the building process more enjoyable. Instead of constantly second-guessing your connections, you build with confidence knowing everything traces back to a solid foundation.
Key Principles for Choosing Your Fixed Starting Section
Before diving into the step-by-step process, let me share five principles that should guide every starting section decision. These come from masonry theory adapted for LEGO, combined with real-world experience from the AFOL community.
1. Start With the Most Structurally Important Element
Identify the part of your build that carries the most load or holds the most connections. This is usually a baseplate assembly, a central core, a chassis, or a primary load-bearing wall. Building from this element outward means every connection has something solid to attach to.
2. Use Brick Bonding Patterns From the Foundation Up
Brick bonding is a masonry concept that applies directly to LEGO. A staggered bond pattern, where bricks overlap by at least one stud, distributes stress across the structure instead of concentrating it at single seams. Start your section with a proper staggered bond from layer one.
The running bond is the most common pattern for LEGO builds. Each brick overlaps the one below by half its length. This creates an interlocking structure that resists lateral movement far better than stacked bricks.
3. Identify and Build Around Anchor Points
Structural anchor points are connection hubs where multiple elements converge. A well-placed Technic pin, a stack of plates at a junction, or a SNOT bracket can serve as an anchor. Map these points before building and make sure your starting section includes the most important ones.
4. Build Outward, Not Inward
Once your fixed starting section is complete, expand radially. Add sections that connect directly to the established foundation. This approach maintains alignment because every new addition references the same origin point. Building inward from multiple edges creates alignment problems when sections meet.
5. Lock Orientation Early
Decide on your stud orientation and overall axis alignment from the very first brick. Changing orientation mid-build requires complex SNOT techniques and introduces weak points. A fixed starting section with a clear orientation keeps the entire model consistent.
How to Choose a Fixed Starting Section for a Complex LEGO Build: Step by Step
Now let us turn those principles into a practical process. Follow these steps in order, and you will have a rock-solid starting section for any complex build.
Step 1: Study Your Reference Material and Identify the Core Structure
Before touching any bricks, study your reference material. If you are building from official instructions, read through the first few booklets to understand the core assembly. If you are designing a MOC, sketch the central structure on paper or in a digital tool like Studio.
Look for the single element that everything else connects to. In a building model, that might be the ground floor. In a vehicle, it is the chassis. In a sculpture, it could be an internal armature. This element is your starting section candidate.
Step 2: Evaluate Each Candidate Section Against Four Criteria
List two or three possible starting sections, then score each against these four criteria:
Structural load — Does this section support the weight of other sections? Higher load means better starting candidate.
Connection count — How many other sections attach to this one? More connections make it a stronger anchor.
Complexity — Is this section complex enough that getting it right first is essential? Build complex foundations before simpler additions.
Stability when freestanding — Can this section stand on its own without support? A stable starting section gives you a solid base to build on.
The section that scores highest across all four criteria is your fixed starting section.
Step 3: Plan the Build Sequence Outward From Your Starting Section
Map out the order in which remaining sections will attach to your starting section. Number them by priority. Sections that depend directly on the starting section come first. Sections that attach to those secondary sections come next.
This creates a dependency chain that keeps your build organized. You always know what comes next because each section connects to something already built. I like to write this sequence on a sticky note and keep it on my build table.
Step 4: Build the Starting Section With Extra Attention to Bonding
Now build your starting section slowly and carefully. Use staggered bond patterns on every layer. Double-check alignment with a straight edge or by counting studs. Apply firm, even pressure to ensure full clutch power on every connection.
Do not rush this step. A starting section that takes 30 minutes of careful work saves hours of rework later. Test its stability by gently pressing from different angles. If it flexes, add reinforcement plates or rework the bond pattern.
Step 5: Attach Each Subsequent Section and Verify Alignment
As you add sections, verify alignment after each connection. Check that studs line up across section boundaries. Look for gaps that should not be there. If a section does not fit cleanly against the starting section, stop and investigate before adding more weight.
Small misalignments compound. A one-stud offset at section two becomes a major structural gap by section five. Catch problems early by checking alignment after every section addition.
Adapting Your Approach for Different Build Types
Different types of builds call for different starting section strategies. Here is how to adapt the principles for common categories.
Architectural Models and Buildings
For buildings, the ground floor or baseplate assembly is almost always the right starting section. Build the foundation first, including any interior floor structure. This gives you a stable platform for walls, and it lets you establish the footprint that every upper floor references.
Pay special attention to corner construction. Corners are where two walls meet, and they need proper interlocking from the ground up. Start corners with a staggered bond that alternates direction on each layer.
LEGO Technic Vehicles and Machinery
Technic builds live and die by the chassis. The frame is your fixed starting section. Build the main structural frame completely before adding any bodywork, drivetrain components, or decorative elements. The chassis defines the wheelbase, the engine position, and the mounting points for everything else.
Verify that all Technic pins and axles move freely once the chassis is complete. A starting section with binding mechanisms will cause problems throughout the build.
Sculptures and Organic Shapes
Sculptures often lack obvious load-bearing structures. In this case, your starting section is the internal armature. Build a rigid internal framework first, then clad it with decorative elements. This is especially important for large sculptures where surface elements alone cannot support the structure.
Large-Scale MOCs (1,500+ Pieces)
For massive MOCs, consider dividing the build into subassemblies, each with its own starting section. Build each subassembly independently, then connect them at defined interface points. Plan the interfaces during the design phase so connections are clean and structural.
Common Mistakes When Selecting a Starting Section
Even experienced builders make these errors. Recognizing them helps you avoid costly rework.
Starting With the Most Visually Interesting Part
It is tempting to build the coolest-looking element first. But visual appeal has nothing to do with structural importance. The most interesting section is often a decorative element that depends on the core structure. Build the boring foundation first.
Ignoring the Staggered Bond Rule
Stacking bricks directly on top of each other with aligned seams creates weak points. Every layer should overlap the joints of the layer below. A starting section with poor bonding transfers that weakness to every section above it.
Building Multiple Sections Simultaneously
Building from two directions at once seems efficient, but it creates alignment problems. Sections built independently rarely meet perfectly. Stick to one starting section and build outward in sequence.
Choosing a Starting Section That Cannot Stand Alone
If your starting section needs another section to remain upright or stable, it is not a good anchor. Pick something that holds its own shape. You should be able to set the starting section on a table and have it stay put without support.
Skipping the Planning Phase
Forum builders consistently report that rushing into building without planning the sequence costs more time than it saves. Spend 15 minutes mapping your starting section and build order before snapping any bricks together.
Advanced Techniques for Large-Scale Builds
Once you master the basics, several advanced techniques can strengthen your starting section strategy for ambitious projects.
Use Digital Design Tools to Pre-Plan
Tools like Studio 2.0 and BrickLink’s digital designer let you build virtually before touching real bricks. Use them to identify structural anchor points, test build sequences, and spot alignment issues before they become physical problems. I plan every MOC in Studio before building, and it eliminates 90 percent of the alignment errors I used to make.
SNOT Integration in Your Starting Section
SNOT (Studs Not On Top) techniques let you build sideways, expanding what your starting section can accomplish. Incorporating SNOT brackets and sideways-mounted plates into your foundation creates attachment points for sections that need unusual orientations. Plan SNOT connections from the start rather than retrofitting them.
Modular Design for Display and Transport
For large builds intended for display or exhibition, design your starting section with modularity in mind. Build in clean break points where sections can separate for transport. Use Technic pins or rare-earth magnets at these interfaces so sections reassemble with consistent alignment.
Signs Your Starting Section Is Working
How do you know you picked the right starting section? Watch for these indicators as you build.
The model stays stable as you add sections. If your build wobbles or flexes with each addition, the starting section may be too small or weak. Sections connect cleanly without forcing or gaps. When new sections snap into place with satisfying clutch power and zero alignment issues, your foundation is doing its job.
You never need to disassemble completed sections to fix problems. A well-chosen starting section prevents the domino-effect errors that force rebuilding. And the build progresses faster than expected because you spend less time troubleshooting and more time building.
Frequently Asked Questions
What is the 5/2 rule in LEGO?
The 5/2 rule refers to the ratio between the height of a standard LEGO brick and a LEGO plate. Five plates stacked vertically equal the height of two standard bricks side by side with a stud offset. This ratio is fundamental to SNOT techniques and helps builders achieve clean sideways connections and precise vertical measurements.
What is the most complex LEGO to build?
Among the most complex official sets are the LEGO Art World Map (over 11,000 pieces), the Titanic (9,036 pieces), and the Colosseum (9,036 pieces). For MOC builders, complexity depends on structural engineering, part variety, and custom techniques rather than piece count alone.
Why are some LEGO techniques considered illegal?
Illegal LEGO techniques stress elements beyond their design limits, causing permanent deformation or damage. Examples include forcing parts into positions they were not molded for, over-stressing clips and bars, or creating connections that put plastic under constant tension. These techniques weaken builds and can ruin pieces over time.
How do I plan a big LEGO build?
Start by defining your scale and subject. Identify the core structural element that will serve as your fixed starting section. Sketch the build in a digital tool like Studio to test structural integrity. Sort your parts by color and type before building. Build the starting section first, then add sections in dependency order, checking alignment after each connection.
What makes a good starting section in LEGO building?
A good starting section carries the most structural load, connects to the highest number of other sections, is complex enough to require priority attention, and can stand freestanding without support. It uses staggered bond patterns for strength and establishes the orientation that the entire build follows.
Conclusion
Learning how to choose a fixed starting section for a complex LEGO build transforms the way you approach ambitious projects. Instead of guessing where to begin, you follow a clear process: identify the core structure, evaluate it against proven criteria, and build outward with confidence.
The principles are straightforward but powerful. Start with the most structurally important element. Use staggered bond patterns from layer one. Build outward in a planned sequence. Check alignment after every section. These habits separate builders who finish complex models from those who abandon them halfway.
Your next step is simple. Pick a build you have been planning, apply the five-step process from this guide, and identify your fixed starting section before you sort a single element. You will feel the difference the moment your first sections lock together with perfect alignment.
Happy building.