
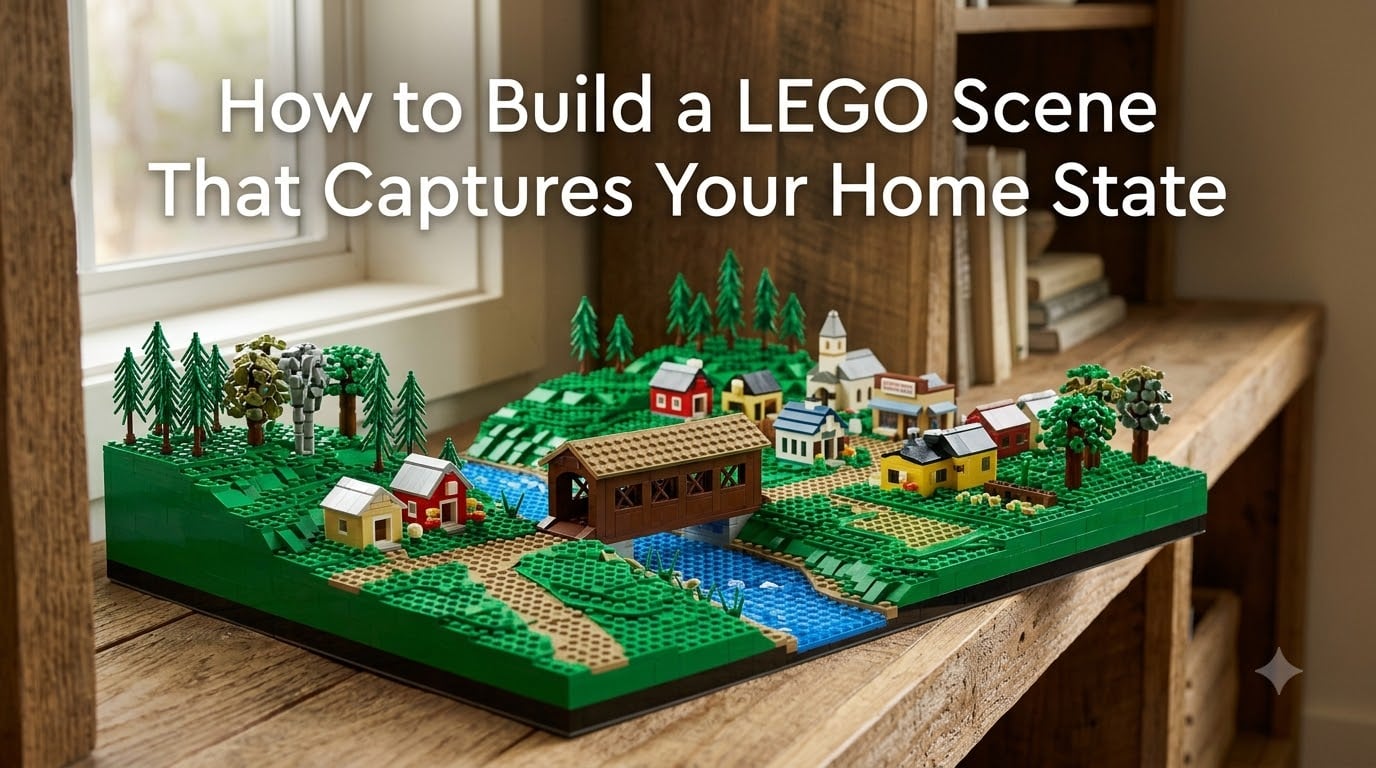
Learning how to build a LEGO scene that captures your home state is one of the most personal builds you can tackle. I have spent the last three years turning the Appalachian foothills I grew up near into brick form, and the result is a scene that means more to me than any boxed set on my shelf. In this guide I will walk you through the same process I use with our team of builders so you can create a LEGO scene of your home state that feels real, looks polished, and tells a story only you can tell.
Table of Contents
What Makes a Home State LEGO Scene Special
A home state LEGO scene is a miniature diorama that represents the unique landmarks, culture, or landscape of where you live using LEGO bricks. Unlike a city builder who chases skyline accuracy, a state builder chases feeling.
When I showed my first state scene to my grandfather, he walked past it three times before realizing it was his county courthouse. That moment is what this hobby is about. Your scene does not have to be photorealistic. It has to make someone from your region stop and say, “That looks like home.”
State-themed MOCs (My-Own-Creations) also age better than trend builds. A downtown skyline from any city will look dated in ten years, but a tribute to your home state captures a snapshot of who you are right now.
Choosing Your State’s Iconic Features
Picking the right subject is the single biggest decision you will make. I tell every new builder to start with a list of five things that scream “my state” to anyone who has driven through it. You will only use two or three in the final build, but the list keeps you focused.
Natural Landscapes and Geography
Geography is the easiest win because it gives your scene a base. Coastal states have shorelines and lighthouses. Mountainous states have peaks and switchback roads. Plains states have grain elevators and big skies.
Pick one dominant landform and build around it. A scene of Vermont without a covered bridge on a hill feels off. A scene of Arizona without a saguaro silhouette feels wrong. Geography is your anchor.
Architecture and Urban Landmarks
Capitol domes, art deco towers, grain silos, and roadside diners are all fair game. I have seen beautiful state scenes built around a single courthouse, a single bridge, or a single historic main street.
Do not try to recreate your entire state capital. Pick one iconic structure and let it dominate the scene. Forced perspective will sell the rest.
Cultural Symbols and Regional Quirks
State birds, license plates, famous foods, and local festivals belong in your scene. A New Mexico build is not complete without adobe tones and chile ristras. A Maine build needs lobster traps and a lighthouse.
These small touches are what separate a generic LEGO city from a home state LEGO scene that feels personal.
Scale Planning and Baseplate Selection
Scale planning decides how big your scene will be, how long it will take, and how it will display. Skip this step and you will end up rebuilding twice.
Micro vs Minifigure Scale
Micro scale uses 1 brick to represent roughly 6 feet of real-world height. Minifigure scale is the standard 1:42 ratio used in official City sets. Micros let you fit an entire city block on a 16×16 baseplate. Minifigures let you tell stories with people and props.
For state scenes I almost always recommend micro scale. You can fit a mountain range, a town, and a landmark in a single display case. Beginners who want minifigures should plan for modular building over time instead.
Choosing the Right Baseplate
Green baseplates work for rural and forest scenes. Tan and sand work for desert and plains. Gray works for urban scenes. Blue baseplates are great for shorelines and lakes.
Standard sizes are 16×16, 32×32, and 48×48 studs. A 32×32 baseplate is the sweet spot for most first-time state scenes. It gives you room for depth and forced perspective without dominating a shelf.
Planning Your Scene Footprint
Measure your display spot before you start. I have watched builders commit to a 48×48 baseplate only to discover their only shelf is 14 inches deep. Build for your space, not for your dreams. You can always expand later.
Essential Building Techniques for State Scenes
Techniques turn a pile of bricks into a scene that looks intentional. These three techniques cover 90 percent of what you will need.
Forced Perspective for Depth
Forced perspective uses smaller bricks and tiles in the background to make distant objects look far away. A background mountain built from 1×1 plates reads as “mountains miles away” while the foreground cabin reads as “right here.”
I use this trick on every build. Place a 2×2 wedge in the back for a distant barn and a 6-stud-wide barn in front. The eye fills in the rest.
SNOT Techniques and Brick Orientation
SNOT stands for “Studs Not On Top.” It means rotating bricks so studs face sideways or upward on the side of a building. SNOT lets you add detail to facades without breaking the silhouette.
You will need a few SNOT bricks, jumper plates, and cheese slopes to get started. They unlock windows, signage, and roof tiles that look intentional instead of stubby.
Landscaping with Tiles, Slopes, and Specialty Pieces
Real landscapes are not blocky. Use 1×1 cones for pine trees, slopes for hills, and tiles for water and roads. Inverter tiles and rock pieces add texture without adding height.
One veteran builder I follow on the forums always says, “If your scene looks like LEGO, add more slopes.” That advice has saved me dozens of builds.
Step-by-Step Building Process
The order you build matters. Build in the wrong order and you will spend hours dismantling finished sections to fit background pieces.
Research and Sketch Phase
Start with a sketch on graph paper. One square equals one stud. Mark where your landmark goes, where your horizon sits, and where the focal point lands.
Forum veterans almost universally recommend starting with a plan. I tried skipping this once. I had to scrap a 14-hour build because my courthouse was blocking my own mountain backdrop.
Sorting and Gathering Bricks
Pull your bricks by color and type before you start. I sort into shoebox lids labeled “green wedges,” “gray plates,” “tan tiles,” and so on. The build goes twice as fast when you are not hunting for pieces.
Do not be afraid to use third-party bricks for specialty pieces. Compatible brick brands save real money on foliage and rock pieces.
Construction Order: Background to Foreground
Always build from back to front. Mount your mountain backdrop first. Then your mid-ground buildings. Then your foreground characters and props.
Building back to front lets you hide seams, taper your forced perspective, and stop worrying about covering up finished work.
Final Detail Layer
The detail layer is where your scene goes from “nice build” to “home state tribute.” Add minifigures in regional clothing, road signs in your state’s font, and small props like a state flag or a regional vehicle.
Save this step for last. Details on a finished scene look intentional. Details on a half-finished scene look like clutter.
Adding Authentic Details and Story
Story is what makes your scene memorable. Two builders can use the same bricks for the same courthouse. Only one of them will add the kid on a bike, the dog on the porch, and the farmer waving from the truck. That is the one people remember.
Pick one story per scene. A harvest scene. A football Friday scene. A summer lake scene. Then build the props that support it and skip everything else.
I built a fall foliage scene last year and added a single minifigure with a rake. That one figure turned a pretty landscape into a memory.
Photography Tips to Showcase Your Scene
Photography makes or breaks your scene online. I have had builds I loved sit ignored because the photo was dark, blurry, or shot from the wrong angle.
Use natural light from a window. Shoot at the eye level of your minifigures. Crop tight so the scene fills the frame. Avoid flash, which kills depth and creates hot spots on glossy pieces.
For AI-assisted photos of your LEGO build, describe the scene in plain language and let the tool keep the brick texture. Clean compositions win every time.
Common Mistakes to Avoid
I have made every mistake on this list. Save yourself the rebuilds.
Do not start with a city block. Start with one landmark. Do not skip the sketch. Do not mix too many scales in one scene. Do not forget to plan for display space. Do not over-detail the foreground at the expense of the background.
The biggest beginner mistake is treating your scene like a City set. State scenes are about mood, not completeness. A small scene with strong mood beats a sprawling scene with empty lots every time.
Display and Storage Solutions
Once your scene is built, you need to show it off. Floating shelves, glass display cases, and deep picture ledges all work. I keep my state scenes on a 6-inch deep ledge against a neutral wall so the colors pop.
Avoid direct sunlight, which fades bricks over time. Avoid humid rooms, which can yellow older pieces. A stable room-temperature display spot will keep your scene looking new for years.
If you build on baseplates, store them flat in a dust-free cabinet when not on display. A custom foam insert keeps pieces from shifting during moves.
FAQs
How do I start building a LEGO scene of my state?
Start by writing a list of five things that make your state recognizable, such as a landmark, a landscape, or a cultural symbol. Pick two or three of those items, choose a baseplate size that fits your display space, and sketch the layout on graph paper before you build. Beginners should start with a 32×32 baseplate and a single iconic structure as the focal point.
What baseplate size should I use for a home state scene?
A 32×32 baseplate is the most common starting size for first-time state scenes. It gives you enough depth for forced perspective and a landmark in the foreground. Smaller 16×16 plates work for single-feature scenes like a lighthouse or barn. Larger 48×48 baseplates are best for full region builds with multiple landmarks.
How do I create realistic looking buildings in LEGO?
Use SNOT techniques to add studs on the sides of buildings, which lets you attach windows, signage, and architectural trim without breaking the silhouette. Layer slopes and tiles on roofs to avoid the stubby brick look. Vary brick colors slightly across a facade to mimic real weathering and material variation. Study reference photos of your real landmark before you start.
What scale should I build my state scene at?
Micro scale, where one brick represents about six feet of real-world height, is the best choice for most state scenes. It lets you fit multiple landmarks, landscape features, and a small town on a single display shelf. Minifigure scale works well if your story depends on characters and props, but requires significantly more space and bricks.
How do I display a LEGO scene in my home?
Floating shelves, glass display cases, and deep picture ledges all work well for LEGO scenes. Keep your scene out of direct sunlight to prevent fading and away from humid rooms to protect older pieces. Build on a removable baseplate so you can move the scene between display and storage without dismantling it.