
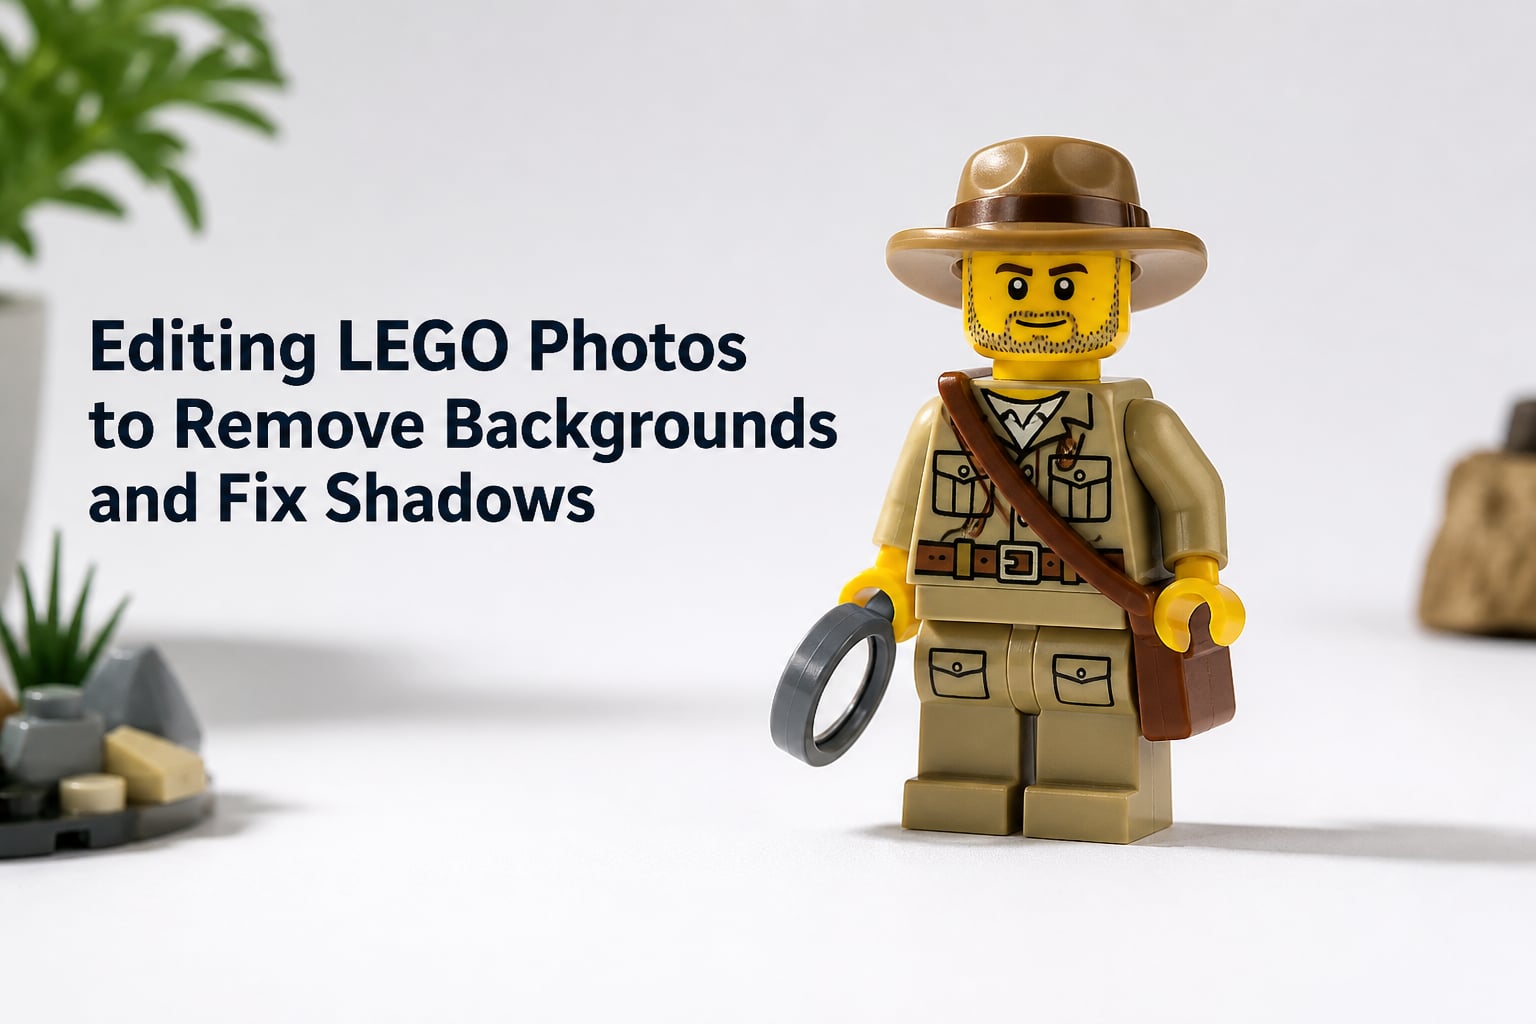
Editing LEGO photos to remove backgrounds and fix shadows is the difference between a snapshot of your MOC and a portfolio-ready image. After three years of photographing minifigs and castles in our home studio, our team has learned that even perfect lighting still leaves work for the editing room.
If you have ever zoomed into a photo of your latest build and found harsh black shadows stretching behind the Millennium Falcon, you are not alone. LEGO bricks are glossy, tiny, and full of reflective studs. They create shadow problems that regular object photography rarely faces.
In this guide, I will walk you through the exact workflow our team uses to remove backgrounds from LEGO photos and fix shadows without losing the natural depth that makes your model look real. You will learn the tools, the steps, and the common traps that catch most beginners.
Table of Contents
Why LEGO Photos Need Special Editing Attention
LEGO photography is harder than it looks because of the bricks themselves. The glossy ABS plastic reflects every stray light source and creates micro-shadows in every stud gap.
Standard photo editing tutorials assume you are working with matte surfaces and clean edges. LEGO bricks give you the opposite: shiny plastic, complex shapes, and studs that catch light at unpredictable angles.
Three specific problems show up in nearly every LEGO photo. First, the transparent studs on Technic pieces create rainbow color casts. Second, dark colors like black, brown, and dark gray swallow detail and merge with shadows. Third, the curved slopes and angled pieces produce uneven shadow lines that look unnatural when removed poorly.
Tools and Software for Editing LEGO Photos
You do not need the most expensive software to get great results. The right tool depends on how often you shoot and how much control you want over the final image.
Photoshop remains the gold standard for LEGO photo editing because of its selection tools, content-aware fill, and masking refinement. For most AFOLs posting to Flickr or Instagram, a Creative Cloud subscription is overkill, but the monthly fee unlocks every editing feature you will ever need.
GIMP is a strong free alternative that handles most background removal tasks. Photopea runs in your browser and mimics Photoshop closely enough that our team uses it for quick edits when away from our main workstation.
For minifig photography on the go, Snapseed on mobile handles shadow recovery and selective brightness well. Lightroom Mobile offers the best color correction for LEGO photography when you want batch edits across a whole MOC shoot.
Quick Software Comparison
Photoshop wins for precision work like edge refinement around studs. GIMP and Photopea cover 90% of the same features for free. Mobile apps are best for quick social posts, not for detailed shadow removal.
How to Remove Backgrounds From LEGO Photos Step by Step
Removing backgrounds from LEGO photos follows a predictable workflow once you set it up. Our team uses this exact process for every MOC photo we publish.
Step 1: Open your photo and duplicate the background layer. Never edit your original. Working on a copy lets you undo destructive changes and re-edit later.
Step 2: Use the Select Subject tool in Photoshop or the equivalent in your software. For most LEGO photos taken against a clean backdrop, this AI tool catches 80% of the model in one click.
Step 3: Refine the selection around the studs and small details. The Select and Mask workspace lets you paint in missed areas and clean up the edge using the Refine Edge brush. This step matters most for LEGO because the studs and gaps between bricks confuse automatic selection tools.
Step 4: Add a layer mask to hide the background. Black hides, white shows. Zoom in to 200% and brush over any leftover background pixels that the mask missed.
Step 5: Output your cut-out as a PNG with transparency. If you want a solid color background, add a new layer below your masked subject and fill it with white, gray, or a gradient.
Specific Tip for Minifig Photography
Minifigs are small and detailed, so use a higher zoom level when refining the mask. The accessories like hairpieces and tools need careful edge work because they are thinner than the body. A radius of 1-2 pixels usually gives the cleanest result without losing detail.
Shadow Fixing Techniques for LEGO Photography
Shadows in LEGO photography fall into two categories: the contact shadow under your model and the cast shadows falling across the background. Both need different treatments.
For contact shadows under your model, leave them in. They ground your MOC in the scene and make it look like it is actually sitting on something. A natural contact shadow makes the difference between a floating LEGO piece and a believable photo.
For cast shadows on the background, you have three options. First, you can leave them if they look natural and add depth. Second, you can remove them entirely using content-aware fill or clone stamp. Third, you can reduce their intensity using a shadow recovery slider in Lightroom or a curves adjustment in Photoshop.
Method 1: Content-Aware Fill
Select the shadow area with the lasso tool, then choose Edit, then Content-Aware Fill. Photoshop samples the surrounding pixels and fills in the shadow naturally. This works well on solid backgrounds like white posterboard or seamless paper.
Method 2: Clone Stamp
The clone stamp copies pixels from a source area to a target area. Sample clean background next to the shadow, then paint over the shadow with short strokes. Use a soft brush at low opacity to blend the cloned area into the surrounding background.
Method 3: Curves and Levels
A targeted curves adjustment on the shadow area lightens it without affecting the rest of the image. Use a selection mask to isolate the shadow first, then pull the midtones up until the shadow blends with the background.
How to Remove Background but Keep Natural Shadows
This is one of the most common questions in LEGO photography forums. People want a clean white background for product shots but still want the shadow that anchors the model.
The trick is to separate the shadow from the model before removing the background. Here is the workflow our team developed after about fifty iterations.
Step 1: Duplicate your image twice. One copy is for the model, one is for the shadow.
Step 2: On the shadow copy, use the channels panel to find the highest contrast channel. For a black LEGO model on white paper, this is usually the blue channel. Duplicate that channel.
Step 3: Apply levels to the channel copy to push the shadow pure black and the background pure white. Use Levels, then drag the black and white sliders until you have a clean shadow-only image.
Step 4: Use this shadow-only image as a layer mask on a solid black layer placed below your cut-out model. The result is a transparent background with only the shadow preserved.
This technique works beautifully for catalog-style photos and gives you full control over shadow opacity. You can dial the shadow strength up or down using a curves adjustment on the shadow layer.
Advanced Editing Tricks for Glossy LEGO Bricks
Glossy bricks catch every light source in your editing room, including the ones you did not notice during the shoot. These reflections show up as bright white hotspots that look unnatural.
Use the spot healing brush to clean up small reflections. For larger hot spots, paint over them with a soft brush at low opacity using a sampled color from the same brick nearby. Match the surrounding tone, not the brightest point.
Edge halos are another common problem. These faint outlines appear around your model after background removal because the mask caught some background pixels. The Defringe command in Photoshop removes these by shifting the edge pixels toward the model color.
Color correction matters more on LEGO than on most subjects because the bright primary colors can shift under different light sources. A white balance adjustment in Lightroom or a camera raw filter in Photoshop brings everything back to the true LEGO colors you remember from the build.
Lighting Tips to Minimize Editing Work
The best editing starts before you take the photo. Our team spends more time on lighting setup than on editing because good lighting cuts editing time in half.
A light tent or softbox eliminates harsh shadows at the source. Two diffused lights at 45-degree angles on either side of your MOC give even coverage with minimal shadow work needed later.
Overcast outdoor daylight is the closest thing to free studio lighting for LEGO photography. The clouds act as a giant diffuser and create soft, natural shadows that need almost no editing.
Never use direct flash on LEGO models. The glossy bricks turn every flash reflection into a hotspot that takes ten minutes to fix in Photoshop. If you must use flash, bounce it off a white ceiling or a piece of paper.
Common Mistakes When Editing LEGO Photos
Over-sharpening is the number one mistake. LEGO studs have crisp edges, but adding extra sharpening in editing creates halos that make the bricks look fake. A small amount of capture sharpening is usually enough.
Saturating colors too much is another trap. LEGO colors are already highly saturated, and pushing them further turns red into orange and blue into purple. Keep saturation adjustments under 15% unless you are deliberately going for an art effect.
Removing all shadows completely flattens the image. A photo of a LEGO castle with no shadow looks like it is floating in white space. Keep at least the contact shadow under the main model to ground the scene.
Forgetting to clean up the mask at high zoom levels is a subtle mistake. When you export at full resolution, small bits of leftover background show up around the studs and edges. Always zoom to 200% or higher for your final mask check.
Editing all photos the same way kills the variety in your portfolio. Each MOC has different lighting and colors. Adjust your workflow for the specific model instead of running the same preset on every photo.
Frequently Asked Questions
How do you remove a background from a LEGO photo but keep the shadow?
Duplicate your image, create a high-contrast shadow channel using Levels, then use that channel as a mask on a solid black layer below your cut-out model. This gives you a transparent background with only the natural shadow preserved. You can adjust shadow opacity with a curves layer on the shadow copy.
What is the best free software for editing LEGO photos?
Photopea is our top pick for free LEGO photo editing because it runs in any browser and matches Photoshop for selection and masking tasks. GIMP is a strong offline alternative. For mobile edits, Snapseed handles shadow recovery well at no cost.
Can Photoshop AI remove shadows from photos automatically?
Yes, the Generative Fill feature in recent Photoshop versions can remove cast shadows in one click. Select the shadow area, then choose Edit, then Generative Fill, then leave the prompt empty. Photoshop samples the surroundings and replaces the shadow with matching background pixels.
How do I fix harsh shadows on glossy LEGO bricks?
Two diffused lights at 45-degree angles prevent harsh shadows at capture. For shadows already in the photo, use content-aware fill on solid backgrounds or a targeted curves adjustment to lighten the shadow without affecting the model itself.
Why do my LEGO photos have ugly reflections on the bricks?
Direct light sources like flash or bare bulbs create hotspots on glossy ABS plastic. Fix this at capture by diffusing your lights through a softbox or white paper. In editing, the spot healing brush and clone stamp tool remove leftover reflections using sampled color from nearby pixels.
Final Thoughts on Editing LEGO Photos
Editing LEGO photos to remove backgrounds and fix shadows becomes second nature once you build the workflow into your routine. Start with clean lighting, capture against a simple backdrop, and save the heavy lifting for the editing room.
The tools and steps in this guide have produced every catalog image we have published. Pick one method, practice it on five of your own builds, and you will see the difference in your first batch of edits. Your MOCs deserve photos that match the care you put into building them.