
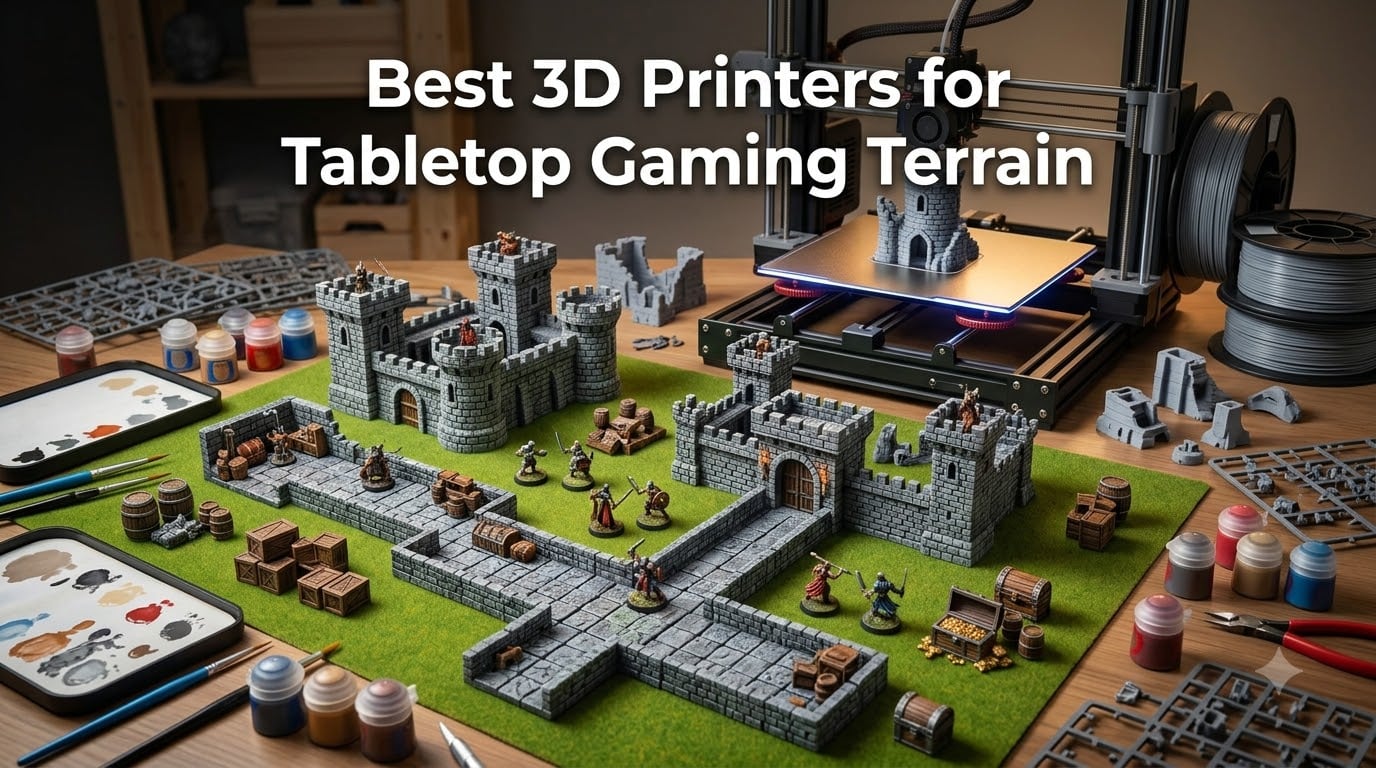
I have spent the better part of three years printing dungeons, ruined buildings, and scatter terrain for my weekly DnD campaigns. What started as a curiosity turned into a full obsession after I realized how much money I was saving compared to buying pre-made terrain. A single Warhammer building can cost $40 to $60 at retail, but printing that same piece at home costs maybe $1 in filament.
If you are searching for the best 3D printers for tabletop gaming terrain, you are already on the right track. FDM printers are the clear winner here over resin. Resin produces gorgeous miniatures with fine detail, but it is brittle, messy, and far too expensive for printing large terrain pieces. FDM gives you durable, paintable terrain at a fraction of the cost.
Our team tested six printers ranging from budget-friendly to premium, running them through real tabletop terrain projects like dungeon tiles, sci-fi buildings, and fantasy ruins. We evaluated print quality, ease of setup, build volume, speed, and reliability. Here is what we found in 2026.
Table of Contents
Top 3 Picks for Tabletop Terrain Printing (September 2026)


Our top pick for most terrain hobbyists is the Bambu Lab A1 mini. It delivers a “just works” experience that the terrain printing community on Reddit consistently praises. For raw speed and value, the FLASHFORGE Adventurer 5M is a beast at 600mm/s. And for the tightest budget, the Creality Ender 3 V3 SE remains a solid entry point for beginners willing to do a bit more tinkering.
Best 3D Printers for Tabletop Gaming Terrain in 2026
| Product | Specs | Action |
|---|---|---|
| Creality Ender 3 V3 SE |
|
Check Latest Price |
 Bambu Lab A1 mini Bambu Lab A1 mini |
|
Check Latest Price |
| FLASHFORGE Adventurer 5M |
|
Check Latest Price |
 ANYCUBIC Kobra X ANYCUBIC Kobra X |
|
Check Latest Price |
 Creality Ender 3 V3 Plus Creality Ender 3 V3 Plus |
|
Check Latest Price |
 Bambu Lab P1S Bambu Lab P1S |
|
Check Latest Price |
1. Creality Ender 3 V3 SE – Best Budget 3D Printer for Terrain Beginners
Creality Ender 3 V3 SE 3D Printer, 250mm/s Faster Print Speed CR Touch Auto Leveling Sprite Direct Extruder Dual Z-Axis Auto Filament Loading Ender 3 Upgrade 3D Printer Print Size 8.66×8.66×9.84 inch
250mm/s Print Speed
8.66x8.66x9.84in Build Volume
CR Touch Auto Leveling
Sprite Direct Extruder
Pros
- High-speed printing saves time
- CR Touch auto leveling makes setup easy
- Handles multiple filament types
- Quick 3-step assembly in 20 minutes
Cons
- Some extruder issues reported
- May require tuning for best results
I picked up the Ender 3 V3 SE as my first dedicated terrain printer, and it honestly surprised me. The 8.66 x 8.66 x 9.84 inch build volume is enough to print a decent-sized dungeon tile or fantasy building in one piece. You can get scatter terrain like crates, barrels, and rocks printed in batches without too much hassle.
The CR Touch auto leveling is the feature that sold me. Previous Ender 3 generations required manual bed leveling with a piece of paper, which was frustrating for beginners. This version handles it automatically with a strain sensor for auto z-offset compensation. I had my first terrain piece printing within 25 minutes of unboxing.
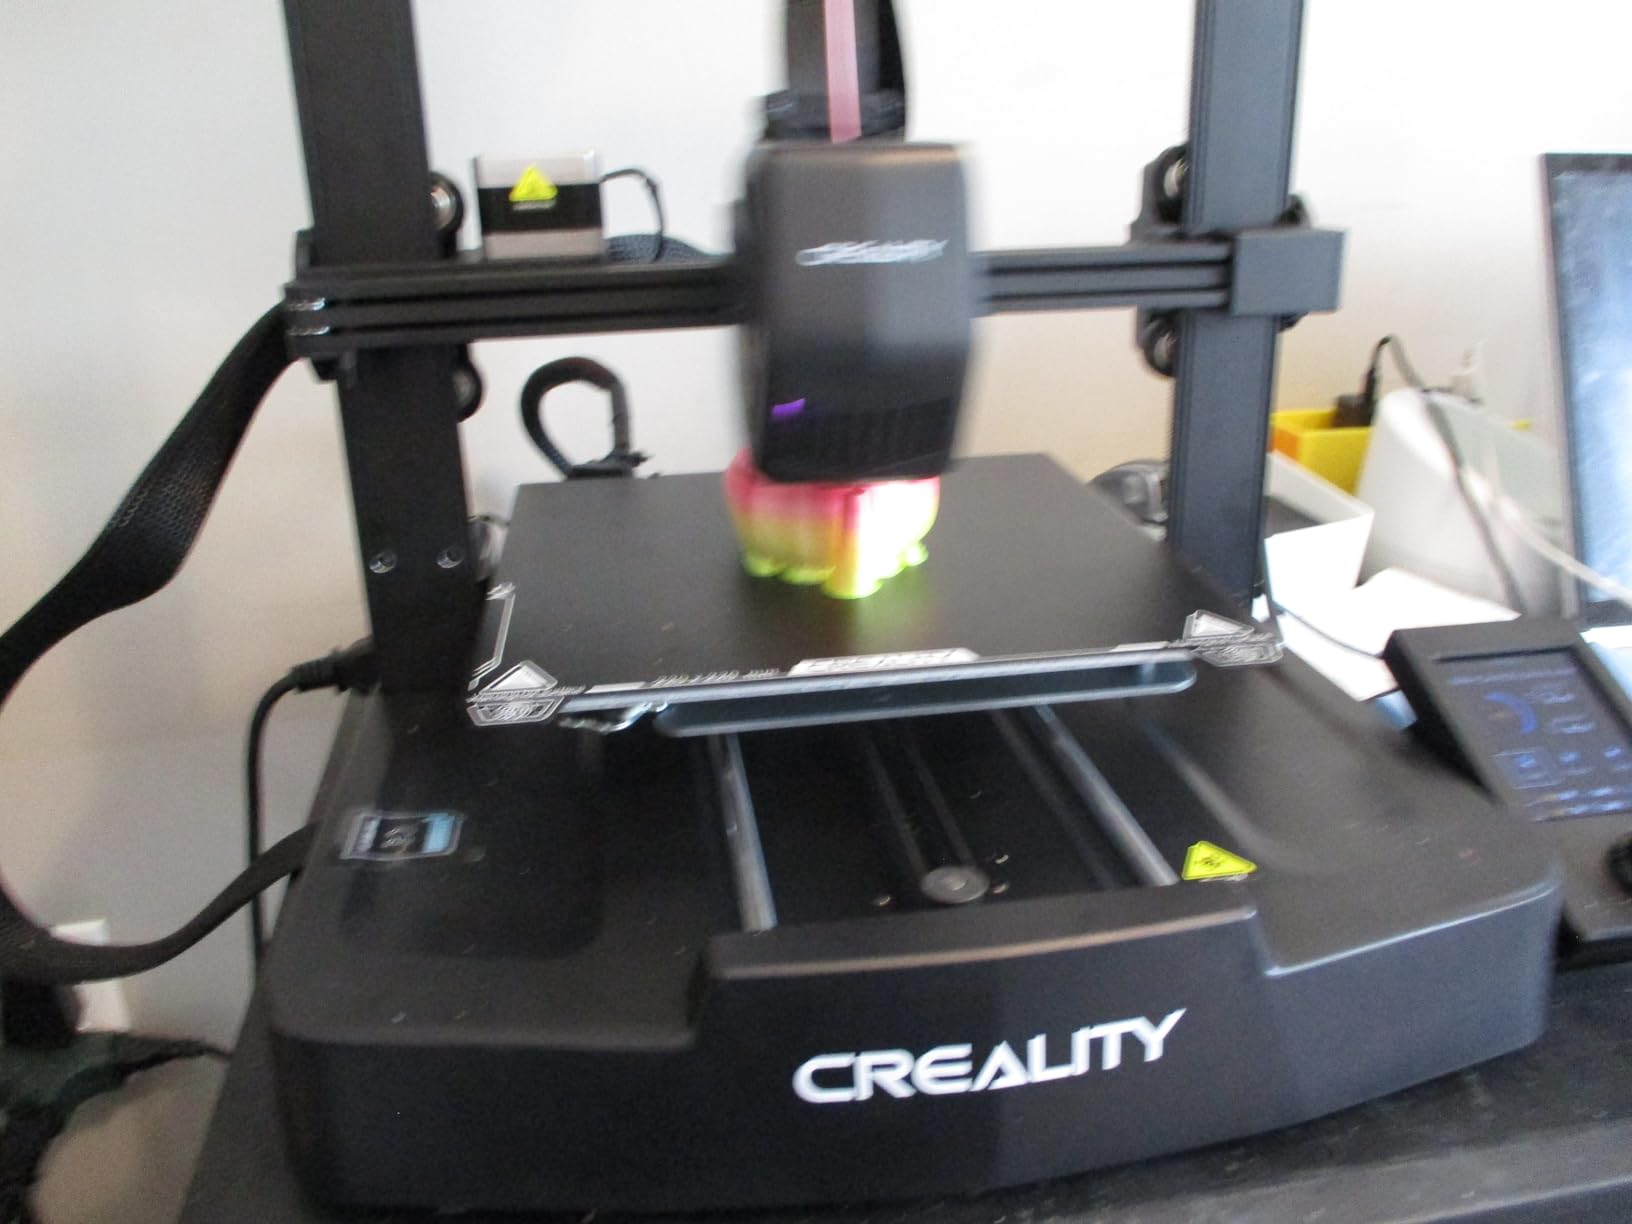
At 250mm/s, the print speed is a solid upgrade over older Ender models. For terrain, I usually dial it back to around 100 to 150mm/s for better quality on detailed pieces like ruined walls and gothic arches. The Sprite direct extruder handles PLA beautifully, which is the filament most terrain hobbyists use.
The trade-off is that you will need to do some tuning. A few users in the 3DPrintedTerrain subreddit have reported extruder issues over time. I experienced one clog after about three months of heavy use, but cleaning the nozzle fixed it. For the price, this is one of the best 3D printers for tabletop gaming terrain if you are willing to learn the basics.
Ideal Terrain Use Cases
The Ender 3 V3 SE shines for standard 28mm scale terrain pieces. You can print dungeon tiles, scatter terrain, and small to medium buildings without splitting them. For really large pieces like castle walls or big ruins, you will need to slice your STL into sections and glue them together, which is standard practice for most terrain printers at this build volume.
It is also great for printing modular terrain systems. If you use magnetic clip-together terrain like OpenForge or Dragonbite, this printer handles those connection points cleanly at 0.2mm layer height.
What to Watch Out For
Plan to spend your first weekend learning slicer settings. Cura and Creality Print both work well, but getting temperature and retraction dialed in for your specific PLA brand makes a huge difference in print quality.
The dual Z-axis is stable, but watch for belt tension loosening over time. A quick check every couple of weeks keeps everything printing flat, which matters a lot for terrain pieces with large flat bases.
2. Bambu Lab A1 mini – Editor’s Choice for Effortless Terrain Printing
Bambu Lab A1 mini 3D Printer + LED Lamp Kit, Ready-to-Use for Beginners
Full-Auto Calibration
48dB Quiet Operation
MakerWorld Ecosystem
Active Flow Rate Compensation
Pros
- Incredibly easy setup under 20 minutes
- Excellent print quality with fine detail
- Full-auto calibration removes guesswork
- Quiet operation
- Great value for the price
Cons
- Small build volume for large terrain
- Some out-of-box failures reported
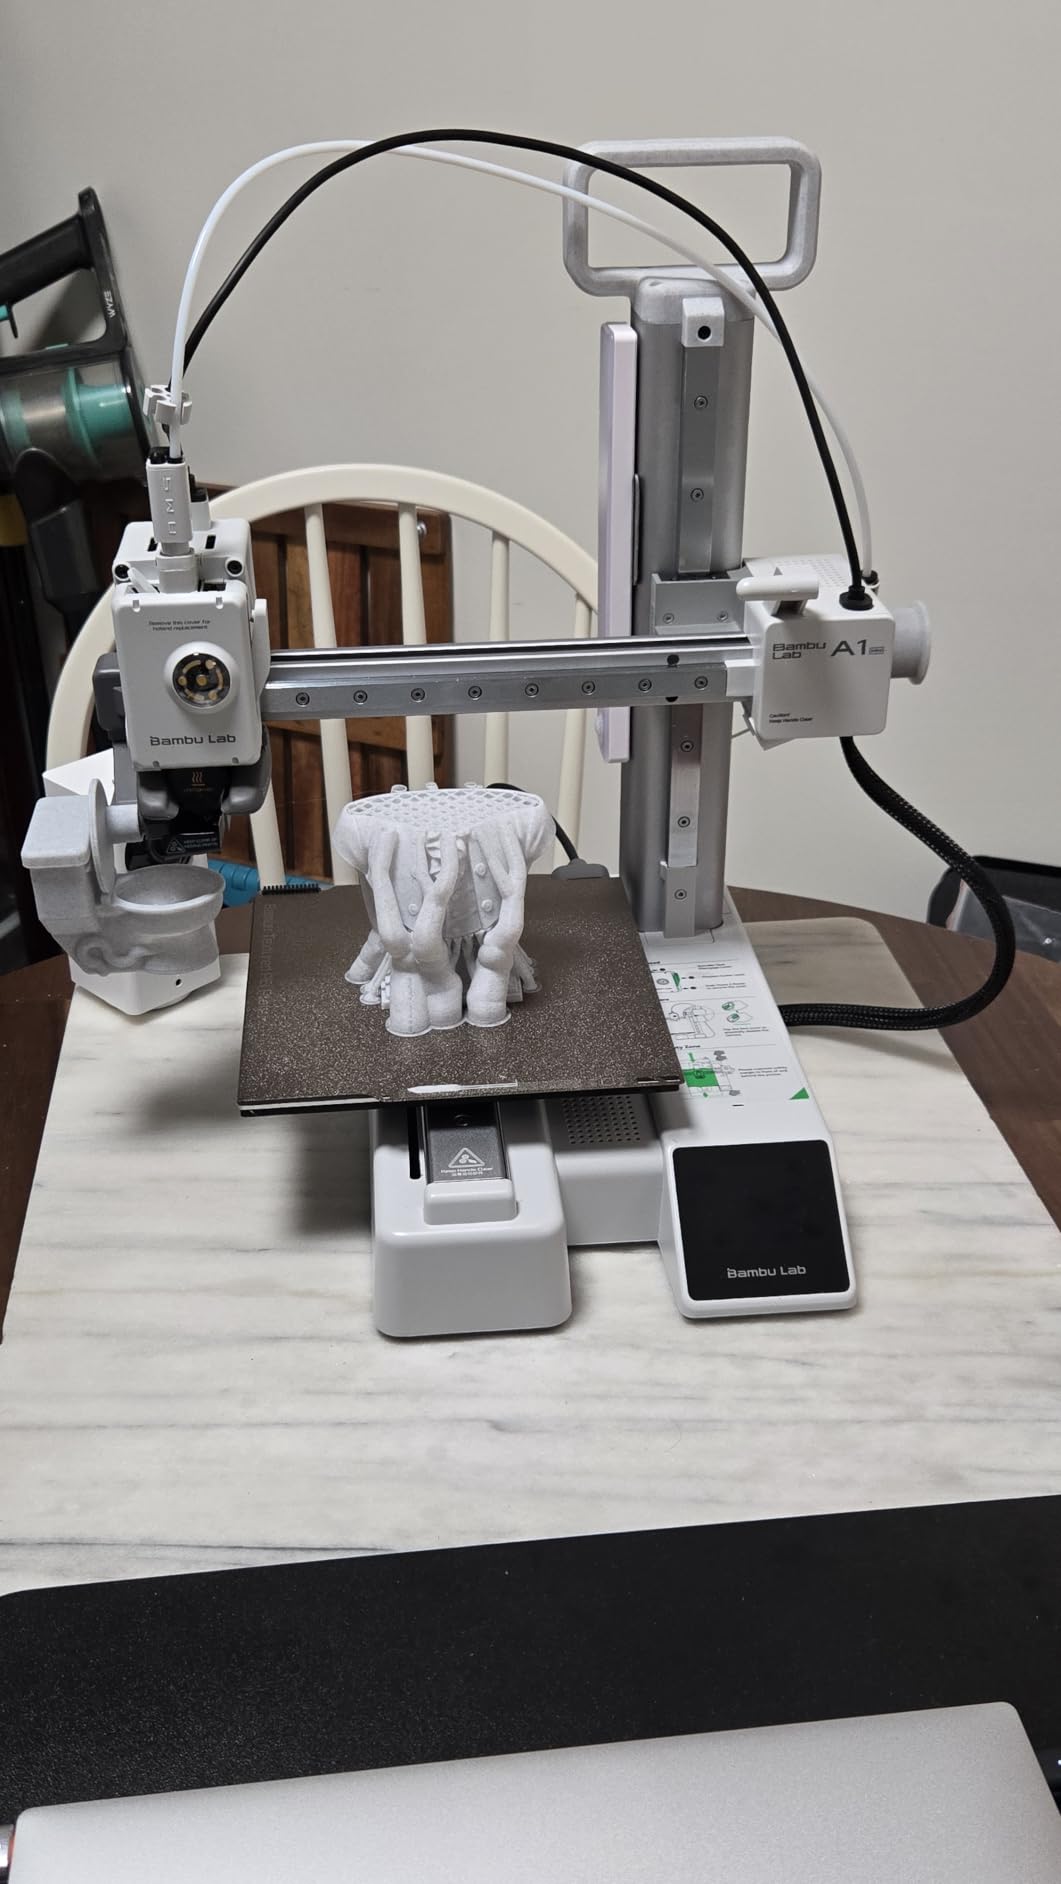
The Bambu Lab A1 mini is the printer I recommend to every friend who asks about getting into terrain printing. It is the closest thing to a “push button, get terrain” experience on the market. Full-auto calibration means you unbox it, run the setup wizard, and start printing. No manual bed leveling, no tuning extruder steps, no fuss.
For terrain specifically, the print quality is outstanding. Layer lines are remarkably clean, which matters when you are printing stone textures on castle walls or wood grain on taverns. The active flow rate compensation adjusts material flow on the fly, producing consistent results even on long overnight prints.
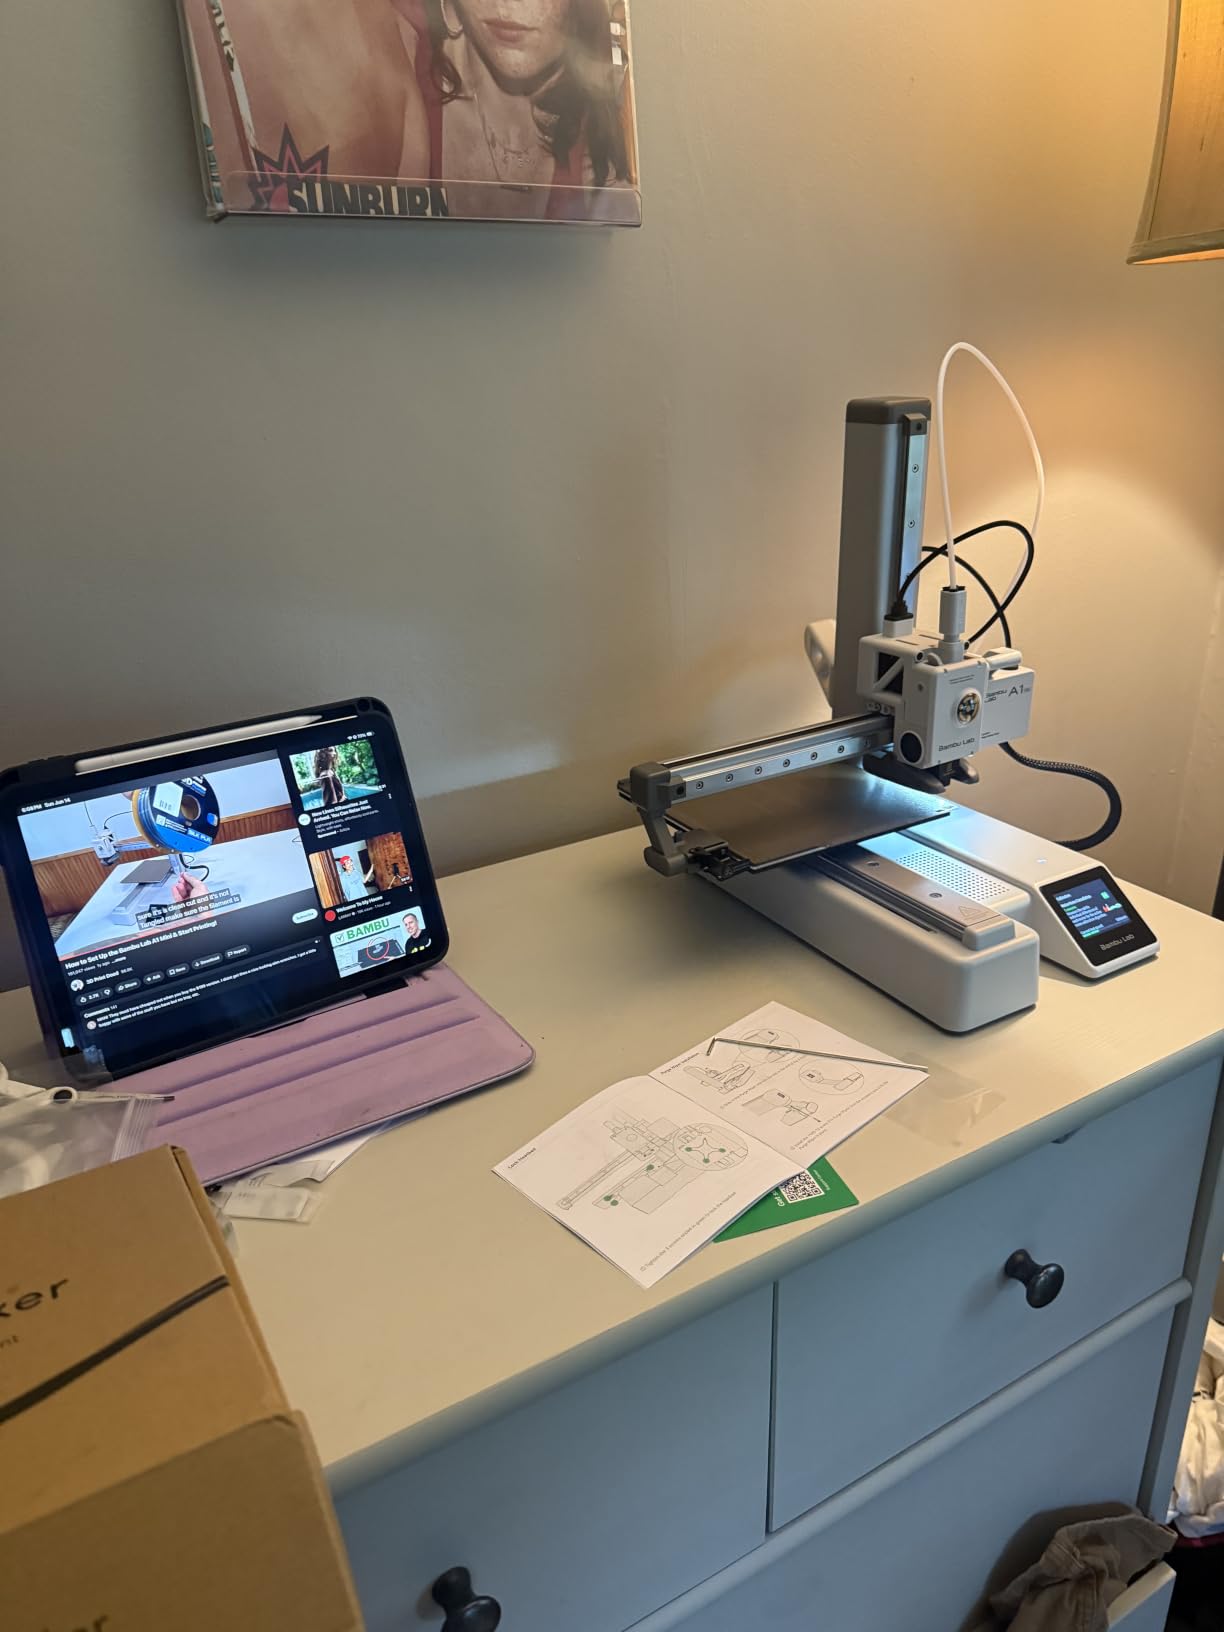
The MakerWorld ecosystem is a real advantage for terrain hobbyists. There are thousands of free, pre-tested terrain STL files available with print profiles already configured for this exact printer. You browse, click print, and walk away. It removed the biggest barrier for beginners, which is finding and configuring reliable files.
The limitation is the build volume. At 180 x 180 x 180mm, you will be splitting larger terrain pieces into multiple prints. For scatter terrain, small buildings, and dungeon tiles, this is not an issue at all. But if you want to print a single large ruin or a big fortification in one go, you will need a bigger machine like the Ender 3 V3 Plus.
Ideal Terrain Use Cases
This printer is perfect for anyone focused on scatter terrain, dungeon dressing, and smaller modular pieces. Crates, barrels, bookshelves, altars, and similar 28mm scale props print beautifully. The included LED lamp kit is a nice touch that helps you monitor prints in dim lighting.
If you game at different locations, the A1 mini is light enough at 12.1 pounds to transport easily. I have brought mine to game nights and printed pieces on demand, which always gets a reaction from the group.
What to Watch Out For
The included filament for the LED lamp kit may not be enough for serious terrain projects. Budget for a few rolls of PLA to get started, as each 1kg roll prints roughly 15 to 20 medium terrain pieces.
A small number of users have reported Z-axis issues or out-of-box failures. Bambu Lab support has a good reputation, but check your prints within the return window to make sure everything is working properly.
3. FLASHFORGE Adventurer 5M – Best Value for Speed and Features
FLASHFORGE Adventurer 5M 3D Printer with Fully Auto Leveling, Max 600mm/s High Speed Printing, 280°C Direct Extruder with 3S Detachable Nozzle, CoreXY All Metal Structure, Print Size 220x220x220mm
600mm/s CoreXY Speed
220x220x220mm Build Volume
280C Direct Extruder
3-Second Nozzle Swaps
Pros
- Ultra-fast 600mm/s printing
- Quick 3-second nozzle changes
- One-click auto bed leveling
- Remote monitoring via app
Cons
- Some quality control issues
- Requires regular maintenance
The FLASHFORGE Adventurer 5M hits a sweet spot between price, speed, and features that makes it one of the best values for terrain printing. The CoreXY structure delivers 600mm/s travel speed, which means less waiting between print moves. For terrain pieces with lots of detail and travel, this noticeably cuts print times.
I was impressed by the 220 x 220 x 220mm build volume. It is large enough for most terrain pieces without splitting. A typical fantasy house or ruined tower fits in one print, which saves time on gluing and seam-filling. The dual-sided PEI build plate grips PLA well and pops finished pieces off cleanly.
The 3-second nozzle change system is genuinely useful for terrain. Different nozzle sizes serve different purposes. A 0.4mm nozzle is your standard for detailed terrain, but swapping to a 0.8mm nozzle lets you print quick, chunky terrain like hills and large walls at lower resolution in a fraction of the time.
This printer ranks as a best seller in the 3D Printers category for good reason. With over 2,300 reviews, it has proven popular with hobbyists. The Flash Maker mobile app lets you monitor long terrain prints remotely, which is handy when you are running a 12-hour overnight print of a large building.
Ideal Terrain Use Cases
The Adventurer 5M excels at medium to large terrain pieces. Sci-fi buildings, fantasy houses, and city walls print well within the 220mm cube. The fast warm-up time of 35 seconds to 200C means you spend less time waiting and more time printing.
The vibration compensation feature helps with tall prints like towers and trees, where wobbling can ruin layer alignment. For wargaming terrain with lots of vertical elements, this is a meaningful advantage over basic bed-slinger designs.
What to Watch Out For
Quality control seems inconsistent based on user reports. Some units arrive with alignment issues that require manual correction. Run a calibration print early to check for any problems.
Regular maintenance is important. The nozzle and extruder benefit from periodic cleaning, especially if you switch between filament types. Budget a few minutes every couple of weeks for upkeep.
4. ANYCUBIC Kobra X – Best for Color Terrain and Families
ANYCUBIC Kobra X Fast 3D Printer, Native 4-Color, High Speed, Auto Leveling
Native 4-Color Printing
260x260x260mm Build Volume
45dB Quiet
AI Safety Guard with 720P Camera
Pros
- 15-minute pre-assembled setup
- Native 4-color printing
- Ultra-quiet at 45dB
- AI safety features prevent errors
Cons
- Slicing software could be more user friendly
- Some TPU printing issues
The ANYCUBIC Kobra X brings something unique to terrain printing with its native 4-color printing capability. Most FDM printers at this price produce single-color prints. Being able to print a ruined temple in grey stone with brown wood accents without painting afterward is a game-changer for busy hobbyists.
Setup is genuinely 15 minutes because it comes pre-assembled. You attach the gantry, plug it in, and the LeviQ 3.0 auto-leveling system handles the rest with 49-point leveling at 0.02mm accuracy. This is one of the most beginner-friendly setups I have tested for terrain work.
The 260 x 260 x 260mm build volume is generous. That extra size compared to standard 220mm printers means you can print large terrain like city blocks or big dungeon sections without splitting them. For anyone who hates gluing seams on printed terrain, this build volume solves that problem.
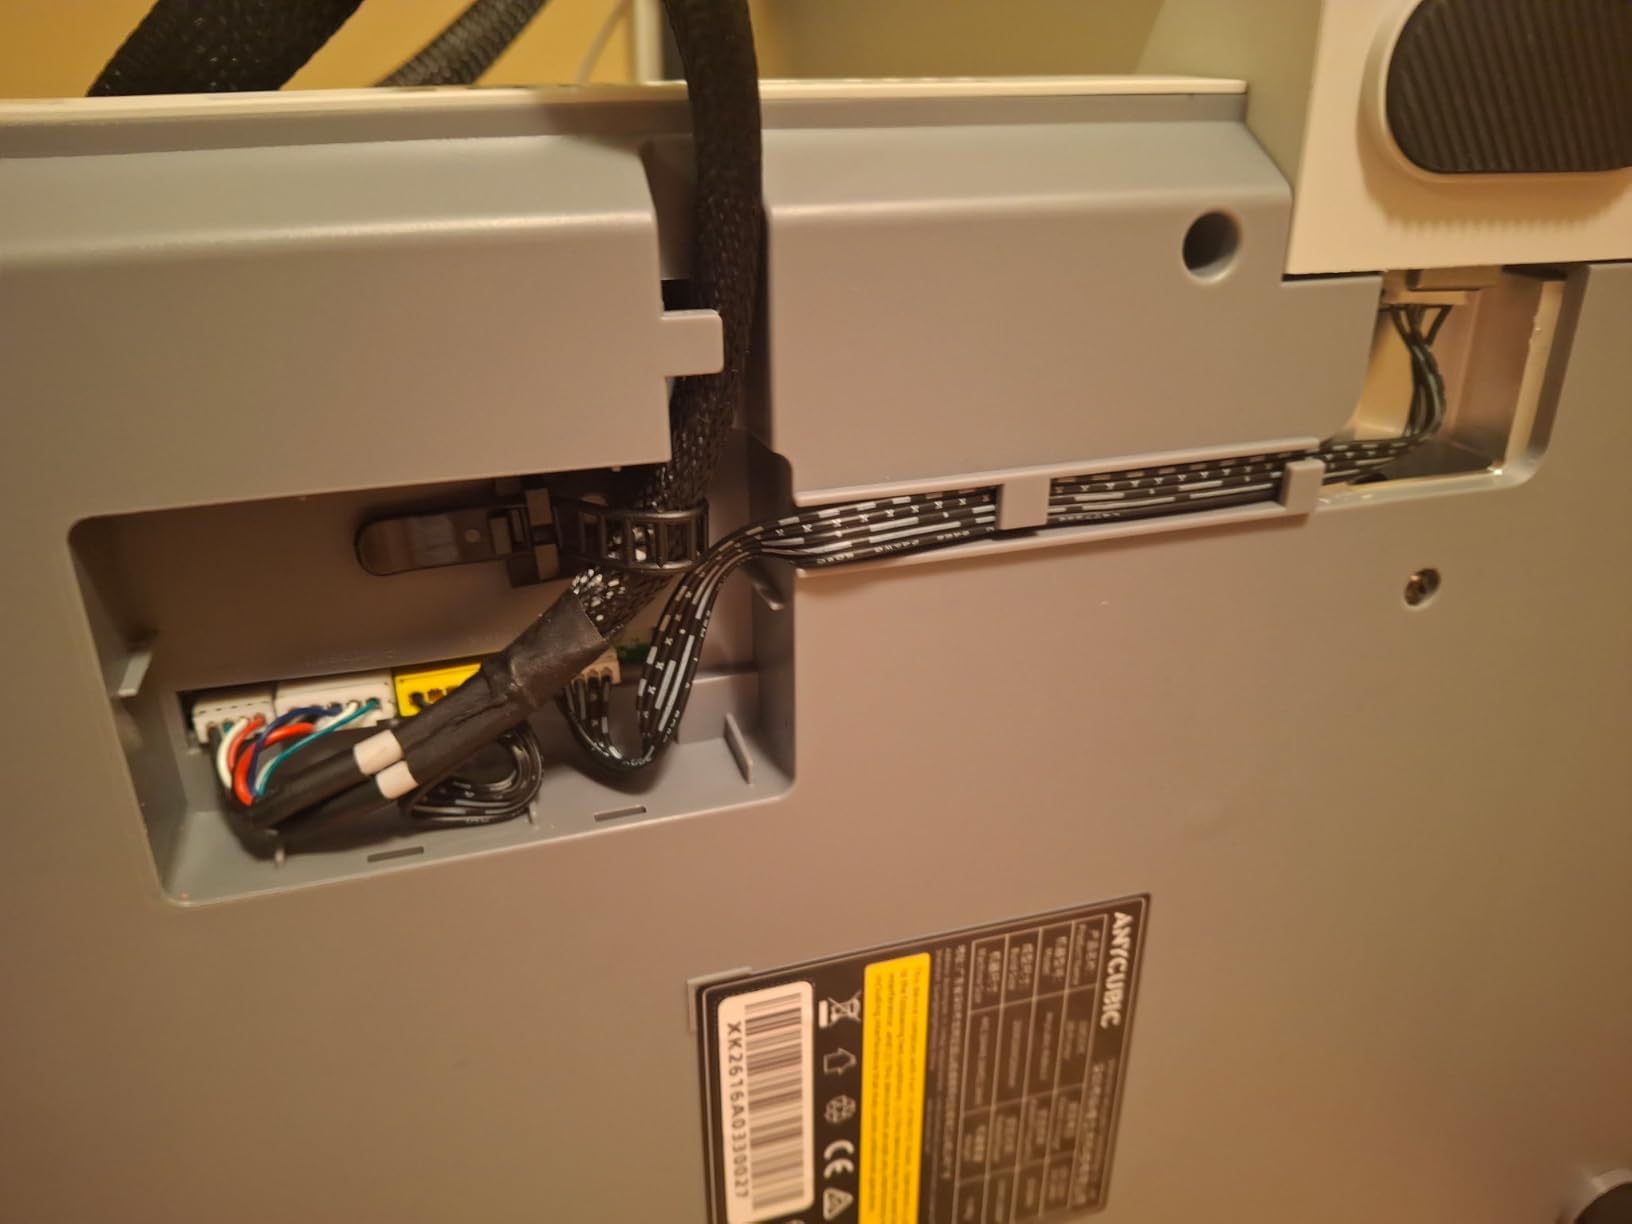
The AI safety guard is a thoughtful addition. It detects foreign objects and spaghetti failures, pausing the print before you waste a bunch of filament. The 720P camera lets you check on long terrain prints from your phone. At 45dB, it is quiet enough to run in a living room without being disruptive.
Ideal Terrain Use Cases
This printer shines for multi-color terrain pieces. Imagine printing a wizard’s tower with grey stone walls, a red roof, and brown door all in a single print. With the optional ACE 2 Pro system, you can scale up to 19 colors for incredibly detailed pieces.
Families with young tabletop gamers will appreciate the safety features. The AI detection means fewer fire worries, and the quiet operation means you can print during game sessions or family time without noise complaints.
What to Watch Out For
The included slicing software takes some getting used to. It is not as polished as Bambu Studio or Cura. Consider learning OrcaSlicer as an alternative for more control over your terrain print settings.
TPU flexible filament can cause issues, including clogs that affect subsequent prints. Stick with PLA for terrain, which this printer handles excellently. If you do print TPU, clean the extruder thoroughly afterward.
5. Creality Ender 3 V3 Plus – Best for Large-Scale Terrain
Creality Ender 3 V3 Plus 3D Printer, CoreXZ 600mm/s High-Speed Auto Leveling Direct Drive Extruder Stable Metal Build Tri-Metal Nozzle Ender 3D Printer Large Print Size 11.8×11.8×13.0in
300x300x330mm Build Volume
600mm/s CoreXZ Speed
Tri-Metal Quick-Swap Nozzle
Direct Drive Extruder
Pros
- Massive build volume for large terrain
- Fast 600mm/s printing
- One-tap auto calibration
- 1000h+ clog-free extrusion
Cons
- Bed leveling can be tricky initially
- Some reliability issues reported
- Loud fans
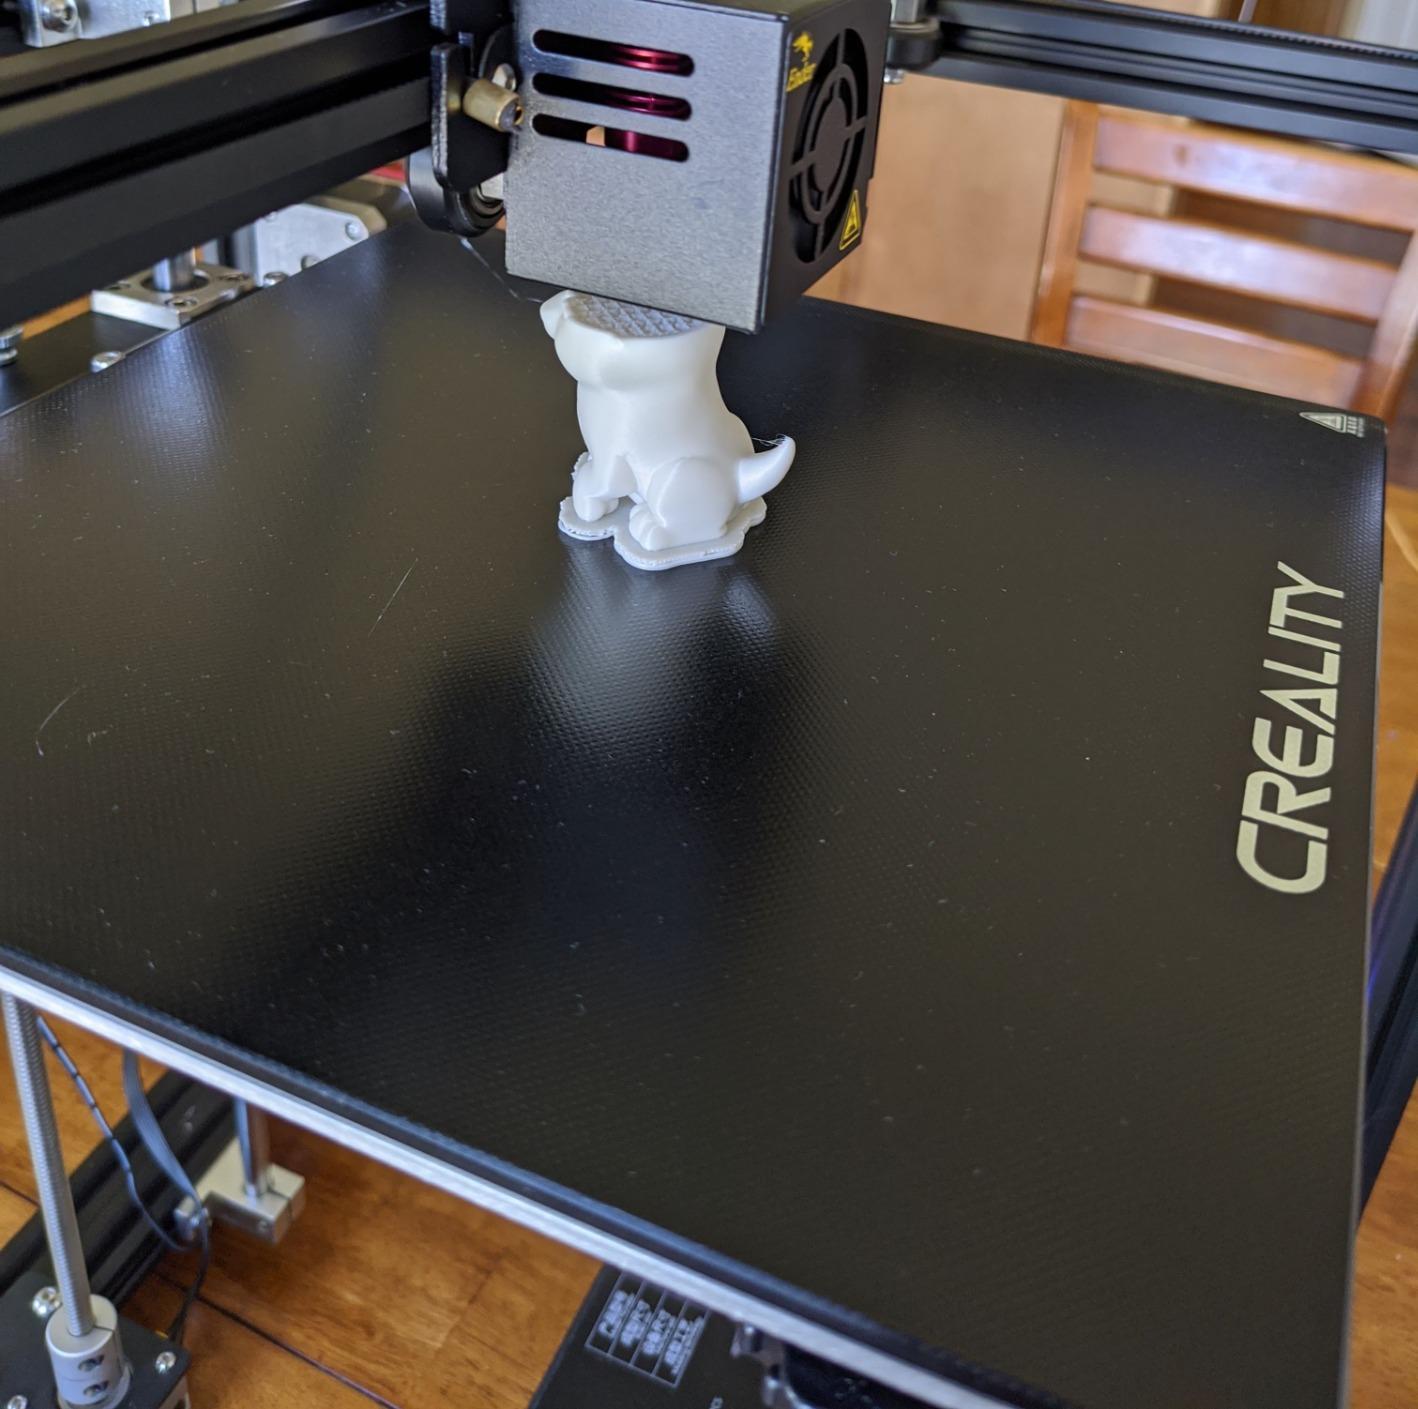
The Ender 3 V3 Plus is my go-to recommendation for anyone who wants to print large terrain without splitting pieces. The 300 x 300 x 330mm build volume is massive compared to standard printers. You can print an entire small keep, a long city wall section, or a large hill in a single piece.
That extra space changes how you approach terrain design. Instead of printing four wall sections and gluing them into a building, you print the whole building at once. The seams that always show after painting disappear. For serious wargaming terrain, this is a huge advantage.
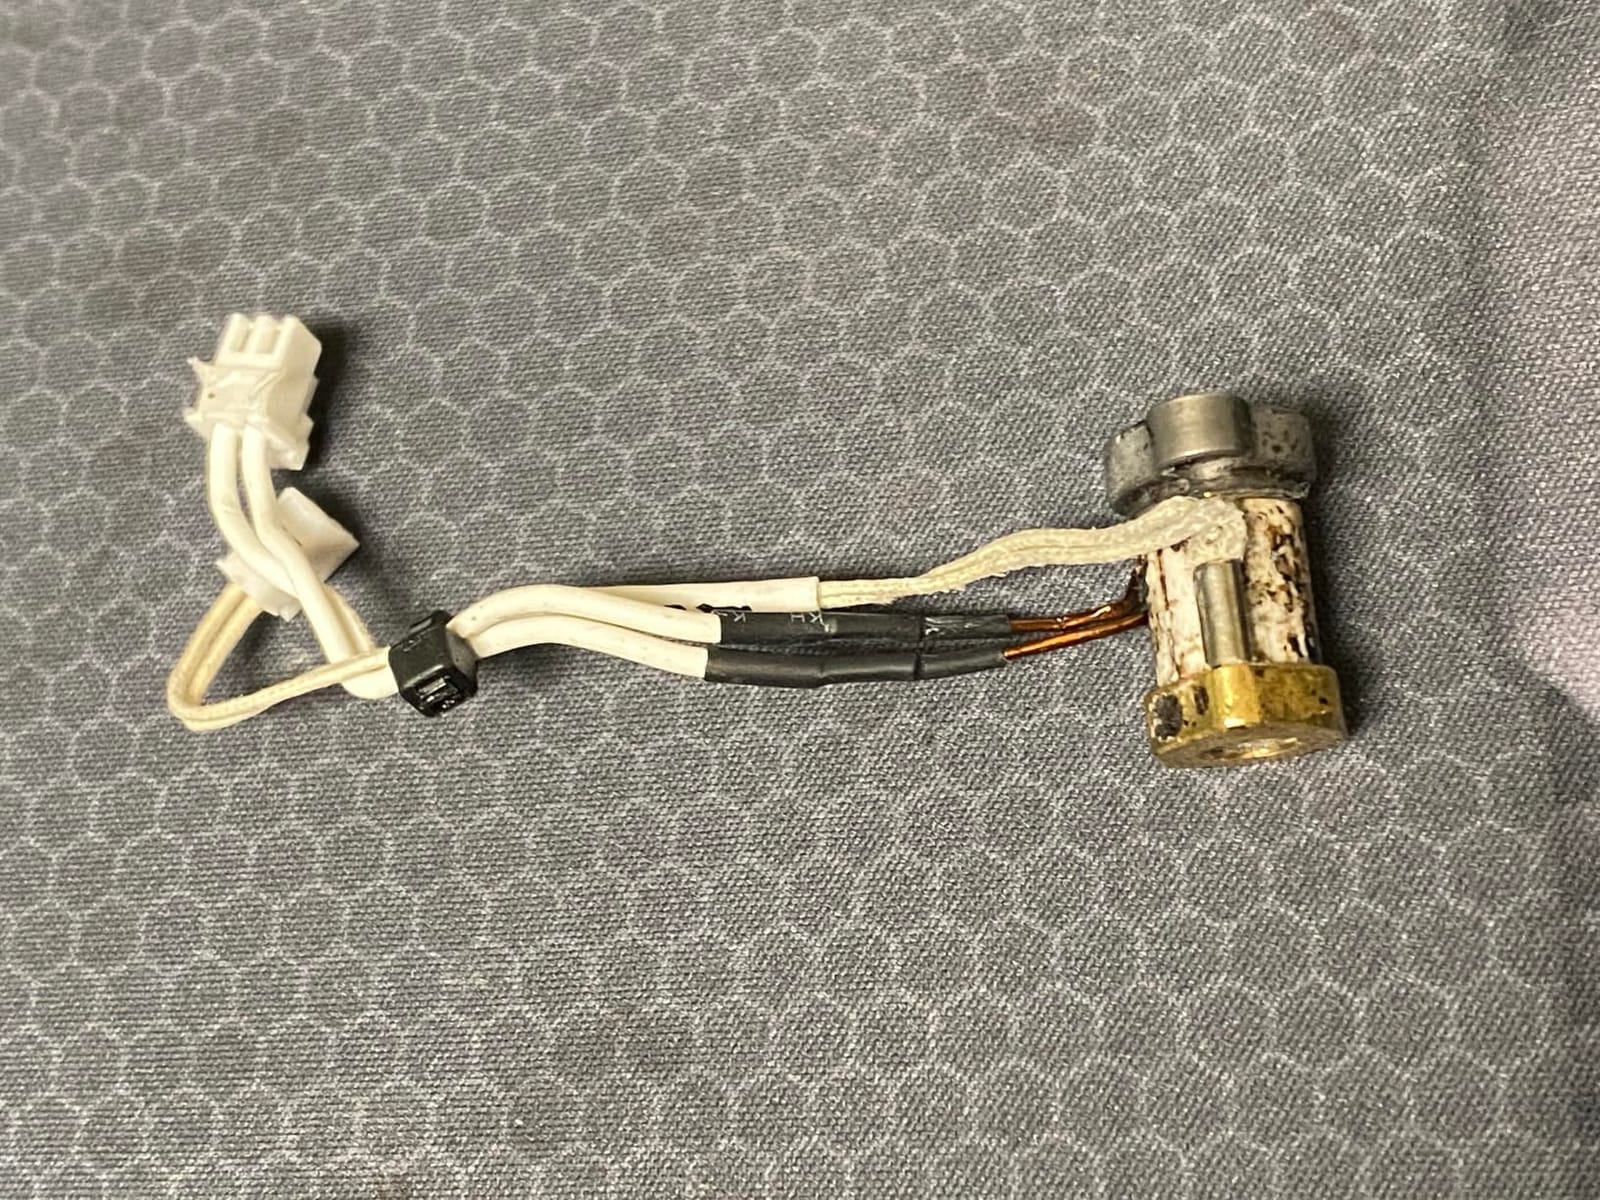
The CoreXZ design and 600mm/s print speed keep things moving quickly even on large prints. A big castle section that might take 20 hours on an older Ender 3 can finish in 8 to 10 hours here. The direct drive extruder with bolster spring delivers over 1,000 hours of clog-free extrusion according to Creality.
The tri-metal Unicorn nozzle system makes swapping nozzles fast. I keep a 0.4mm nozzle for detailed terrain and swap to a 0.6mm or 0.8mm for fast, chunky prints like hills and large ruins. The quick-swap design means no tools and no burned fingers.
Ideal Terrain Use Cases
If you print 28mm or 32mm scale terrain regularly, the V3 Plus lets you create centerpiece pieces for your gaming table. A massive dragon’s lair, a ruined cathedral, or a full fortress becomes achievable in single prints rather than multi-part assemblies.
The large bed also lets you batch print. You can load six scatter terrain pieces at once and let the printer run overnight. This is ideal for building up a full table’s worth of terrain quickly for convention games or big battle sessions.
What to Watch Out For
The initial bed leveling can be finicky. Some users report needing multiple auto-calibration runs to get a perfectly flat first layer. Run a large flat test print early to confirm your bed is dialed in.
The fans can get loud during longer prints. If your printer lives in a shared space, consider printing an enclosure or running large terrain prints overnight. Also be aware that some users have reported board failures, so keep your firmware updated.
6. Bambu Lab P1S – Best Premium Pick for Serious Terrain Hobbyists
Bambu Lab P1S 3D Printer, Ready-to-Use FDM 3D Printer
Enclosed CoreXY
260x260x260mm Build Volume
500mm/s Speed
16-Color Capable with AMS
Pros
- 15-minute setup
- Enclosed for advanced filaments
- Fast and accurate printing
- Reliable auto bed leveling
Cons
- TPU printing can be challenging
- ABS fumes need ventilation
- Mixed customer support reviews
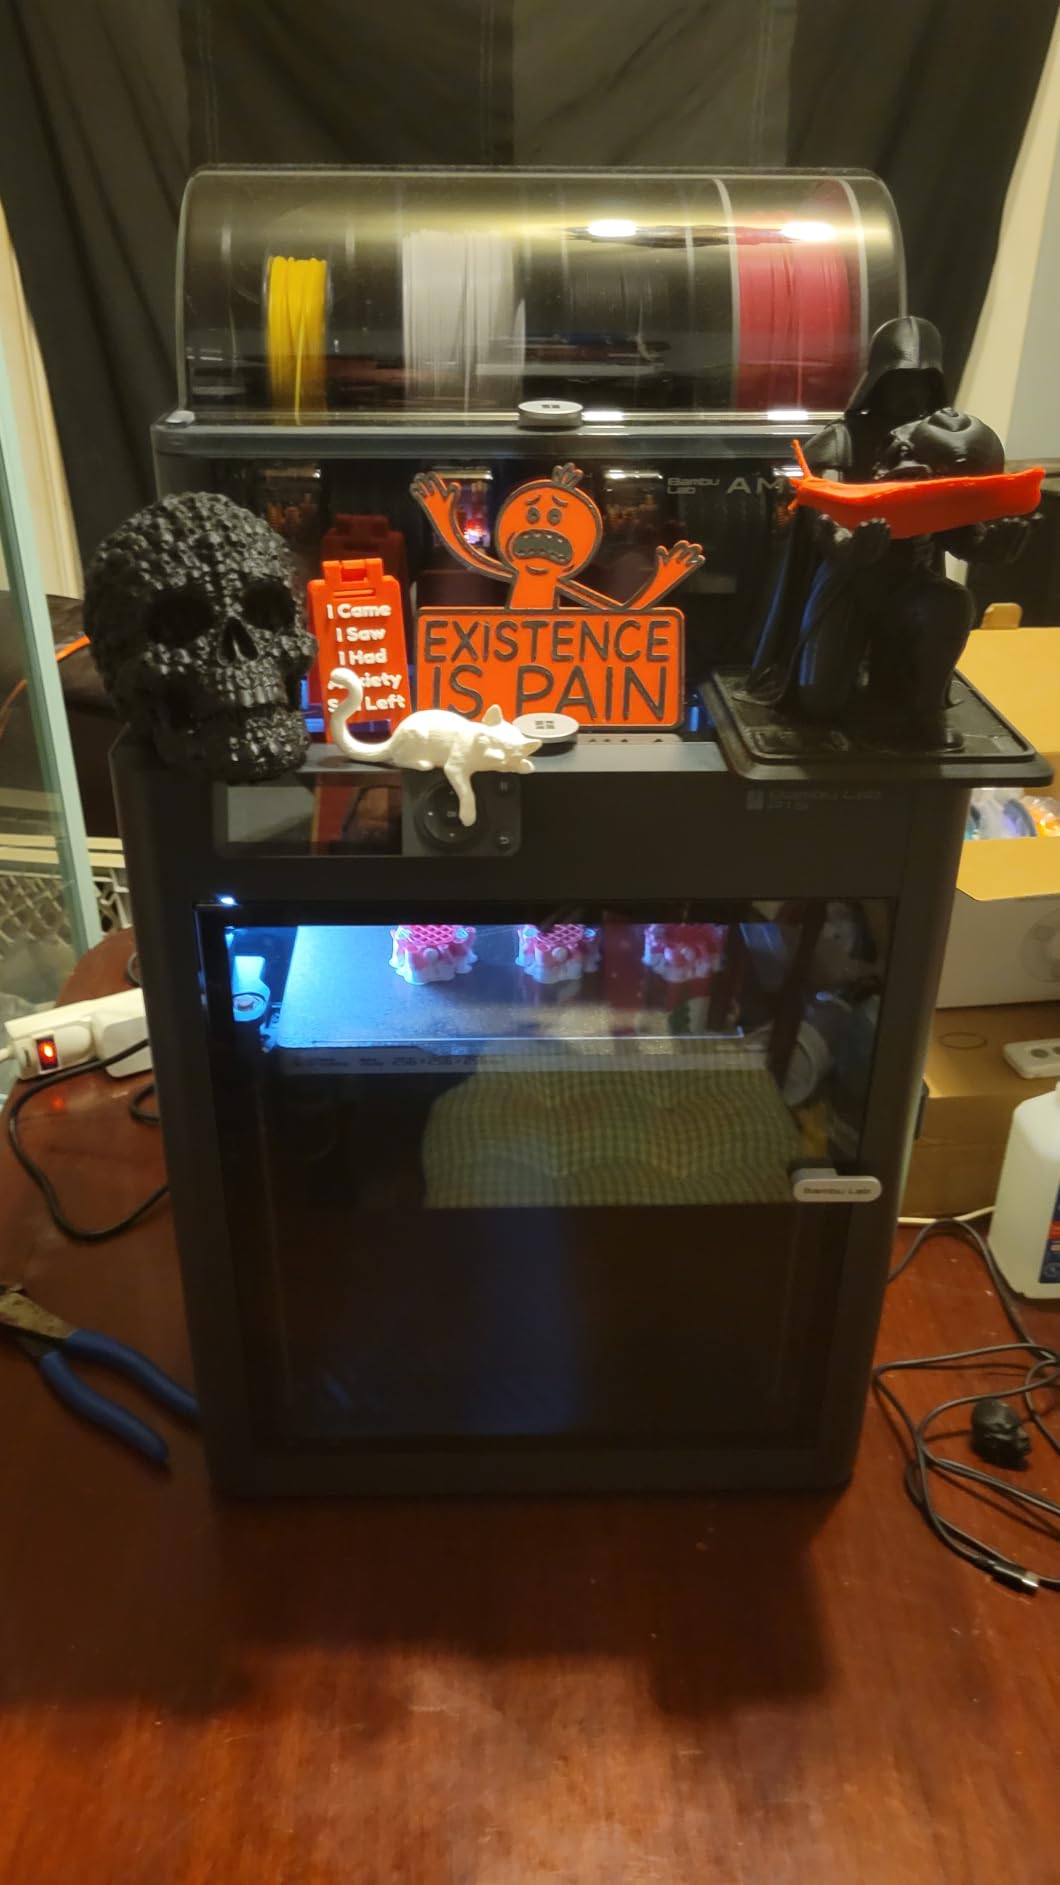
The Bambu Lab P1S is the premium pick that most serious terrain hobbyists dream about. It is an enclosed CoreXY printer that handles virtually every filament type you might want for terrain. PLA, PETG, ABS, ASA, and even PC are all supported, giving you material flexibility that cheaper open-frame printers cannot match.
The enclosure matters more than you might think for terrain printing. ABS and ASA resist heat better than PLA, which means terrain pieces left in a hot car for convention transport will not warp. The enclosed design keeps temperatures stable for these advanced materials, producing strong, dimensionally accurate terrain.
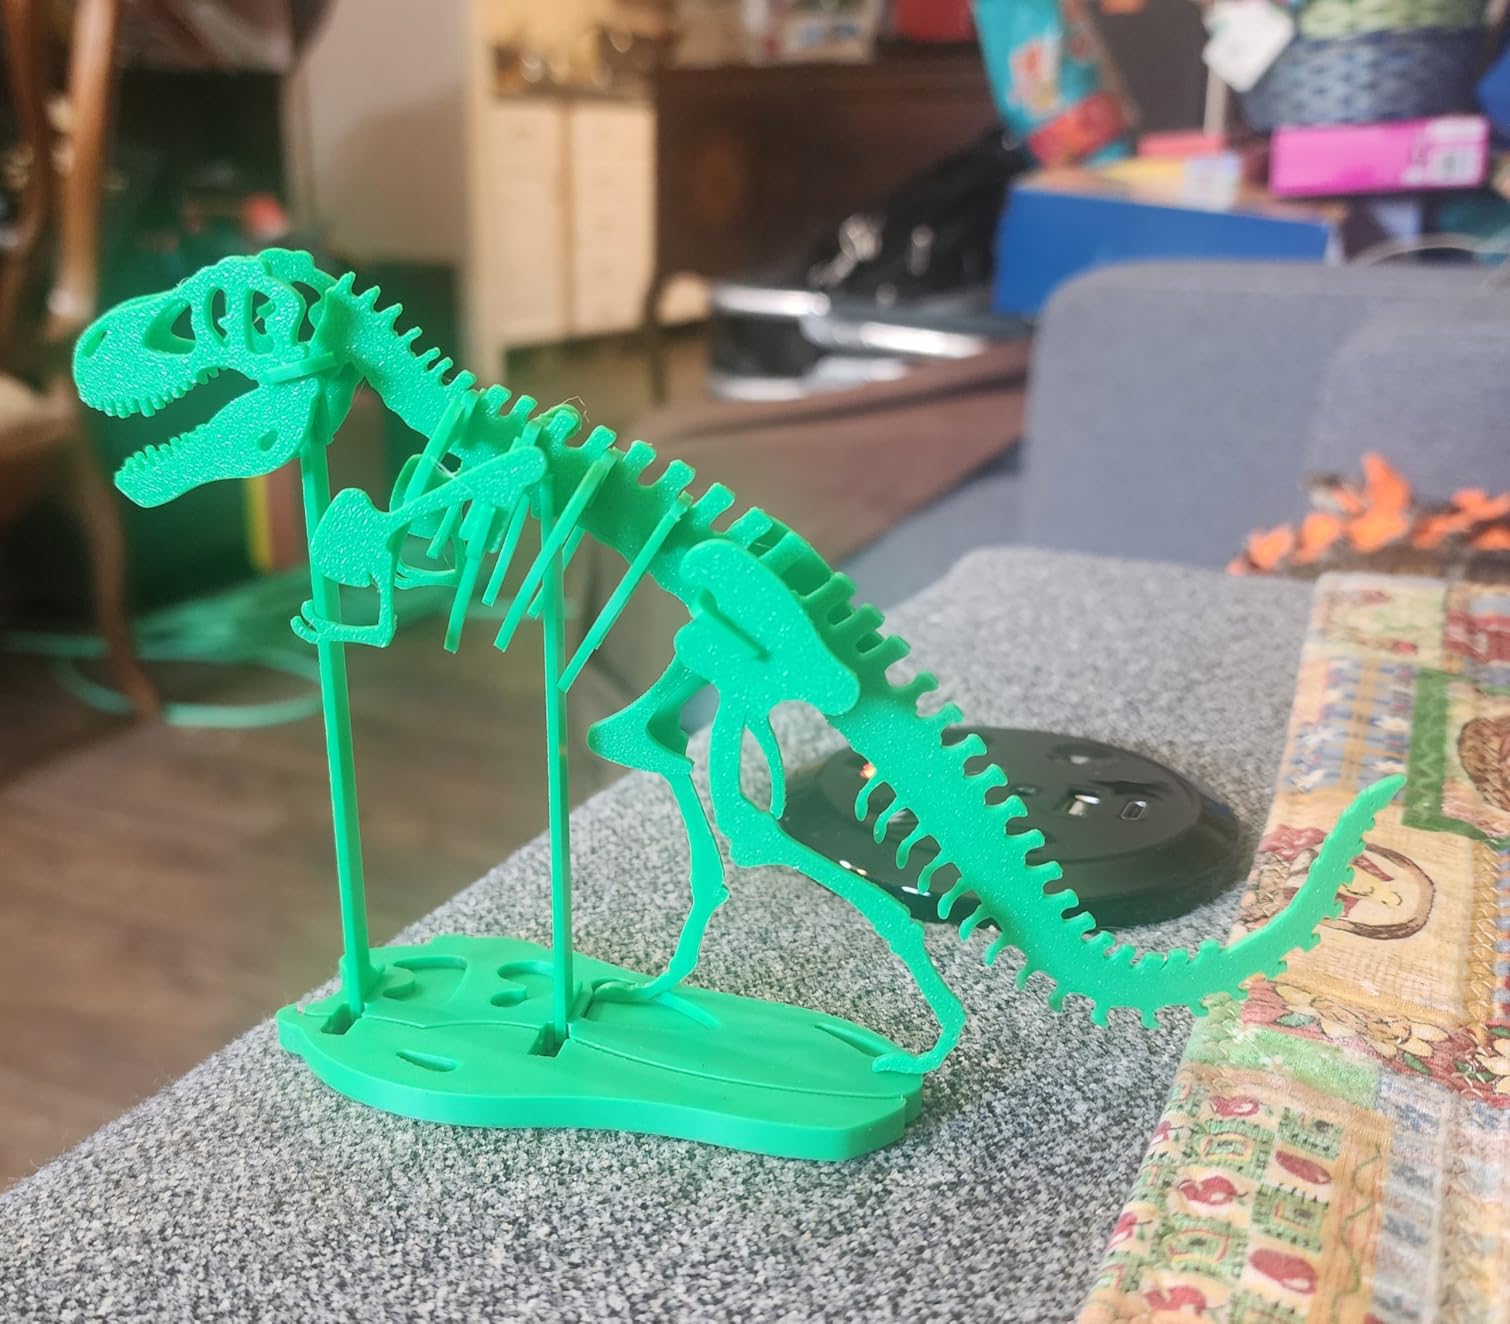
Setup took me about 15 minutes from unboxing to first print. The auto bed leveling is reliable across hundreds of prints. I have run this printer for days at a time during big terrain production runs for convention games, and it just keeps going without needing intervention.
The 260 x 260 x 260mm build volume handles most terrain projects in a single piece. With the optional AMS (Automatic Material System), you can print up to 16 colors in a single piece. Multi-color terrain with no painting required is incredibly satisfying, though it does use more filament due to purge waste.
Ideal Terrain Use Cases
The P1S is perfect for serious hobbyists who print regularly and want reliability. If you produce terrain for an entire gaming group, sell printed terrain, or run convention games with full tables of custom terrain, this printer pays for itself in time saved and quality delivered.
The Bambu Studio slicer is excellent and includes terrain-friendly features like tree supports, which use less material and are easier to remove from complex terrain geometries like overhanging ruins and cave entrances.
What to Watch Out For
TPU flexible filament can be tricky on the P1S. For most terrain you will not need TPU, but if you want to print flexible mats or rubberized bases, expect some trial and error.
If you print ABS or ASA for heat-resistant terrain, you need proper ventilation. The enclosure traps fumes, so place the printer in a well-ventilated area or add a carbon filter. Customer support experiences have been mixed, so buy from a source with a good return policy.
Buying Guide: How to Choose a 3D Printer for Tabletop Terrain?
FDM vs Resin for Terrain
For terrain specifically, FDM is the right choice for almost everyone. Resin printers produce stunning detail for miniatures, but terrain pieces are large and resin gets expensive fast. A resin-printed building could cost $15 to $30 in resin versus $1 in PLA filament. Resin terrain is also brittle and prone to cracking when handled during games.
FDM prints are durable enough to survive being stacked, transported, and handled by players during a session. PLA prints can be dropped without shattering. Every printer on this list is an FDM printer, and that is by design.
Build Volume: Bigger Is Better for Terrain
Build volume is the single most important spec for terrain printing. Standard printers offer around 220mm cubed, which handles most scatter terrain and small buildings. For large pieces like fortress walls or temple ruins, look for 256mm or larger.
The Ender 3 V3 Plus at 300 x 300 x 330mm is the champion here. The ANYCUBIC Kobra X and Bambu Lab P1S both offer 260mm cubed, which is a strong middle ground. Remember that you can always split larger STL files, but printing in one piece saves time and produces stronger, cleaner results.
PLA vs PETG Filament for Terrain
PLA is the default choice for terrain printing. It is cheap, easy to print, takes paint well, and produces minimal warping. A standard 1kg roll of PLA costs around $20 to $25 and prints roughly 15 to 20 medium terrain pieces, making your cost per piece about $1 to $1.50.
PETG is the upgrade choice for terrain that needs to withstand heat or impacts. If you transport terrain in a hot car or play outdoors, PETG resists warping at higher temperatures. It is slightly harder to print than PLA but works well on all six printers on this list.
Slicer Settings for Terrain
For most terrain pieces, a 0.2mm layer height hits the sweet spot between detail and speed. Use 15 to 20% infill for structural pieces like buildings and walls. For scatter terrain that does not bear weight, 10% infill is fine. Three perimeter walls give terrain pieces enough strength to survive regular handling.
Tree supports save material on complex terrain with overhangs. Enable them in Cura, OrcaSlicer, or Bambu Studio. For flat-bottomed pieces like dungeon tiles, a brim helps prevent corners from lifting during long prints.
Cost per Print Analysis
Here is a real breakdown from our testing. A medium fantasy building measuring roughly 100 x 100 x 120mm uses about 60 grams of PLA. At roughly $22 per kilogram, that is about $1.32 in filament. Compare that to a similar commercially produced MDF or resin-cast building at $35 to $50, and the savings are obvious.
Even factoring in electricity (about $0.05 per 10-hour print), your total cost per terrain piece stays under $2. After your first 20 prints, the printer has effectively paid for itself compared to buying terrain retail.
FAQs
What is the best 3D printer for printing tabletop terrain?
For most tabletop gamers, the Bambu Lab A1 mini is the best choice thanks to its full-auto calibration, excellent print quality, and beginner-friendly MakerWorld ecosystem. For larger terrain pieces, the Creality Ender 3 V3 Plus offers a massive 300x300x330mm build volume. The Bambu Lab P1S is the top premium pick for serious hobbyists who want multi-color printing and advanced filament support.
Can you 3D print Warhammer terrain?
Yes, you can absolutely 3D print Warhammer terrain. FDM printers using PLA filament produce durable terrain pieces that are perfect for Warhammer 40k and Age of Sigmar tables. Thousands of free and paid STL files are available for Warhammer-compatible terrain, including ruined buildings, barricades, and battlefield scatter.
Is FDM or resin better for terrain?
FDM is better for terrain in almost every case. Resin prints are brittle, expensive for large pieces, and require messy post-processing. FDM prints cost about $1 to $2 per terrain piece in filament, are durable enough for regular gaming use, and can be printed in sizes that resin printers cannot match. Resin remains the better choice for highly detailed miniatures.
What build volume do I need for terrain?
For standard scatter terrain and small buildings, a 220mm cubed build volume is sufficient. For medium to large terrain pieces like castle walls and temple ruins, look for 256mm or larger. The Creality Ender 3 V3 Plus with its 300x300x330mm volume is ideal for printing large terrain in a single piece without splitting.
Which filament is better for Du0026amp;D terrain, PLA or PETG?
PLA is the best starting filament for Du0026amp;D terrain because it is affordable, easy to print, and takes paint well. PETG is a better choice if your terrain will be exposed to heat or rough handling, such as convention transport in a hot car. PLA costs about $20 to $25 per kilogram, printing roughly 15 to 20 medium terrain pieces per roll.
Final Verdict: Best 3D Printers for Tabletop Gaming Terrain in 2026
After testing all six printers across dozens of real terrain projects, our top recommendation is the Bambu Lab A1 mini for most hobbyists. It delivers unmatched ease of use, reliable print quality, and access to the MakerWorld ecosystem of pre-configured terrain files. For budget-conscious beginners, the Creality Ender 3 V3 SE gets you printing terrain for the lowest cost.
If you need large build volume, the Creality Ender 3 V3 Plus is the clear winner at 300 x 300 x 330mm. And for serious hobbyists who want the best of everything, the Bambu Lab P1S with its enclosed design and multi-color capability is the premium choice that justifies its price tag.
No matter which you choose, the best 3D printers for tabletop gaming terrain all share one thing in common: they pay for themselves within a few months of regular use. A single roll of PLA at $22 can produce $500 to $700 worth of equivalent commercial terrain. That is the real reason to start printing your own terrain in 2026.