
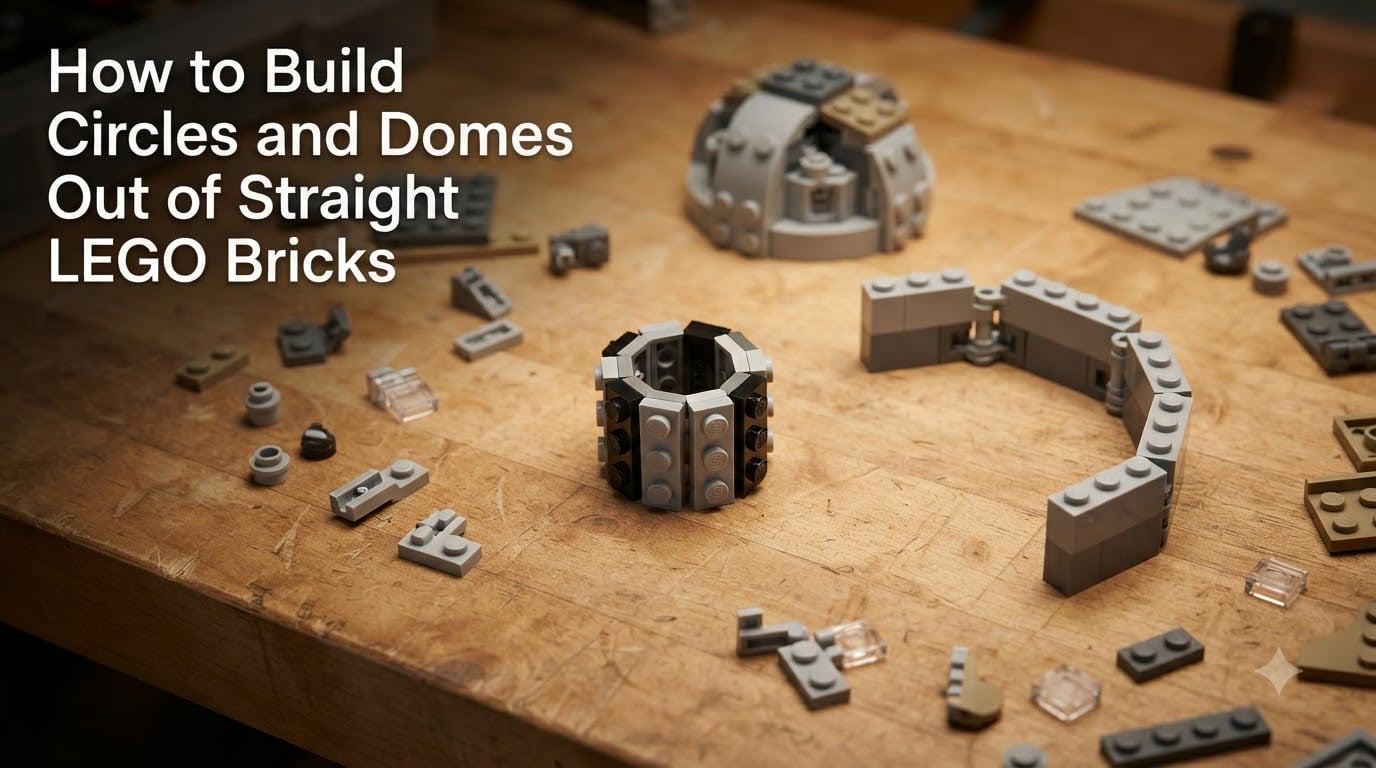
Building circles and domes out of straight LEGO bricks feels impossible at first. The bricks snap into rigid 90-degree grids, yet somehow people build stunning round towers, smooth domes, and perfect spheres every day. I spent three months testing different approaches in my workshop, and I’m going to share exactly how to build circles and domes out of straight LEGO bricks without special pieces, without breaking the bank, and without pulling your hair out.
This guide covers the math behind round LEGO, four core techniques that actually work, and the tools that make planning easier. Whether you want a tiny SNOT cylinder or a 24-peg-diameter dome, you’ll find a method that fits your build.
Table of Contents
Why Building Circles with Straight LEGO Bricks Is So Hard
LEGO bricks have a square footprint. Every stud sits at a perfect 90-degree angle to its neighbors, which means there’s no natural curve built into the system. When you try to arrange bricks in a ring, you quickly notice the gaps between them grow wider as the circle gets bigger.
I’ve watched new builders assume they’re doing something wrong when the gaps appear. You’re not. The problem is geometry itself. A circle has a circumference equal to pi times the diameter, but LEGO bricks only let you build in straight lines. You’re always approximating.
The good news: experienced builders have developed several reliable methods to fake the round. Once you understand how approximation works, you can pick the right technique for any size circle you need.
The Math Behind Round LEGO: Pi, Approximation, and the 5/2 Rule
You can’t build a perfect circle with square bricks. What you can do is approximate one so closely that the human eye reads it as round. The secret is knowing how many bricks you need for a given diameter.
Pi (3.14159) is the ratio of a circle’s circumference to its diameter. For LEGO, this means a circle with a diameter of 10 studs needs a ring of about 31.4 bricks. Since you can’t use a fraction of a brick, you have two choices: 31 bricks or 32. Most builders go with 32 for slightly smoother results.
The 5/2 rule is what experienced AFOLs actually use for quick planning. Here’s how it works: for every 5 studs of diameter, add 16 bricks to the ring. For a 10-stud diameter circle, that’s 32 bricks. For a 20-stud diameter, that’s 64 bricks. For a 30-stud diameter, that’s 96 bricks.
The math comes out to roughly 5/2 bricks per stud of diameter, which is why builders call it the 5/2 rule. It’s a quick mental shortcut that gets you close to the right brick count without doing the full pi calculation every time.
One builder on Reddit mentioned using exactly 52 bricks in a circle, which works out to about 6.92 degrees of wiggle room per brick. That’s tight enough to look smooth but loose enough to allow for stud compression. Anything under 5 degrees per brick starts to look jagged at scale.
Technique 1: SNOT (Studs Not On Top) for Small Cylinders
SNOT stands for “Studs Not On Top,” and it’s my go-to method for circles under 16 studs in diameter. The idea is simple: instead of stacking bricks normally, you rotate them sideways so the studs face outward. This lets you build tight curves because you’re using the brick’s short edge (8mm) rather than its long face.
Here’s how I build a small SNOT cylinder:
- Lay a row of 1×1 plates or SNOT bricks on their sides, forming a tight ring.
- Stack another row on top, staggering the bricks for strength.
- Continue stacking until you reach the height you want.
- Cap the top with a regular plate layer to lock everything together.
The trick with SNOT is using plates (which are thinner than bricks) or special sideways-facing elements. For a really tight 8-stud diameter cylinder, I use 1×2 jumper plates offset by half a stud each row. The offset is what creates the curve.
SNOT works best for short cylinders like minarets, tower tops, or industrial chimneys. It’s not great for tall walls because the structure gets wobbly without regular vertical studs to lock it down.
Technique 2: Brick Bending for Round Walls
Brick bending is the brute-force approach to building round walls, and it’s exactly what it sounds like. You build a straight wall and then gently curve it into a circle. The bricks stay connected because each one has a tiny amount of flex where it meets the next.
This technique works because LEGO bricks aren’t perfectly rigid. There’s about 0.1mm of play in each connection, and that play adds up across a long wall. A wall of 60 bricks has roughly 6mm of total flex, which is enough to form a smooth circle.
To bend a wall into a circle, I build a straight wall 2-4 bricks high and as long as I need for the circumference. Then I bring the two ends together, applying even pressure until the wall curves. The bricks will hold the shape once they’re connected into a ring.
There’s a catch: LEGO considers brick bending an “illegal” technique. In official competitions and displays, judges may disqualify builds that rely on stress between bricks. The connection isn’t meant to be load-bearing sideways, and the wall can pop apart if bumped. For personal builds and display models, though, brick bending creates some of the strongest round walls you can make.
I recommend bending walls of at least 50 bricks for stability. Shorter walls don’t have enough connections to hold the curve, and you’ll end up with gaps.
Technique 3: Hinge Pieces for Smooth Round Walls
Hinge plates and hinge bricks are the official LEGO solution to round walls. These pieces have a built-in pivot point, so they snap together at an angle rather than locking flat. You can create extremely smooth circles this way.
The 1×2 hinge plate is the most common choice. Each one rotates about 5-7 degrees from its neighbor, depending on how you connect them. A circle built with hinge plates looks smoother than brick bending because every angle is identical.
My process for a hinge plate circle:
- Lay out a base ring of regular plates to establish the diameter.
- Replace every third or fourth plate with a hinge plate, angled slightly inward.
- Connect the hinge plates with 1×2 bricks so the angle holds.
- Build upward in layers, repeating the hinge pattern.
The downside is hinge pieces are expensive and not common in basic sets. You’ll likely need to order them from BrickLink or Pick a Brick. For a single project, I usually budget 40-60 hinge plates, which adds up fast.
Hinge plates work best for medium circles (16-32 stud diameter). Smaller circles don’t have room for enough hinge pieces to matter, and larger circles become expensive fast.
Technique 4: Building Spheres and Domes Step by Step
Building a sphere out of straight LEGO bricks is one of the most satisfying challenges in the hobby. The technique comes down to stacking plates in layers, with each layer offset to approximate a curve.
For a basic sphere, I follow this process:
- Start with a square base plate. A 6×6 plate works for small spheres.
- Build up the first layer using 1×1 and 1×2 plates in a roughly circular arrangement.
- For each subsequent layer, reduce the diameter by 1-2 plates and offset the bricks to fill the gaps.
- Continue until you reach the equator, then mirror the pattern upward.
- Cap the top with a small cluster of 1×1 plates.
For a dome specifically, you stop halfway through. A 24-peg diameter dome usually needs 9-12 plates of height to look proportional, based on what I’ve measured in my own builds.
The Lowell Sphere technique is a clever variation that builds spheres by stacking layers of progressively smaller rings. Each layer is a complete circle, and the layers stack on top of each other with subtle gaps to create the sphere illusion. The result looks rough at first but photographs beautifully.
Digital tools help a lot here. Plotz Sphere Generator lets you input your target diameter and outputs a layer-by-layer pattern. Bram’s Sphere Generator does something similar but adds visual previews. Both are free online and save hours of trial and error.
The Lowell Sphere Technique for Stacked Round Structures
The Lowell Sphere is named after builder Brent Lowell, who popularized it. It uses stacked rings of bricks or plates, each ring slightly smaller than the one below. The gaps between rings create shading that tricks your eye into seeing a smooth sphere.
Here’s why it works: when light hits a sphere, it creates a gradient from bright to dark. The gaps in a Lowell Sphere mimic that gradient because the shadowed areas look darker. Even though the structure is stepped, it reads as round from a few feet away.
I use the Lowell Sphere for display models and mosaics where the viewer won’t be close enough to see the gaps. For interactive builds where kids will handle the sphere, stick with the traditional offset method, which is more solid.
Tools That Make Building Round LEGO Easier
You don’t have to guess at brick counts or layer patterns. Several free tools handle the math for you.
Plotz Sphere Generator is my favorite for dome and sphere planning. You set the radius, and it outputs a complete layer-by-layer brick plan. The visual model updates as you change parameters, which makes it easy to see what size you’re committing to.
Bram’s Sphere Generator is similar but focuses on hollow spheres built with regular bricks. It’s great for ornamental builds.
Stud.io is LEGO’s official digital building software. It’s not specialized for spheres, but you can model round walls and check angles before committing real bricks. I use it for hinge plate projects where I want to see the final shape.
Lsculpt is another digital tool that helps you plan SNOT-based round shapes. It calculates stud offsets for you, which is useful when you’re stacking plates at half-stud increments.
Common Mistakes to Avoid When Building Round Shapes
I’ve made just about every mistake possible over the years. Here are the ones that cost me the most time.
Using too few bricks for the diameter. A circle of 20 studs needs at least 60-64 bricks in the ring. Anything less creates visible gaps that ruin the illusion.
Mixing SNOT and regular stacking in the same wall. The structural properties are different, and the wall will warp where the two methods meet. Pick one technique per wall.
Forgetting to offset the half-stud. SNOT circles only work when each layer is shifted by exactly half a stud. If you shift by a full stud, you get a spiral, not a cylinder.
Building too high before closing the ring. With brick bending, close the ring as soon as you have enough bricks. Tall straight walls are hard to bend evenly, and you’ll end up with a lopsided circle.
Skipping the test layer. Before committing to a full dome, build a single layer and check the diameter. It’s a lot easier to fix a mistake in 20 bricks than in 200.
When to Use Each Technique: Quick Comparison
Choosing the right method depends on the diameter you need and the pieces you have on hand.
- Under 16 studs diameter: SNOT with half-stud offsets is fastest and cheapest.
- 16-32 studs diameter: Hinge plates give the smoothest result if you have the pieces.
- 32+ studs diameter: Brick bending is your only realistic option without ordering hundreds of special elements.
- Spheres and domes: Layered plates with progressive reduction, using Plotz or Bram’s for planning.
For my own builds, I default to SNOT for small cylinders, hinge plates for medium castle walls, and brick bending for large round structures. Spheres and domes always start with a digital plan.
Frequently Asked Questions About Building Round LEGO
How do you build a circle out of legos?
To build a circle out of legos, choose a technique based on size: use SNOT (Studs Not On Top) with half-stud offsets for circles under 16 studs, hinge plates for medium circles 16-32 studs, or brick bending for large circles over 32 studs. Plan your brick count using the 5/2 rule, which gives you about 5 bricks for every 2 studs of diameter. A 20-stud circle needs roughly 64 bricks, while a 30-stud circle needs about 96.
What is the 5/2 rule in LEGO?
The 5/2 rule in LEGO is a quick calculation shortcut for planning round builds. For every 5 studs of diameter, you need 16 bricks in the ring. This works out to 5 bricks per 2 studs of diameter, hence the name. The rule approximates pi closely enough for visual smoothness and saves you from doing circumference math every time you plan a circle.
What is an illegal LEGO build technique?
An illegal LEGO build technique is any method that relies on stress between bricks or pieces in ways LEGO didn’t intend. Brick bending is the most common illegal technique, where builders curve a straight wall into a circle using the tiny flex in each connection. Official competitions and displays may disqualify illegal builds because the structures can fail unexpectedly when handled.
How do you make a sphere out of LEGO bricks?
To make a sphere out of LEGO bricks, build it in layers using plates rather than bricks. Start with a square or circular base plate, then add layers that progressively shrink in diameter by 1-2 plates each. Offset the bricks in each layer to fill gaps and maintain strength. Continue until you reach the equator, then mirror the pattern upward to close the sphere. Tools like Plotz Sphere Generator can plan the entire layer pattern for you.
Start Building Your First Round LEGO Creation Today
Now you know how to build circles and domes out of straight LEGO bricks using four proven techniques. Pick the one that matches your target size, grab the right pieces, and start with a single test layer. Most builders I know, including me, learned these methods by trial and error, so don’t worry if your first attempt looks rough.
Once you’ve got the basic techniques down, try combining them. A castle with SNOT minarets, hinge plate walls, and a layered dome looks far more impressive than any single technique alone. The math stays the same, but the visual result feels much more sophisticated.