
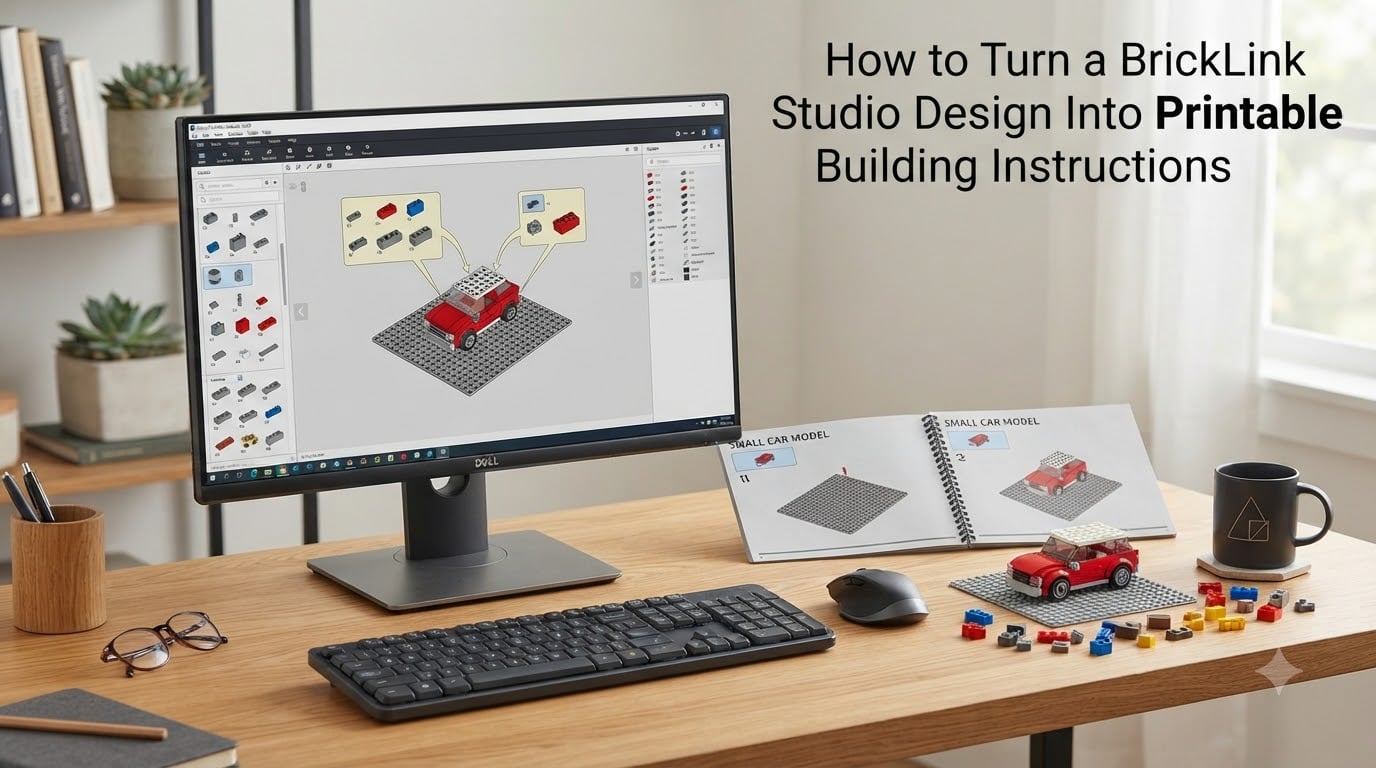
If you have spent hours designing a MOC in BrickLink Studio, the next challenge is documenting it so someone else can build it. I have been there, staring at a finished model and wondering how to turn a BrickLink Studio design into printable building instructions without losing my mind to a tangled Step List.
This guide walks you through the full workflow I use on every MOC I publish. You will learn what the Instruction Maker does, how to prepare your model with submodels so stepping is painless, how to design clean pages with callouts and flip symbols, and how to export a print-ready PDF in 2026. By the end you will have a repeatable process and a checklist of common mistakes to avoid.
Table of Contents
What Is BrickLink Studio Instruction Maker
BrickLink Studio Instruction Maker is a built-in mode that converts your 3D LEGO model into step-by-step digital or printable building instructions. It is included with Stud.io (the desktop version of BrickLink Studio) and uses the same file you already have, so there is no extra software to install.
When you enter Instruction Maker, your design stops being a free-floating build and becomes a book of steps. The Step Editor lets you break the model into logical brick-by-brick stages, and the Page Designer arranges those steps into paginated instructions you can export as PDF or PNG. According to the official BrickLink documentation, the tool was designed so that any builder can publish professional-looking instructions without leaving Studio.
It is worth distinguishing Instruction Maker from the broader studio. Stud.io is the modeling environment where you place bricks, color parts, and test structural integrity. Instruction Maker is a separate mode that treats the same file as a publication project. You flip between the two with a single button on the toolbar, and any change you make in one mode reflects in the other.
Preparing Your Model With Submodels
Submodels are the single biggest time-saver in the whole instruction-making process. A submodel is a named group of parts in your build that can be assembled separately and then attached to the main model. Think of a house with a roof and chimney; both are submodels.
I learned this the hard way. My first few MOCs were built piece-by-piece in whatever order felt natural, and when I opened Instruction Maker I ended up with 90-line Step Lists that no human could follow. Once I started declaring submodels during the design phase, each submodel became its own short instruction sequence, and the main model became a matter of snapping those submodels together. The labor dropped by about half.
To declare a submodel in BrickLink Studio, select the parts that belong together, right-click, and choose “Add to Submodel.” Give it a clear name like “Roof” or “Left Wing.” When you later enter Instruction Maker, each submodel shows up as a separate item in the Step List, and you can decide the order they appear in the final book.
How to Access Instruction Maker
Accessing Instruction Maker takes about five seconds once you know where to look. Here is the most reliable path I have found across recent Studio versions.
- Open your model in BrickLink Studio (the .io file or imported LDR/LDD project).
- Click the Instruction button on the top toolbar. It looks like an open book icon.
- If you cannot find the toolbar button, go to File > Instruction Maker from the menu bar.
- Studio will open the Instruction Maker workspace with your model already loaded.
- To return to the regular building view at any time, click the Building button (a brick icon) or use File > Building Mode.
That five-step entry is the only way in. Once you are inside, the screen splits into a 3D viewport on the left and a Step List on the right. The Step List is empty at first; the next section is where you fill it.
Step Editor Overview and Creating Building Steps
The Step Editor is where you turn a single static model into a sequence of building steps. Each step is a small group of parts added to the previous step, and the build proceeds exactly the way a real person would: place a brick, place the next brick, repeat.
The Step List panel on the right is your source of truth. Every step is a row, and clicking a row jumps the 3D view to that moment in the build. The first row is always empty (your starting point), and each new row shows only the parts that were added at that step, highlighted in color so the builder knows what to grab next.
Manual Step Creation
Manual stepping gives you the most control. Rotate the model, select the parts that should be added next, and click “Move to new step” (or press the keyboard shortcut). The selected parts jump to a new row in the Step List, and Studio remembers the camera position so the next click starts from a natural viewing angle.
Two habits make this dramatically faster. First, pick a small number of parts per step, usually between 1 and 4. Forum users on Reddit and Eurobricks consistently complain that steps with 8 or 10 parts are exhausting to follow. Second, keep the camera still between steps so the builder does not feel like the model is teleporting around the page.
Automatic Step Division
If your model is reasonably clean, you can let Studio try automatic step division. The “Divide into Steps” button in the Step List toolbar walks the model and creates new steps at every part group. It is a great starting point, but I always review the result manually. Automatic stepping tends to clump parts that share a connection, which sometimes produces awkward groupings a human would never build.
Reordering and Editing Steps
Drag and drop rows in the Step List to reorder them. Click any row to return to that moment in the build. To remove a part from a step, drag it back onto the previous step in the list. The step system is fully non-destructive, so experiment without fear.
Page Design Basics: Layout, Callouts, and Flip Symbols
Page Design is where your step-by-step 3D log becomes a readable book. You switch into Page Design from the same Instruction Maker toolbar, and Studio lays your steps out across pages using the default template automatically.
Global Style and Page Setup
Open Page Setup to choose paper size (A4 or Letter), margins, and scale. The scale setting controls how large the model renders on each page. For most home printers, a scale of 0.75 to 1.0 works well; anything smaller and the bricks get hard to read in color. Global Style lets you pick the page background, the highlight color for new parts, and the part-number font style.
Callouts
A callout is a zoomed-in detail of a small area of the model, used when a step is too crowded to read clearly. To add a callout, select the parts you want to enlarge, right-click in the 3D view, and choose “Add Callout.” Studio creates a separate sub-image on the page that shows the chosen parts at a larger scale. Callouts are the single biggest readability upgrade you can make, and they cost almost nothing to add.
Flip Symbols
Flip symbols tell the builder to rotate the model mid-build. They appear as a small arrow icon on the page. Add one by clicking the Flip button in the Page Design toolbar and dragging it to the corner where the rotation should happen. Combined with a callout, flip symbols make complex turns (think underside details) far easier to follow.
Buffer Exchange
Buffer Exchange is a more advanced technique that shows a part being moved, removed, or replaced rather than added. It is great for SNOT (studs-not-on-top) building where pieces slide into place. To use it, drop the moving part into the “Buffer” (an off-page holding area), advance a step, and then bring it back at the new position. Studio will animate the change on the page so the builder sees the motion.
Adding a Parts List and Cover Image
Every professional instruction booklet ends with a parts list and a cover. Studio builds both automatically once you tell it to.
For the parts list, click “Generate Bill of Materials” in the Page Design toolbar. Studio scans the entire model and produces a numbered table grouped by part type and color. You can place the parts list on its own page at the end of the book, or sprinkle it on the relevant steps using inline callouts.
For the cover, Page Design supports a dedicated cover image. Either choose a built-in rendering of your model or upload a custom image you have rendered elsewhere (LDD, Blender, or even a photo of the real bricks). The cover sets the tone for the whole booklet, so I usually spend a few minutes choosing a camera angle that shows off the model from a three-quarter view.
Exporting to PDF or PNG
You can export BrickLink Studio instructions as either PDF or PNG, and the choice depends on how you plan to deliver them.
PDF is the right pick for printing or sharing as a single file. PNG is better if you want to upload individual pages to a gallery, share one step at a time on social media, or build a custom booklet in another tool. The official BrickLink guide recommends PDF for printable instructions because it preserves the page layout exactly.
To export, go to File > Export from inside Instruction Maker. Pick PDF or PNG, choose a resolution (300 DPI for print, 150 DPI for screen), and save with a clear filename. I name files like “Castle-Walls-instructions-v3.pdf” so I can track revisions easily. For home printers, set your printer to “Fit to Page” and use matte paper; the heavy gloss on photo paper makes small 1×1 bricks look like fish-eye lenses and is hard to read.
Common Mistakes and Troubleshooting
After publishing a dozen instruction sets, I have learned that most instruction problems come from the same handful of mistakes. Here are the ones that cost me the most time, and how to fix them.
Your model was built in the wrong order. If you built your MOC by trial and error, the Step List will reflect that chaos. The fix is to enter Instruction Maker, manually reorder steps, and use buffer exchange to push misplaced parts to the right moment. Going forward, plan your build instructions-first.
Steps are too large. Anything over four parts per step is hard to follow. Break larger steps into smaller ones by removing extra parts and clicking “Move to new step” again. The Microsoft Word rule of “one idea per step” applies here too.
Callouts are missing on crowded steps. If a step has parts behind parts, the reader cannot see what they need to place. Add a callout to enlarge the busy area.
The PDF prints at the wrong size. Usually this is a scale issue in Page Setup. Bump the scale to 1.0 and confirm the bricks are the size you expect before exporting the full PDF.
Studio runs slowly with very large models. Over 1,000 parts, Page Design can lag. The workaround is to design the model in submodels and publish the instructions as multiple linked PDFs, one per submodel, plus a short assembly PDF at the end.
Flip symbols point the wrong way. Flip symbols are easy to drop in the wrong corner. Click the symbol, drag it to the new corner, and re-export. Always review the final PDF page by page before sharing.
Frequently Asked Questions
Can I create my own LEGO building instructions?
Yes. You can create your own LEGO building instructions using BrickLink Studio Instruction Maker, which is built into the free Stud.io software. You design the model, switch to Instruction Maker, divide the build into steps, design the page layout, and export to PDF.
What is the app that creates LEGO instructions?
BrickLink Studio (also called Stud.io) is the official free app that creates LEGO building instructions. Its built-in Instruction Maker turns any 3D model into paginated digital or printable instructions.
Is there a way to make your own LEGO instructions?
Yes. Download BrickLink Studio for free, design or import a model, click the Instruction button on the toolbar, divide the model into steps, design the page layout, and export the result as a PDF. Most builders complete a simple instruction set in an afternoon.
Does BrickLink Studio give you instructions?
Yes. BrickLink Studio includes an Instruction Maker mode that generates step-by-step building instructions from any model you create or import. The output can be exported as PDF or PNG for printing and sharing.
Is BrickLink Studio easy to use?
Yes, for anyone comfortable with basic 3D modeling. The Building Mode works like digital LEGO, and Instruction Maker has a gentle learning curve. Beginners should start with a small model and a small parts list to learn the basics before tackling complex MOCs.
Is there an AI LEGO instruction generator available?
No fully automated AI LEGO instruction generator exists today. Some tools can rough out steps from a 3D model, but most builders still use BrickLink Studio Instruction Maker and edit the steps by hand for best results.
How do I download LEGO building instructions from BrickLink Studio?
In Instruction Maker, click File, then Export, and choose PDF or PNG. Pick your resolution, save the file, and your LEGO building instructions are ready to print or share.
Can I generate LEGO instructions from an image?
No reliable tool can generate LEGO instructions directly from a photo. You usually need to rebuild the model in BrickLink Studio first, then run Instruction Maker to produce the steps.
Final Thoughts
Turning a BrickLink Studio design into printable building instructions is a five-stage workflow: plan with submodels, access Instruction Maker, divide into clean steps, design the pages, and export. The hardest part is the middle, where you wrestle the Step List into a sequence a real person can follow. Once you accept that instructions are a separate design task with its own constraints, the rest feels much easier.
Open your favorite MOC, give yourself an afternoon, and run the whole pipeline. By the end of 2026 you will have a printable PDF that anyone can build from, and a workflow you can repeat on every model you publish.