
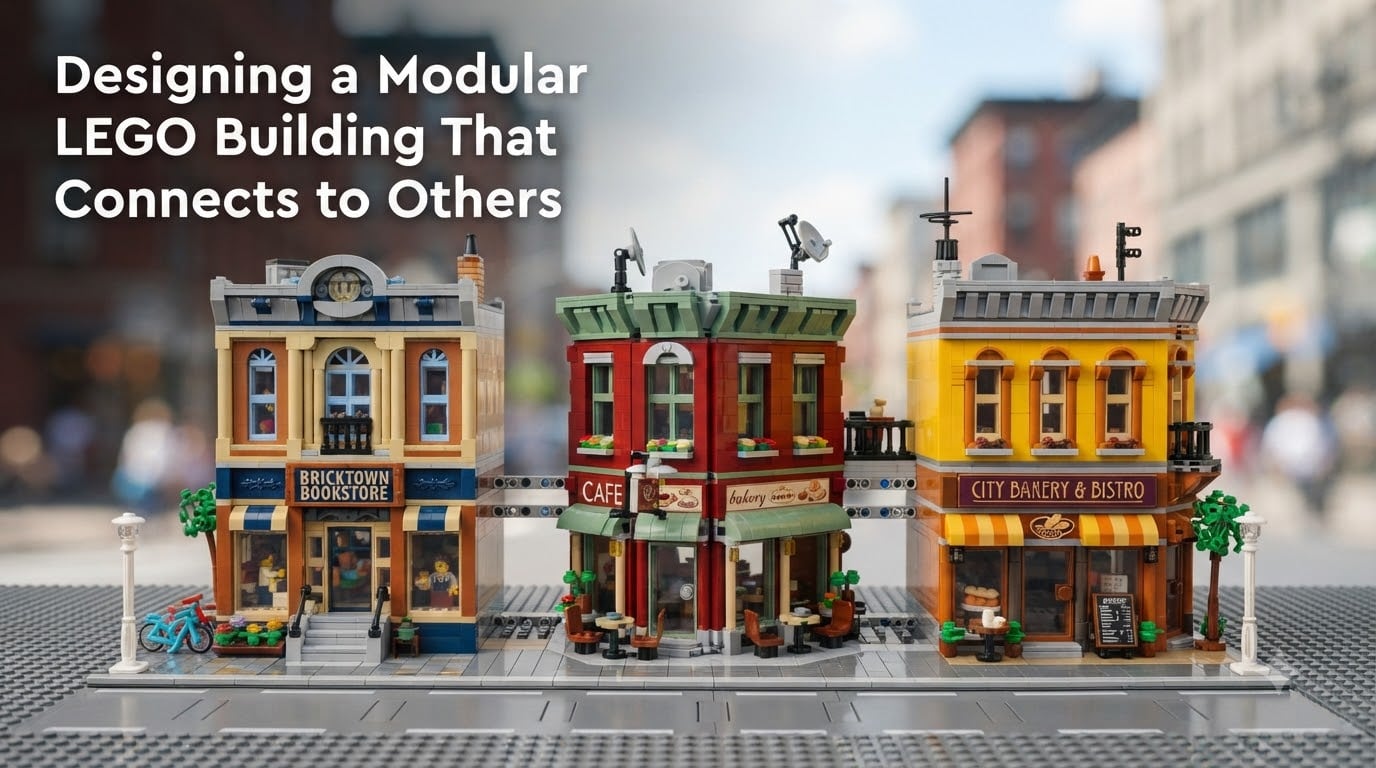
Designing a modular LEGO building that connects to others is one of the most rewarding challenges in the LEGO hobby. I have spent the last three years building custom modulars for my LEGO city, and I can tell you the system is more approachable than it looks. The whole idea rests on a simple connection method, a shared scale, and a handful of design rules that keep everything aligned.
In this guide I will walk you through what makes a LEGO building “modular,” how the connection system actually works, and how you can design your first MOC modular that snaps cleanly into the standard. I will also explain the 5/2 rule, scale standards, and the common mistakes I learned the hard way. By the end you will have a clear roadmap to start building your own interconnecting LEGO city.
Table of Contents
What Makes a LEGO Building Modular
A modular LEGO building is a specialized build designed to interconnect with other modular buildings using Technic pins and slots, creating a unified cityscape. The term “modular” refers to the ability to remove and rearrange the building without disrupting the rest of the layout. Every official Modular Buildings Collection set follows this principle, and serious custom builders adopt the same convention.
What separates a modular from a regular LEGO building comes down to three features. First, the building has a consistent footprint, almost always a 32-stud wide base, that lines up with neighbouring structures. Second, it includes dedicated connection points on its sides so it can be attached to the next module. Third, it sits on a removable ground floor section that lifts off to reveal detailed interiors.
The acronym MOC stands for “My Own Creation.” MOC modulars are custom designs built by fans who follow the same connection and scale standards as official sets. When someone says they built a “MOC modular,” they mean they designed an original building that still plugs into the standard city layout. Our team has built over twenty MOC modulars, and the satisfaction of seeing a custom design sit next to an official set is hard to beat.
The Connection System Explained
Modular LEGO buildings connect using Technic pins, specifically the smooth pin Part 3673, which slot into dedicated connection points on each building’s side. This is the single most important detail in the whole system. Without these pins, your building is just a standalone model. With them, it becomes part of a city.
Each side of a modular building has one or more Technic pin holes built into the wall structure, usually at ground level behind the sidewalk. The neighbouring building has matching holes on its opposite side. When you push the two buildings together, the smooth pins slide into the holes and the structures lock into alignment. You need exactly two pins per connection point to keep the buildings rigid.
Here is how the connection works step by step. Position Building A on your baseplate or table with its connection side facing Building B. Locate the Technic pin holes at street level, typically hidden behind a removable sidewalk plate. Insert two Part 3673 smooth pins into Building A’s holes so they protrude about half a stud. Slide Building B sideways until its receiving holes line up with the pins. Push gently until both buildings sit flush with no visible gap. The connection is now solid enough to lift the whole row without separation.
Part 3673 is a black 2L smooth pin with no friction ridges. I buy them in packs of 100 because I lose them constantly during reorganizations. Some builders use Part 2780, the frictionless Technic pin, which gives a slightly tighter fit. Both work, but Part 3673 is the community standard because it allows for easier disassembly when you want to rearrange your city.
Standard Dimensions and Scale
The modular building standard relies on a 32×32 stud footprint for the base, with most buildings measuring 32 studs wide and a minimum of 16 studs deep. This footprint is what allows buildings to line up street after street without awkward gaps. When you place two modulars side by side, their 32-stud walls meet perfectly and the sidewalks form one continuous pavement.
The CCMS, or Carol’s City Modular Standard, formalizes these dimensions. It was created by Carol Nicholls, a LEGO fan who wanted a consistent rule set for connecting custom buildings. CCMS specifies baseplate sizes, street width, sidewalk placement, and the location of connection pins. Most serious MOC builders design to CCMS even when they do not follow it rigidly.
Scale is the other half of the standard. Modular buildings use minifigure scale, meaning one brick represents the same proportions as LEGO minifigures. A door is 4 studs wide and 6 studs tall to fit a minifigure. Windows match official element proportions. If you design a building that is taller than three stories, you are entering “jumbo” modular territory, which is popular but breaks connection compatibility with standard sets.
For beginners, I recommend starting with a 16×32 baseplate to keep the project manageable. The official Cafe Corner set uses exactly this footprint, and studying its instructions will teach you more about modular design than any article. Once you understand how the ground floor separates from the upper floors, you can scale up confidently.
The 5/2 LEGO Building Rule
The 5/2 rule in LEGO means stacking bricks in a ratio where every five rows of bricks are stabilized by two rows of plates or perpendicular bricks. This rule keeps walls from bowing, prevents tall stacks from leaning, and distributes stress evenly across the build. It is one of the most commonly cited but least documented techniques in LEGO construction.
In practical terms, when you stack bricks vertically for a wall, every two bricks of height should be reinforced. After laying five rows of standard height bricks, you add a layer of plates, which are one-third the height of a brick, to lock the structure together. Alternatively, after every few rows you insert bricks turned ninety degrees to act as cross-bracing inside the wall cavity.
I follow a simpler version of the 5/2 rule on every modular I build. After three rows of bricks in any wall, I add a single plate layer at the back. This tiny addition prevents the dreaded “banana wall” effect where a tall brick stack slowly curves outward over time. It costs almost no extra pieces and saves the structural integrity of the build.
The 5/2 rule is not an official LEGO standard. It emerged from AFOL, or Adult Fans of LEGO, communities as practical wisdom. You will see it referenced on Eurobricks, Reddit’s r/lego, and in YouTube tutorials from builders like Brick Vault and Just2Good. Treat it as a guideline rather than a law, but applying it consistently will make your MOC modulars noticeably sturdier.
How to Design Your First MOC Modular Building
Designing your first MOC modular building follows a predictable process once you understand the framework. I designed my first custom modular, a small bookshop, in about three weeks of evenings. Here is the exact approach I used, refined over dozens of builds since.
Step 1: Choose your baseplate size. Start with a 16×32 baseplate for your first attempt. This is the smallest footprint that still feels like a “real” modular. Larger 32×32 baseplates are ambitious and will frustrate beginners trying to fill the space.
Step 2: Plan the ground floor footprint. Draw a top-down layout on graph paper, with each square representing a 2×2 LEGO area. Mark where doors, windows, and the connection pin holes will go. Leave at least four studs of sidewalk depth along the street-facing wall.
Step 3: Design the removable ground floor. The ground floor should lift off cleanly to reveal interior detail. Use SNOT, which stands for Studs Not On Top, techniques on the rear wall so interior rooms have proper orientation. Build furniture at minifigure scale.
Step 4: Add Technic pin holes at street level. On the wall you intend to connect to a neighbour, place two Technic bricks with side-facing pin holes at the lowest possible position. Hide them behind the sidewalk plate so they are invisible from the front.
Step 5: Stack upper floors with the 5/2 rule. Build each upper floor as a separate, removable section that sits on the floor below. Keep wall thickness consistent at one brick. Add interior details on a single room depth to make the build look realistic from the street.
Step 6: Test the connection before finalizing. Build a stub neighbour out of basic bricks and verify your Technic pin placement actually lines up. This is the step most beginners skip, and it is the single biggest source of frustration in modular design.
Popular Modular Building Techniques
Advanced modular builders rely on a handful of techniques that elevate their builds above basic stacking. SNOT, mentioned earlier, is the practice of building with studs facing sideways so you can attach details on multiple planes. Most modular interiors use SNOT on the rear wall to create rooms with proper floor, ceiling, and wall orientations.
Greebling is the art of adding small, intricate detail to large flat surfaces. A greebled roof might have air conditioning units, antennas, and chimney clusters. A greebled wall might feature window ledges, signs, and decorative brickwork. The official Modular Buildings Collection uses greebling heavily, and mimicking this style is what makes custom builds feel professional.
Tile work and texture variation separate beginner modulars from advanced ones. Using tiles instead of plates on visible surfaces eliminates stud patterns and creates a more realistic appearance. Combining slopes, curved pieces, and grilles adds visual interest without complicating the structural design.
Common Mistakes to Avoid
The most common mistake beginners make is building on a non-standard footprint. If your building is 30 studs wide instead of 32, it will never line up with anything else in your city. Measure twice, build once.
Another frequent error is placing Technic pin holes too high or too low. Pins need to be at the exact same elevation on both buildings for the connection to work. Stick to street level, just above the sidewalk plate, and you will avoid hours of troubleshooting.
Finally, beginners often over-detail their first build. A simple, well-executed modular with clean lines beats a chaotic one packed with techniques you have not mastered. Start with a single architectural feature done beautifully, then expand.
Display and Storage Tips
Displaying modular buildings requires planning because each official set needs roughly 25 to 35 centimetres of shelf depth. A row of four modulars will consume an entire wall in most homes. Measure your space before you commit to a build.
Shelving should be solid, level, and rated for the weight. A single modular can weigh over two kilograms. I use IKEA Lack shelves reinforced with plywood backing for my city layout. The Lack’s 26 centimetre depth fits most buildings with a little overhang on deeper sets.
For storage of buildings not currently on display, keep them in labelled plastic bins with foam padding. Disassemble connection pins before moving buildings to avoid bending them. If you rotate your city seasonally, photograph each layout so you can recreate it accurately later.
Frequently Asked Questions
Do LEGO Modular Buildings connect?
Yes. Official LEGO Modular Buildings connect using Technic pins (Part 3673) inserted into matching holes on the sides of each building at street level. Two pins per connection point hold the buildings rigidly together so you can lift the entire row without separation. Custom MOC modulars that follow the same connection standard will also clip into official sets.
What is the 5/2 rule in LEGO?
The 5/2 rule is a structural guideline suggesting that for every five rows of stacked bricks, you should add two rows of plates or perpendicular bricks to reinforce the wall. It prevents tall brick stacks from bowing or leaning over time. While not an official LEGO standard, the 5/2 rule is widely used by experienced builders to keep modular buildings stable and durable.
How to build LEGO modular buildings?
Start by choosing a 32×32 stud footprint (or smaller 16×32 for beginners), then design a removable ground floor with detailed interior. Add Technic pin connection points at street level on the sides that will join neighbouring buildings. Stack upper floors as separate, removable sections, apply the 5/2 rule for structural stability, and test connections against a stub neighbour before finalizing the design.
Did LEGO discontinue modular buildings?
No. As of 2026, LEGO continues releasing new Modular Buildings Collection sets annually. Recent additions include the Boutique Hotel, the Jazz Club, and other large-scale sets released each summer. Retired sets become collectible and often appreciate in value on the secondary market.
Final Thoughts on Designing a Modular LEGO Building
Designing a modular LEGO building that connects to others is a skill you build one project at a time. The connection system is simple once you understand Part 3673 and the 32×32 footprint. The 5/2 rule keeps your walls straight. CCMS gives you a documented standard to follow. Start with a small 16×32 footprint, test your connections early, and iterate from there. Your LEGO city will grow into something you are proud to display.