
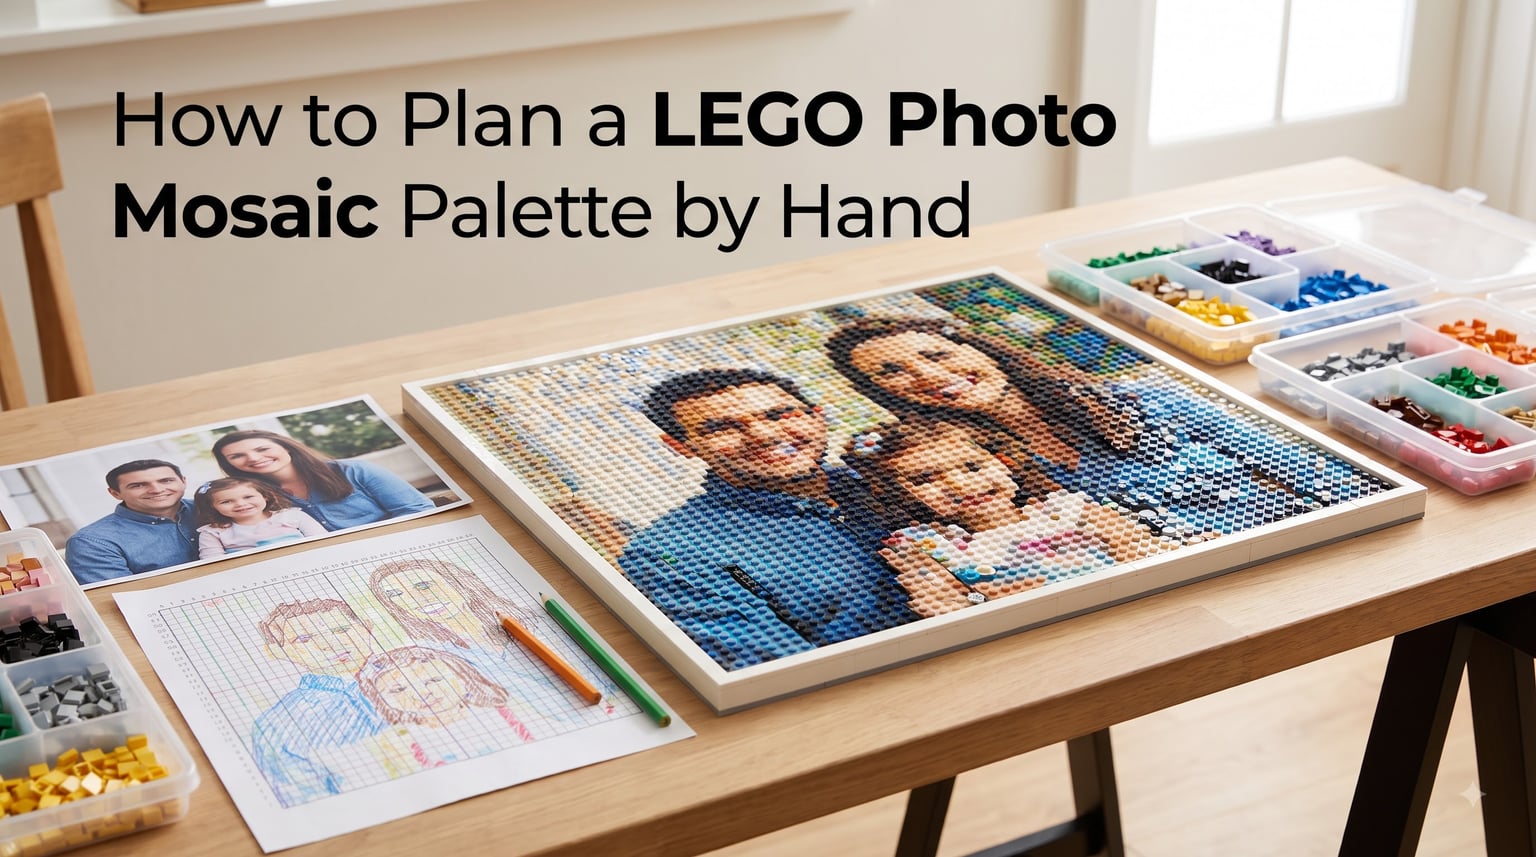
Planning a LEGO photo mosaic palette by hand is the most rewarding way to turn a favorite photo into brick art. I have planned more than 20 mosaics by hand, and the process still feels like solving a colorful puzzle every time.
In this guide, I will walk you through the exact steps I use to plan a LEGO photo mosaic palette by hand without any software. You will learn how to pick the right photo, map pixels to studs, organize your colors, and build a parts list that you can actually source.
By the end, you will have a complete hand-drawn blueprint ready to translate into real bricks.
Table of Contents
What Is a LEGO Photo Mosaic
A LEGO photo mosaic is a 2D picture built entirely from small bricks, plates, or tiles arranged on a grid. Each brick or tile represents one pixel of your source photo, and the color of that pixel becomes the color of the brick.
Most mosaics use 1×1 round tiles or 1×1 plates on a baseplate. The baseplate is the green, gray, or blue LEGO board that holds the studs in a fixed grid and acts as your canvas.
The most common mosaic sizes are 32×32 studs (small), 48×48 studs (standard portrait), and 64×64 studs (large wall art). Anything bigger than 48×48 takes serious time and brick sourcing.
Why Plan a LEGO Photo Mosaic Palette by Hand
Hand planning a LEGO photo mosaic palette gives you complete creative control. When you skip the software, you choose every color yourself instead of letting an algorithm decide.
Here is what I have learned from hand planning my own mosaics over the years.
You understand your color palette. Drawing each square by hand forces you to see every color in the photo. You start to notice subtle gradients you would have missed otherwise.
You save money. Knowing exactly which colors you need lets you buy only what you will actually use. I cut my brick budget roughly in half the first time I planned by hand.
You build skill. Manual mosaic planning teaches you how LEGO art actually works. That knowledge carries over to every future build, including ones you eventually run through software.
You can work anywhere. A printed photo and a sheet of grid paper travel easily. No laptop, no charger, no software updates breaking your workflow.
Choosing the Right Photo for Hand Planning
Photo selection is the single most important decision in LEGO mosaic planning. The wrong photo will fight you at every step. The right photo practically builds itself.
Here are the criteria I use every time I evaluate a photo for hand planning.
High contrast. Pick photos with clear light and dark areas. Contrast translates well to LEGO bricks because the colors stay distinct.
Simple composition. One clear subject beats a busy scene. Portraits, pets, and logos work better than landscapes with dozens of details.
Strong focal point. The eye needs somewhere to land. A face, a logo, or a central object gives your mosaic structure.
Limited color range. Count the major colors. If you see more than 15 distinct shades, the photo is too complex for a beginner hand plan.
Good lighting. Even lighting across the subject prevents weird shadows in the final mosaic. Avoid harsh side lighting that creates dark voids.
Grid Planning Basics: Pixels to Studs
Before you draw anything, you need to understand the math behind grid planning. Each LEGO stud is 8mm wide and 8mm tall, so the grid is perfectly square.
The standard LEGO mosaic portrait size is 48×48 studs, which measures about 38cm by 38cm (roughly 15 inches square). This size gives enough detail to recognize faces while staying buildable in a reasonable time.
To scale your photo, you decide how many studs wide and tall your mosaic will be. Then you divide the photo into that same number of cells. Each cell becomes one brick.
The 5/2 rule explained. The 5/2 rule is a guideline for choosing a mosaic size that reads well from a distance. The idea is that each stud is roughly 5mm and the viewer’s eye needs about 2 meters of viewing distance per 100 studs to see the full image clearly. For a 48×48 portrait, you get sharp detail at 2 to 3 meters, which is perfect for wall display.
For the math, a 48×48 mosaic equals 2304 individual bricks. That is the number you will count against as you plan.
Step-by-Step Process to Plan a LEGO Photo Mosaic Palette by Hand
Below is the exact process I follow to plan a LEGO photo mosaic palette by hand. These steps work for any photo and any size grid.
Step 1: Print your photo at the target size. Scale your chosen photo so it prints at the exact dimensions of your mosaic. For a 48×48 grid, print at 48 cells wide on graph paper, or print the photo and overlay it later.
Step 2: Create your grid overlay. Draw a grid over the photo using a fine marker. Each square on the grid represents one stud. For a 48×48 mosaic, draw 48 squares across and 48 squares down.
Step 3: Identify the color zones. Look at each cell and group similar colors. Use a light touch here. You are not picking the exact brick yet, only the color family.
Step 4: Assign each cell a color code. Use a colored pencil to fill each cell with its color family. Write a simple code (R for red, DB for dark blue, LG for light gray) in a corner of cells where the color is ambiguous.
Step 5: Count each color. Tally how many cells use each color. This count becomes your parts list. A 48×48 portrait typically uses 800 to 1500 bricks of 15 to 25 colors.
Step 6: Simplify your palette. Merge colors that look identical from 2 meters away. If two shades of tan look the same at viewing distance, use one. This step alone often cuts my palette by a third.
Step 7: Match colors to real LEGO parts. Cross-reference your color codes with the LEGO color palette. Common mosaic colors include Black, White, Dark Stone Gray, Light Stone Gray, Medium Blue, Bright Red, and Tan.
Step 8: Build your parts list. Write down each color and the count needed. Format it as a list you can copy into BrickLink or the Pick a Brick wall.
Tools for Hand Planning Your Mosaic
You do not need much to plan a LEGO photo mosaic palette by hand, but a few tools make the process much smoother.
Grid paper (4mm or 5mm). Standard engineering graph paper works well because each square is roughly one stud wide. Print a fresh sheet for every mosaic.
Colored pencils in 30+ colors. Get a big set so you can match your palette accurately. Prismacolor and Faber-Castell both sell sets with enough range.
Fine-tip black marker. Use this for the grid lines. A 0.3mm pen keeps the lines thin enough that they do not take over the cell color.
Plastic sorting trays. Small divided containers keep your color codes organized while you plan. I use 12-section trays from any craft store.
A printed color chart. Print a LEGO color reference sheet showing every available brick color. BrickLink has a free PDF that works perfectly.
Ruler and eraser. Straight lines matter when your grid will hold thousands of bricks. A good ruler keeps everything square.
Building Your Color Palette and Parts List
Once your hand-drawn plan is finished, the next step is turning the color codes into a real parts list you can actually order.
Group your counts into LEGO color families. I sort mine into skin tones, backgrounds, hair, clothing, and accents. Each group usually needs 3 to 6 shades.
Match each color code to a specific LEGO element. The standard mosaic element is a 1×1 round tile (part 98138), but 1×1 plates (part 3024) work too and cost less.
Calculate how many of each part you need. For a 48×48 mosaic, expect the dominant color to use 300 to 500 bricks, secondary colors 100 to 200, and accents 20 to 50.
Source your bricks from Pick a Brick for common colors in small quantities. Use BrickLink for large orders, bulk lots, or rare shades. Many builders also use the official Mosaic Maker set parts lists as a starting point.
Common Mistakes to Avoid
I have made every mistake in the book while planning mosaics by hand. Here are the ones that cost me the most time and money.
Choosing too many colors. A 48×48 mosaic with 40 colors is a sourcing nightmare. Cap your palette at 20 to 25 colors for a smooth build.
Ignoring the 5/2 rule. A tiny mosaic looks like noise. A huge mosaic takes months. Aim for 48×48 unless you have a specific reason to go bigger or smaller.
Skipping the simplification step. Do not skip step 6. Merging similar shades is what separates a clean mosaic from a muddy one.
Forgetting the baseplate size. Standard baseplates are 32×32 studs. A 48×48 mosaic needs two baseplates joined, or a custom board from BrickLink.
Not testing colors first. Always hold your chosen bricks together under good light before you start building. Colors that look fine in isolation can clash badly next to each other.
How Long Does Building Take
Build time depends on size, complexity, and experience. A 32×32 mosaic takes a beginner about 8 to 12 hours. A 48×48 portrait takes 20 to 35 hours. A 64×64 mosaic can run 60+ hours spread over several weeks.
Hand-planning your mosaic upfront saves build time. Builders who plan by hand typically finish 20 to 30 percent faster than those who figure it out as they go.
Frequently Asked Questions
How to make a mosaic LEGO picture?
To make a mosaic LEGO picture, choose a high-contrast photo with a clear subject. Print the photo and overlay a grid where each cell represents one stud. Color each cell with the closest LEGO color, count the colors, simplify your palette, then build the mosaic one stud at a time on a baseplate.
What is the 5/2 rule in LEGO?
The 5/2 rule in LEGO mosaics means each stud is roughly 5mm wide and viewers should stand about 2 meters back per 100 studs of mosaic width to see the full image clearly. For a standard 48×48 portrait, this works out to about 2 to 3 meters of viewing distance for sharp detail.
How long does it take to build a LEGO mosaic?
Building a LEGO mosaic takes 8 to 35 hours depending on size. A 32×32 mosaic takes a beginner about 8 to 12 hours. A 48×48 portrait takes 20 to 35 hours. A 64×64 mosaic can take 60 or more hours spread over several weeks.
What size is the LEGO mosaic portrait?
The standard LEGO mosaic portrait is 48×48 studs, which measures about 38cm by 38cm or roughly 15 inches square. This size gives enough detail to recognize faces while staying buildable in a reasonable time. The official Mosaic Maker set uses the same 48×48 dimensions.
How many colors do I need for a hand-planned mosaic?
A 48×48 hand-planned mosaic typically uses 15 to 25 colors after simplification. Beginners should start with 12 to 18 colors. More than 30 colors becomes expensive and time-consuming to source. The simplification step is where you merge similar shades to keep the palette manageable.
Final Thoughts on Hand Planning
Learning to plan a LEGO photo mosaic palette by hand is a skill that keeps paying back. Every mosaic you plan teaches you more about color, composition, and how LEGO art works at the brick level.
Start with a small 32×32 mosaic for your first hand-planned project. Pick a simple photo with bold colors. Walk through the eight-step process above. Build the parts list. Order the bricks.
When you finish that first mosaic, you will have a blueprint method that works for every photo you ever want to turn into brick art.