
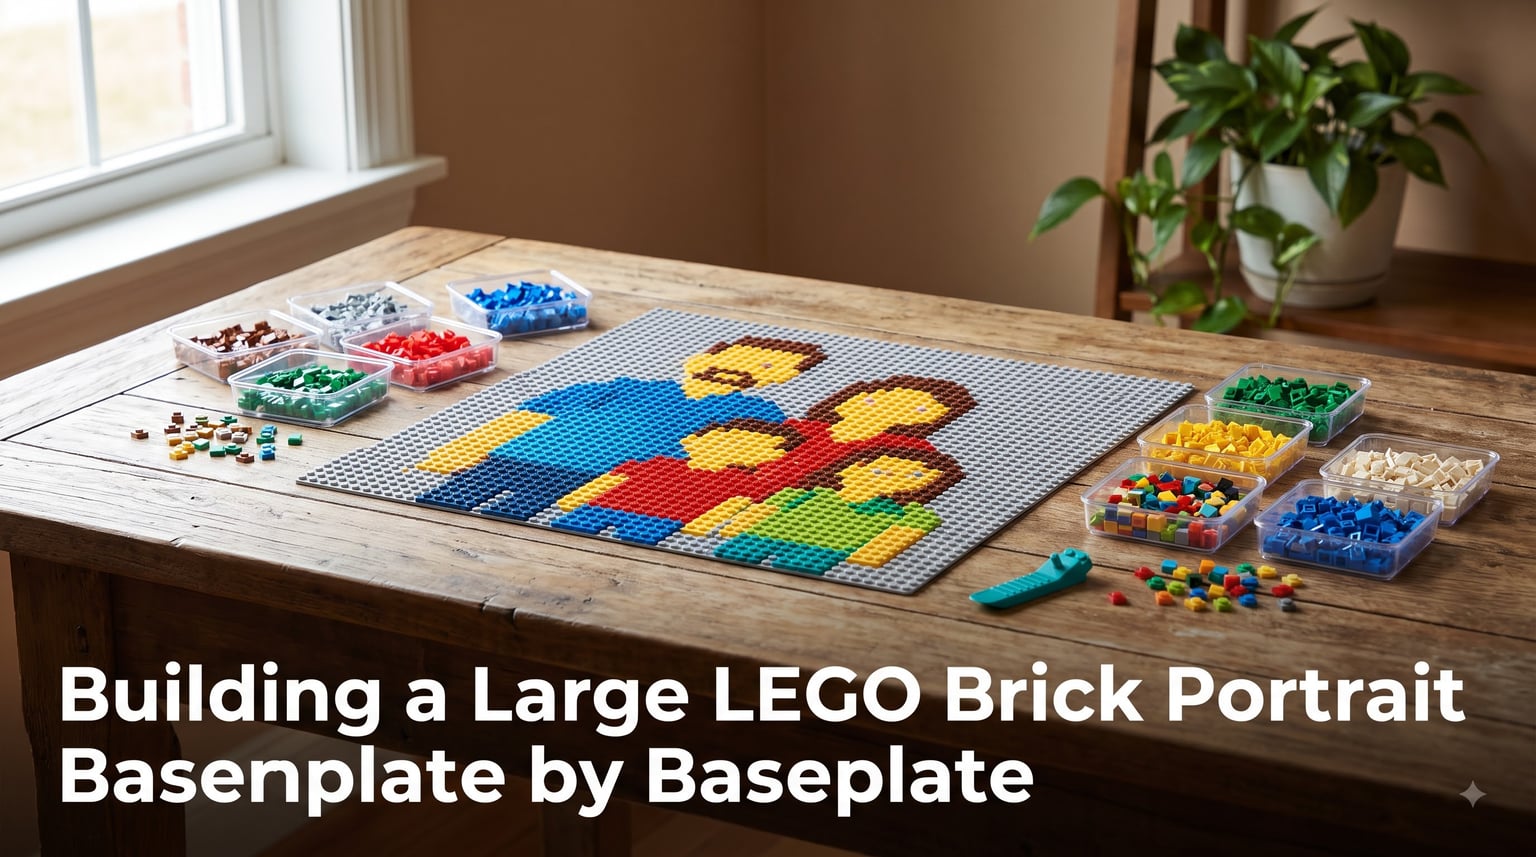
I built my first LEGO brick portrait baseplate on a rainy weekend about four years ago. I had a faded photo of my grandfather, a stack of gray baseplates, and no idea what I was getting into. Two months and roughly 9,000 plates later, I had a 48×48 mosaic hanging in my hallway. That single project taught me more about patience, planning, and pixel art than any YouTube tutorial ever could.
If you have ever wanted to turn a photo into a LEGO masterpiece, this guide walks you through the entire process. We will cover what a LEGO brick portrait baseplate actually is, the tools you need, how to choose the right size, where to source your bricks, and the exact step-by-step method I use to build mine. By the end, you will have everything you need to start your own LEGO brick portrait baseplate project, whether you are a first-timer or a seasoned AFOL.
Table of Contents
What Is a LEGO Brick Portrait Baseplate
A LEGO brick portrait baseplate is a mosaic artwork built by placing small 1×1 LEGO plates onto a flat baseplate, with each plate acting like a single pixel in a larger image. Think of it as pixel art, except every pixel is a real LEGO piece that snaps onto the studs of your baseplate.
The baseplate itself is the foundation. It is a thin, flat LEGO plate covered in studs where you can attach other pieces. Standard sizes include 32×32 studs and 48×48 studs, and you can combine multiple baseplates to create larger canvases. The portrait comes together when you fill the studs with 1×1 plates in different colors, building up your image row by row.
This technique has been around for years and was popularized by LEGO’s own Mosaic Maker set, which included a 48×48 baseplate and 4,500 1×1 plates in five colors. Since then, builders around the world have pushed the format to thousands of studs wide using free tools and individually purchased bricks. The result is wall art that is genuinely yours, from the colors to the final frame.
Tools and Materials You Will Need
Before you start a LEGO brick portrait baseplate, gather your supplies. I keep a dedicated bin for mosaic projects so nothing gets lost between builds.
Physical Supplies
- One or more LEGO baseplates in gray, green, or white
- 1×1 plates in your chosen color palette, ranging from 1,000 to 12,000 or more
- A large, flat work surface with good lighting
- Small sorting trays or muffin tins for organizing colors
- A brick separator for removing misplaced plates
- Optional Technic bricks for structural support behind the mosaic
Digital Tools
- A computer or tablet with internet access
- Your source photo in high resolution and well lit
- A photo editor for cropping and contrast adjustments
- A LEGO mosaic conversion tool covered in detail below
- A spreadsheet or printed pattern for tracking progress
I also recommend a roll of painter’s tape and a Sharpie. I label my sorting trays by color number, which saves me from guessing between Light Bluish Gray and Medium Bluish Gray at 11 p.m.
Choosing the Right Baseplate Size
The size of your LEGO brick portrait baseplate determines how detailed your finished piece will be. The two most common starting points are 32×32 studs with 1,024 total plates and 48×48 studs with 2,304 plates. Larger projects combine multiple baseplates into a grid.
A 32×32 baseplate works well for simple icons, pet portraits, or pixel-style logos. It is fast to build and forgiving on your brick budget. A 48×48 baseplate is the sweet spot for most human portraits. It offers enough resolution to capture facial features while staying manageable.
For ambitious builds, I have used combinations of 48×48 baseplates to create mosaics up to 144×96 studs. Each additional baseplate roughly doubles your build time and material cost, so plan accordingly. The biggest official LEGO baseplate is 50×50 studs, and you can pair them seamlessly because LEGO’s stud spacing is consistent across every piece ever made.
Selecting and Preparing Your Image
The image you choose makes or breaks your LEGO brick portrait baseplate. Not every photo translates well into mosaic form. After dozens of failed experiments, I follow three rules every time.
First, use high-contrast photos with clear lighting on the face. Side lighting creates shadows that confuse the conversion tool. Second, crop tight around the subject. Empty background adds studs you have to fill but does nothing for the composition. Third, choose photos with simple backgrounds. Busy backgrounds turn into muddy patches of color when pixelated.
Before uploading, run your photo through a basic editor. Bump the contrast slightly, sharpen the eyes and mouth, and convert to RGB color mode. Most conversion tools work better with files between 200KB and 2MB. Save your edit as a PNG to preserve quality.
If you are working with a group photo or full-body shot, plan for a larger canvas. Faces that are too small on the baseplate lose definition. I aim for at least one stud per three to four pixels in the source image for clean results.
Best Conversion Tools for LEGO Mosaics
Conversion tools turn your photo into a stud-by-stud pattern and a parts list. Here are the four I rotate through, depending on the project.
LEGO Mosaic Maker (Official)
LEGO’s official Mosaic Maker is the easiest entry point. It limits you to five colors, which forces a duochrome or stylized look. The output is clean, beginner-friendly, and the parts list is compatible with LEGO’s Pick a Brick service. Best for first projects and stylized portraits.
LEGO Art Remix
Released alongside the LEGO Art line, Art Remix gives you more color options and slightly larger canvas sizes. It works directly in your browser and exports both an image and a building grid. Best for fans of the official LEGO Art aesthetic.
BrickLink Studio
BrickLink Studio is a free, downloadable design tool used by serious builders. It supports unlimited colors, custom canvas sizes, and generates shopping lists optimized for BrickLink’s marketplace. Best for large custom projects with full-color palettes.
Bricks Camera and Similar Apps
Mobile apps like Bricks Camera let you preview a LEGO conversion on your phone in seconds. They are great for testing images before committing to a full build. They are not as accurate as desktop tools, but they are perfect for quick experiments.
For my own 48×48 family portraits, I default to LEGO Mosaic Maker for clients who want a clean duochrome look and BrickLink Studio when a project demands more than five colors.
Step-by-Step Building Process
Once your pattern is generated and your bricks are sorted, it is time to build. I follow this same six-step process for every LEGO brick portrait baseplate I tackle.
Step 1: Prepare Your Workspace. Lay your baseplate flat on a clean table with the studs facing up. Place your printed or digital pattern within easy reach. Sort your plates by color into separate containers so you can grab them without looking.
Step 2: Start With Background Colors. Begin with the largest continuous color blocks, usually the background. Filling these first prevents you from accidentally trapping a missing piece later.
Step 3: Work Row by Row. Build one full row of studs at a time, left to right. This keeps your pattern reference aligned with the actual build and reduces the chance of misplacing a plate.
Step 4: Leave Face Details for Last. Eyes, mouths, and small features are the most error-prone. I leave these areas partially empty until the surrounding colors are set, then come back with a steady hand.
Step 5: Press Down Each Row. After every three or four rows, run your palm across the surface to make sure every plate is fully seated. Half-pressed plates can pop off later during display.
Step 6: Add Structural Backing (Optional). For mosaics larger than 48×48, I attach Technic bricks along the back edges to keep the baseplates aligned and the whole piece rigid. This is the difference between a display-worthy mosaic and a wobbly one.
Color Palette and Brick Sourcing Tips
Where you buy your bricks has a big impact on your final cost and color accuracy. For small projects, LEGO’s Pick a Brick service is convenient. For larger builds, BrickLink and BrickOwl offer better prices and a wider color range from individual sellers worldwide.
When choosing your color palette, start with the colors in your reference image and then reduce. A 48×48 mosaic in 12 colors looks gorgeous but requires roughly 200 plates per color. A 5-color version is faster to build and has a recognizable, poster-like style. I have done projects with 2 colors, a true duochrome, that look surprisingly modern on a wall.
Pro tip: order 10 percent extra plates in every color. You will lose a few to the carpet monster, and running out mid-build is frustrating. I learned this the hard way on a 96×64 commission for a local brewery.
Mounting and Displaying Your Finished Mosaic
Mounting is the step most guides skip, and it is also where most projects fall apart. A LEGO brick portrait baseplate is heavy and fragile along the seams between baseplates.
For pieces up to 48×48, I attach Command Strips to the back and hang directly on the wall. For larger mosaics, I mount a thin plywood backing using low-strength hot glue along the edges, then hang the whole panel with a French cleat. Command strips alone cannot hold the weight of anything bigger.
Avoid direct sunlight. UV rays fade LEGO colors over time, especially reds and yellows. I keep my own mosaics on interior walls away from windows, and so far the colors look identical to the day I finished them.
Common Mistakes to Avoid
After building dozens of these, I have made every mistake in the book. Here are the four that cost me the most time.
Skipping the image prep step. A blurry source photo becomes a blurry mosaic no matter how good your tools are. Spend ten minutes editing before you upload.
Building without sorting first. Hunting for a single color across a pile of unsorted plates is exhausting. Sort everything before you start.
Ignoring stud direction. 1×1 plates have a subtle arrow on top. Point them all the same direction for a uniform finish. Builders often notice this on close inspection.
Mounting before testing. Always do a dry run by placing the mosaic on a flat surface and gently pressing on the edges. If anything flexes, reinforce it before it goes on the wall.
Frequently Asked Questions
What is the biggest size LEGO base plate?
The largest standard LEGO baseplate is 50×50 studs (item 3811). Most builders combine multiple baseplates to create larger canvases, since LEGO’s stud spacing is consistent across every piece. Common combinations include two 48×48 plates side-by-side for a 96×48 mosaic.
What is the 5/2 rule in LEGO?
The 5/2 rule in LEGO mosaic design refers to the practice of limiting your color palette to roughly five colors for the main subject and using two accent colors for highlights and shadows. This keeps the parts list manageable and creates a stylized, poster-like look.
How to build a giant LEGO brick?
To build a giant LEGO brick, snap together multiple standard bricks of the same type until you reach your desired size, then add plates on top to fill the stud pattern. For mosaics, you build horizontally and vertically by attaching 1×1 plates to a baseplate in a grid, working row by row until the image is complete.
How to build a LEGO portrait?
To build a LEGO portrait, choose a high-contrast photo, upload it to a conversion tool like LEGO Mosaic Maker or BrickLink Studio, generate the pattern and parts list, sort your bricks by color, then build the mosaic row by row on a baseplate. Most portraits take between 8 and 40 hours depending on size and detail.
Start Your Own LEGO Brick Portrait Baseplate Project
Building a LEGO brick portrait baseplate is one of the most satisfying projects in the hobby. You get a piece of personalized wall art, the joy of the build itself, and a finished mosaic that can be rebuilt, modified, or gifted. Pick a photo that means something to you, choose your baseplate size, and start with a small 5-color version before scaling up.
Whether you build for yourself, for a wedding guest mosaic, or as a gift for someone special, the process is the same. Sort, plan, build row by row, and enjoy the slow satisfaction of watching pixels become a face. If I can turn my grandfather’s photo into wall art on my kitchen table, you can too.