
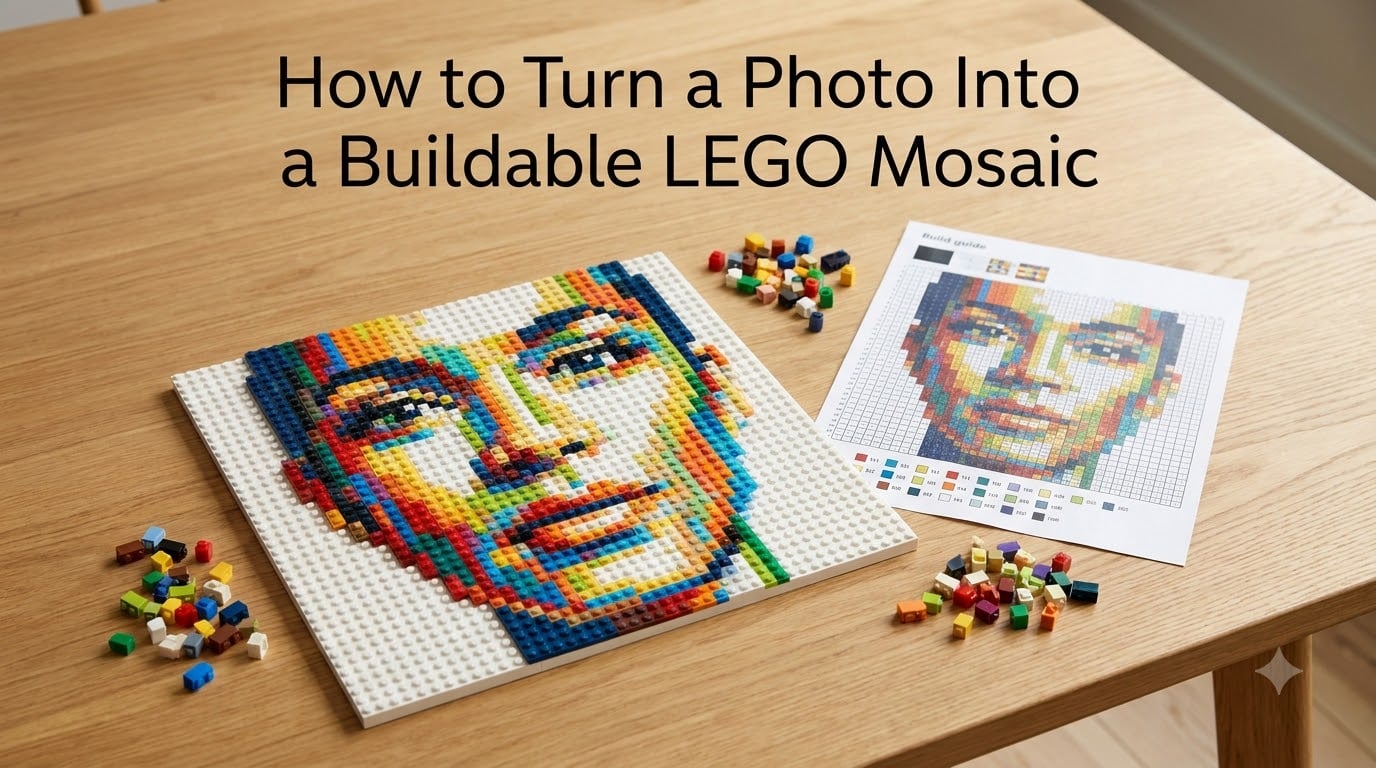
I have built dozens of LEGO mosaics over the years, from simple pet portraits to large wedding-guest wall pieces. Every single one started the same way: a photo I loved and a free online tool that converted it into a buildable grid. If you have ever wondered how to turn a photo into a buildable LEGO mosaic, the process is surprisingly straightforward once you know the right steps and tools.
A LEGO mosaic is essentially pixel art made from real bricks. Each 1×1 brick or tile represents one pixel of your original image. The result is a tangible, frameable piece of custom LEGO wall art that you built with your own hands.
In this guide, I will walk you through every step from choosing the right photo to sourcing the exact bricks you need. I will also compare the best free mosaic maker tools available in 2026 so you can pick the one that fits your project.
Table of Contents
What Is a LEGO Mosaic?
A LEGO mosaic is a pixelated image recreated using small LEGO bricks, plates, or tiles arranged on a baseplate. Each individual stud acts as a single pixel in the finished picture. When you step back, the colors blend together to form a recognizable image.
The term “brickify” has become popular shorthand for this process. When you brickify an image, you are converting its pixels into a grid of LEGO studs using a mosaic maker tool.
LEGO mosaics differ from official LEGO Art sets in one key way. LEGO Art sets come with pre-designed patterns and a fixed parts list. A custom mosaic lets you use any photo you want, giving you complete creative freedom over the subject and size.
How to Turn a Photo Into a Buildable LEGO Mosaic: Step-by-Step
Here is the exact seven-step process I follow every time I create a new mosaic. Each step builds on the previous one, so work through them in order for the best results.
Step 1: Choose and Prepare Your Photo
Start with a high-quality image that has clear contrast and a strong focal point. Portraits of people and pets are the most popular subjects because faces are instantly recognizable even at low resolution.
Crop your photo tightly around the subject before uploading it. Any background detail will eat into your limited pixel budget and distract from the main image. I usually crop to a square or a 16×9 ratio depending on how many baseplates I plan to use.
Avoid dark or shadowy photos. Mosaic tools reduce your color palette significantly, so images with bright, even lighting convert much better. If your photo has harsh shadows on one side of a face, the finished mosaic will lose detail in those areas.
Step 2: Choose a Mosaic Maker Tool
You need a tool that converts your photo into a LEGO-compatible pixel grid. The most popular free options in 2026 include MakeBead, BrickLink Studio, Lego Art Remix, and the official LEGO Mosaic Maker on LEGO.com.
For beginners, I recommend MakeBead because it runs in your browser with no software to install. For more control over color palettes and brick types, BrickLink Studio is the better choice. I cover the differences in detail in the tool comparison section below.
Step 3: Upload Your Photo to the Tool
Open your chosen tool and look for an upload or import button. Most tools accept JPG and PNG files. Some, like BrickLink Studio, also let you paste an image URL directly.
Once uploaded, you will see your photo appear in a preview window. This is where you can crop, rotate, or reposition the image before the tool converts it into a mosaic pattern.
Step 4: Select Your Baseplate Size
Your baseplate size determines the resolution of your finished mosaic. A single 32×32 stud baseplate gives you 1,024 pixels to work with, which works for simple designs. For portraits and detailed images, I recommend at least a 48×48 baseplate, which provides 2,304 pixels.
Large wall pieces often use multiple baseplates connected together. A 2×2 grid of 48×48 baseplates gives you roughly 9,200 pixels, which is enough for a detailed family portrait that looks great from across a room.
Step 5: Adjust Colors and Settings
Most tools let you limit the number of colors used in the mosaic. Fewer colors mean a simpler build and fewer unique bricks to source, but more colors produce a more detailed image.
I typically start with 12 to 16 colors and adjust from there. If the preview looks muddy or indistinct, increase the color count. If the parts list becomes overwhelming, dial it back.
Some tools also offer dithering options, which simulate gradients by alternating brick colors in a checkerboard pattern. Dithering can dramatically improve how skin tones and skies look, so experiment with it.
Step 6: Export Your Build Guide and Parts List
Once you are happy with the preview, export a build guide. This is typically a PDF that shows a numbered grid of where each colored brick goes, along with a complete parts list broken down by color and quantity.
Save both the visual build guide and the parts list. You will need the parts list when ordering bricks, and the visual guide is what you follow while building.
Step 7: Source Your Bricks and Build
Take your parts list to BrickLink, the LEGO Pick a Brick store, or a bulk brick seller. BrickLink is the most cost-effective option for sourcing specific colors in quantity. I cover sourcing strategies in detail later in this guide.
Once your bricks arrive, lay out your baseplate and follow the build guide one row at a time. I like to sort my bricks by color first, then work from the top left corner down to the bottom right. Most mosaics take between 4 and 12 hours to build depending on size.
Best Free LEGO Mosaic Maker Tools Compared
There are four tools I rotate between depending on the project. Each one has different strengths, and understanding the trade-offs will save you time and frustration.
MakeBead is a free browser-based tool that accepts any photo and generates a mosaic with a parts list and PDF build guide. It supports multiple baseplate sizes and includes a color limit slider. This is the tool I recommend for first-timers because there is nothing to install and the interface is minimal.
BrickLink Studio is a full LEGO design application with a dedicated mosaic feature. It offers the deepest control over color palettes, brick types (plates, tiles, or bricks), and includes a built-in price estimate based on current BrickLink market prices. Studio is ideal if you want professional-level results and do not mind downloading software.
Lego Art Remix is a unique tool designed specifically for people who already own a LEGO Art set. You upload your own image and the tool maps it to the exact studs and colors from your existing set. This means you can build a custom image without buying any new bricks.
LEGO Mosaic Maker on LEGO.com is the official option tied to product 40179. It produces a digital building grid from your uploaded photo. While the experience is polished, it is tied to a specific product and offers less flexibility than the community tools above.
Choosing the Right Baseplate Size
Your baseplate size is the single biggest factor in how your finished mosaic looks. More studs means more pixels, which translates to a sharper and more detailed image.
For a simple logo or geometric design, a single 32×32 baseplate with 1,024 studs is usually enough. For a recognizable portrait, step up to 48×48 studs (2,304 pixels) at minimum. For detailed faces or large wall art, use multiple 48×48 baseplates connected together.
Here is a quick reference based on projects I have built. A 32×32 mosaic uses roughly 1,000 1×1 bricks and costs between $15 and $30 in parts. A 48×48 single-plate mosaic needs about 2,300 bricks and runs $35 to $60. A 2×2 grid of 48×48 baseplates (about 9,200 studs) can cost $100 to $200 depending on your color palette.
Keep in mind that rarer colors cost more on the secondary market. Sticking to common LEGO colors like white, black, red, blue, yellow, light bluish gray, and dark bluish gray will keep your costs down.
Where to Source LEGO Bricks for Your Mosaic
Getting the right bricks in the right quantities is the part that trips up most beginners. Here are the three channels I use, ranked by value.
BrickLink is the largest secondary marketplace for LEGO parts. You can search by color and part type, then buy from individual sellers around the world. The Want List feature lets you upload your entire parts list and find sellers who stock everything you need. This is almost always the cheapest option for large mosaics.
LEGO Pick a Brick is the official LEGO store for individual parts. Prices are higher than BrickLink, but you get brand-new pieces with consistent color quality. Pick a Brick is best when you need a specific color that is hard to find on the secondary market.
Bulk lots from eBay, local marketplaces, or used LEGO stores can be a great deal if your mosaic uses common colors. I once built an entire 48×48 mosaic from a single bulk lot I bought for $25. The trade-off is that you have to sort through pieces to find what you need.
Tips for the Best Photo Results
The quality of your finished mosaic depends heavily on the photo you start with. Here are the practices I have learned from building dozens of mosaics.
Choose photos with a single, clear subject. Busy backgrounds with lots of detail get lost at low resolution and make the mosaic look cluttered. A clean portrait against a plain wall will always produce a better result than a photo taken at a crowded event.
Use high-contrast lighting. Faces should be well-lit from the front, with minimal shadows. If one side of the face is in shadow, consider using photo editing software to brighten it before uploading. The mosaic tool can only work with what you give it.
Think about orientation. Portrait-oriented photos (taller than they are wide) work well on a single tall baseplate or a vertical grid. Landscape photos suit a horizontal arrangement. If your photo is square, a single square baseplate will capture it perfectly.
Simplify before uploading. Increase contrast, boost saturation slightly, and remove anything distracting from the edges. These small adjustments make a noticeable difference in the final build because mosaic tools reduce your image to a limited color palette.
FAQs
How do you turn an image into a LEGO mosaic?
Upload your image to a free mosaic maker tool like MakeBead or BrickLink Studio, select your baseplate size and color count, then export the build guide and parts list. The tool converts each pixel of your photo into a corresponding LEGO stud position.
Can you brickify an image for free?
Yes. Tools like MakeBead and Lego Art Remix are completely free to use in your browser. BrickLink Studio is also free to download and includes a full mosaic creation feature with price estimation.
How many LEGO bricks do I need for a mosaic?
A 32×32 baseplate mosaic requires roughly 1,000 1×1 bricks. A 48×48 baseplate needs about 2,300 bricks. Larger multi-baseplate mosaics can use 5,000 or more bricks depending on the design.
Where can I buy individual LEGO bricks for a mosaic?
BrickLink is the most popular marketplace for individual LEGO parts. You can also use LEGO Pick a Brick on the official LEGO website, or buy bulk lots from eBay and local sellers for common colors.
What is the best photo for a LEGO mosaic?
High-contrast photos with a single clear subject work best. Portraits and pet photos are popular choices. Avoid busy backgrounds and dark shadows, and crop tightly around your subject before uploading.
Conclusion
Learning how to turn a photo into a buildable LEGO mosaic opens up a world of creative possibilities. Whether you want a personalized gift, custom wall art, or a fun weekend project, the process comes down to seven simple steps: pick a photo, choose a tool, set your baseplate size, adjust colors, export your guide, source bricks, and build.
Start with a free tool like MakeBead if you are new to mosaics, then graduate to BrickLink Studio once you want more control. Pick a photo you love, follow the build guide one row at a time, and you will have a finished piece of LEGO art ready to display.