
If you have ever tried to swap a minifigure’s arms and ended up with a hairline crack in the hand, you know why “safely” is the most important word in this hobby.
I have cracked more arms than I want to admit. After dozens of test sessions and conversations with builders on Reddit’s r/customfigs and Eurobricks, I put together this guide so you do not repeat my mistakes.
In this walkthrough, I will show you exactly how to safely swap and customize minifigure parts using the right tools, the right technique, and a few rules the community swears by.
Table of Contents
How to Safely Swap and Customize Minifigure Parts: A Beginner’s Roadmap
Minifigure part swapping is the practice of removing and interchanging components (heads, torsos, arms, legs, and hands) between LEGO minifigures to create custom combinations. The parts connect using ball joints at the shoulders and hips, a clip system for hands, and a neck stud for the head.
You can absolutely customize minifigures, and the AFOL (Adult Fan of LEGO) community does it every day. The trick is doing it without stressing the plastic. Treat every swap as reversible, and you will never ruin a collectible.
What Counts as ‘Safe’ Minifigure Customization?
Safe customization means disassembly using only the forces the parts were designed to handle. That includes lifting heads off the neck stud, separating arms at the shoulder ball joint, and pulling legs from the hip socket.
Risky customization includes prying at glued seams, forcing color changes with acetone, or bending a minifigure past its intended range of motion. If a part resists your gentle tug, stop and rethink the angle.
Who This Guide Is For
This guide is for collectors, MOC (My Own Creation) builders, parents helping kids customize sets, and anyone curious about mixing parts from different themes. If you have a handful of minifigures and a dream of a custom crew, this is for you.
Essential Tools for Safe Minifigure Part Swapping
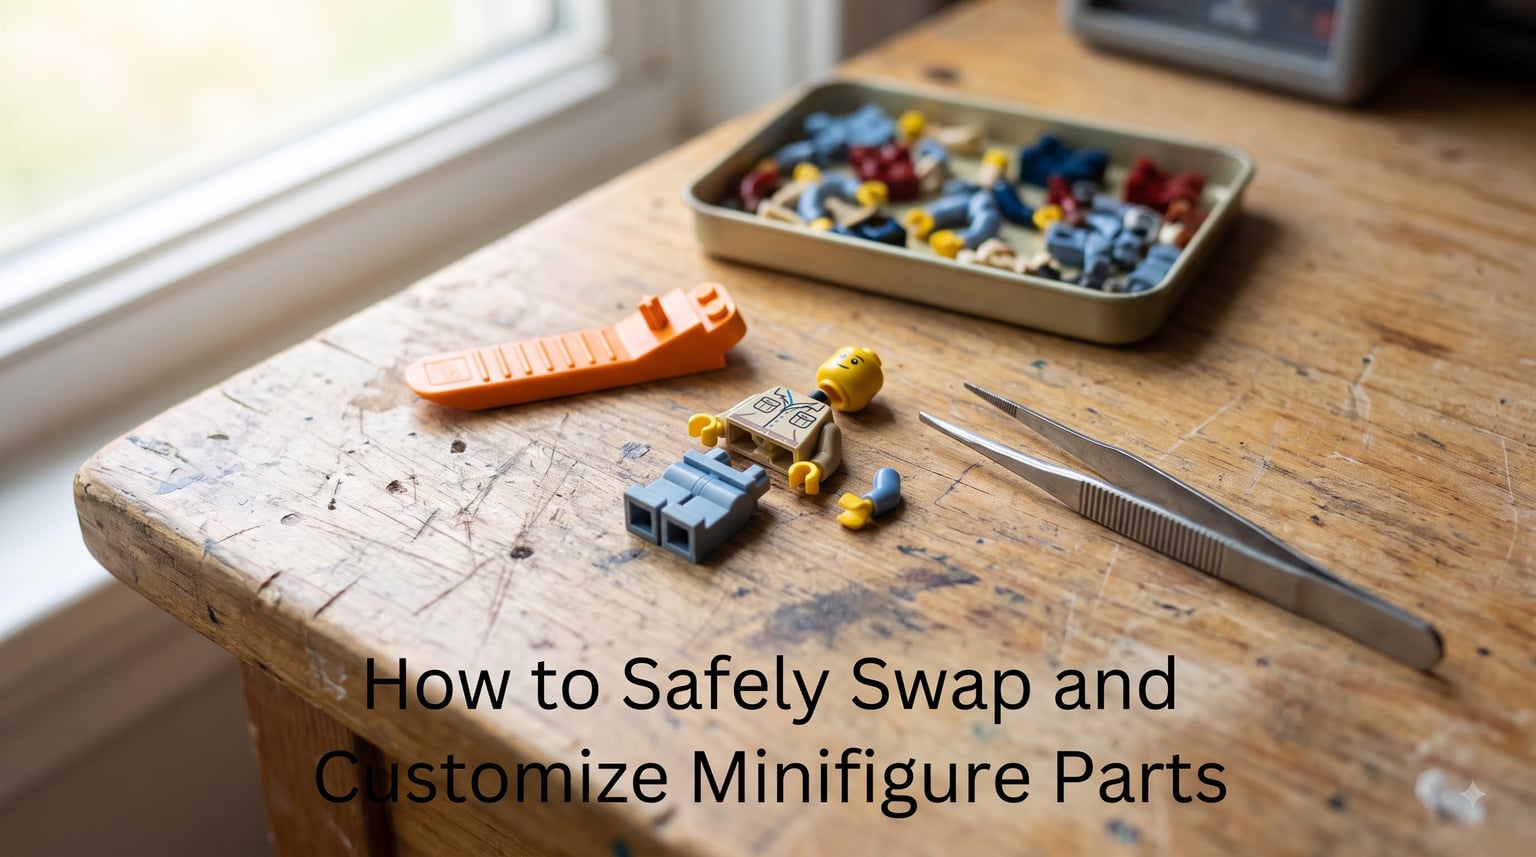
You only need a few tools to swap parts safely. I keep this entire kit in a single small tray on my desk.
The Brick Separator: Your Primary Tool
A brick separator is a small plastic wedge that LEGO has included in sets since 2007. It works because the wedge tip fits between parts and lifts them apart with leverage instead of force.
For minifigures specifically, use the thin end to slip between the arm and the torso at the shoulder. A gentle twist pops the ball joint without stressing the plastic.
Tweezers and Precision Tools
Long-nose tweezers are useful for removing hands, especially on smaller minifigures where your fingers feel clumsy. They give you precision and keep your skin oils off the plastic.
Look for tweezers with smooth, blunt tips. Pointed tweezers can scratch ABS plastic and leave marks on the hand or arm.
What to Use When You Don’t Have a Brick Separator
Without a brick separator, you can still swap parts using your fingers and a controlled motion. Push the torso forward or backward at the shoulder joint, then apply gentle upward pressure on the arm from inside the torso opening.
Other household alternatives include a guitar pick for prying hands off, a thin coin edge for wedging, or even a flat-head screwdriver for stubborn parts. Go slow and never lever against the visible surface of the minifigure.
Step-by-Step: How to Remove Minifigure Parts Without Damage
Each part of a minifigure comes off a little differently. Here is the exact motion I use for every part type.
How to Remove a Minifigure Head
Heads are the easiest parts to swap because they simply sit on a neck stud. Grasp the torso firmly in one hand and grip the head near the brim of the hat or hair with the other. Pull straight up with steady pressure.
Do not twist. Twisting can damage the neck stud or the inside of the head where the stud seats.
How to Remove Minifigure Arms Safely
Arms are where most damage happens. The ball joint is strong but the plastic around the hand post is thin and prone to cracking with repeated swaps.
Hold the torso with one hand. With your other hand, grip the arm near the shoulder and lift it so it points straight up. Then rock the arm gently forward and backward while pulling up.
If the arm does not release after two or three rocks, insert the brick separator’s thin tip between the arm and the shoulder socket. A tiny twist will pop the joint free.
How to Change Minifigure Hands
Yes, you can change the hands on LEGO minifigures, and most builders do this regularly. The hand has a small clip that grips the arm post. To remove a hand, grip the arm just above the wrist and pull the hand straight off.
If the hand resists, hold the minifigure upside down and let gravity help. You can also use long-nose tweezers to pinch the hand near the clip and ease it off without bending the arm.
How to Separate Minifigure Legs From the Torso
Legs attach to the torso via a single ball joint at the hips. Hold the torso firmly and grip both legs together as a single unit. Pull the legs straight down with steady, even force.
If the legs will not budge, push one leg forward and the other backward to break the joint’s grip. Then slide the brick separator’s thin edge into the hip socket and twist gently.
Common Mistakes That Crack or Break Minifigures
I learned most of these lessons the hard way. Save yourself the heartbreak and avoid them from the start.
Why Arms Crack During Hand Swapping
According to multiple threads on r/customfigs, the most common damage point is the wrist area. The post inside the arm is short, and the clip inside the hand concentrates stress in a tiny spot.
Pulling straight out works on most hands. If you pull at an angle, you transfer that force to the wrist and the plastic cracks. Always align your pull with the post direction.
The ‘Twist and Pull’ Trap
Twisting a head, hand, or leg may feel intuitive, but it puts torque on joints that were designed for straight pull only. A single twist can shear off the neck stud inside the head or crack the hip socket.
Pull straight, never twist. If a part will not come off with straight pressure, switch to the brick separator rather than adding rotational force.
Sourcing Replacement and Custom Parts
Once you start customizing, you will quickly need parts that did not come in your sets. Here is where the community sources its pieces.
BrickLink and Rebrickable
BrickLink is the largest aftermarket marketplace for LEGO parts, with listings from sellers all over the world. You can search by element ID, color, or category. Rebrickable tracks which parts appear in which sets and helps you find alternatives.
Both sites let you verify part compatibility before you buy. Search for the specific element ID printed in LEGO’s catalogs, or browse by visual similarity if you do not know the ID.
Official LEGO Pick a Brick
LEGO’s Pick a Brick service is the only source that guarantees genuine, factory-fresh parts. The catalog is smaller than third-party marketplaces, but the quality is consistent.
Pick a Brick is especially useful for common parts you want to standardize on, like extra hands in light gray or extra torsos in black.
Brickognize and BrickMonkey for Matching Parts
When you find a part you like but cannot identify, Brickognize and BrickMonkey let you upload a photo and search visually. These tools are how I matched a rare chrome helmet from a 1990s set last month.
Google Lens works in a pinch for basic identification. For accurate Element IDs, however, the dedicated LEGO databases are faster.
Storing and Displaying Customized Minifigures
How you store customized minifigures affects how long they last. A few habits can add decades to their lifespan.
Avoiding Stress Cracks From Long-Term Storage
Forum users report that minifigures left on studs for months can develop stress cracks around the legs and hips. The constant downward pressure adds up, especially in warm environments.
Store minifigures standing on a flat surface rather than mounted on studs. If you must display them on a baseplate, rotate the display every few months to relieve pressure.
Display Cases vs Plastic Bags
Plastic bags protect against dust but trap moisture and can leave oily residue over time. Glass or acrylic display cases are better for long-term preservation.
Keep display cases out of direct sunlight. UV rays fade printing on torsos and faces faster than almost any other factor.
When You Should NOT Swap Parts
Customization is fun, but some minifigures should stay factory-sealed.
Rare and Collectible Minifigures
If you own a minifigure from a limited run, convention exclusive, or a retired promotional set, leave it alone. Even safe swaps reduce resale value because buyers prefer original configurations.
For minifigures worth more than a few dollars, the rule of thumb I follow is simple. If you would be upset to lose $50 over a hand swap, do not swap the hand.
Signs Your Minifigure Is Already Damaged
Before swapping, inspect the minifigure for existing cracks, yellowing, or loose joints. A weakened joint can give way during a swap and break in a way you did not anticipate.
If the minifigure is older and the plastic feels brittle, do not swap its parts. Store it instead and use newer duplicates for your custom builds.
Frequently Asked Questions
Can I make custom LEGO minifigures?
Yes, you can make custom LEGO minifigures by swapping parts between existing minifigures, sourcing new parts from BrickLink or Pick a Brick, and adding paint or decals for advanced customization. Thousands of AFOLs build custom characters this way every day. Start with simple part swaps before moving to painting or sculpting.
Is it legal to sell custom LEGO minifigures?
Selling custom LEGO minifigures exists in a legal gray area. LEGO holds trademarks on the minifigure design and many specific parts, so you cannot market them as official LEGO products. Many customizers sell their work using terms like ‘minifigure-style’ or ‘brick-style’ and avoid LEGO branding. Use original 3D-printed parts rather than modified LEGO parts to reduce trademark concerns further.
How do I separate LEGO pieces without a separator?
You can separate LEGO pieces without a brick separator by using your thumbnail, a coin edge, a guitar pick, or a flat-head screwdriver. Push the torso forward or backward at the joint, then pull the arm straight up with gentle pressure. Never twist the part, as twisting cracks the joint. For hands, grip the arm just above the wrist and pull the hand straight off.
Can you change the hands on LEGO minifigures?
Yes, you can change the hands on LEGO minifigures, and most customizers do this regularly. The hand clips onto a short post inside the arm. Grip the arm near the wrist and pull the hand straight off, or use long-nose tweezers for precision. Always pull straight, never at an angle, to avoid cracking the wrist.
How to separate LEGO minifigure legs?
To separate LEGO minifigure legs, hold the torso firmly and grip both legs together. Pull the legs straight down with steady, even pressure. If the legs resist, push one leg forward and the other backward to break the joint grip, then use the thin edge of a brick separator to lift them free from the hip socket.
What is the lifespan of a LEGO minifigure?
A well-cared-for LEGO minifigure can last for several decades, with original 1970s minifigures still in circulation today. The plastic (ABS) is highly stable, but sunlight, heat, and stress can degrade it. Store minifigures out of direct UV light, avoid leaving them on studs for months, and keep them away from acetone-based cleaners to maximize lifespan.
Final Thoughts: Build Your Custom Collection With Confidence
Learning how to safely swap and customize minifigure parts is one of the most rewarding skills in the hobby. Once you know the technique, a drawer of mixed minifigures becomes a parts catalog instead of clutter.
Start with a few cheap figures from your local bulk bin. Practice removing and replacing each part until the motion feels automatic. Then move to your main collection and start building the crew you have been imagining.
The Brick Fantastic will keep publishing guides like this one to help you get the most out of every minifigure you own. Stay safe, swap smart, and have fun building.