
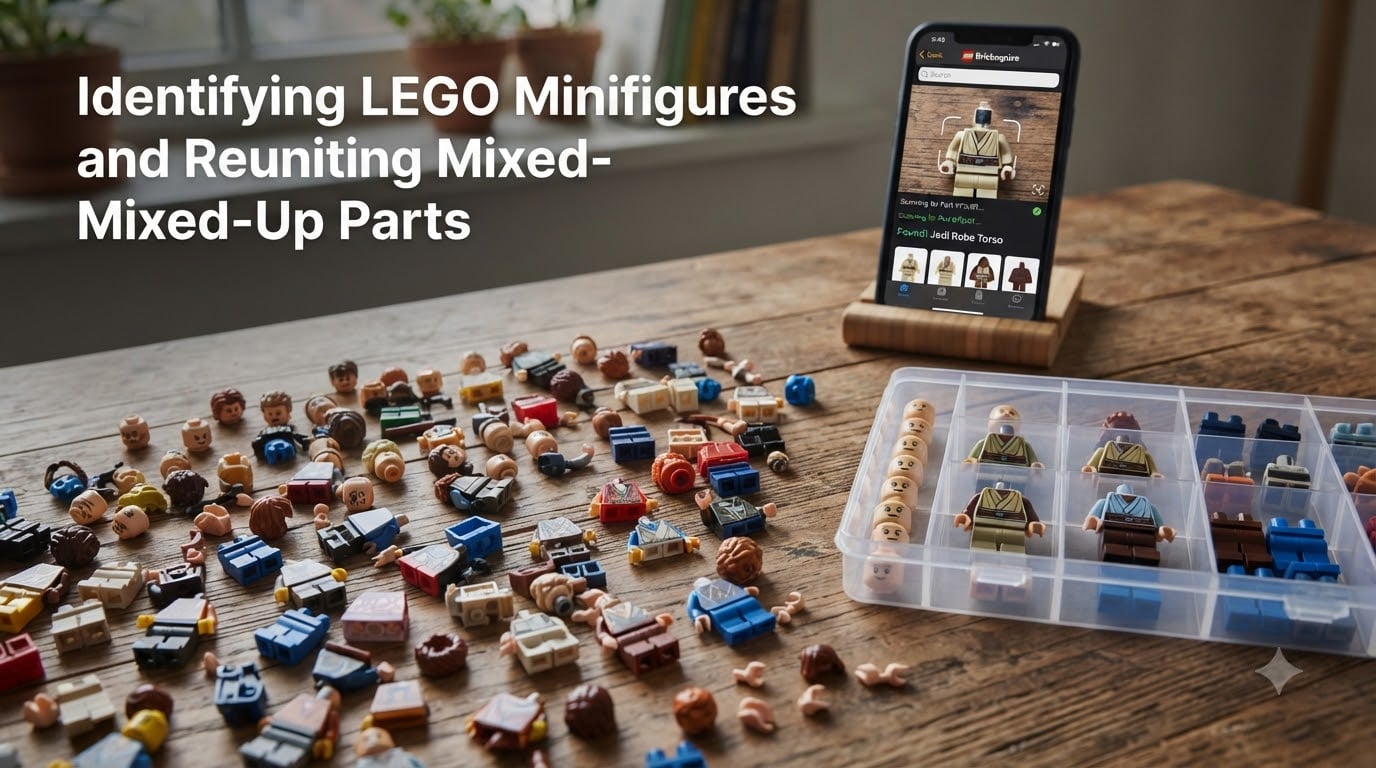
If you have ever opened a box of loose LEGO pieces and found a pile of disconnected heads, torsos, and legs, you already know the challenge. Identifying LEGO minifigures from a jumble of mixed-up parts is one of the most common headaches for collectors, parents, and resellers alike.
Maybe you bought a bulk lot at a yard sale. Maybe your kids disassembled every figure they owned. Or perhaps you inherited a childhood collection and now stare at hundreds of pieces with no idea what goes where.
The good news is that the process is entirely learnable. With the right tools, a systematic approach, and a bit of patience, you can sort, identify, and reunite even the most chaotic pile of minifigure parts. This guide walks you through every step, from understanding minifigure anatomy to using modern identification apps.
We have spent years sorting mixed LEGO collections, and the methods below come from real hands-on experience plus community-tested strategies from forums like r/LegoStorage and Bricks Stack Exchange. By the end, you will have a clear workflow for identifying LEGO minifigures and reuniting mixed-up parts.
Table of Contents
LEGO Minifigure Anatomy: Understanding the Parts
A standard LEGO minifigure consists of several distinct components, each produced in countless variations. Understanding what each part is called and how it functions is the foundation of minifigure identification.
The Head
The head is often the most expressive part of a minifigure. It includes a printed face (sometimes two-sided), a headgear element or hair piece, and occasionally accessories like visors or breathing apparatuses. Head colors range from standard yellow to flesh tones introduced in 2004, and special colors for characters like aliens or skeletons.
The head sits on a neck stud mounted on the torso. When identifying a minifigure, the head’s facial print combined with its color is one of your strongest clues. Some heads are shared across many figures, while others are unique to a single character.
The Torso
The torso is the most distinctive part of any minifigure. It features printed artwork on the front (and sometimes the back), arm colors, and hand colors that may differ from the arm color. Community members on r/LegoStorage consistently recommend starting your identification process with the torso because it carries the most character-specific information.
Torso prints can represent clothing, armor, uniforms, or skin patterns. The arms attach to the sides and are typically the same color as the torso body, but certain figures use contrasting arm colors. The hands, which plug into the arms, can also be a different color entirely.
The Legs
Leg assemblies come in several types: standard legs (that can move independently or together), short legs for child characters, and long legs for taller figures. Hip pieces connect the legs to the torso and may feature printed details like belts or skirts.
Leg color often matches the torso lower section (representing pants), but this is not always the case. Some minifigures use intentionally mismatched colors for a specific look, which can make matching trickier.
Accessories: Hair, Headgear, and Tools
Hair pieces and headgear (helmets, hats, caps) sit on top of the head stud and are themselves separately cataloged parts. Tools and weapons clip into the hands. While accessories are part of the complete minifigure, they are also the most easily lost pieces, so you will frequently work without them.
When present, accessories provide excellent identification signals. A specific helmet shape or hair mold can immediately narrow down the character.
Understanding LEGO Part Markings and the 5/2 Rule
Every genuine LEGO part carries small mold markings stamped into the plastic. These markings include a part number (or design ID), the LEGO logo, and sometimes a mold identifier that tells you which specific mold cavity produced the piece.
Reading Element Numbers vs Design IDs
There is an important distinction between design IDs and element numbers. The design ID identifies the mold shape (for example, the standard minifigure torso mold). The element number identifies the specific combination of that mold with a particular color and print pattern. When you look up parts on BrickLink, you are typically working with element numbers.
You can find these numbers molded in tiny text inside the part, often on the underside or an inner surface. A magnifying glass or a phone camera with macro mode helps read them. Matching an element number to the BrickLink catalog gives you the official name, color designation, and every set that part appeared in.
What Is the 5/2 Rule in LEGO?
The 5/2 rule refers to a well-known community guideline for how studs are arranged on LEGO bricks. A standard 2×4 brick has studs arranged in a 2-wide by 4-long grid, and the 5/2 rule describes the proportional spacing and offset pattern that allows LEGO elements to connect consistently across the entire system.
More practically, the 5/2 rule comes up when collectors talk about the relationship between stud count and part dimensions. Five plates stacked vertically equal the height of two studs placed side by side horizontally. This 5-to-2 ratio (often called the “brick-to-plate ratio”) is what makes SNOT (Studs Not On Top) techniques and sideways building possible.
For minifigure identification, understanding this ratio helps when you need to identify whether a small plate or tile accessory belongs to a specific figure or set.
Best Tools for Identifying LEGO Minifigures
You do not have to identify minifigures by memory alone. Several free and paid tools have transformed how collectors approach the problem. Here is how the top options compare.
Brickognize
Brickognize is a free image-based search engine designed specifically for LEGO parts. You upload a photo of a piece, and the AI returns the closest matches from its database covering parts, minifigures, sets, and sticker sheets. It works in a browser on desktop or mobile with no installation required.
Our team has tested Brickognize on dozens of torso prints and head sculpts, and the accuracy is impressive for distinctive parts. The tool struggles more with generic parts (like plain black legs) since those appear in hundreds of sets.
BrickScan (formerly BrickMonkey)
BrickScan identifies over 16,000 LEGO minifigures and 76,000 individual parts from a single photo. It is available as a mobile app, which makes it convenient when you are sorting a collection on the floor or at a table. The app returns the minifigure name, set number, and part breakdown.
BrickScan is especially useful for reuniting mixed parts because it can suggest which accessories and components belong with a given figure once you identify the torso or head.
BrickLink Catalog
BrickLink is the definitive LEGO marketplace and catalog. Its database contains nearly every part, minifigure, and set ever produced, organized by category. While not image-based, the catalog is where you go after an identification tool tells you the element number or minifigure name.
Many beginners find BrickLink overwhelming at first because the catalog is enormous. The key is to start in the Minifigures category and browse by theme or year. Once you find a matching figure, the catalog page lists every part that belongs to it, which solves your reuniting problem directly.
Google Lens and General Image Search
Reddit users frequently mention Google Lens as a quick first check. It can identify distinctive torso prints by matching images across the web. However, as one r/LegoStorage user pointed out, Google Lens often returns part codes without telling you which minifigure combinations use that part.
Use Google Lens as a starting point for distinctive printed pieces, then cross-reference the results on BrickLink for full minifigure context.
Goatleg.com
Goatleg.com is a community-favorite tool specifically for minifigure identification. It helps you search by torso design, face characteristics, and other minifigure-specific traits. Members of Bricks Stack Exchange recommend it as a complement to BrickLink when you need to narrow down similar-looking figures.
How to Identify LEGO Minifigures from Mixed-Up Parts: Step by Step
This is the core process for identifying LEGO minifigures and reuniting mixed-up parts. Follow these steps in order for the best results.
Step 1: Sort Parts by Type
Before identifying anything, separate your pile into categories: heads, torsos, legs, hair and headgear, and accessories. This gives you a clear inventory and prevents you from hunting through a jumbled pile for each piece.
Use small containers, ziplock bags, or a sorting tray with compartments. Even a muffin tin works well for this stage.
Step 2: Start with the Torsos
Pick up each torso and note its front print, back print (if any), arm color, and hand color. The torso is your anchor piece because it carries the most identification information. Lay out your torsos in rows so you can see them all at once.
If a torso has a distinctive print (like a uniform, logo, or character design), use Brickognize or BrickScan to photograph it and get a match immediately.
Step 3: Match Heads to Torsos
Once you have identified torsos, match heads based on the character context. For example, if a torso is clearly a Star Wars stormtrooper, look for a head with a flesh-tone face that matches the character. Check facial expressions, facial hair, and any dual-sided prints.
Some heads are generic and shared across many figures (standard smiling yellow heads appear in hundreds of sets). For these, exact matching may be impossible, and any compatible head works fine.
Step 4: Match Legs to Torsos
Leg color should complement the torso design. A torso with a printed suit likely pairs with dark legs, while a beach-themed torso pairs with shorts-style legs. Check BrickLink minifigure listings for your identified torso to see the official leg color.
Pay attention to leg type as well. Short legs indicate a child or dwarf character. Long legs belong to taller figures. Using the wrong leg type will look obviously wrong when assembled.
Step 5: Add Hair, Headgear, and Accessories
Once the core figure is assembled (head, torso, legs), add the hair or headgear and any tools or accessories. Cross-reference the BrickLink minifigure page to confirm which specific hair piece and accessories belong to the figure.
Step 6: Verify Your Match
Take a photo of your completed minifigure and compare it to the official image on BrickLink or Brickset. Check for correct colors on every component. If something looks off, revisit the earlier steps and try a different combination.
Color Matching Techniques for Minifigure Parts
LEGO produces parts in over 60 active colors, and many shades look similar under indoor lighting. Accurate color matching is essential for correct identification.
Use Natural Daylight
Sort and identify parts under natural daylight whenever possible. Incandescent bulbs make reddish-brown parts look like dark orange, and LED lights can shift grays toward blue. Daylight gives you the truest color reading.
Compare Against Known Parts
If you have a confirmed part in a known color, hold it next to an unknown piece. Side-by-side comparison reveals subtle differences that are invisible when looking at a part in isolation. The BrickLink catalog assigns a specific color name (like “dark bluish gray” vs “light bluish gray”) to every element, which helps you learn the official LEGO color vocabulary.
Watch for Color Variants
The same minifigure part can exist in slightly different shades depending on the production year or set. LEGO’s plastic formulation has changed over the decades. Pre-2003 gray parts (often called “old gray”) look noticeably different from post-2003 “bluish gray” parts. This is a common source of confusion for collectors working with mixed-era collections.
How to Sort Mixed Up LEGO Collections Efficiently
When you are dealing with hundreds or thousands of loose parts, you need a system before you can even begin identifying minifigures. Here is a proven approach.
Stage 1: Separate Minifigure Parts from Bricks
Start by pulling all minifigure-related parts out of the general brick pile. Look for heads, torsos, legs, arms, hands, hair pieces, headgear, capes, and accessories. This dramatically reduces the volume you need to work through.
Stage 2: Group by Part Type
Sort the minifigure parts into the five main categories: heads, torsos, legs, hair and headgear, and accessories. This mirrors the identification process and keeps everything organized.
Stage 3: Subdivide by Color
Within each category, group parts by color. This makes it easier to spot matching combinations, since a red torso with red legs is visually obvious when they are in the same color pile.
Stage 4: Identify in Batches
Work through your torsos in batches of 10 to 15. Use Brickognize or BrickScan to photograph and identify each one. Write down or save the results before moving to the next batch. This prevents fatigue and keeps your workflow efficient.
Stage 5: Assemble and Store
As you identify and complete figures, place each assembled minifigure in its own small bag or compartment with a note indicating its name and set number. This preserves your work and makes it easy to find specific figures later.
How to Identify a LEGO Set from Minifigure Parts
Sometimes you want to identify not just a minifigure but the entire set it came from. This is useful for collectors trying to reconstruct a set from loose parts or resellers assessing bulk lots.
Step 1: Identify the Minifigure First
Use the identification process above to determine which minifigure your parts belong to. Once you have a character name or minifigure ID, you have your starting point.
Step 2: Look Up the Minifigure on BrickLink
Search for the minifigure in the BrickLink catalog. Each minifigure entry includes a section called “Appears In” that lists every set containing that figure. A single minifigure may appear in multiple sets, so you may get several candidates.
Step 3: Narrow Down by Era and Theme
If the minifigure appears in multiple sets, use contextual clues to narrow it down. The color and style of the torso print, the headgear, and the accessories all hint at a specific theme (City, Star Wars, Ninjago) and time period. Cross-reference with any bricks or instruction manuals you found in the same lot.
Step 4: Confirm with Unique Parts
If you have any unique printed elements, stickered parts, or unusual colored bricks from the same lot, search for those on BrickLink as well. Matching a unique element to a specific set confirms the set identity with high confidence.
Common Mistakes to Avoid When Identifying Minifigures
Even experienced collectors make these errors. Knowing them in advance saves time and frustration.
Forcing Wrong Color Combinations
It is tempting to pair a torso with whatever legs you have available, but LEGO designed most figures with specific color pairings. A mismatched leg color might not bother a casual builder, but it will be immediately obvious to anyone familiar with the character. Always check the official color scheme on BrickLink before finalizing an assembly.
Ignoring Generic Parts
Many minifigures share identical generic parts, especially plain heads and standard legs. Spending hours trying to match a generic yellow head to a specific figure wastes time. If a part appears across hundreds of sets, accept that it is generic and move on.
Assuming All Flesh Heads Are Interchangeable
Flesh-toned heads come in multiple shades (light flesh, medium dark flesh, and others). Swapping heads between different character types can look subtly wrong. Match the head color to the torso skin tone (if the torso has bare arms or printed skin).
Relying on a Single Tool
No identification tool is perfect. Brickognize excels with distinctive prints but struggles with generic parts. BrickLink’s catalog is comprehensive but hard to search visually. BrickScan is great on mobile but may miss rarer figures. Use multiple tools in combination for the best results.
Overlooking Rare Variants and Misprints
Facebook LEGO groups regularly feature posts about rare misprints or unusual variants found in mixed lots. Before dismissing an odd-looking part as a knockoff, check collector forums and the BrickLink catalog for known variants. Some misprints are genuinely valuable to collectors.
FAQs
Is there an app that identifies LEGO minifigures?
Yes. BrickScan (formerly BrickMonkey) is a mobile app that identifies over 16,000 LEGO minifigures and 76,000 parts from a single photo. Brickognize is a free browser-based alternative that works on any device with a camera. Both tools use AI image recognition to match your part photos against extensive LEGO databases.
What is the 5/2 rule in LEGO?
The 5/2 rule states that five LEGO plates stacked vertically equal the height of two standard studs placed side by side. This 5-to-2 ratio is the proportional relationship that makes the LEGO system work, allowing sideways building techniques and consistent connections across all elements.
How can I identify a LEGO set using its parts?
First identify the minifigure using a tool like Brickognize or BrickScan. Then look up that minifigure on BrickLink, where the catalog entry lists every set the figure appeared in. Narrow the candidates by theme, era, and any unique printed or stickered parts from the same lot.
How to tell which LEGO minifigure is which?
Start with the torso, which carries the most identification information through its printed design. Use an image identification tool like Brickognize or BrickScan to photograph the torso and get a match. Then verify the head, legs, and accessories against the official BrickLink catalog listing for that minifigure.
How do I sort mixed up LEGO minifigures?
Separate all minifigure parts from regular bricks, then group them by type (heads, torsos, legs, hair, accessories). Subdivide each type by color. Begin identification with the torsos since they are the most distinctive parts, then match heads and legs to each identified torso.
What LEGO piece sold for $18,000?
A rare LEGO Star Wars solid gold C-3PO minifigure is among the most valuable LEGO pieces ever produced. LEGO created only a handful of these 14-karat gold C-3PO figures as promotional items in 2007, making them extremely rare and highly sought after by collectors.
Conclusion: Bring Your Minifigures Back Together
Identifying LEGO minifigures and reuniting mixed-up parts is a process that rewards patience and a systematic approach. Start by sorting parts by type, identify torsos first, then match heads, legs, and accessories using tools like Brickognize, BrickScan, and the BrickLink catalog.
Remember that not every part has a single correct match. Generic heads and standard legs are shared across hundreds of figures, so focus your energy on distinctive printed elements that carry real identification value.
Whether you are sorting through a childhood collection, processing a bulk purchase, or helping your kids rebuild their favorite characters, the workflow in this guide gives you everything you need. Grab your sorting trays, open Brickognize on your phone, and start bringing those minifigures back together.