
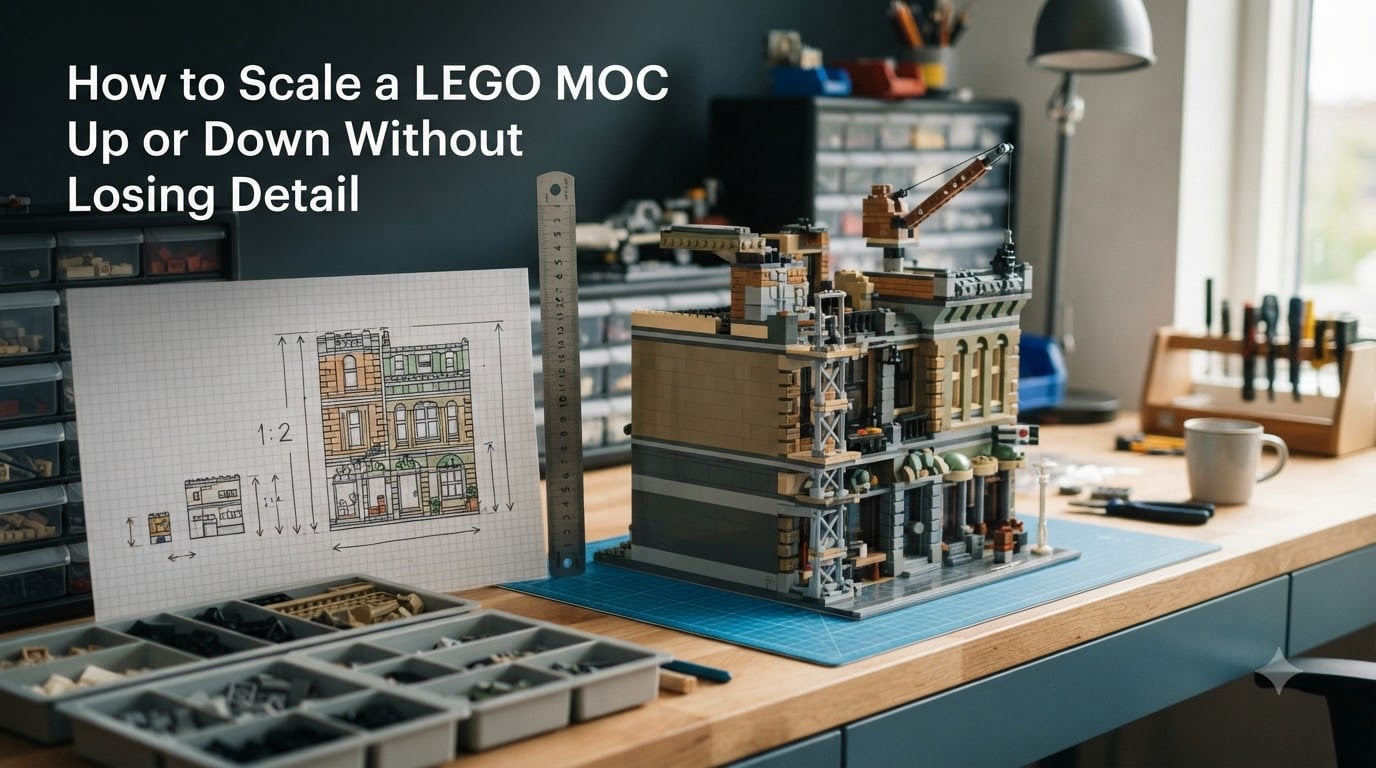
Scaling a LEGO MOC is the single biggest difference between a model that looks convincing and one that just looks wrong. Get the proportions right and people instantly recognize what you built. Get them wrong and even a beautifully constructed model feels off.
I have spent years building custom LEGO models, from minifigure-scale storefronts to microscale skylines, and the scaling question comes up every single time. The good news is that once you understand a few core principles, you can scale any MOC up or down while keeping the details that matter most.
In this guide, I will walk you through exactly how to scale a LEGO MOC up or down without losing detail. We will cover the math, the techniques, and the practical tricks that experienced builders use to keep their models looking sharp at any size.
Table of Contents
What Is LEGO Scale and Why It Matters
Scale is the ratio between your LEGO model and the real-world object it represents. A scale of 1:50 means every dimension on your model is one-fiftieth the size of the real thing. If a real building is 50 meters tall, your model stands 1 meter tall.
Scale matters because the human eye is remarkably good at spotting incorrect proportions. Even non-LEGO fans will sense something is wrong if a door is too short or a car is too wide relative to a figure standing next to it. Proper scaling is what makes a MOC feel believable.
When you scale a LEGO MOC correctly, every element lines up. Minifigures fit through doorways. Vehicles sit at the right height next to buildings. Aircraft look proportional to the runway beneath them. This consistency is what separates amateur builds from professional-quality display pieces.
Understanding LEGO Studs as a Measurement Unit
LEGO bricks are built on a precise measurement system. One stud width equals 8mm, and the distance between two adjacent studs is also 8mm. This consistency is what makes the entire LEGO system work.
Vertically, things work a little differently. A standard plate is 3.2mm tall, and a standard brick is 9.6mm tall. That means three plates stacked equal one brick in height. This 3:1 ratio is fundamental to advanced building techniques and comes into play constantly when scaling.
When you scale a LEGO MOC, you convert real-world measurements into studs. If your chosen scale is 1:50 and a real car is 4,500mm long, the model length is 4,500 divided by 50, which equals 90mm. Divide that by 8mm per stud and you get roughly 11 studs long. That is your target dimension.
Common LEGO Scale Ratios Explained
Different scale ratios serve different purposes. The right choice depends on what you are building, how much space you have, and whether minifigures need to interact with the model.
Minifigure Scale
Minifigure scale is the most popular choice for interactive builds. A standard minifigure stands about 4cm tall, which translates to a real-world person of roughly 180cm. That puts minifigure scale somewhere between 1:42 and 1:48, with most builders settling around 1:44.
At this scale, doors work, minifigures sit in vehicles, and interiors feel playable. The tradeoff is size. A minifigure-scale car takes up significant shelf space, and a minifigure-scale building can become enormous very quickly.
Microscale
Microscale covers ratios from roughly 1:200 up to 1:1000 or beyond. At these ratios, individual figures disappear and entire city blocks fit on a single baseplate. Microscale is perfect for skyscrapers, cruise ships, battleships, and sweeping landscapes.
The official LEGO Architecture line frequently uses microscale. The Skylines series compresses entire cities into a footprint of just a few inches. Microscale lets you tackle subjects that would be impossible at minifigure scale.
Other Useful Ratios
Many builders work with ratios like 1:100 for medium buildings, 1:72 for military vehicles, or 1:144 for aircraft. There is no single correct answer. What matters is picking a ratio and sticking with it across every model in a collection.
How to Scale a LEGO MOC Up or Down: Step-by-Step
Here is the exact process I use every time I start a new scaled MOC. Follow these steps and you will have accurate dimensions before you place a single brick.
Step 1: Gather real-world dimensions. Find the actual length, width, and height of the object you want to model. Wikipedia, manufacturer spec sheets, and technical drawings are your best sources. Forums like Eurobricks consistently recommend technical drawings over estimates because they include dimensions that photos cannot convey.
Step 2: Choose your scale ratio. Decide whether you are building for minifigures, display, or a specific shelf space. Write the ratio down. Everything that follows depends on this number.
Step 3: Apply the conversion formula. Take each real-world dimension in millimeters and divide it by your scale ratio. Then divide the result by 8 to convert to studs. For example, a real building height of 12,000mm at 1:100 scale gives 120mm, which equals 15 studs tall.
Step 4: Prototype digitally. Build a rough version in BrickLink Studio before ordering any parts. Digital prototyping lets you check proportions, test color availability, and catch scaling errors for free. Community trust signals point to Studio as the go-to tool for serious MOC designers.
Step 5: Build a physical mockup of key sections. Construct the most complex part of your model first. If the cockpit or turret looks right at your chosen scale, the rest of the build likely will too. Adjust the ratio before committing to the full model.
Step 6: Document the ratio for future builds. Write your scale ratio on the instructions or notes. This keeps every model in a series consistent and saves you from recalculating later.
How to Preserve Detail When Scaling Down
This is where most guides stop and where the real challenge begins. Scaling down a large subject without losing detail is the core problem every MOC builder faces. Here are the techniques that work.
Break complex shapes into components. Instead of treating a building as a single block, break it into roof, facade, base, and distinctive features. Scale each component individually. This approach is championed by BrickDdict and is widely shared across LEGO technique forums. Component-based design keeps proportions accurate even when individual elements get simplified.
Focus on silhouette over surface detail. When you scale down, fine surface textures disappear. What remains is the outline. A skyscraper should still taper correctly. A ship should still have the right bow shape. Get the silhouette right and the model stays recognizable even at microscale.
Use suggestive detail. One 1×1 plate in the right spot can imply a window pattern. A single antenna piece can represent a communications array. You do not need to build every window at small scales. A few well-placed elements tell the viewer what they are looking at, and the brain fills in the rest.
Pick the three most identifiable features. Before scaling down, list the three details that make the subject recognizable. A cathedral might have its towers, rose window, and central nave. Preserve those three at all costs and simplify everything else. This is the single most effective technique I have found for keeping character at small scales.
Use plates and tiles for fine lines. At microscale, bricks are too chunky for trim, railings, or decorative bands. Switch to plates and tiles, which are one-third the height. Two stacked plates equal roughly two-thirds of a brick, giving you tighter control over thin horizontal features.
How to Add Detail When Scaling Up
Scaling up creates the opposite problem. A model that looked detailed at microscale can appear bland and flat when enlarged. Here is how to fix that.
Add texture through greebling. Greebling is the technique of covering large flat surfaces with small mechanical-looking details. Stacked plates, brackets, and mechanical pieces break up empty walls and add visual interest. This technique is especially effective on spacecraft, castles, and industrial buildings.
Rebuild simplified sections with proper internals. When you scale up, you gain room for interiors that were impossible before. A wall that was one stud thick at microscale can now hold a staircase, furniture, or lighting. Use the extra space to add depth.
Watch structural integrity. Larger models carry more weight. Reinforce long spans with technic beams or internal frameworks. A beautiful large-scale MOC that collapses under its own weight is a common frustration that good internal bracing prevents.
The 5/2 Rule in LEGO Building Explained
The 5/2 rule is a community shorthand for the vertical ratio in LEGO building. Five plates stacked vertically equal two studs measured horizontally in terms of how they mesh with brackets and offset techniques. More practically, it refers to the fact that a 2-stud-wide by 5-plate-tall section can form a clean perpendicular connection using brackets.
For scaling purposes, the 5/2 concept matters because vertical and horizontal dimensions are not interchangeable. A model that is 10 studs wide is not the same proportional height as 10 stacked plates. Understanding this ratio helps you translate real-world dimensions into accurate LEGO proportions without distorting the subject.
Tools for LEGO Scale Conversion
You do not have to do the math by hand. Several trusted community tools make scale conversion fast and reliable.
Sariel’s LEGO Unit Converter is one of the most recommended tools across Reddit and Eurobricks. Enter real-world dimensions and your target scale, and it outputs the measurement in studs. It also handles speed and distance conversions for vehicle MOCs.
The Bobby Brix Scale Converter is another free option designed specifically for determining what scale ratio works best for a given subject. You input the real-world size and available display space, and the tool suggests compatible ratios.
BrickLink Studio serves double duty as a digital building tool and a scaling reference. Build in stud measurements, compare parts visually, and export accurate part lists before purchasing anything.
Choosing the Right Scale for Your Project
The best scale depends on three factors: your subject, your available space, and your budget. A common pain point in the LEGO community is building too large and running out of parts or shelf room before finishing.
For buildings that need to hold minifigures, aim for 1:42 to 1:48. For architectural display models where figures are not important, 1:200 to 1:500 compresses large structures into manageable sizes. For vehicles, 1:38 to 1:45 fits minifigures, while 1:72 works well for military models alongside standard model kits.
If you plan to build a series, pick one ratio and commit. Forum builders consistently emphasize that consistency within a collection is what makes a display look professional. Mismatched scales in a cityscape or fleet lineup break the illusion immediately.
Start small and scale up as your experience grows. This is the most repeated advice from experienced AFOLs on Reddit. A successful microscale model builds confidence and teaches proportion skills that transfer directly to larger builds.
Frequently Asked Questions
What is the 5/2 rule in LEGO?
The 5/2 rule refers to the relationship between vertical plates and horizontal studs in LEGO building. Five stacked plates equal the height that aligns with two studs for certain bracket and offset connections. It helps builders translate real-world proportions into accurate LEGO dimensions without distortion.
What scale does LEGO use?
LEGO uses multiple scales depending on the product line. Standard sets with minifigures typically use a ratio around 1:42 to 1:48. The LEGO Architecture Skylines series uses microscale, often between 1:200 and 1:1000. Creator Expert vehicles tend toward 1:12 to 1:20. There is no single LEGO scale across all products.
How to scale down a building to make a model?
Find the real building dimensions, choose a scale ratio, divide each dimension by that ratio, then convert millimeters to LEGO studs by dividing by 8. For example, a 30,000mm tall building at 1:500 scale becomes 60mm, or roughly 7.5 studs tall. Break the building into components and preserve its three most recognizable features.
What are the hardest LEGO MOCs to build?
The hardest MOCs to build are typically large subjects scaled to minifigure size, such as full-size cathedrals, aircraft carriers, or skyscrapers. These require thousands of parts, careful structural engineering, and significant budget. Spherical shapes like domes and accurate curved hulls are also notoriously difficult to render in brick form.
Conclusion
Learning how to scale a LEGO MOC up or down without losing detail comes down to three things: accurate measurements, a consistent ratio, and smart detail preservation. Convert real-world dimensions to studs, break complex shapes into components, and always protect the silhouette and the three most identifiable features of your subject.
Start with a digital prototype, test your trickiest section in real bricks, and document your scale ratio for future builds. The more you practice these techniques, the more natural the conversion process becomes. Grab your reference drawings, open BrickLink Studio, and start your next scaled MOC with confidence.