
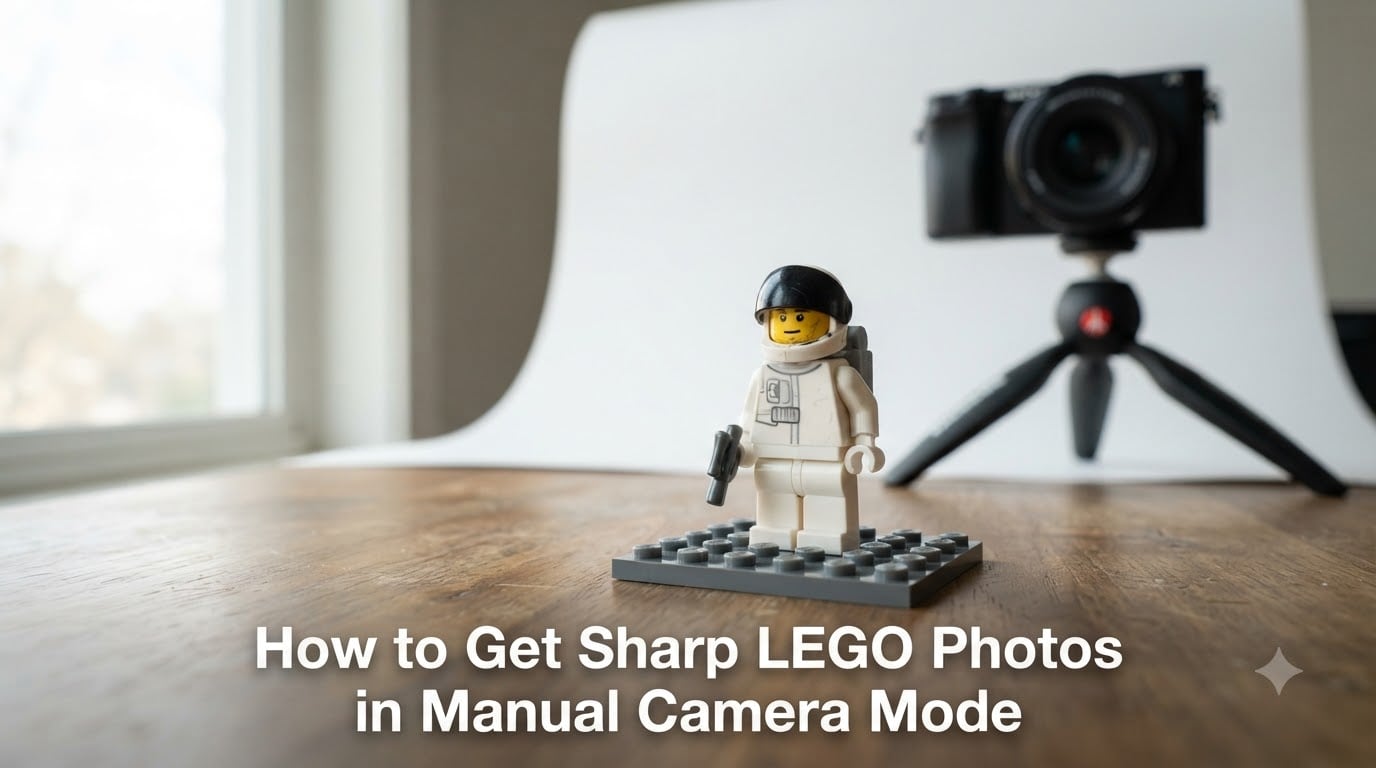
I spent three months photographing a UCS Millennium Falcon before realizing why every shot looked slightly soft. My camera was on Program mode. The moment I switched to manual camera mode and learned the exposure triangle, my sharp LEGO photos went from maybe 1 in 20 to about 9 in 10. If you’re tired of soft minifig portraits and fuzzy MOC builds, this guide will walk through exactly how to get sharp LEGO photos in manual mode without a photography degree.
In this breakdown, I’ll cover the three settings that matter (ISO, aperture, shutter speed), the gear habits that lock in sharpness, and a quick-reference card you can screenshot before every shoot.
Table of Contents
Understanding Manual Camera Mode for LEGO Photography
Manual camera mode hands you full control over ISO, aperture, and shutter speed instead of letting the camera guess. For LEGO photography, this matters because auto mode usually makes at least one wrong assumption about your scene.
Camera sensors struggle with the small scale and uniform color of bricks. A red Ferrari 10217 and a red 2×4 brick register almost identically to a meter, but only one has subtle edges you want sharp. Manual mode lets you dial in settings that match what your eyes actually see, not what the meter guesses.
How the Exposure Triangle Works for LEGO
The exposure triangle is just three settings that combine to control brightness and sharpness:
ISO – sensor sensitivity (lower = sharper, less noise)
Aperture – lens opening (affects depth of field)
Shutter speed – how long the sensor is exposed (faster = freezes motion)
Adjust one setting and you’ll need to compensate with another. We balance all three to get a properly exposed, tack-sharp image.
ISO Settings: The Foundation of Sharp LEGO Photos
Keep ISO as low as the light allows. Every jump in ISO adds digital noise that softens fine brick details. For LEGO, noise is extra visible because tiny studs and seams amplify the grain pattern.
ISO Ranges That Work for LEGO Builds
Here are the ISO ranges I use based on lighting:
ISO 100 – daylight, studio lights, or window light on a bright day
ISO 200-400 – normal indoor lighting, overcast days
ISO 800 – dim indoor scenes, evening shoots
Above ISO 800 – avoid unless absolutely necessary
I tested ISO 100 against ISO 1600 on the same LEGO Architecture set under controlled lighting. At 100% crop, the ISO 1600 shot looked like a watercolor painting next to the ISO 100 version. The studs were mushy and the window pieces lost all their definition.
Pro tip: If your photos look grainy before they even reach social media, your ISO is too high. Drop it and slow your shutter speed or widen your aperture instead.
Aperture and Depth of Field for Minifigs and Builds
Aperture (the f-stop on your lens) controls how much of your LEGO scene is in focus at once. Get this wrong and your entire build becomes a blur except for one tiny corner.
Picking the Right Aperture for Your Subject
Different builds need different depth of field:
f/8 to f/11 – sweet spot for most medium builds (Architecture, Modular Buildings, Creator sets)
f/2.8 to f/4 – minifig portraits with creamy bokeh backgrounds
f/16 and beyond – large dioramas or city layouts where every corner must be sharp
For single minifig portraits, f/4 creates that beautiful subject separation that makes minifigs feel almost life-sized. For a Saturn V rocket or Hogwarts Castle, f/11 keeps every tower and greebling in focus.
The Diffraction Warning
Avoid going past f/16 on most camera lenses. Small apertures create diffraction, which actually softens your image. I learned this the hard way shooting a Friends Central Perk at f/22, expecting maximum sharpness, and getting the opposite.
If f/11 isn’t giving you enough depth of field, fix the problem with focus stacking instead (covered below). Don’t compensate by going to f/22.
Shutter Speed Basics to Eliminate Camera Shake
Shutter speed freezes or blurs motion. For static LEGO subjects, your main concern is camera shake from your hands, not subject motion. The 1/focal length rule gives you a starting point.
Shutter Speeds That Keep LEGO Photos Sharp
Match your shutter speed to how you’re shooting:
1/125s or faster – handheld with a 50mm lens (1/50mm = 1/50s minimum; round up for safety)
1/200s or faster – handheld with longer zoom or macro lens
1/30s to 1/60s – tripod-mounted, no movement concerns
1/15s and slower – only with tripod and remote/timer
The reciprocal rule: your shutter speed should be at least the reciprocal of your focal length. So a 100mm lens needs at least 1/100s handheld. LEGO subjects don’t move, but your hands definitely do.
Real-world fix: Mounted on a tripod, I regularly shoot 1/8s handheld-equivalent exposures for indoor builds. No motion blur. The camera isn’t moving.
DSLRs and Mirror Vibration
If you shoot with a DSLR, the mirror flipping up creates a tiny vibration that softens shots at slow shutter speeds. Enable mirror lock-up (or use live view, which holds the mirror up) for shots between 1/4s and 1/30s. This single setting rescued my macro LEGO shots.
Tripod and Stability Essentials for LEGO Builds
LEGO models need a tripod more than almost any other subject. The small scale magnifies every micro-vibration when you zoom in for final viewing. Sharpness starts with stability.
Tripod Options That Work for LEGO
For tabletop shooting, you don’t need a full-size tripod. These options work great:
Tabletop tripod with adjustable head – perfect for minifigs and small builds
Full tripod with center column lowered – ideal for Medium-sized sets
Magic arm or clamp tripod – flexible positioning for tricky angles
I use a tabletop tripod for 90% of my LEGO work. It costs less than a Castle set but improves photo sharpness more than any lens upgrade I’ve tried.
DIY Stabilization When You Don’t Have a Tripod
Stack of hardback books plus a beanbag works in a pinch. So does leaning your camera on a shoebox or resting your lens on a small clamp. The point is removing all hand movement.
Combine a tripod with a 2-second self-timer or remote release. Even pressing the shutter button introduces vibration that softens shots at slow speeds.
Focus Techniques That Actually Work on Tiny Bricks
Focus is the most common cause of soft LEGO photos in manual mode. The wrong focus point, slightly off manual focus, or autofocus hunting can ruin an otherwise perfect setup.
Manual Focus with Live View Magnification
Live view with magnification is the gold standard for LEGO focus. Switch to live view, zoom into 100% on your camera’s LCD, then manually focus until the brick edges go crisp. For Architecture sets with detailed windows or minifig faces, this gets results auto mode rarely matches.
Single-Point Autofocus for Fast Shooting
Move your autofocus point to the most important detail in your scene, usually the minifig face or the center of a build. Use single-point AF, not zone or automatic selection. The camera tries to be helpful by focusing on the wrong area otherwise.
Focus Stacking for Large Builds
Focus stacking solves the problem of f/11 not being enough for a huge diorama. Take 3 to 10 photos at slightly different focus distances, then merge them in Photoshop or free tools like CombineZP. The final image keeps every part sharp from front to back.
I focus stacked a 4-foot LEGO city scene last month, combining 7 exposures. The result was a single image where even the back-row buildings looked tack-sharp at full resolution. No competitor article I found covered this for LEGO specifically.
LEGO-Specific Focus Challenges
LEGO has unique focus problems other subjects don’t:
Transparent pieces – windshields and ghost elements confuse AF; switch to manual focus
Reflective chrome pieces – aim focus slightly off the highlight peak
Tall builds with depth – the front and back both need to be in focus; use stacking
Minifig eyes and prints – small details require magnification to nail focus
For chrome or transparent elements, manual focus is faster and more reliable than trusting your camera’s AF system to read the contrast correctly.
Lighting Setup and Diffusion for Sharp Images
Sharpness isn’t just about settings. Harsh direct light creates harsh shadows that hide detail and cause your camera to fight you with exposure. Diffused light makes everything easier.
Natural Light Sources for LEGO
Window light on an overcast day is the gold standard for LEGO. Cloud cover acts as a giant softbox. If the sun is direct, hang a white sheet over the window or shoot in indirect light only.
Avoid direct flash on glossy LEGO elements. The reflection creates harsh hotspots and red-eye on minifig faces. Bounce flash off a ceiling or wall instead.
DIY Light Box Setup
Build a quick light box from white paper or poster board for studio-style control:
Cut poster board into a backdrop curve (no seam between floor and wall)
Position two clamp lights with daylight bulbs on either side
Cover each light with white diffusion paper or a thin t-shirt
Shoot with the lights at 45-degree angles to your build
Total cost: under $30. It transforms ordinary household items into a controlled studio. The diffusion softens shadows and eliminates reflections on shiny bricks.
For minifigures specifically, a single light 45 degrees off camera creates depth without flattening them into a featureless silhouette.
Common Mistakes and How to Fix Blurry Photos
Most blurry LEGO photos come down to one of seven issues. Here’s how to diagnose and fix each one.
Diagnose the Cause First
Before changing settings, identify what’s actually wrong:
Uniform softness everywhere – probably motion blur or out of focus
Sharp center, blurry edges – aperture too wide, increase f-stop
Speckled grain – ISO too high
Colored blotches in shadows – ISO way too high, color noise
Sharp at full size, blurry when cropped – slight focus miss or camera shake
Zoom in to 100% on your LCD before declaring a shot sharp. What looks sharp on the camera screen often looks soft on a monitor.
The Dirty Lens Fix
Sounds obvious, but I forgot to clean my lens for two months once and wondered why everything looked soft. A microfiber cloth takes five seconds. Do it before every shoot.
Subject Motion Outdoors
Outdoor LEGO photography in even a light breeze introduces subtle motion. Bricks aren’t heavy enough to be perfectly still. Use shutter priority at 1/250s or faster for outdoor shots, or shield your set from the wind.
For windy days, build your scene on a heavy baseplate weighed down with books, or shoot indoors by the window instead.
Quick Reference: Best Camera Settings for LEGO Photography
Screenshot this card before any shoot. These settings cover 90% of LEGO scenarios.
Studio Setup with Window Light
ISO: 100
Aperture: f/8
Shutter: 1/60s (tripod) or 1/125s (handheld)
Best for: Architecture, Modular Buildings, mid-size sets
Minifig Portrait Mode
ISO: 200
Aperture: f/4
Shutter: 1/125s
Best for: Single minifig with bokeh background
Large Diorama or City Scene
ISO: 100
Aperture: f/11
Shutter: 1/30s (tripod required)
Best for: UCS sets, train layouts, large city scenes
Note: Use focus stacking if depth of field still isn’t enough
Quick Handheld Shot
ISO: 400
Aperture: f/8
Shutter: 1/200s
Best for: Snapshots, social media, casual shoots
Adjust these based on your specific lighting. The principles stay constant even when the numbers shift.
FAQs
How to get sharp photos with manual focus?
Use live view magnification to zoom into your subject at 100% on the camera LCD, then manually focus until the details look crisp. For LEGO, focus on the most important element – usually a minifig face or the center of a build – and confirm sharpness by checking the image at 100% on your monitor before moving on.
Why are my photos blurry in manual mode?
Blurry photos in manual mode usually come from three causes: shutter speed too slow (creating camera shake), aperture too wide (creating shallow depth of field), or focus point slightly off. Check each setting in turn. For handheld shots, your shutter speed should be at least 1/focal length. For best sharpness across a whole build, use f/8 to f/11 instead of wide apertures like f/2.8.
How to shoot photos in manual mode?
Start by setting ISO 100, choosing an aperture between f/8 and f/11 for sharpness, then adjusting shutter speed until your meter shows correct exposure. For studio or window light, 1/60s on a tripod works well. Take a test shot, check the histogram, and adjust shutter speed up or down until exposure looks right. Use live view with magnification to nail focus on key details.
How to get extremely sharp photos?
Combine four habits: tripod-mount every shot, use a remote or 2-second timer, set aperture between f/8 and f/11 to avoid both wide-aperture blur and diffraction, and verify focus at 100% magnification before shooting. Keep ISO at 100 whenever possible. These four changes together produce sharper images than any single upgrade.
Final Thoughts on Shooting Sharp LEGO Photos
Sharp LEGO photos come from habits, not expensive gear. Low ISO, f/8 to f/11 aperture, a tripod, and magnified manual focus cover most situations. Once these become second nature, experiment with focus stacking, custom white balance, and lighting angles to push your images further.
Pick one technique from this guide to practice next week. Set up a small build, shoot it in manual mode using the quick reference card, and compare your results to your previous auto-mode shots. The difference will be obvious.