
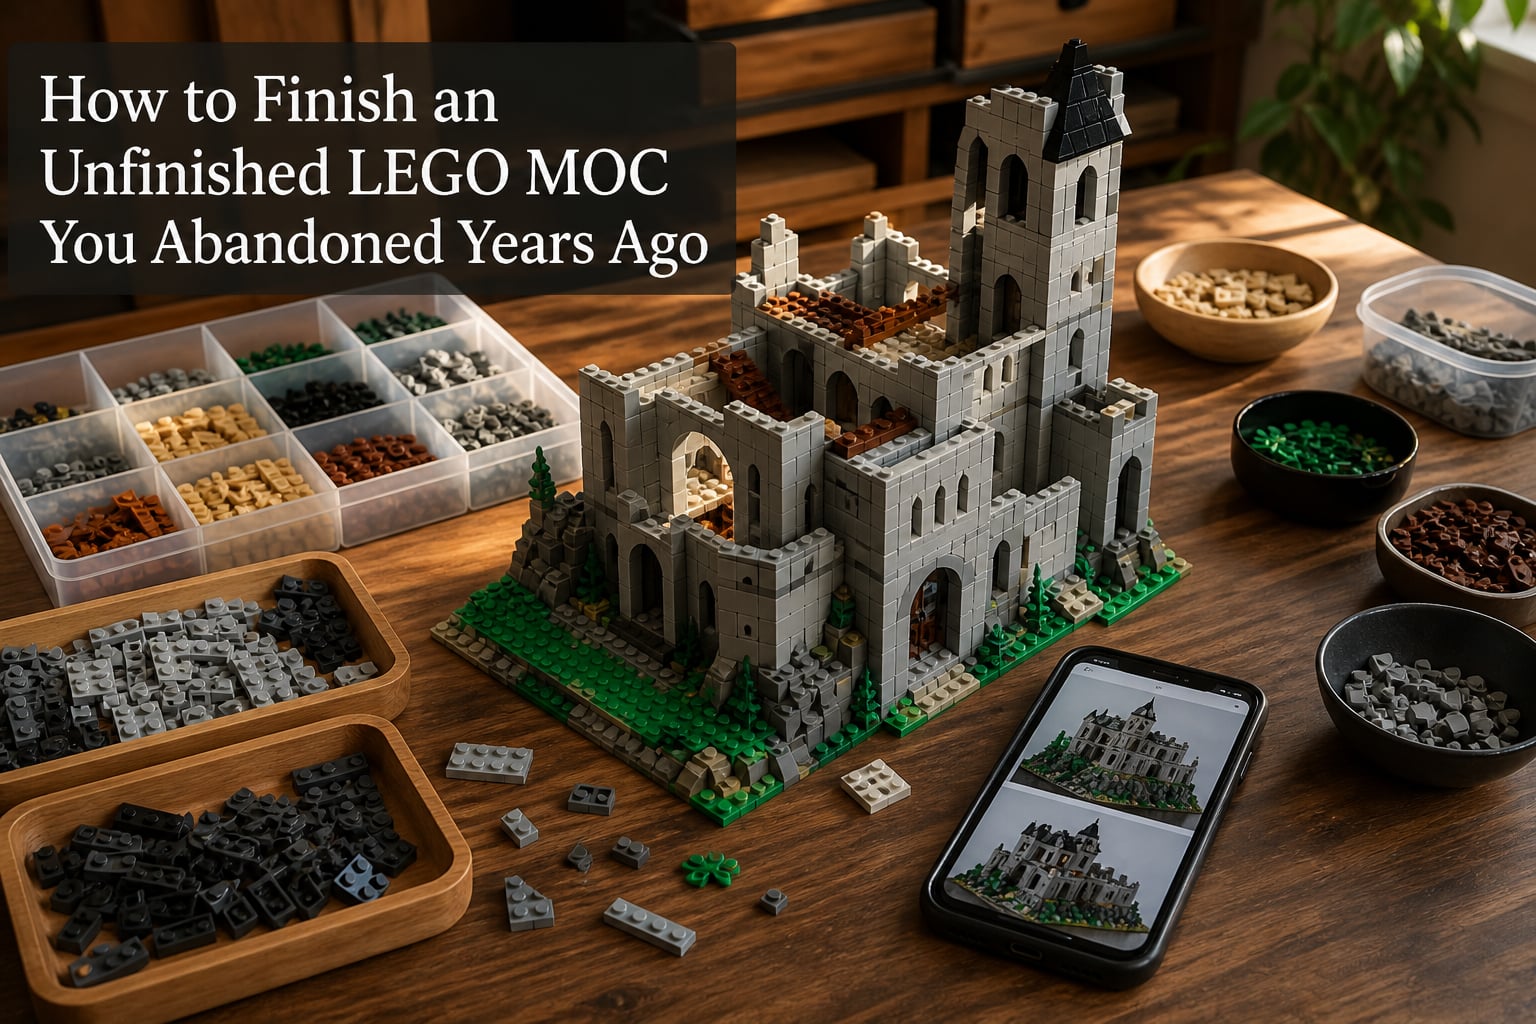
That half-built spaceship has been sitting on your shelf for three years. Or maybe it is five. The point is, you started a LEGO MOC (My Own Creation) with big plans, got halfway through, and walked away. Now it collects dust next to loose minifigures and a pile of bricks you swore you would sort “someday.”
If that sounds familiar, you are in good company. Almost every LEGO builder I have talked to has at least one abandoned MOC lurking in their build space. The Reddit r/lego and r/legomoc communities are full of posts from people asking how to pick up a project they dropped months or years ago.
Learning how to finish an unfinished LEGO MOC is not about willpower or discipline. It is about having a clear process to assess where you left off, reignite your creative spark, and push through to completion without burning out again. In this guide, I will walk you through every step I use to revive abandoned builds, including piece organization strategies that no competitor seems to cover.
Whether your MOC is a castle missing its second tower, a car that never got its wheels, or a massive diorama that stalled out at 40 percent, these steps will help you get it across the finish line in 2026.
Table of Contents
Why We Abandon LEGO MOCs (And Why That Is Okay)
Before diving into the process, let us normalize what happened. Abandoning a MOC is not a failure. It is practically a rite of passage in the LEGO building community.
The most common reason builders walk away is scope creep. You start with a simple idea, it grows into something enormous, and suddenly the project feels overwhelming. Forum users on Eurobricks describe this exact cycle: excitement leads to ambition, ambition leads to complexity, and complexity leads to paralysis.
Other times, you just lose the thread. You stepped away for what was supposed to be a week, and that week turned into a year. The pieces got scattered. The vision got fuzzy. The motivation evaporated.
I have been there myself. My medieval market stall sat unfinished for two years because I could not figure out how to do the fabric awning. It happens to beginners and master builders alike. The guilt you feel about an abandoned project is real, but it is also unnecessary. What matters is what you do next.
How to Finish an Unfinished LEGO MOC: Step-by-Step Process
This is the core framework I use to restart any stalled LEGO project. Each step builds on the previous one, so work through them in order. The whole process is designed to take you from a dusty pile of bricks to a completed build without getting stuck again.
Step 1: Assess and Sort Your Abandoned Pieces
Before you can move forward, you need to know exactly what you are working with. This is the step that almost no competitor covers, yet it is the one forum users ask about most.
Start by clearing a flat surface. Take every piece from your abandoned MOC and spread it out. Do not skip this. Trying to build from a disorganized pile is like trying to cook a meal from an unstocked pantry. You need to see your inventory.
Sort pieces into categories that make sense for your project:
Large structural elements (plates, bricks, baseplates)
Small detail pieces (tiles, grilles, clips, hinges)
Specialized or rare parts you planned around
Minifigures and accessories
Pieces that do not belong to this project (return them to your general collection)
As you sort, take note of what is missing. Maybe you lost a specific slope piece. Maybe you never ordered the windows you needed. Write these gaps down. You will need this list later when sourcing replacement parts.
This sorting process also serves a second purpose. Physically handling every piece reconnects you with the project. I cannot count how many times I have started sorting an abandoned build and suddenly thought, “Oh right, I was going to do X here.” The tactile experience reignites the creative memory.
Step 2: Reconnect With Your Original Vision
Now that your pieces are organized, remind yourself what you were trying to build in the first place. Dig up any old reference photos, sketches, or digital models you made when you started.
If you used LEGO Digital Designer or Studio to plan the build, open that file. Even a rough digital mockup can refresh your memory about the overall direction.
If you have no documentation at all, that is fine. Study what is already built. Ask yourself: What story was this MOC telling? What feeling was I going for? What scene or subject was I trying to capture?
Write down your answers. A sentence or two is enough. Having a clear, simple statement of intent keeps you focused when you hit decision points later.
Here is the important part: you do not have to follow your original plan exactly. Your vision may have evolved. Maybe you started building a spaceship but now you want it to look more industrial. That shift is valid. The goal is to reconnect with the core idea, not to trap yourself in a plan you made years ago.
Step 3: Find Fresh Inspiration and Perspective
One of the biggest reasons MOCs stall is that builders run out of ideas mid-project. You hit a section that requires a technique you do not know, and you freeze. The solution is to go find new inspiration.
Flickr is still one of the best places to study other builders’ work. Search for MOCs in your theme and study how they handled the details you are stuck on. Look at greebling techniques, color schemes, structural connections, and texture work.
The BrickNerd article on finishing MOCs talks about “finding new ways to view your work.” I love this approach. Sometimes you need to physically rotate your build, look at it from a different angle, or photograph it to see it with fresh eyes.
Here are specific places I go when I am stuck:
Flickr LEGO groups for your specific theme (castle, space, city, etc.)
Instagram hashtags like #legomoc or #legobuild
YouTube speed-build videos for technique ideas
Rebrickable for alternate builds using similar piece counts
The goal is not to copy anyone. It is to fill your creative tank so you have options when you sit back down to build.
Step 4: Break the Project Into Manageable Sections
This is where most abandoned MOCs get rescued or fail again. A half-finished build feels like one giant overwhelming task. But no MOC is one task. It is dozens of small tasks strung together.
Look at your build and identify the remaining sections. Write them down as a checklist. For a castle MOC, your list might look like this:
Complete the left tower roof
Build the gatehouse mechanism
Add interior flooring to the great hall
Detail the courtyard with market stalls
Finish the back wall stonework
Add landscaping and base texture
Now assign a rough time estimate to each. Some sections might take 30 minutes. Others might take three hours. Seeing the work broken down this way transforms an impossible mountain into a series of small, achievable steps.
Pick one section and start there. Not the hardest one. Not the biggest one. Pick the one that excites you most or the one that will give you the quickest visible progress. Momentum matters more than order.
Step 5: Set a Deadline or Enter a Contest
Nothing creates motivation like a deadline. Forum discussions on Eurobricks consistently highlight contests and challenges as one of the most effective ways to finish a build.
LEGO communities run contests constantly. Check Eurobricks, MOCpages, Reddit r/legomoc, and LEGO Discord servers for active building challenges. Many have themes broad enough to fit your existing project with minor adjustments.
Even if no contest fits, create your own deadline. Tell a friend you will share photos by next Sunday. Commit to posting a finished build on Instagram by the end of the month. Post a work-in-progress shot on a LEGO Discord and say “finishing this by Friday.”
Public accountability works. When someone is expecting to see your finished MOC, you will find time to work on it. The social pressure converts vague intentions into actual building sessions.
I entered a local LUG (LEGO User Group) display with a MOC that had been sitting unfinished for 18 months. Knowing it would be on a public table gave me the push I needed. I finished it in two weekends. The deadline did what willpower could not.
Step 6: Get Feedback From the LEGO Community
One of the most underused tools for finishing a MOC is community feedback. When you are deep in a build, you lose objectivity. You cannot tell if a section looks good or if you are overcomplicating something simple.
The BrickNerd article references the BII (Builders’ Innovation and Inspiration) community feedback process, where builders share works-in-progress and get structured critique. This is incredibly valuable.
Post a clear photo of your current build state in a LEGO community and ask specific questions. Not “what do you think?” but “does the color balance on the left wing work?” or “how would you handle the transition between the first and second floors?”
Good places to seek feedback:
Eurobricks forum topic threads
Reddit r/legomoc for quick responses
LEGO Discord servers for real-time discussion
Flickr comments from builders whose work you admire
Be prepared for honest feedback. Sometimes a fresh pair of eyes will spot a structural issue or suggest a simpler approach that saves you hours. Other times, confirmation that you are on the right track is exactly what you need to keep going.
Step 7: Document Your Progress
No competitor in the LEGO building space talks about documentation. But this step has saved more of my abandoned projects than any other technique.
Take photos of your build at every session. Not fancy shots. Quick phone photos from the same angle each time. This creates a visual timeline that serves three purposes.
First, seeing physical progress is deeply motivating. When you feel stuck, flipping through photos from two weeks ago shows you exactly how far you have come. Progress is hard to feel in the moment but easy to see in comparison photos.
Second, progress photos help you reverse-engineer decisions. If a section is not working, you can look back at earlier photos to see what changed and when. This makes troubleshooting much faster than guessing from memory.
Third, documentation becomes content. Once your MOC is finished, those progress photos make excellent before-and-after posts for social media, LUG presentations, or even building instructions if you decide to share them.
Keep a simple note alongside your photos. Write one sentence after each building session: what you worked on, what you decided, and what you plan to do next. When you step away for a week (or a month), these notes bring you back up to speed in seconds instead of hours.
Step 8: Accept Imperfection and Know When to Stop
This is the hardest step and the most important one. The Eurobricks community has an entire thread dedicated to one question: “When is a MOC finished?”
The answer is different for every builder, but the consensus is clear. A MOC is finished when additional work stops adding meaningful value. You can always tweak a detail. You can always rebuild one section. You can always find a slightly better technique. But at some point, the returns diminish.
Perfectionism kills more MOCs than lack of skill ever will. I have seen builders spend months reworking a single corner of a building while the rest of the MOC sits untouched. That is not finishing. That is spinning.
Here is how I decide a MOC is done:
The main structure is complete and stable
The details I cared about most are in place
Adding more would require rebuilding sections that already work
I would be proud to display it or share photos
Some builders use a concrete finish line. They publish instructions on Rebrickable, which forces them to finalize the design. Others enter the build in a contest or display it at a show. The key is to choose a stopping point and commit to it.
An imperfect finished MOC is worth infinitely more than a perfect unfinished one. Every builder I respect has said some version of this. Your tenth build will be better than your first. But only if you actually finish your first.
Tools and Resources for Resuming Abandoned Builds
Having the right tools makes finishing an old MOC dramatically easier. Here are the resources I use regularly when picking up stalled projects.
BrickLink is essential for sourcing missing pieces. Search by part number, color, or category to find exactly what you need from sellers worldwide. If your abandoned MOC stalled because you were missing a specific element, BrickLink solves that problem in minutes.
Rebrickable lets you manage your LEGO inventory and find alternate build instructions. Upload your parts list and see what other models you could build with what you already own. It also helps you identify which sets your loose pieces came from.
Studio by BrickLink (formerly BrickLink Studio) is a free digital building tool. If you need to plan a complex section before committing real bricks, build it digitally first. This saves time and prevents the frustration of assembling something in real life only to find it does not work.
For community support, these platforms are where LEGO builders gather:
Eurobricks for deep forum discussions and contest threads
Reddit r/legomoc and r/lego for quick feedback and motivation
LEGO Discord servers for real-time conversation and accountability
Flickr LEGO groups for studying technique and detail work
Common Mistakes When Resuming an Old LEGO Project
Avoid these traps that derail builders when they try to restart abandoned MOCs.
Tearing everything down to start fresh. This feels productive but usually results in losing the parts you already built. Unless the existing structure is fundamentally broken, build on top of what you have. Reddit users frequently report regretting full teardowns.
Setting unrealistic timelines. You will not finish a two-year-abandoned MOC in one weekend. Plan for multiple sessions over several weeks. Short, consistent building periods beat marathon sessions that lead to burnout.
Skipping the parts inventory. Jumping back into building without sorting your pieces leads to frustration when you cannot find what you need mid-build. Spend the first session just organizing.
Changing the design mid-stream without documenting. If you decide to modify your original plan, write it down. Undocumented changes create confusion later when you cannot remember what you decided and why.
Frequently Asked Questions
What is the 5/2 rule in LEGO?
The 5/2 rule is a building guideline that suggests using at least five studs of connection for every two bricks of height when stacking LEGO elements. This creates a stronger, more stable structure and helps prevent your MOC from collapsing under its own weight as it grows.
Is it legal to sell LEGO MOCs?
Yes, it is legal to sell custom LEGO MOCs you have built. The LEGO Group allows the sale of custom creations. However, you cannot use copyrighted LEGO logos, official set designs, or trademarked minifigure designs in your marketing. Many builders sell completed MOCs, custom instructions, and kit packs through platforms like BrickLink and eBay.
What to do with LEGOs I don’t want anymore?
If you have LEGOs you no longer want, you can sell them on BrickLink, donate them to schools or charities, trade them at LEGO swap events, pass them to younger builders, or use them as a parts source for new MOC projects. BrickLink is the most popular option for selling individual pieces and complete sets.
How do I know when my MOC is actually finished?
A MOC is finished when the main structure is complete, stable, and displays the key details you set out to include. If additional work would require rebuilding sections that already function well, or if you keep tweaking without meaningful improvement, it is time to call it done. Many builders set a hard finish line like entering a contest or publishing photos.
Should I tear down my abandoned MOC and start over?
Usually no. Unless the existing structure is fundamentally flawed, tearing down a partially built MOC wastes the progress you already made. Instead, assess what works, keep those sections, and focus your energy on the incomplete areas. Builders who tear everything down often end up abandoning the project again.
Finish That Build
Knowing how to finish an unfinished LEGO MOC comes down to a simple sequence: sort your pieces, reconnect with your vision, find fresh inspiration, break the work into small sections, set a deadline, get feedback, document your progress, and accept that done is better than perfect.
Your abandoned build is not a failure. It is a project waiting for the right approach. Pick one step from this guide and start there today. Even sorting a single drawer of pieces counts as progress. The moment you engage with the project again, momentum returns.
Go build something. And when you finish that MOC, share it with the community. Your completed build might be exactly the inspiration another builder needs to restart their own abandoned project.