
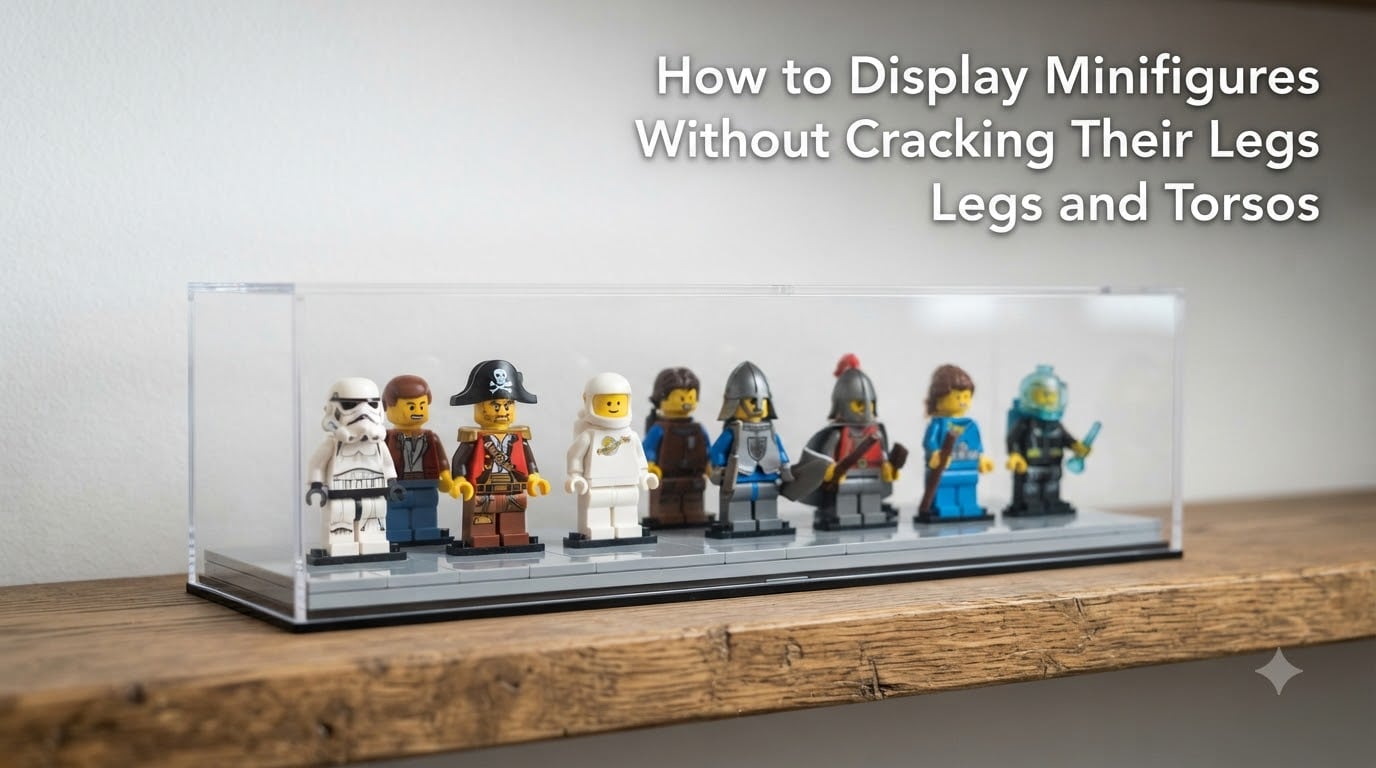
Yes, minifigure legs and torsos can crack on display. I’ve collected LEGO for over 15 years, and I learned this lesson the hard way when I pulled a beloved Boba Fett off a stud-mounted baseplate and found a hairline fracture running through his hip. After that moment, I tested every mounting method, display case, and storage trick I could find.
This guide shares exactly how to display minifigures without cracking their legs and torsos, drawn from my own collection, conversations with other collectors, and the most reliable advice from the LEGO community. By the end, you’ll know which mounting methods are safe, why certain color batches are more fragile, and how Part 93095 (the so-called heel saver) can protect your most valuable figures for decades.
Table of Contents
Why Do Minifigure Legs and Torsos Crack on Display?
Cracking comes down to one root cause: sustained mechanical stress on plastic that was never designed to bear it long term. When you push a minifigure foot directly onto a LEGO stud, the hollow interior of the leg is forced into a tight, fixed position. Gravity pulls down, the stud pushes up, and over weeks or months the plastic fatigues.
Older color batches are especially vulnerable. Dark red and dark brown ABS plastic from the late 1990s and early 2000s tends to be more brittle than modern formulations. Collectors call these “fragile colors,” and if your collection includes vintage figures from that era, you have probably already noticed stress marks or hairline cracks.
Torsos crack for a different reason. The arm sockets are under constant tension, especially when you rotate arms to pose a figure. Each twist creates micro-stress at the shoulder joint. Over time, a visible crack appears around the arm peg hole, and once it starts, it spreads quickly.
Temperature swings make everything worse. A display near a sunny window can swing 30 degrees Fahrenheit between morning and evening. ABS expands and contracts, and that constant flexing accelerates cracking, even on figures that aren’t mounted on studs.
How to Display Minifigures Without Cracking: 5 Safe Mounting Methods
After testing these methods across roughly 200 figures in my collection, here are the five safest ways to display minifigures without cracking:
- Use Part 93095 (heel savers). These small tiles slot under the foot and grip the toe and heel, eliminating the need to push the foot onto a stud. Zero stress on the leg interior.
- Mount on jumper plates. A 2×2 jumper plate sits flat on a baseplate, and the minifigure’s foot sits on top. The jumper covers the stud so nothing penetrates the foot cavity.
- Build stepped platforms with smooth tiles. Use smooth 1×1 or 2×2 tiles on the surface of your display. The minifigure stands on the smooth surface with no stud contact at all.
- Use offset tiles with a toe hook. A 1×2 tile with a centered groove holds the toe of the figure while the rest of the foot rests flat.
- Mount horizontally on a wall frame. Vertical wall-mounted frames let figures stand on smooth acrylic shelves, with no stud engagement and no gravity stress.
Method 1 is the gold standard for valuable minifigures. Methods 2 and 3 are great for everyday displays. Method 5 is the safest for large collections because nothing touches the foot cavity at all.
Using Part 93095 (Heel Saver) to Eliminate Foot Stress
Part 93095 is the single best invention for protecting minifigures on display. It looks like a small tile with two prongs that grip the heel and a lip that holds the toe. The minifigure stands upright without any part of a stud entering the foot.
I switched my entire collection to heel savers after my Boba Fett incident. Three years later, not a single figure has shown new stress marks. The pieces cost roughly 10 cents each on BrickLink, and they clip on in seconds. They come in black, white, and light bluish gray, so they blend into most displays.
One tip from the forums: don’t use super glue or any adhesive on the heel saver. The friction fit is enough, and adhesive will damage the figure if you ever want to remove it. The pieces also work great if you display figures in wall-mounted frames where you want a low-profile look.
Choosing a Display Case That Protects Minifigures
A good display case does three things: keeps dust off, blocks UV light, and lets you access figures without forcing your fingers into a cramped space.
Acrylic cases are the most popular choice among collectors I know. They are lighter than glass, shatter-resistant, and most quality acrylic blocks over 90% of UV rays. Glass cases look more premium but are heavier and offer no UV protection unless you pay for museum-grade glass.
Look for cases with hinged doors or removable fronts. Sliding doors are tempting, but every slide introduces a tiny vibration, and over years that vibration can stress cracked or fragile figures. Hinged doors let you reach in, pick up a figure with both hands, and set it back down without any sliding force.
For wall displays, IKEA Ribba shadow boxes are a favorite DIY solution. They are deep enough for a stepped platform, cheap, and easy to mount. The included glass is clear but offers no UV protection, so add a UV-filtering film if the case sits near a window.
Whatever case you choose, make sure it has a sealed top. Dust is the silent killer of minifigure displays. It settles into the hollow torso cavity, and over time it combines with humidity into a sticky film that’s almost impossible to fully clean.
UV and Sunlight Protection for Long-Term Preservation
Direct sunlight fades minifigures within months. I’ve watched a row of Clone Troopers lose their bright white finish to a sickly yellow tint after a single summer in a window display. The damage is permanent, and it tanks the resale value of collectible figures.
The fix is simple: keep display cases out of direct sunlight. If your only display space is near a window, apply a UV-filtering film to the glass. These films block 99% of UV rays and are nearly invisible once installed.
Indoor lighting matters too. LED lights produce almost no UV radiation, which makes them the safest choice for display cases. Halogen and incandescent bulbs emit small amounts of UV plus significant heat, and that heat contributes to the temperature swings that worsen cracking. If you install case lighting, use LEDs.
For window displays where rotation is the point, swap figures every two weeks. Even with UV protection, equal exposure across all figures beats uneven fading on a few favorites.
Safe Handling Tips to Prevent Torso Cracks
The biggest mistake I see new collectors make is twisting arms to pose figures. The arm pegs and socket holes are under tension every time you rotate them, and that tension builds until the plastic cracks.
When you need to change a figure’s pose, follow these steps:
- Grip the torso firmly between thumb and forefinger, not the arms
- Use a toothpick or LEGO separating tool to lift the arm slightly before rotating
- Never force an arm past its natural range of motion
- Avoid changing arm positions more than once a month on valuable figures
Hairline cracks around the arm socket are the first sign of trouble. If you spot one, stop rotating the arms entirely. The crack will spread with each twist, and eventually a chunk of the shoulder will break off.
Minifigure accessories are another hidden risk. A figure holding a large sword or blaster puts uneven weight on one arm, and over months that arm will sag or crack. For long-term displays, remove hand-held props and place them on a small stand beside the figure instead.
Display Methods Comparison Table
Here’s a quick comparison of the main display methods, based on protection level, cost, and how easy they are to set up:
| Method | Protection Level | Cost | Ease of Setup |
|---|---|---|---|
| Part 93095 heel savers | Excellent | Low (around 10 cents each) | Easy |
| Jumper plates | Very Good | Very Low (a few cents each) | Easy |
| Smooth tile platform | Good | Very Low | Moderate |
| Wall-mounted frame | Excellent | Moderate | Moderate |
| Direct stud mounting | Poor | None | Easy |
If I had to pick one method for a brand-new collector, I’d start with heel savers. They cost almost nothing, take seconds to install, and they remove the single biggest cause of leg cracking.
How to Repair Minifigures That Already Have Small Cracks
Once a minifigure cracks, you can’t fully restore the plastic. But you can stabilize small cracks and prevent them from spreading.
The community’s most reliable trick uses a tiny needle-nose plier or a strong pair of tweezers. Insert the tip into the torso cavity from the bottom, grip the inside of the crack, and gently push the two sides back together. This realigns the plastic and takes pressure off the crack line.
For hairline cracks on legs, a small drop of plastic-compatible cement (like Tamiya Extra Thin Cement) can seal the line. Apply it with a toothpick, hold the figure still for 30 seconds, and let it cure for 24 hours before handling. Avoid super glue; it dries brittle and will crack again within months.
Severely damaged figures with chunks missing are best left as-is or replaced. No repair will return the original structural integrity, and aggressive gluing often makes the figure look worse than the crack did.
Whatever you do, retire cracked figures from active display. Keep them in a drawer or a secondary case, and reserve your main display for healthy figures only.
Frequently Asked Questions
How to display LEGO minifigures without cracking legs?
Use Part 93095 heel savers, jumper plates, or smooth tile platforms. These methods keep the minifigure upright without forcing a stud into the hollow foot cavity, which is the main cause of leg cracks.
How to prevent LEGO torsos from cracking?
Grip the torso (not the arms) when changing poses, rotate arms sparingly, and remove heavy props from the figure’s hands. Hairline cracks around the arm socket are the first warning sign.
Do minifigure legs crack on studs?
Yes. Direct stud mounting creates sustained pressure on the inside of the foot and leg. Over months or years, this pressure causes micro-fractures that spread into visible cracks, especially on older dark red and dark brown figures.
How should I display my minifigures?
Display minifigures in an acrylic or glass case with hinged doors, mounted on heel savers or smooth tile platforms, away from direct sunlight, with LED lighting only.
Does sunlight damage LEGO minifigures?
Yes. Direct sunlight fades colors within months and contributes to temperature swings that worsen cracking. Use UV-filtering film on any case near a window, or move the display out of direct light.
Final Thoughts on Displaying Minifigures Without Cracking
Learning how to display minifigures without cracking their legs and torsos comes down to two habits. First, never mount a figure directly on a stud if you plan to keep it on display. Use Part 93095, jumper plates, or smooth tile platforms instead. Second, house your collection in a sealed case away from direct sunlight.
These two changes cost almost nothing and protect your collection for decades. I wish I had known them before I cracked that Boba Fett, but I’m glad I figured them out before the rest of the collection suffered the same fate. Start with heel savers on your most valuable figures, build your display method from there, and your minifigures will outlast you.