
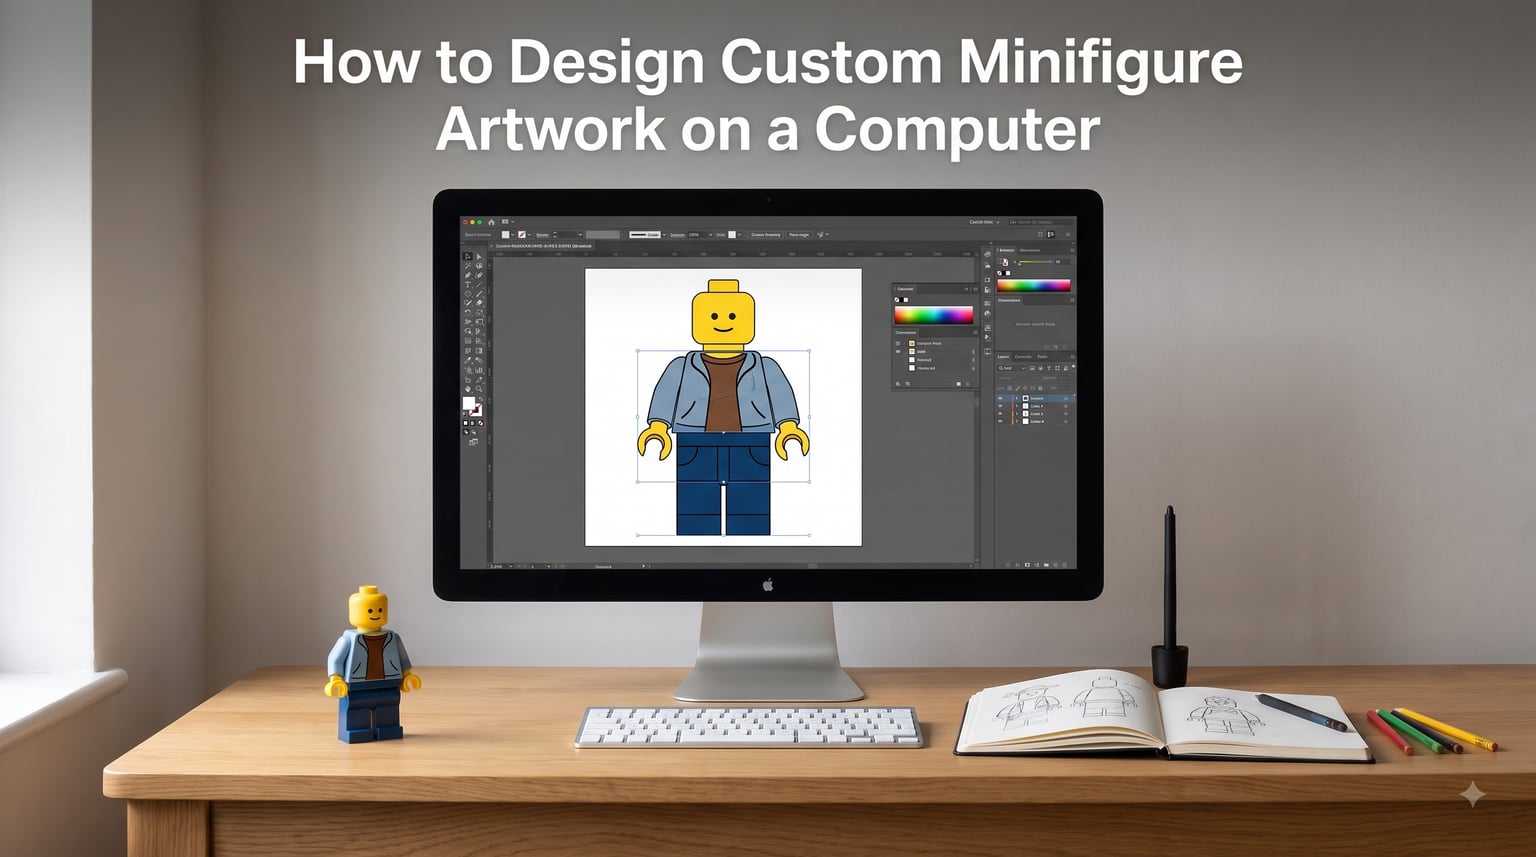
Custom minifigure design has exploded in 2026. Once locked behind expensive software and professional decal printers, the process now lives on your laptop. I have spent the last three years designing custom minifigs for my shelf display, and I can tell you: the right workflow makes the difference between a decal that looks like a sticker and one that looks like it came straight from the factory.
This guide walks you through how to design custom minifigure artwork on a computer, from picking your software to exporting a print-ready file. Whether you want a one-off hero for your modular city or a full army of original characters, the steps below will get you there.
Table of Contents
Best Software for Designing Custom Minifigure Artwork
Your software choice shapes your entire workflow. I have tested every major option, and these are the ones worth your time in 2026.
Bricklink Studio (Free) is the official tool from Bricklink and the starting point for most designers. It includes PartDesigner built in, which lets you create custom printed parts without leaving the program. If you only install one tool, this is it.
Adobe Illustrator (Paid) remains the gold standard for vector decal work. Designers on the r/lego subreddit consistently recommend it for line weight control and clean Bezier curves. The subscription cost is steep, but the precision is unmatched.
PartDesigner (Free) is Bricklink’s standalone decal editor. You can upload any PNG, position it on the part, and export a ready-to-use decal file. It is the simplest path from sketch to in-hand minifigure.
Inkscape (Free) is the best free Illustrator alternative. It handles SVG vectors, gives you full control over paths, and runs on Windows, Mac, and Linux. I use it whenever I need to mock something up quickly.
GIMP (Free) is a raster editor that works well for painterly minifig designs. It cannot match Illustrator for vectors, but it handles shading and texture beautifully.
Blender (Free) is overkill for flat decals, but it is the right tool if you want to sculpt custom heads, hairpieces, or accessories. The learning curve is steep, so save it for after you have mastered decal work.
Setting Up Your Workspace and Template Dimensions
Before you draw a single line, set up your canvas with the correct dimensions. Minifigure parts follow specific pixel sizes, and starting with the right template saves hours of rework later.
The standard torso template is 605 by 512 pixels at 300 DPI. This is the canvas Bricklink uses for official prints, and matching it ensures your decal aligns perfectly with the part geometry.
The leg template sits at 270 by 459 pixels. Torsos and legs are designed together because the hip join must align seamlessly when the figure stands.
The face template uses a circular canvas around 200 by 200 pixels. Faces are small, so keep details minimal. Two eyes, a simple mouth, and a hint of expression is all the resolution allows.
For helmets and hairpieces, expect 600 by 400 pixels depending on the part. Always check Bricklink’s PartDesigner for the exact number before you start.
Set up your software with snapping enabled, lock the layer containing the template outline, and create a separate layer for your artwork. This keeps the structural guide clean while you iterate freely above it.
Step-by-Step Process for Designing Custom Minifigure Artwork on a Computer
Here is the workflow I follow for every custom minifigure. It works whether you are using Bricklink Studio, Illustrator, or Inkscape.
Step 1: Sketch the Concept on Paper
Always start analog. Spend five minutes sketching the figure on paper. Decide on the silhouette, the chest graphic, and the face expression before you open any software. Designers who skip this step waste hours swapping ideas inside the program.
Step 2: Open the Torso Template
Load the 605×512 template. Drop the part outline as your bottom layer and lock it. This becomes your safety rails.
Step 3: Block in the Base Colors
Use the lasso or rectangle tool to fill the major color zones. A knight gets a tabard block. A scientist gets a lab coat panel. Get the shapes rough before you add detail.
Step 4: Add the Hero Graphic
The chest graphic is the focal point. Keep it simple. A logo, a symbol, or a single character works best. Anything more than three small elements gets lost at minifigure scale.
Step 5: Layer in Details and Shading
Now add the secondary details: belt buckles, pockets, insignia, fabric folds. Use a darker shade of each base color for shadows and a lighter shade for highlights. Two shadow layers and one highlight layer is usually enough.
Step 6: Mirror the Sides
Minifigure torsos wrap around the body. Design one side, then duplicate and mirror it to ensure the print looks balanced from any angle. This is the step most beginners forget.
Step 7: Export the File
Save as PNG with transparency enabled if you plan to use PartDesigner, or as SVG if you want to keep editing later. We will cover export settings in detail below.
Step 8: Test in Bricklink Studio
Import the decal into Studio, apply it to a minifigure, and render the figure. Look at it small. If you can read the chest graphic at 20% zoom, your design works.
Working with Adobe Illustrator for Vector Designs
Vector graphics are the professional standard for minifigure artwork. They scale without pixelation, and the print shops that make real custom decals require vector files.
Open Illustrator and create a new document at 605 by 512 pixels. Use the pen tool to draw your design with Bezier curves. The real advantage here is control over line weight. Keep outline strokes between 2 and 4 points so details do not disappear at small print size.
Build your design using shapes, not strokes, wherever possible. A filled square prints cleaner than a thick-stroked rectangle. Save line work for true outlines like belts and borders.
Use the pathfinder tool to merge shapes cleanly. Illustrator’s boolean operations let you cut, union, and intersect shapes with precision, which is essential for ornate heraldry or sci-fi insignia.
Export your finished file as SVG or high-resolution PNG. Both work in PartDesigner, but SVG gives you the option to scale up for poster prints later.
How to Create Custom Decals in PartDesigner
PartDesigner is the bridge between your artwork and a finished 3D model. It is free, browser-based, and takes about ten minutes to learn.
Open PartDesigner through Bricklink and select the part you want to customize. The tool will load the appropriate template. Upload your PNG or SVG and drag it onto the surface.
Use the UV mapping controls to scale and position the artwork. The grid overlay shows how the decal wraps around the physical part. Align your design with the part’s natural seams, not across them, to avoid print artifacts.
Once you are happy, click export. PartDesigner will generate a decal file that drops directly into Bricklink Studio. From there, you can render the figure, save an image, or order a real printed part through Bricklink’s custom print services.
Export Settings for Print-Ready and Digital Use
Export settings make or break the final result. Use the wrong DPI and your decal looks fuzzy on the shelf. Use the wrong format and your printer rejects the file.
For digital use (Instagram, online galleries, Reddit posts), export PNG at 300 DPI with transparent background. The file should match the template size exactly: 605×512 for torsos, 270×459 for legs.
For professional decal printing, export PNG at 600 DPI minimum. Some print shops require 1200 DPI for photographic quality. Check with your printer before finalizing.
For waterslide decal printing at home, print at 300 DPI on decal paper. Use a laser printer for durability, or an inkjet with a sealant spray if you do not own a laser.
Always export a flattened version with no layers for printing and a layered version for your archives. The flattened file is what the printer needs. The layered file is what you edit next time you want to revise the design.
Common Mistakes to Avoid When Designing Minifigure Art
I have made every mistake in this list. Learn from my errors.
Forgetting the wrap-around curve. The torso is not flat. Designs that ignore the side wrap look fine in 2D but break when wrapped around the figure. Always include 20 to 30 pixels of side detail on each edge.
Too many tiny details. Minifigures are small. A chest logo with 15 elements becomes noise at print size. Three bold elements read better than fifteen micro details.
Ignoring line weight. Vector strokes that are too thin disappear at print scale. Strokes that are too thick overwhelm the design. Stick to 2 to 4 points for most lines.
Mismatched color palettes. A neon orange torso with a pastel pink leg looks wrong. Stick to two or three dominant colors per figure and let the shades do the work.
Skipping the print test. Always print a small test before committing to a full batch. Colors on screen look different on decal paper. A five-minute test saves a wasted print run.
Are Custom LEGO Minifigures Legal?
This is the question I get most often, and the answer is more nuanced than most people expect.
For personal use, custom minifigures are completely legal. You can design, print, and display them on your own shelf without any issues. The LEGO Group does not pursue individual hobbyists.
For gift or non-commercial sharing, you are also safe. Selling a custom figure to a friend for parts cost is generally fine. Trading decals in fan communities is well-established practice.
For commercial production, the rules change. The LEGO trademark covers the minifigure shape, the LEGO logo, and any branding that could confuse customers. You cannot mass-produce custom minifigures and sell them under the LEGO name. To sell commercially, you need to use a non-LEGO brick system, brand your work clearly, and avoid trademarked logos.
The fair use argument protects parodies and original transformations. A custom Darth Vader minifigure for personal display is fine. Selling custom Star Wars minifigures is not.
When in doubt, avoid the LEGO brand explicitly. Use your own character names, your own logo, and a generic brick platform. Most custom minifigure businesses operate this way and stay comfortably within trademark law.
FAQ
How to design custom minifigures?
Start by sketching your character on paper. Open Bricklink Studio or Adobe Illustrator, load the correct torso template (605×512 pixels), block in base colors, add a hero graphic on the chest, layer in shading, mirror the sides, and export as PNG. Import the decal into PartDesigner to apply it to a 3D model.
Are custom Lego minifigures legal?
Custom LEGO minifigures are legal for personal use, gifts, and non-commercial sharing. Selling them commercially requires avoiding the LEGO trademark, using original character names, and operating on a non-LEGO brick platform. Fair use protects fan art and parody designs used personally.
How to turn a picture into a LEGO figure?
Import your photo into a vector editor like Illustrator or Inkscape. Use the pen tool to trace the main shapes, simplify the design to three or four bold colors, and convert it to a minifigure torso template at 605×512 pixels. Then apply the decal in PartDesigner and render the figure.
Is it possible to design your own LEGO set?
Yes. Use Bricklink Studio to design your own LEGO set digitally, complete with custom parts and minifigures. You can also order the physical bricks through Bricklink’s Pick-a-Brick service or third-party sellers. For commercial sets, you would need to design for a non-LEGO brand platform.
Conclusion
Learning how to design custom minifigure artwork on a computer takes an afternoon to start and a lifetime to master. Pick one software, work through the torso template first, and build a single figure before you scale up. The workflow above is the same one I use for every custom minifig on my shelf, and it scales from a one-off birthday gift to a full custom army.
Once you have your first decal rendered in Bricklink Studio, share it in the r/lego community or on Instagram. The minifigure community is one of the most helpful on the internet, and feedback from other designers will level up your next figure faster than any tutorial.