
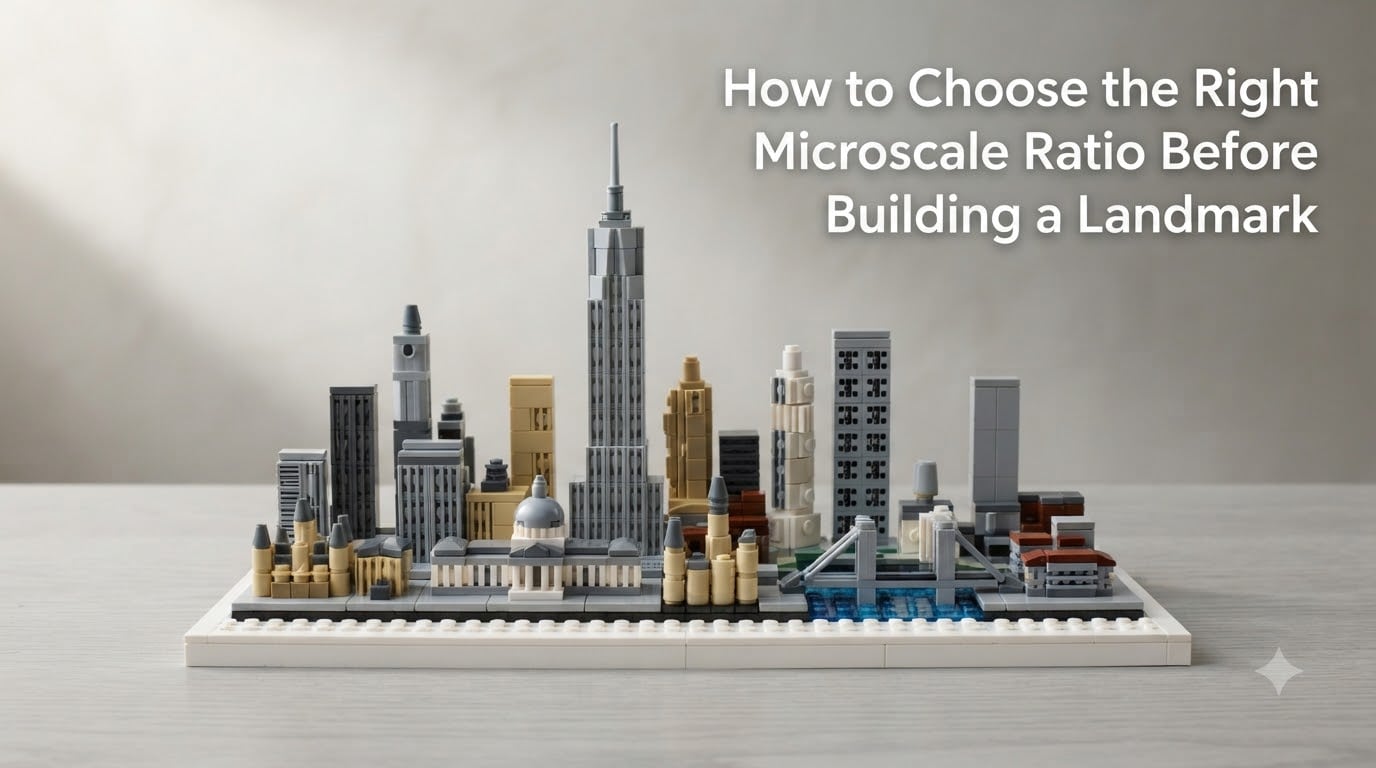
Building a LEGO landmark is exciting, but picking the wrong microscale ratio can derail your entire project before you lay the first stud. I have watched builders spend weeks on a MOC only to realize their tower is three times too tall for the baseplate city next to it. The scale you choose determines everything: how many bricks you need, how much detail you can pack in, and whether your finished model looks like the real landmark or a random stack of plates. In this guide, I will walk you through exactly how to choose the right microscale ratio before building a landmark so your next architecture MOC comes out proportioned, recognizable, and consistent from day one.
The LEGO Architecture series has inspired thousands of fans to try their hand at landmark builds. But official sets come with pre-determined scales. When you are designing your own, that decision falls entirely on you. Choosing a microscale ratio before you start building keeps every element of your model locked to the same proportional language. Let me show you how to get that decision right.
Table of Contents
What Is Microscale in LEGO Building?
Microscale is a LEGO building style where models are scaled down significantly from their real-world size, typically too small for minifigures to interact with but large enough to remain recognizable. In microscale building, a single stud might represent a window, a 1×1 plate could stand in for a car, and a small bracket becomes a roofline detail. The key idea is that you are shrinking reality down while keeping the essential shape and proportions intact.
There is no single official microscale ratio that LEGO enforces. Builders choose their own scale based on the project. A microscale Eiffel Tower and a microscale house will likely use completely different ratios. What unites them is the mindset: every piece is doing heavy lifting to suggest more detail than is literally present.
The term “microscale” covers a wide range. Some builders consider anything smaller than minifig scale to be microscale, while others reserve the word for extremely compressed models like city skylines on a single baseplate. For this guide, I am using it the way most MOC builders do: any build where the ratio between the model and the real structure is too small for a minifigure to “live” inside.
Minifig Scale vs Microscale: What Is the Difference?
Minifig scale, often called “minifigure scale” or roughly 1:48, means your build is sized so a standard LEGO minifigure looks proportional standing next to or inside it. A minifig-scale door is about 5 to 6 studs wide, a car fits one or two figures, and a building is tall enough to have usable interior floors. This is the scale of most LEGO City sets and many castle and space themes.
Microscale throws that constraint out the window. Because no minifigure needs to fit through the doors or stand inside the rooms, you can compress everything dramatically. A microscale skyscraper might be only 20 studs tall instead of 200. The trade-off is that you lose interior playability but gain the ability to build massive structures like entire city skylines on your desk.
Here is a quick way to think about the two approaches. Minifig scale answers the question “can a figure use this?” Microscale answers the question “does this read as the landmark from across the room?” Both are valid building styles, but they demand different planning. If you want to build the Taj Mahal at minifig scale, you need a massive collection and a lot of space. At microscale, the same building fits on a single 16×16 plate.
Common Microscale Ratios Explained
Choosing a microscale ratio starts with understanding the range builders commonly use. Here are the most popular ratios, what they mean, and the types of landmarks where each one shines.
1:20 scale (large microscale): At this ratio, a 100-foot-tall building becomes roughly 5 feet tall in LEGO form, which is still enormous. Builders rarely use 1:20 for full buildings. Instead, this ratio works well for individual architectural details, monuments, or smaller structures where you want heavy detail. Think of a microscale Statue of Liberty where the pedestal alone has texture.
1:50 scale (medium microscale): This is a sweet spot for medium-sized landmarks. A 200-foot clock tower shrinks to about 4 feet. Many fan-built landmarks use ratios in this neighborhood because you can still include windows, cornices, and roof textures without the model growing out of control. If you are building a single notable building and want it to feel substantial, 1:50 is a strong starting point.
1:100 scale (standard microscale): One of the most commonly used ratios for standalone landmarks. A 500-foot skyscraper becomes approximately 5 feet tall. At 1:100, you lose fine interior detail but keep strong architectural readability. Many LEGO Architecture studio-style builds fall in this range. The official LEGO Architecture series uses varying scales, but 1:100 is a good reference point for custom towers.
1:600 scale (skyline microscale): This ratio is ideal when you are building multiple landmarks together, like a city skyline. A 1,000-foot building shrinks to about 20 inches. At 1:600, individual windows disappear and you rely on silhouette, color blocking, and massing to communicate identity. The LEGO Architecture Skyline sets operate in roughly this territory.
1:10000 and smaller (ultra microscale): Some builders compress entire cities or famous skylines to extreme ratios where a single stud represents dozens of feet. At 1:10000, a 1,000-foot skyscraper is barely an inch tall. These builds are more about impression than accuracy. They work beautifully as vignettes or display pieces but demand extreme precision in color and shape choice.
How to Choose the Right Microscale Ratio Before Building a Landmark
This is the core decision, and I want to give you a practical framework rather than vague advice. Follow these steps and you will land on a ratio that fits your project, your parts collection, and your display space.
Step 1: Measure the real landmark. Look up the actual height and footprint of the building or structure you want to recreate. Write down the numbers in feet or meters. For example, the Empire State Building stands 1,454 feet tall to its tip. You cannot choose a scale without knowing the real dimensions.
Step 2: Decide your maximum display size. Be honest about where this model will live. If you have a shelf that is 18 inches deep, your model plus its base cannot exceed that. If you are building a skyline, figure out how long the baseplate can be. This hard ceiling on physical size is the single biggest constraint on your ratio choice.
Step 3: Test multiple ratios with a quick calculation. Divide the real height by the ratio number to get your model height. At 1:100, a 1,454-foot building is roughly 14.5 feet tall, which is way too big for a shelf. At 1:600, that same building is about 29 inches, still large. At 1:1000, it drops to roughly 17 inches, which might work. Run this math for three or four ratios and see which ones fit your display constraint.
Step 4: Consider your desired detail level. Smaller ratios mean less room for detail. If you want people to see individual windows on your landmark, you need a larger scale. If you are going for silhouette recognition only, a smaller ratio is fine. Ask yourself: what features make this landmark identifiable? Those features must be visible at your chosen scale, or the build will not read correctly.
Step 5: Check your parts inventory. A larger scale eats more bricks. A 1:100 build of a skyscraper could need thousands of pieces. A 1:600 version might need a few hundred. If your collection is limited, a more compressed ratio keeps the project achievable. I have seen builders abandon projects halfway through because they chose a scale that demanded more parts than they owned.
Step 6: Lock it in and document it. Once you choose your ratio, write it down. Every measurement in your build should reference that same ratio. If your ratio is 1:650, then every door, window, and arch in your model gets divided by 650. This documentation keeps you consistent, which brings us to the next critical section.
Why Consistency Is the Most Important Rule
If there is one thing experienced microscale builders repeat in every forum thread, it is this: consistency matters more than the specific ratio you pick. A model built at a slightly unusual scale like 1:437 will look great if every element follows that same ratio. A model that mixes 1:100 with 1:600 in the same scene will look wrong, even if both ratios are fine on their own.
Reddit users on r/lego and r/Minilego consistently flag scale inconsistency as the most common mistake in beginner MOCs. One builder put it well: the eye notices when a car parked next to a building is the wrong size relative to the doors, even if you cannot articulate why it looks off. Our brains are pattern-matching machines when it comes to proportion, and any break in the scale language registers as a mistake.
This rule becomes even more important when you are building a skyline or a multi-landmark diorama. If your microscale Statue of Liberty is at 1:500 but your microscale Empire State Building next to it is at 1:800, the two will look like they belong in different universes. Pick one ratio for the entire scene and apply it to every structure.
LEGO Math and SNOT Techniques for Microscale
LEGO math refers to the standard dimensional relationships between bricks, plates, and studs. Understanding these numbers makes it far easier to plan a microscale landmark. The fundamental rule is that one stud equals the width of a 1×1 brick, one plate height equals one-third of a brick height, and a stud is exactly 5 plate heights tall if you turn it sideways using SNOT (Studs Not On Top) techniques.
SNOT techniques are especially valuable at microscale because they let you orient bricks sideways, creating smooth surfaces, angled facades, and textured walls that studs-up building cannot achieve. A 1×1 bracket, a modified plate with a clip, or a jumper plate can become an architectural detail when rotated. Many of the best microscale landmarks rely on sideways building for their clean lines and compact forms.
Here is a practical tip from the LEGO Architecture community. Build a small “scale guide” using a few representative elements before starting your main model. Stack a door piece, a window piece, and a figure element at your chosen ratio. If these three reference elements look proportional next to each other, your full build has a solid foundation. Tom Alphin, author of The LEGO Architect, uses similar reference calculations to plan official-style builds, and the same approach works for custom landmarks.
Color Choice and Matching the Official Architecture Aesthetic
Color does as much work as scale in making a landmark recognizable. At microscale, you cannot rely on fine detail to identify a building, so color blocking carries the load. The Golden Gate Bridge needs that specific orange-red. The White House needs white walls with dark windows. If your color choices are off, no amount of perfect proportion will save the model.
Many builders draw inspiration from the official LEGO Architecture series, which uses a consistent aesthetic language: muted base colors, dark or black window and trim elements, and clean monochrome backgrounds. The black window trim used across many Architecture sets is not random. It mimics how real architectural drawings represent windows in elevation views. Adopting this same trim approach in your custom landmarks gives them a polished, professional look.
If you want to match the official aesthetic, limit your palette. Pick one or two primary colors for the main structure, use black or dark gray for window and door representations, and keep the baseplate simple. Too many colors at microscale creates visual noise that destroys the clean silhouette effect you need for recognition.
Common Microscale Mistakes to Avoid
I want to save you from the pitfalls that trip up new microscale builders. Here are the most frequent mistakes, drawn from forum discussions and my own building experience.
Mistake 1: Choosing a scale after building. Some builders start stacking bricks and figure out the ratio later. This almost always leads to inconsistency and proportion errors. Always calculate and commit to your ratio before touching a single stud.
Mistake 2: Over-detailing at the wrong scale. Trying to pack minifig-scale window frames into a 1:600 model looks cluttered and breaks the proportional language. Detail should match the ratio. At small scales, rely on color and silhouette rather than individual brick details.
Mistake 3: Mixing scales in a single scene. I mentioned consistency already, but it deserves repeating because it is the number one complaint from experienced builders reviewing beginner work. One ratio per scene, no exceptions.
Mistake 4: Forgetting the baseplate footprint. Builders often calculate height but forget to scale the ground dimensions. A building at 1:100 might have the right height but a footprint that overflows your baseplate. Always calculate both height and width using the same ratio.
Mistake 5: Ignoring reference photos. Build from multiple real photographs of your landmark, not from memory. Landmarks have surprising proportional relationships that are easy to get wrong if you go from a mental image. Print side-view and front-view photos and measure against them as you build.
FAQs
What is the most commonly used scale for LEGO microscale?
There is no single standard, but ratios between 1:100 and 1:600 are the most popular for standalone landmarks. The 1:100 range works well for individual buildings where you want architectural detail, while 1:600 is common for skylines and multi-building scenes. LEGO Architecture Skyline sets generally operate in the smaller end of this range.
How do I calculate the right microscale ratio for my landmark?
Divide the real-world height of your landmark by the scale number to get the model height. For example, at 1:500 scale, a 1,000-foot building becomes 2 feet tall. Test several ratios until you find one where the model height fits your display space and still allows the level of detail you want.
What is the difference between minifig scale and microscale?
Minifig scale (approximately 1:48) sizes buildings and vehicles so that standard LEGO minifigures look proportional inside and around them. Microscale shrinks everything far below minifig size, prioritizing compact display and architectural recognition over interior playability. Minifig-scale buildings have usable rooms; microscale buildings suggest rooms through exterior detail.
What is the golden ratio in architecture building?
The golden ratio in traditional architecture is approximately 1:1.618, a proportional relationship used in classical design to create visually pleasing facades and spatial layouts. It relates to aesthetic proportioning in real buildings, not to LEGO microscale ratios. However, some builders apply golden ratio principles to their microscale landmark designs for visual balance.
Can I mix different microscale ratios in one MOC?
Experienced builders strongly recommend against mixing ratios in a single scene. The human eye detects proportional inconsistency even when the brain cannot identify the specific mismatch. Choose one ratio for your entire model or diorama and apply it to every structure, vehicle, and landscape element.
Conclusion
Learning how to choose the right microscale ratio before building a landmark comes down to five steps: measure the real structure, set your maximum display size, test ratios with simple math, match your detail expectations, and lock the ratio in for every element. Stay consistent, build from reference photos, and your next architecture MOC will hit the mark.