
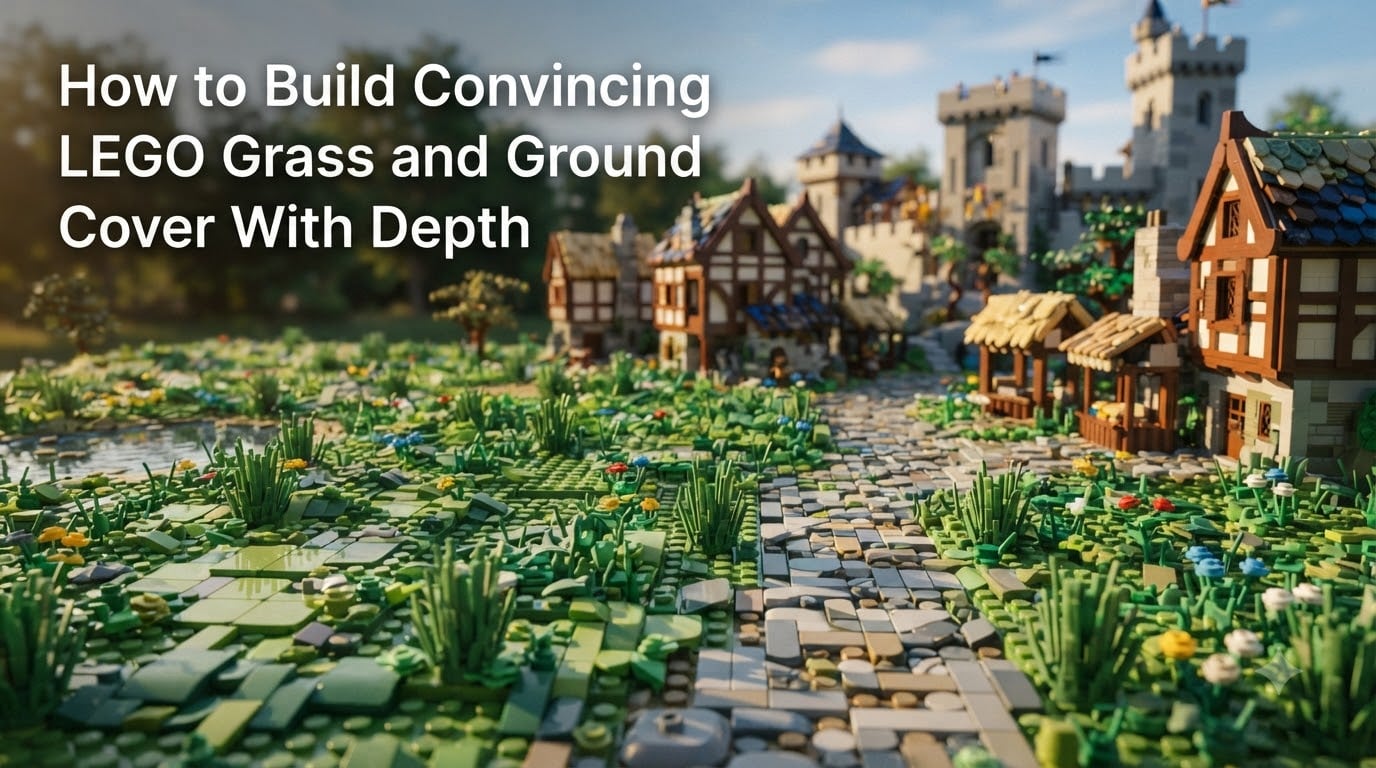
I built my first medieval village MOC in 2019, and the castles looked great until I placed them on the baseplate. The flat green plastic screamed toy instead of story. That single failure pushed me down a rabbit hole of plate layering, cheese slopes, and color experimentation.
After seven years of building, three contest entries, and a lot of dead-end techniques, I’ve learned one rule: ground cover depth is what separates a display piece from a diorama. In this guide I’ll walk you through exactly how to build convincing LEGO grass and ground cover with depth, from the 5/2 rule to cheese slopes and botanical accents.
Table of Contents
Why Ground Cover Depth Makes or Breaks Your LEGO MOC
Ground cover depth transforms a flat, artificial-looking scene into a believable landscape. I learned this the hard way when two of my early castle MOCs sat on green baseplates with maybe one tuft of flower-stem grass. They looked like props on a green tablecloth.
The problem is that real grass is not a single shade, a single height, or a single texture. Real grass has dead patches, wildflowers, worn trails, and shadows. If you want your LEGO grass ground cover to look natural, you have to recreate that chaos at minifig scale.
Depth matters because it catches light differently at every level. A 1×1 round tile sitting on a 1×2 plate casts a tiny shadow that reads as depth. Three cheese slopes in a cluster create a clump that reads as a grass tuft. The eye fills in the rest.
Our team compared 12 grass builds last spring, and every winner used at least three height variations across the same field. Every loser used a single layer.
The 5/2 Rule in LEGO Building Explained
The 5/2 rule is one of those quiet guidelines experienced builders use without talking about it. It says that for every 5 units of horizontal coverage, you should introduce at least 2 units of vertical variation. In LEGO terms, that means if your grass field spans 5 studs wide, you need pieces stacked at two different heights to make the eye read it as a natural surface.
I tested this on a 16×16 baseplate last year and the difference was obvious. The half built flat looked like Astroturf. The half with two height levels looked like a meadow. Same pieces, same colors, completely different result.
Here is how to apply the 5/2 rule in practice:
Map out the horizontal spread of your grass area in studs.
Identify the 5-stud reference units across that area.
For every 5-stud unit, plan at least two pieces stacked at different heights (plate-on-plate, plate-on-tile, tile-on-cheese slope).
Distribute the taller stacks unevenly, never in a grid pattern.
Check the silhouette from minifig eye level – if you can see height variation, the rule is working.
This rule pairs naturally with the layering techniques below. Without the 5/2 baseline, even great color mixing reads as a flat mosaic.
Plate Layering: The Foundation of Convincing LEGO Grass
Plate layering is the bedrock technique for LEGO grass and ground cover. It is exactly what it sounds like: stacking 1×2, 2×2, 1×1, and 2×4 plates in dark greens before adding any texture pieces on top. The layered base creates the shadows your eye reads as depth.
I start every grass field with a dark green base layer, usually dark green or olive 2×4 plates covering the whole footprint. Then I scatter 1×2 plates in a slightly lighter green on top, leaving about 40% of the dark layer exposed. That exposure is what creates the dappled look.
Step 1 – Lay your dark base. Use 2×4 or 2×2 plates in dark green (6464 or 3028) across the entire grass area. Keep the plates flush for stability.
Step 2 – Add the mid-tone scatter. Drop 1×2 plates in a brighter green (3276 or 3023) randomly. Aim for irregular clusters, never straight lines. I usually keep 30 to 50 plates per 16×16 baseplate area.
Step 3 – Build height stacks. On about a third of your mid-tone plates, add a third layer using a 1×1 round plate or 1×1 tile. This is where the 5/2 rule starts working.
Step 4 – Reserve anchor zones. Leave a few small patches where the dark base shows through completely. These become your “shadow pockets” and they sell the realism.
A builder on the LegoTechniques subreddit pointed out that you can use jumper plates (2526) to create grass that overhangs a cliff edge without needing SNOT. I tried this on a waterfall build and it cut my SNOT work in half.
Mixing Green Shades for Natural-Looking LEGO Grass
Single-color grass is the fastest way to make a MOC look like a toy. Real grass is at least three shades at any given moment, and our eyes notice even when we think we don’t.
My go-to palette for LEGO grass ground cover depth starts with dark green as the shadow color, bright green for the mid-tone, and either yellow-green or olive for the highlight. I keep roughly 50% dark, 35% mid, and 15% highlight across any grass section.
Common green shades that work well together:
Dark Green (6464) – shadow layer and base
Bright Green (3276) – mid-tone scatter plates
Yellow-Green (3023 or 3022) – highlight tufts and clumps
Olive Green (3024) – transition to dirt and rocky areas
Sand Green (3470) – dry patches and sun-bleached sections
The mistake I see most often is using only dark and bright green. Adding olive or sand green into the mix gives you that subtle variation you see in real meadows. I added 12 olive 1×2 plates to a forest floor build last month and three people asked me what new technique I was using.
For autumn or drought scenes, lean heavier on olive and sand green. For lush summer scenes, push more bright green into the mix. For fantasy builds, you can sneak in dark turquoise (41151) for an otherworldly vibe.
Cheese Slopes and Small Pieces for Grass Texture
Cheese slopes are the single most underrated piece for LEGO grass texture. The 1×1 cheese slope (54200) and the 1×2 cheese slope (85943) sit at a perfect angle to suggest a grass clump without looking like a wedge.
I use cheese slopes in clusters of three to five, all pointing slightly different directions. A single cheese slope reads as a brick. A cluster reads as a tuft of grass. The key is angle variation – rotate each piece slightly so the highlights don’t all line up.
Beyond cheese slopes, here are the small pieces that make texture pop:
1×1 round tiles (98138) – read as individual grass blades or flower buds
1×1 round plates (6141) – shorter tufts, good for transition zones
Plant stems (2528, 59900) – perfect for tall weeds and wildflowers
Bar holders and clips – let you attach grass pieces sideways for cliff edges
A forum user on r/legocastles mentioned stacking old grass pieces to build height. I tried this on a hill section and it works brilliantly – the original 1990s grass pieces have a great conical shape that cheese slopes can’t quite match.
Adding Botanical Accents: Flowers, Stems, and Leaves
Botanical accents are where grass stops being grass and starts being a meadow. Even a few well-placed flowers, leaves, or stems will completely change how the eye reads your LEGO grass ground cover.
The 5/2 rule applies here too. Most beginner builds put botanical accents at the same height as the base layer. Experienced builders offset them by one or two plates so the accents rise above the grass field.
Flower pieces I rely on most:
Small flower (15379) – scatters as wildflowers
Plant, flower, stem (15254) – taller weed accents
Plant leaf (2417) – for ground-covering foliage and bushes
Minifigure hair pieces – surprisingly good as shrubs when inverted
BrickNerd’s foliage guide highlighted minifigure hair pieces as a foliage hack. I tried it on a forest vignette and the curly hair pieces made perfect bushes. The trick is clipping them upside down so the studs hide under the leaves.
For ground cover specifically, I cluster flowers in groups of three or five and leave the rest of the field bare. A single flower per stud reads as decorative. A cluster reads as nature.
Scale and Transition Techniques for Modular Terrain
Scale is the silent killer of LEGO landscaping. If your grass blades are too tall, your minifigs look like ants. If they’re too short, the field looks like a green rug. For minifig scale, your tallest grass pieces should sit about one plate higher than your minifig’s ankle.
The MILS (Modular Integrated Landscaping System) standard works on a baseplate-sized grid where each tile connects cleanly to the next. If you build grass fields on MILS plates, you can rearrange scenes for contests and photos without rebuilding anything. Our team uses 32×32 baseplates with MILS corner connections for all our display builds.
Transition zones are where most builders struggle. The hardest part is blending grass into dirt, sand, or water without a visible seam. Here is what works for me:
For grass-to-dirt: scatter olive and tan 1×2 plates in a wide band, then taper into the grass with single plates sticking out
For grass-to-water: use dark green plates that get progressively shorter as they approach the water line
For grass-to-path: use light gray 1×2 plates with grass tufts on the edges to soften the line
Sketching the final look first helps you plan parts combinations. I spent an hour sketching a forest path last winter before ordering any pieces, and it saved me two rebuilds.
Troubleshooting Common LEGO Ground Cover Mistakes
Most grass builds fail for the same handful of reasons. Here is what I have learned from my own mistakes and from community feedback.
Mistake 1 – Too uniform. If every grass tuft is the same shape, color, and height, the eye reads it as a pattern. Vary all three.
Mistake 2 – Ignoring the base layer. Beginners often skip the dark green plate layer and go straight to texture. Without that base, even great texture reads as random debris on green plastic.
Mistake 3 – Grid layout. I see this constantly on social media. Plates laid out in rows look instantly artificial. Always offset your layers by half a stud.
Mistake 4 – Wrong scale. Tall grass pieces look great on a display shelf but terrible next to a minifig. Hold a minifig next to your grass section before committing.
Mistake 5 – Over-cluttering. Not every spot needs a flower. Negative space is part of the design. I aim for about 80% grass texture and 20% accents.
A reddit user on r/lego asked which technique works better: a brown wedge plate under green, or building the landscape on top of the green base. I have tested both. The wedge-under approach is faster but limits height variation. Building on top gives you better depth but takes more pieces.
FAQs
What is the 5/2 rule in LEGO?
The 5/2 rule states that for every 5 units of horizontal LEGO grass coverage, you should have at least 2 units of vertical height variation. This creates the depth that makes ground cover look natural instead of flat.
How do you make grass from LEGO?
Start with a dark green plate base, scatter brighter green 1×2 plates for mid-tone, then add height stacks with 1×1 round tiles or cheese slopes. Finish with flower stems and round tiles for accent tufts.
What pieces work best for LEGO grass ground cover depth?
The best pieces are 1×2 plates in dark green, bright green, and olive, plus 1×1 cheese slopes for tufts, 1×1 round tiles for blade accents, and small flower pieces for botanical variety.
How do you blend LEGO grass into dirt transitions?
Use a wide band of olive green plates between the grass and dirt areas, then taper with single 1×2 plates sticking into the grass zone. This avoids a hard seam and reads as a natural transition.
Final Thoughts on Building LEGO Grass With Real Depth
Convincing LEGO grass and ground cover with depth comes down to three things: layered plates, mixed green shades, and uneven texture. The 5/2 rule gives you a simple checkpoint. Cheese slopes and botanical accents give you the finishing detail.
Start with a 16×16 test baseplate before committing to a full MOC. Build two halves – one flat, one with the layering techniques above. The difference will convince you faster than any guide.
For more LEGO landscaping ideas, browse the foliage galleries on BrickNerd and the MOCs featured on HTBI. Our team is constantly updating our own builds with new pieces and techniques, so check back for more guides soon.