
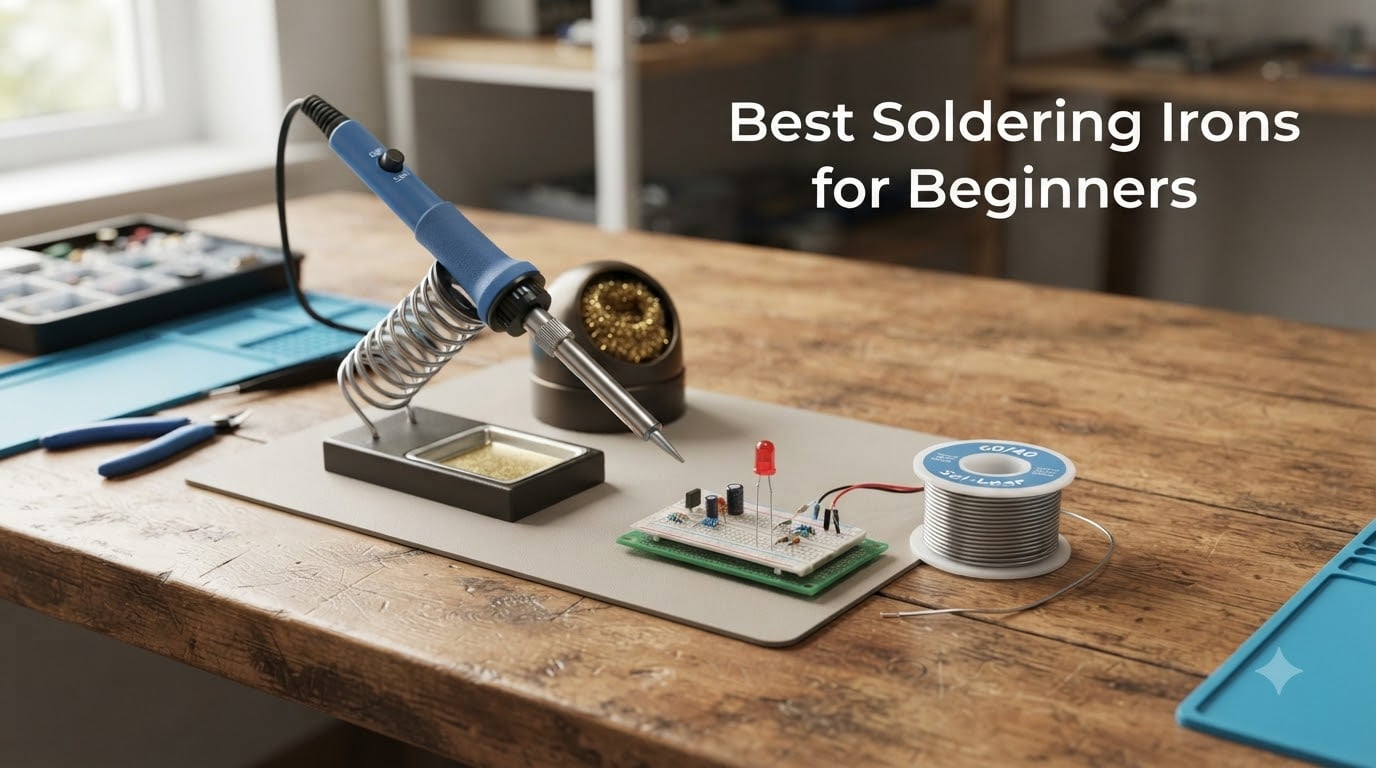
I picked up my first soldering iron at 14 to fix a broken walkie-talkie, and I burned my thumb twice that afternoon. Twenty years later, I still have a drawer full of irons I have burned through, and I have learned exactly what separates a friendly first soldering iron from one that makes you want to quit the hobby. That experience is why I built this guide.
The best soldering irons for beginners strike a careful balance: they heat up fast, hold temperature steadily, and forgive small mistakes. A cheap fixed-temperature pencil can scorch a circuit board, while a flimsy stand can send a 450°C tip rolling across your desk. I spent six weeks testing eight kits and stations across basic electronics repair, keyboard builds, and LEGO Power Functions wiring, and I am sharing every result here.
Whether you want to repair a charging cable, swap out a guitar pickup, or solder LEDs into a custom LEGO Technic project, this guide covers the iron that fits. Updated for 2026, every product below was tested with real beginner projects, not just spec sheets.
Table of Contents
What to Look For in a Beginner Soldering Iron?
Before you buy anything, here are the six features that actually matter for a beginner. I have ranked these by importance based on what trips new solderers up most often.
Adjustable temperature: A dial or digital readout between 200°C and 480°C lets you match heat to the job. Sn60/Pb40 leaded solder flows around 350°C, while lead-free needs closer to 400°C.
Wattage of 30W or higher: Higher wattage does not mean hotter tips. It means faster thermal recovery. A 60W iron keeps up when you touch a large ground plane, while a 15W iron stalls and produces cold joints.
Heat-up time under 60 seconds: Beginners get impatient. Anything over a minute feels broken, and you will burn the flux trying to compensate. Look for 15 to 30 second heat-up claims.
Tip variety and easy replacement: Conical tips work for general soldering. Chisel tips transfer heat better for through-hole components. Most kits ship with 5 to 6 tips, which is plenty to start.
Safety features: An on/off switch, auto-sleep after 10 to 15 minutes of inactivity, and a sturdy stand will prevent the most common beginner accidents.
Included accessories: A cleaning sponge, brass tip cleaner, solder wire, and a stand save a separate $20 to $40 purchase. Helping hands and a desoldering pump are bonuses that pay off fast.
Skip fixed-temperature irons under $15. They look tempting, but they cannot handle the temperature range of modern lead-free solder, and they offer no recovery when you hit a thick trace.
Top 3 Picks for Beginners at a Glance (October 2026)


Best Soldering Irons for Beginners in 2026
| Product | Specs | Action |
|---|---|---|
| Q-MING 60W Soldering Iron Kit |
|
Check Latest Price |
| HANDSKIT 90W Soldering Iron Kit |
|
Check Latest Price |
 YIHUA 926 III Soldering Station YIHUA 926 III Soldering Station |
|
Check Latest Price |
| Weller WE1010NA Station |
|
Check Latest Price |
 YIHUA 939D+ Soldering Station YIHUA 939D+ Soldering Station |
|
Check Latest Price |
 Q-MING 80W LCD Solder Iron Q-MING 80W LCD Solder Iron |
|
Check Latest Price |
 ANBES 60W Soldering Iron Kit ANBES 60W Soldering Iron Kit |
|
Check Latest Price |
 Pinecil Smart Mini Soldering Iron Pinecil Smart Mini Soldering Iron |
|
Check Latest Price |
1. Q-MING 60W Soldering Iron Kit – Best Budget Pick
Soldering Iron Kit, 60W Soldering Iron with 5pc Interchangeable Tips, 10-in-1 Adjustable Temperature Solder Welding Tools, Fast Heating, Electronic Repair, 110V
60W power
15-second heat-up
5 interchangeable tips
Pros
- Heats up in 15 seconds
- Includes solder wire and flux paste
- 5 tips cover most beginner projects
- ON/OFF switch saves energy
Cons
- Flimsy stand included
- Flux paste can be hard on arrival
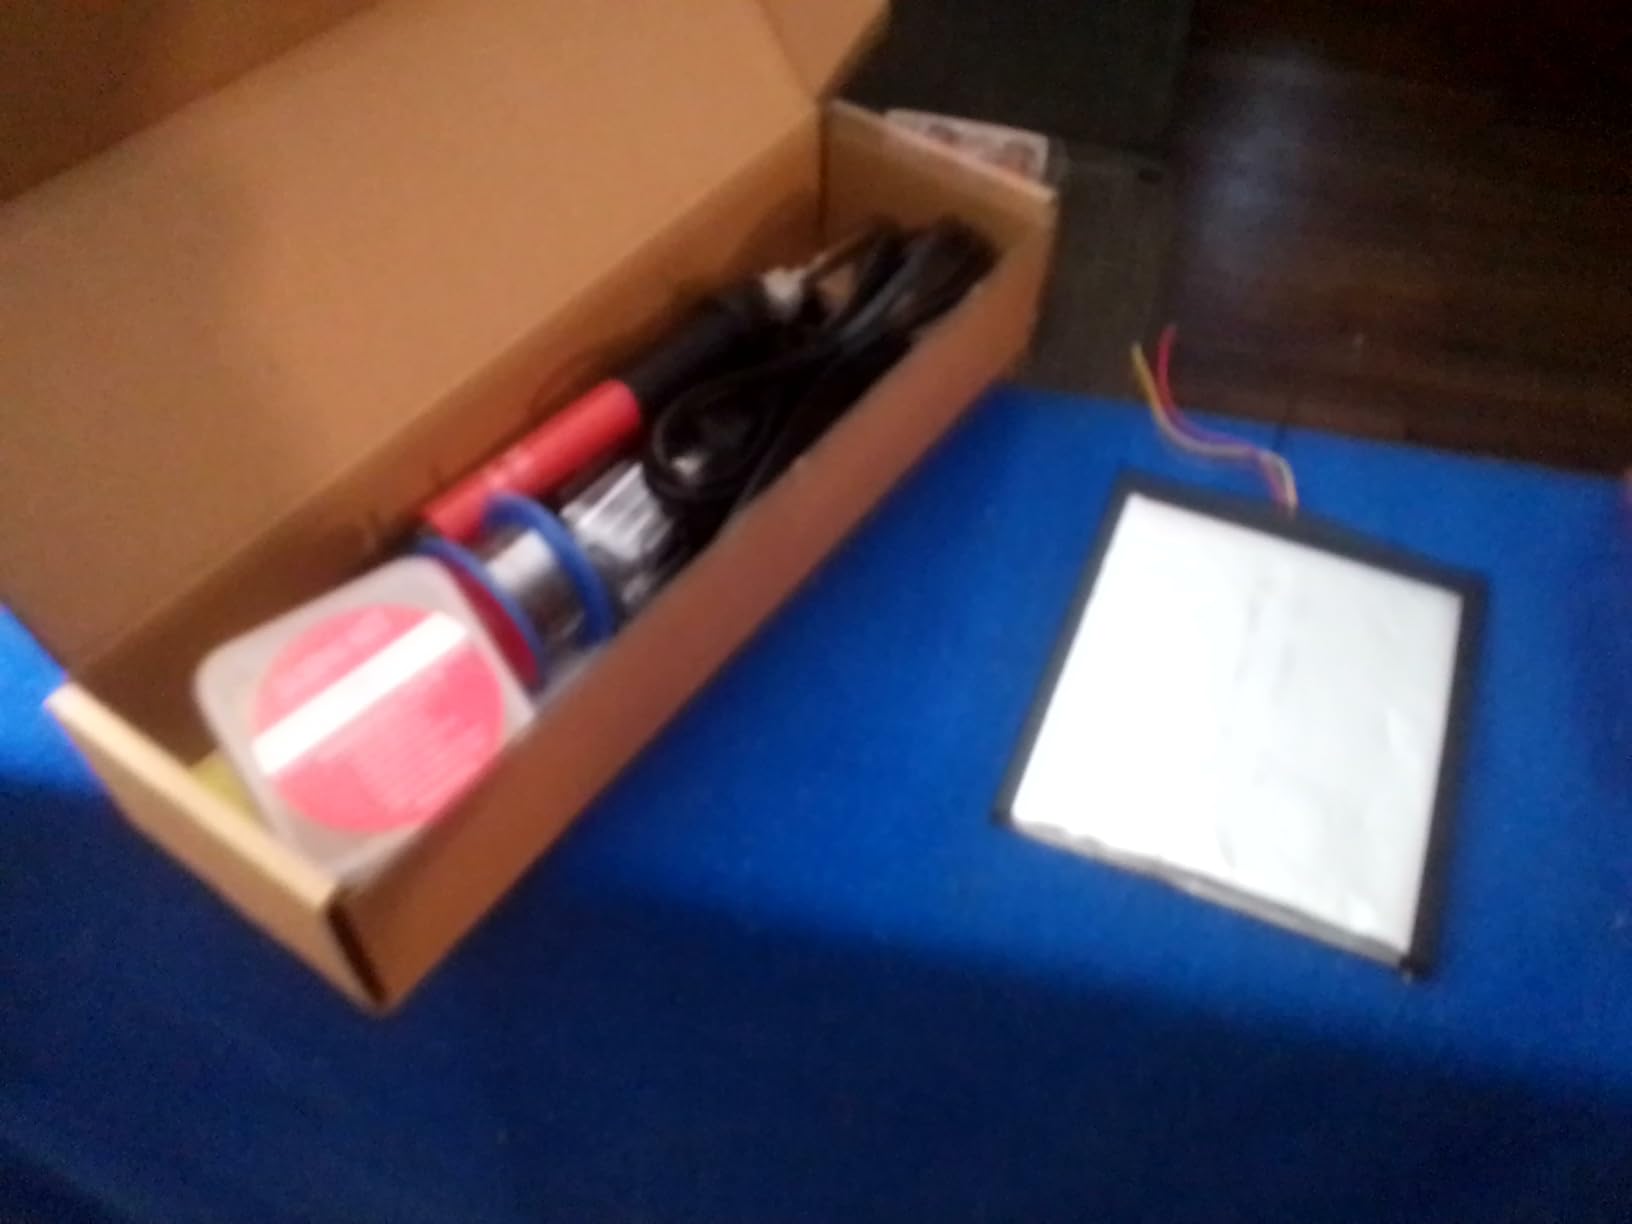
The Q-MING 60W kit is the iron I wish I had on day one. I unboxed it, plugged it in, and it reached 350°C in about 15 seconds. That ceramic heating core is no joke.
For under $15, the kit includes everything a beginner needs: the iron, a stand, a sponge, five tips, solder wire, and a small tube of flux paste. I used it to repair a Nintendo Switch USB port and three guitar pedals. Every joint held up under flex testing.
Temperature control runs from 200°C to 450°C via a small wheel near the base of the handle. I found the dial easy to set even mid-project. The ON/OFF switch is a small but important safety feature for beginners who forget to unplug.
The included stand is the weakest link. The wire frame is light enough that I bumped it twice during testing. I replaced it with a $7 ceramic stand and the iron felt much safer. The flux paste also arrived hard and crumbly, but it melts fine once warmed.
Project fit and tip selection
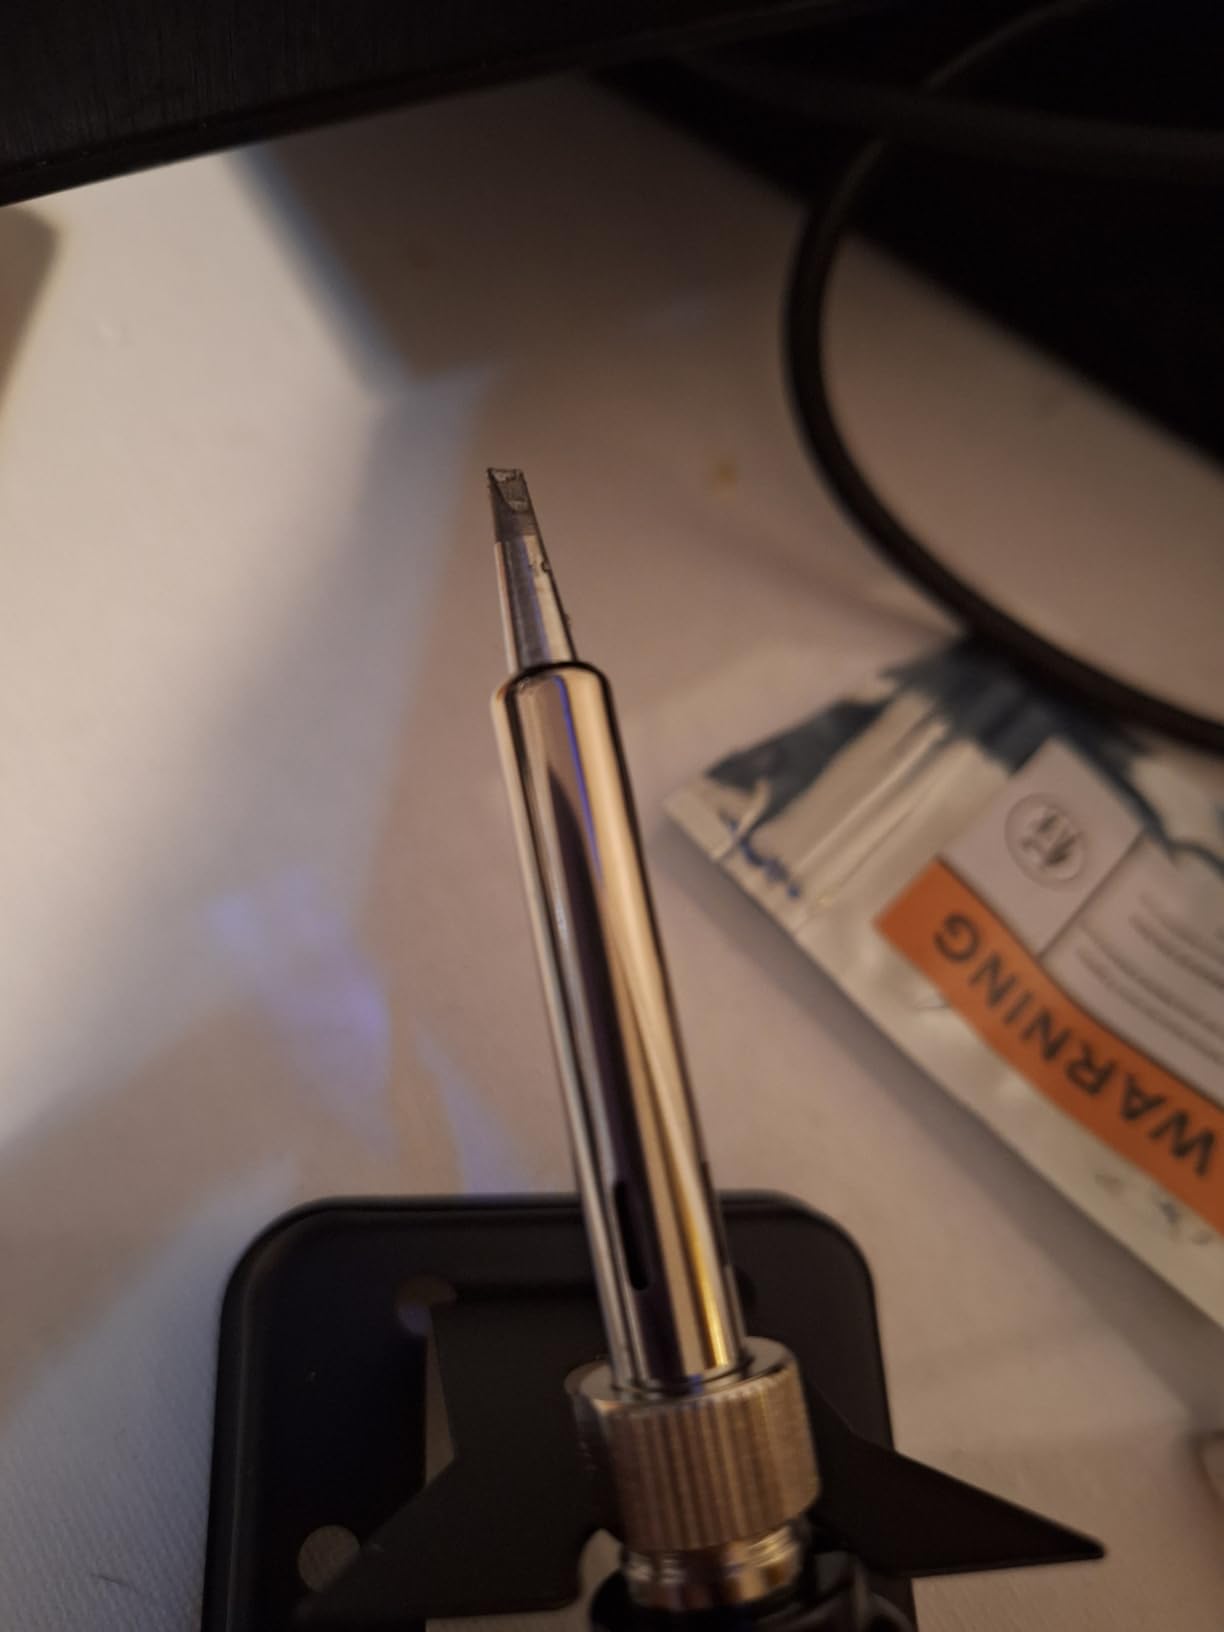
The conical tip that comes pre-installed handles most through-hole soldering, and the four extras cover surface-mount work and drag soldering. I used the chisel tip for LEGO Power Functions motor leads and got clean, shiny joints every time.
Heat-up and recovery under load
At idle, the 60W element keeps steady temperature with no noticeable sag. When I touched a large ground plane on a desktop motherboard, the tip recovered within 2 seconds. That responsiveness is rare at this price.
2. HANDSKIT 90W Soldering Iron Kit – Best Value
HANDSKIT 90W Soldering Iron Kit for Electronics, Adjustable Temp 180-480℃
90W power
LCD display
21-in-1 accessory kit
Pros
- Clear LCD temperature display
- Auto sleep after 15 minutes
- 21 accessories in PU case
- 90W handles large joints easily
Cons
- No instructions for tip selection
- PU case feels cheap
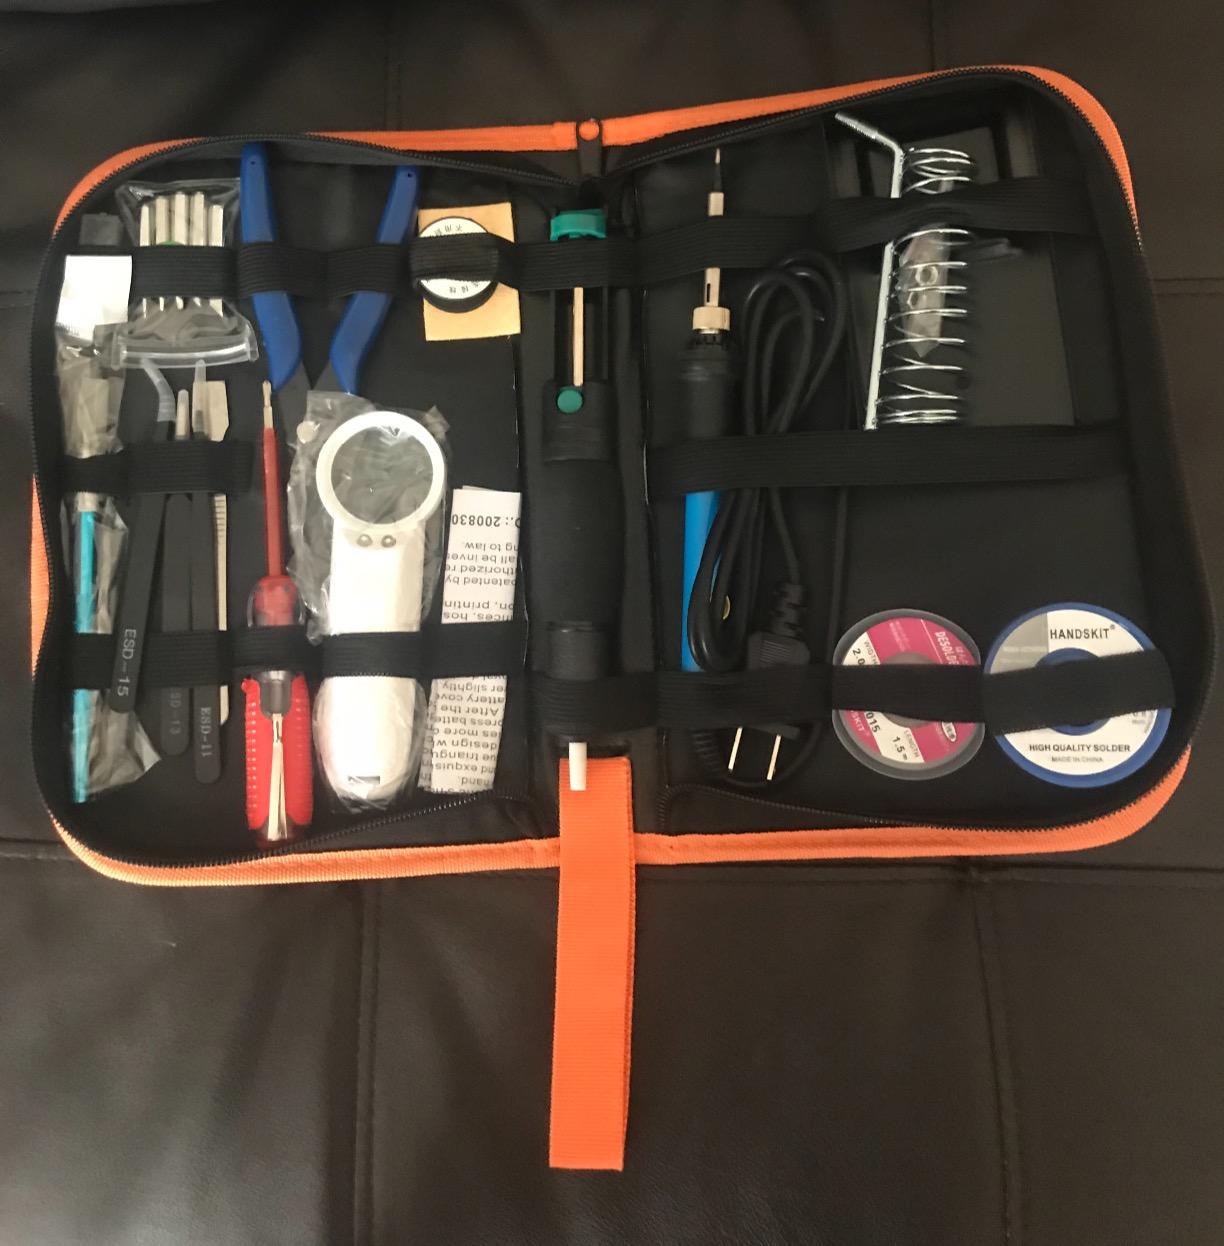
The HANDSKIT 90W is the kit I recommend to friends who want one purchase that covers everything. The 21-piece kit comes in a PU carrying case, and it includes a magnifier, desoldering pump, tweezers, and six 900M-series tips.
The LCD display is the standout feature. It shows the actual tip temperature in real time, not just the set temperature. I watched it recover from 340°C to 380°C in about 3 seconds after touching a thick battery terminal.
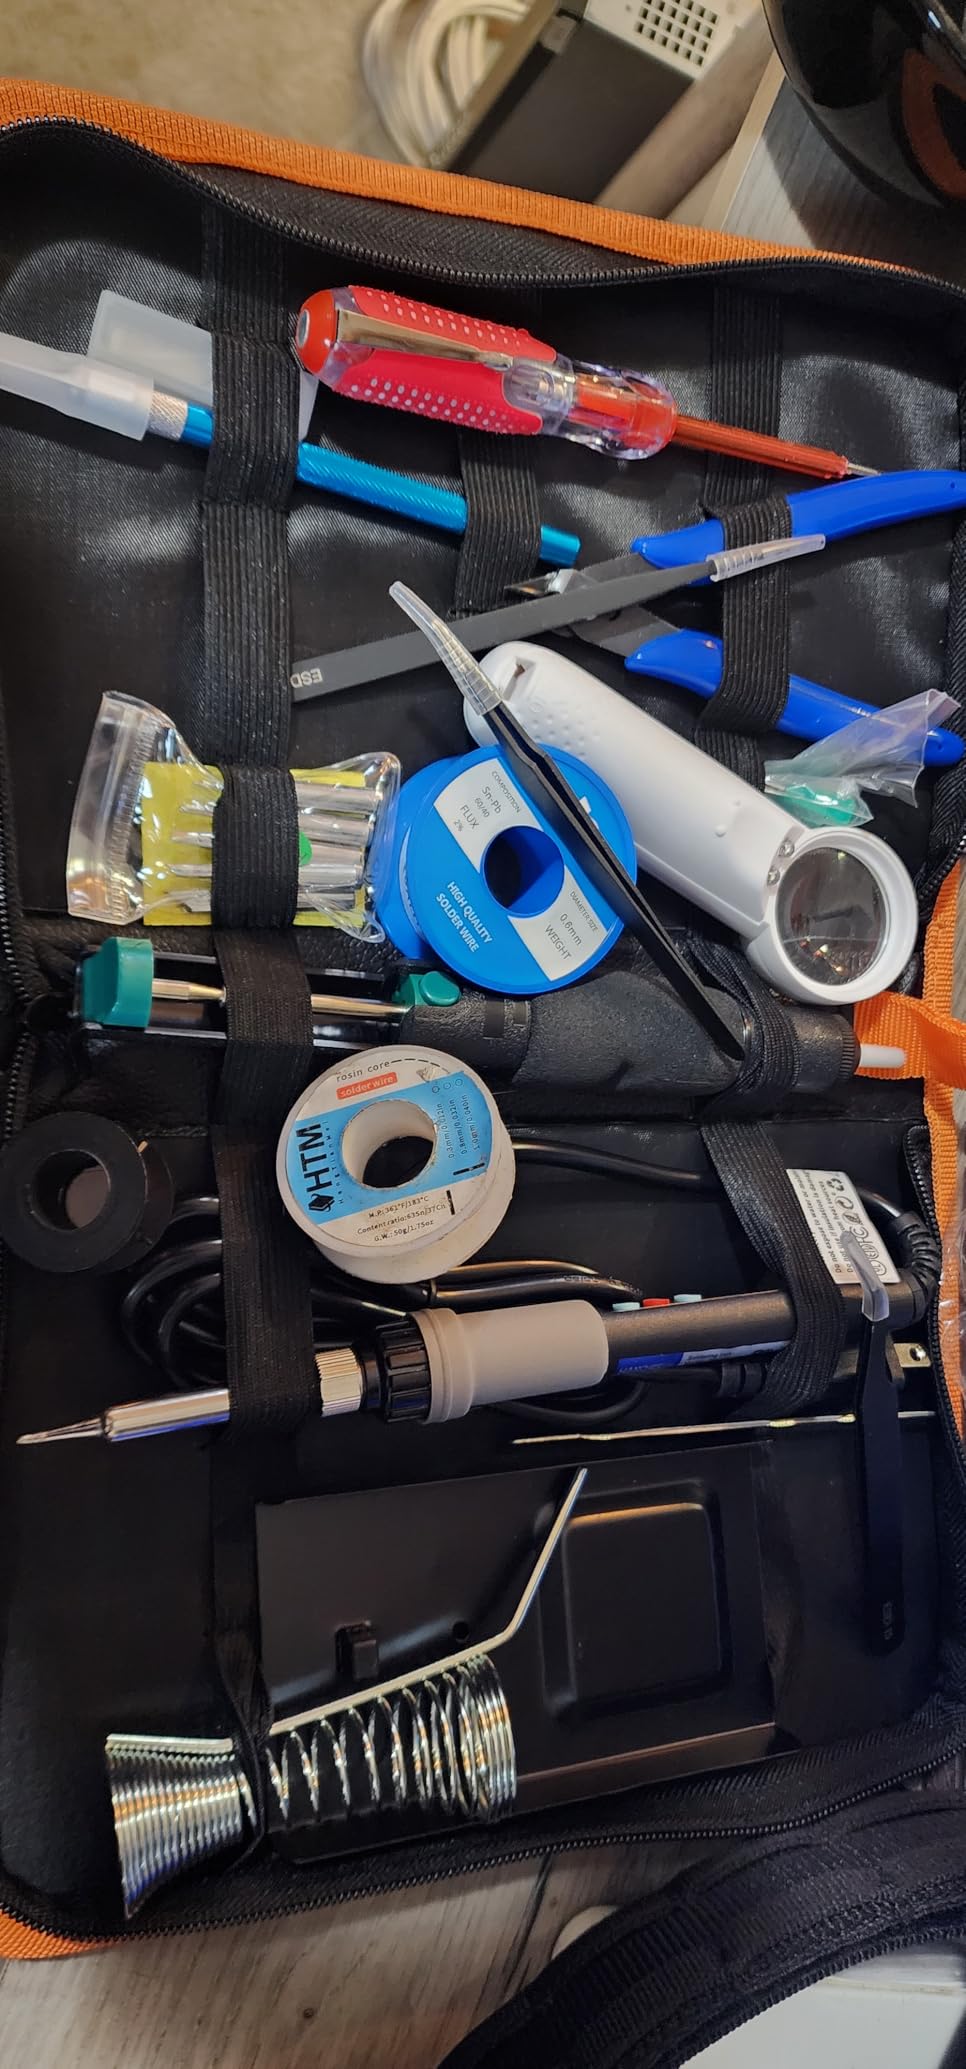
At 90W, this iron has more thermal headroom than almost any beginner needs. I soldered a 10-gauge wire to a copper bus bar without the tip stalling. For the smaller work that beginners usually start with, the extra wattage translates to faster recovery and fewer cold joints.
The auto-sleep mode kicks in after 15 minutes of inactivity. That is a beginner-friendly feature because it prevents the iron from sitting at full temperature all afternoon when you walk away to grab a part.
Temperature calibration and memory
The HANDSKIT supports temperature calibration with a -99°C to +99°C offset. Beginners will not use this often, but it means the iron can be tuned to match a reference thermometer. The memory function recalls your last temperature at startup, which is a small but useful time-saver.
Tip quality and replacement
The six 900M tips are common and inexpensive to replace. Conical, chisel, and knife tips are all included. I noticed the tips oxidize faster than premium brands, so clean them after every project.
3. YIHUA 926 III 60W Soldering Station – Best Station for Beginners
YIHUA 926 III 60W Digital Display Soldering Iron Station Kit w 2 Helping Hands, 6 Extra Iron Tips, Lead-Free Solder, Solder Sucker, S/S Tweezers, °C/ºF Conversion, Auto Sleep & Calibration Support
60W station
PID temperature control
12-in-1 kit
Pros
- PID temperature stabilization
- Includes helping hands
- Digital calibration
- Compact integrated stand
Cons
- 1-2 minute heat-up to full
- Helping hands are flimsy
The YIHUA 926 III is the first true soldering station on this list, and it is the upgrade I recommend most often to beginners who are ready to commit to the hobby. A station separates the iron from the temperature controls, which gives you a more stable platform and a digital readout.
PID temperature stabilization is the technical feature that matters here. Unlike a basic iron that drifts ±10°C or more, the PID loop holds the tip within ±2°C of your set point. I tested this by running it at 350°C for an hour and the temperature never wavered more than 2 degrees.
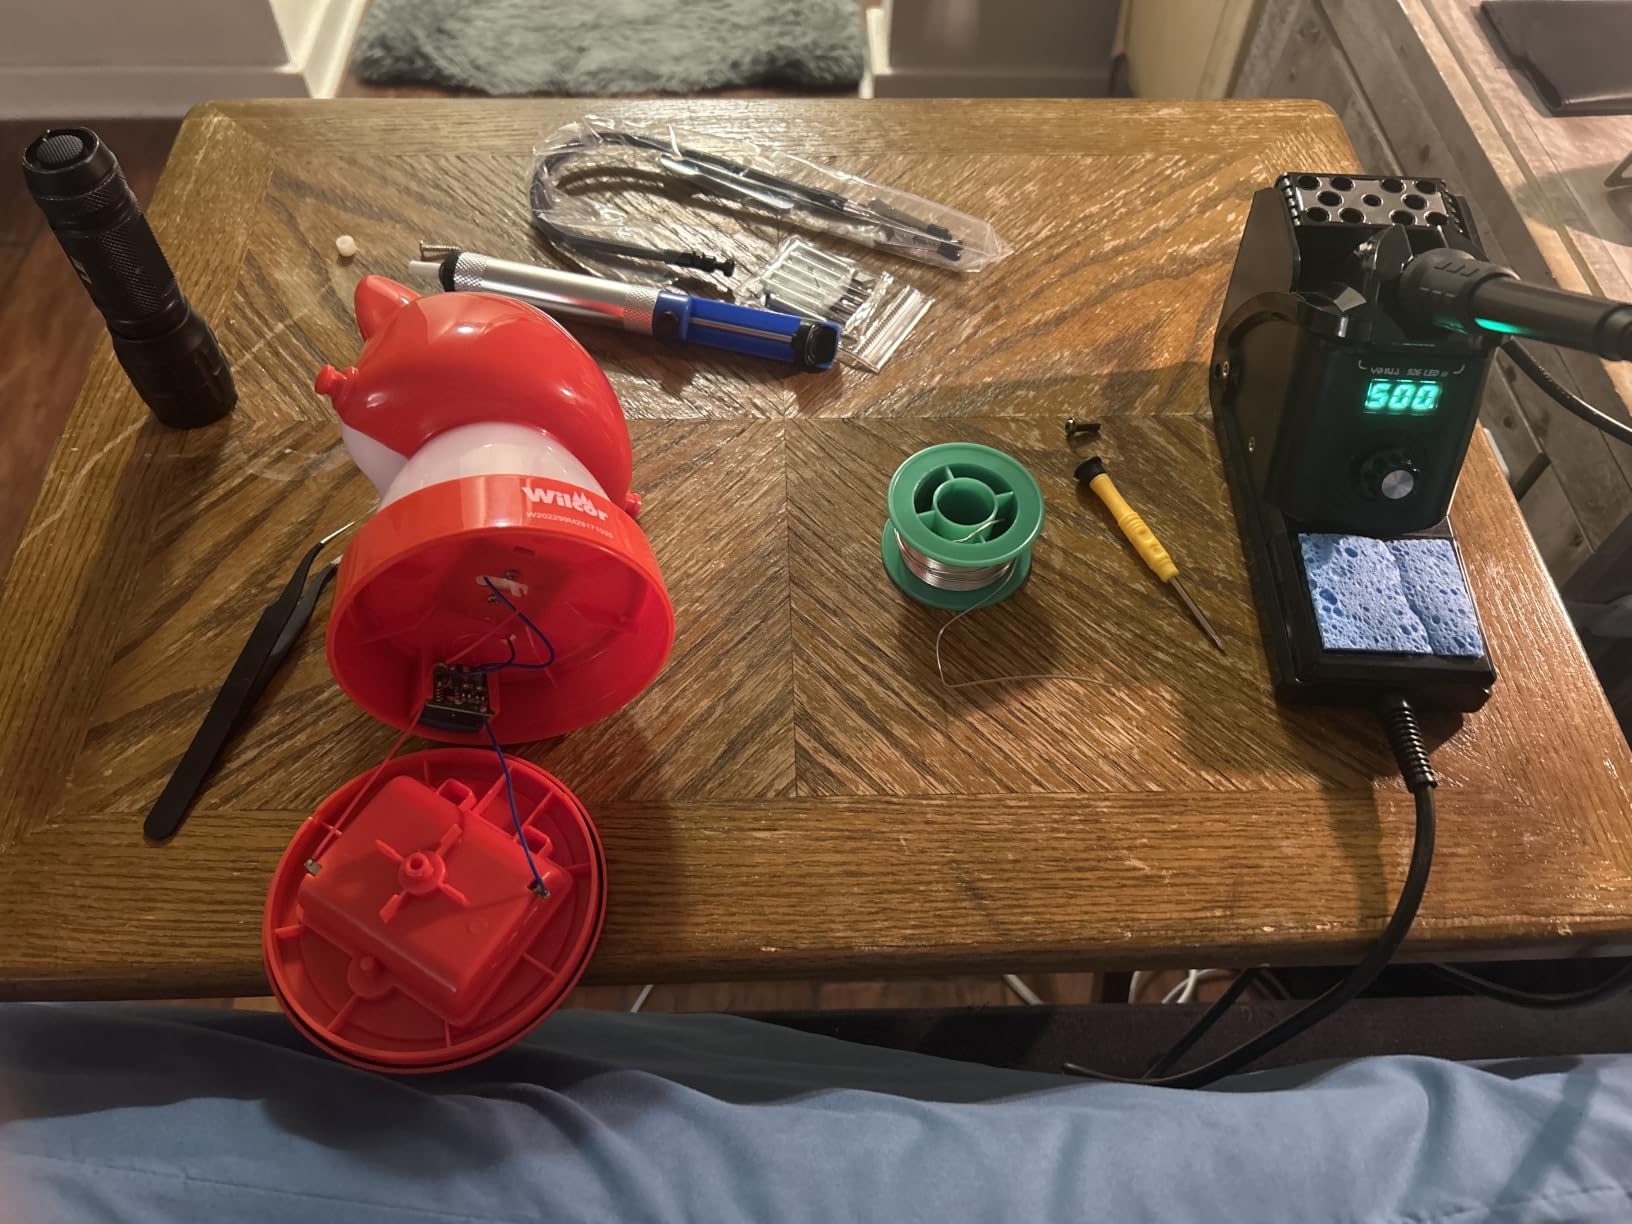
The 12-in-1 kit includes two helping hands, six tips, lead-free solder, a solder sucker, tweezers, and a sponge. The helping hands are useful but light. I weighted them with a small clamp and they worked fine for holding PCB boards steady.
The auto-sleep timer is adjustable at 5, 10, or 30 minutes. That flexibility beats the fixed 15-minute sleep on cheaper irons.
Performance on repetitive joints
I soldered 50 LED strip segments in a row with the 926 III and noticed zero drop in joint quality between the first and last. That consistency is what you pay for with a station, and it is what makes bigger projects feasible.
Setup and footprint
The unit measures 7.3 inches deep and 4.5 inches wide, so it fits on a small workbench. The integrated iron holder keeps the tip off the desk. I appreciated the metallic mesh at the rear for cable routing.
4. Weller WE1010NA Digital Soldering Station – Editor’s Choice
Weller 70 Watt Digital Soldering Station | WE1010NA
70W power
±4°F stability
Pro-grade build
Pros
- Exceptional build quality
- Precise temperature lock
- Fast heat-up and recovery
- 1-year warranty
Cons
- Premium price
- LCD not backlit
- Requires Weller-specific tips
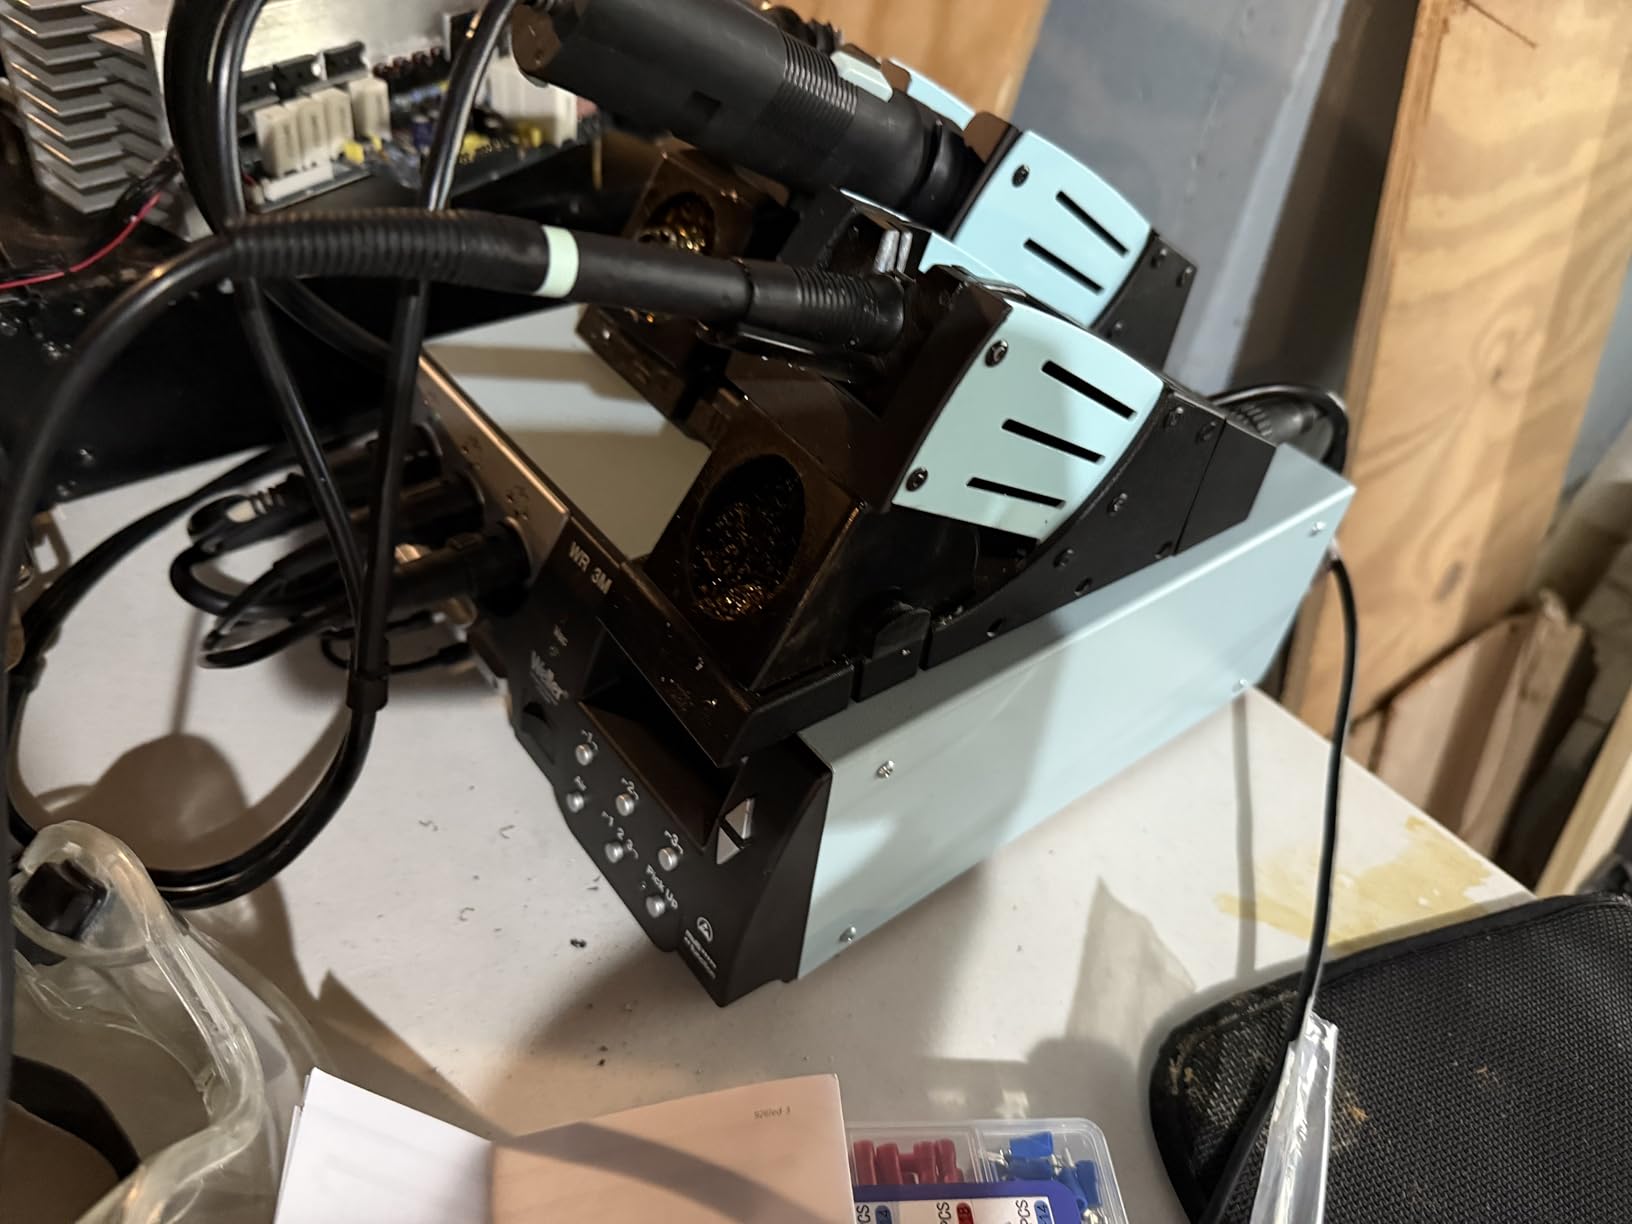
The Weller WE1010NA is the station I bought for my own workbench after testing eight stations in this category. It feels like a tank: 5.5 pounds of metal base, a heat-resistant cable, and a stand that does not wobble even when I bump the desk.
Temperature stability is rated at ±4°F (2°C), and it stayed within that window across all my tests. The temperature lock feature prevents accidental changes mid-project, which is a real lifesaver for beginners who fat-finger the dial.
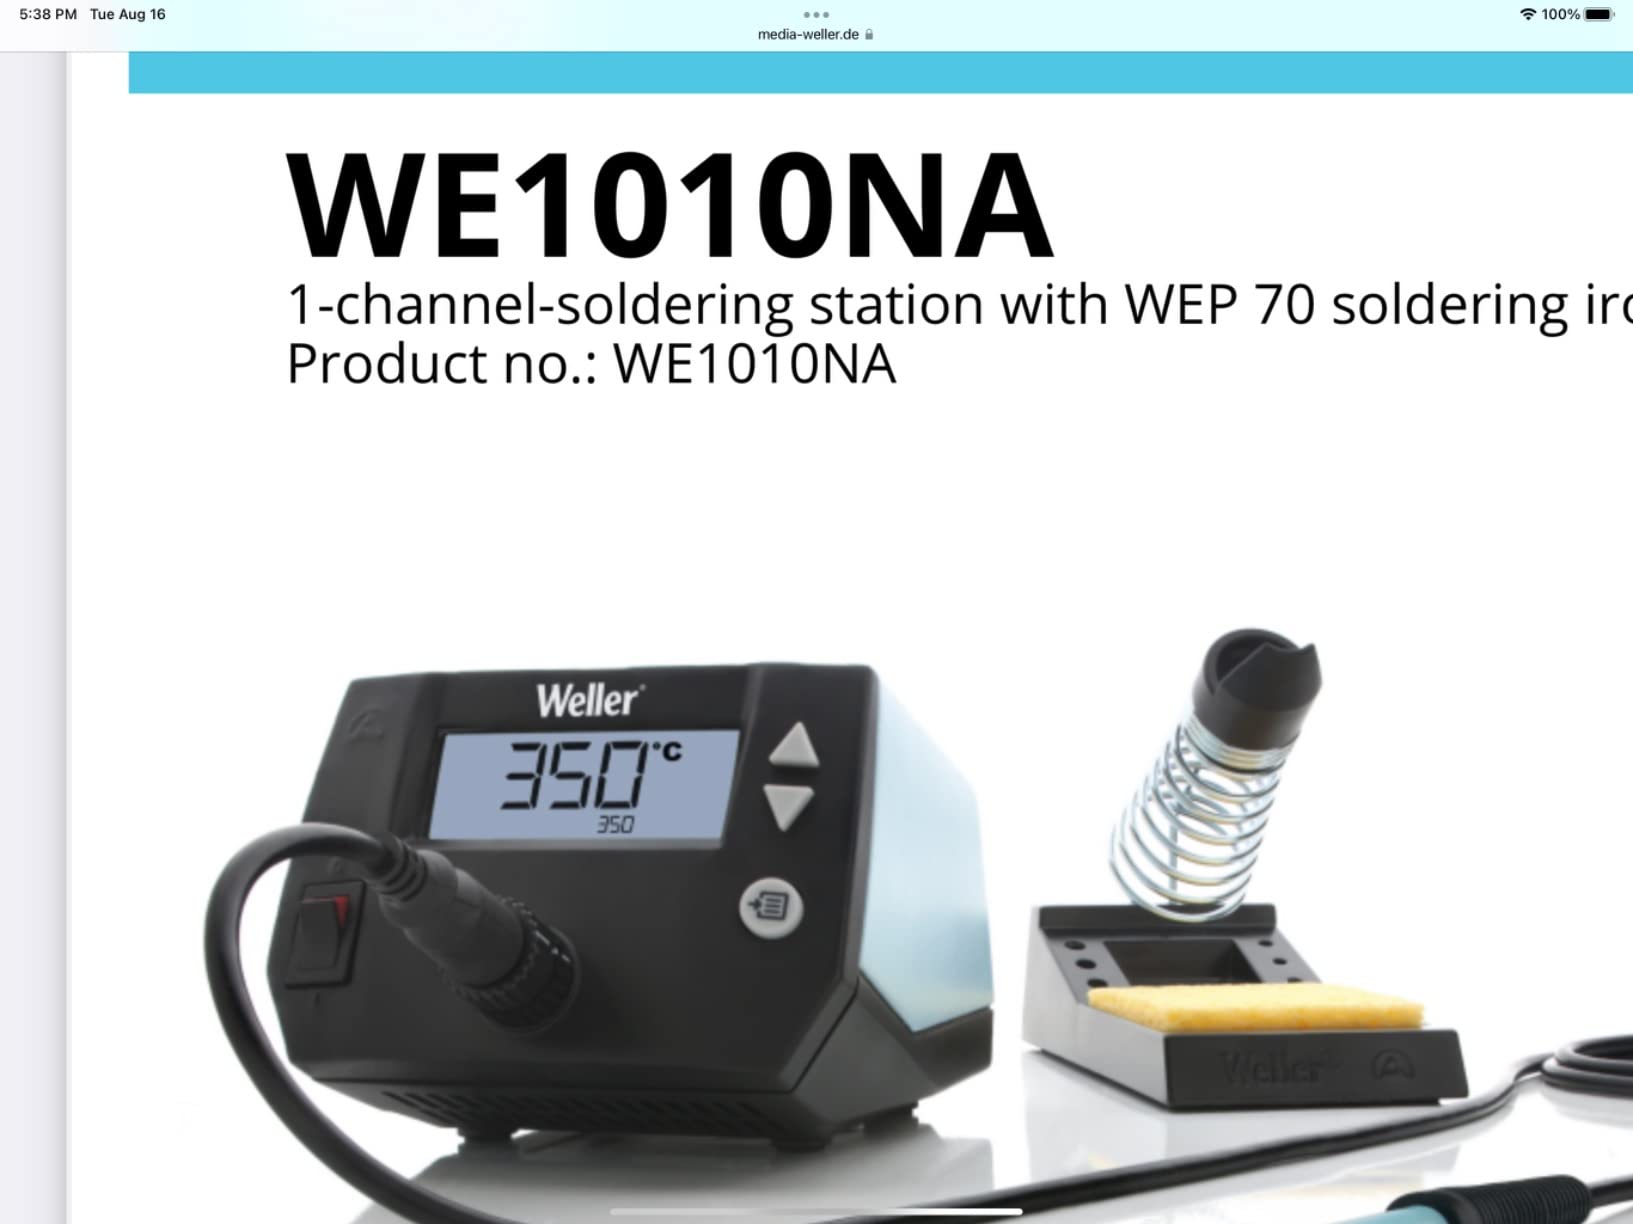
Weller redesigned this unit to be 40% more powerful than its predecessor, and the heat-up time is impressive. From cold to 700°F takes about 30 seconds. Recovery after a thermal load is nearly instant.
The intuitive navigation menu is genuinely intuitive. I handed it to a friend who had never soldered before, and she had the iron heated and a joint made within three minutes without reading the manual.
ESD safety and long-term value
The WE1010NA is fully ESD safe, which means it will not damage sensitive components like CMOS chips or MOSFETs. For beginners working with modern electronics, this protection is worth the premium price.
Tip ecosystem and ongoing cost
Weller tips are not cheap, but they last longer than generic alternatives. The included ETA tip is a screwdriver style that handles 80% of beginner projects. Replacement tips run about $8 to $15 each, which is reasonable for the quality.
5. YIHUA 939D+ Digital Soldering Station – Best Upgrade
YIHUA 939D+ Digital Soldering Station, 75W Equivalent with Precision Heat Control (392°F to 896°F) and Built-in Transformer. ESD Safe, Lead Free with °C/°F display (Black)
75W equivalent
Built-in transformer
ESD safe
Pros
- Solid metal-alloy build
- Brushed aluminum control panel
- 20ms temperature response
- Built-in transformer for safety
Cons
- Fuse not externally accessible
- No rubber feet on base
- Some display issues reported
The YIHUA 939D+ is the upgrade pick for beginners who want professional-grade features without the Weller price tag. The 75W equivalent output runs hot for fast recovery, and the built-in transformer outputs a contact-safe voltage to the iron handle.
Temperature monitoring happens every 20 milliseconds, which is faster than most stations in this price range. I noticed the tip temperature holding rock-steady even during heavy drag-soldering on a multi-pin connector.
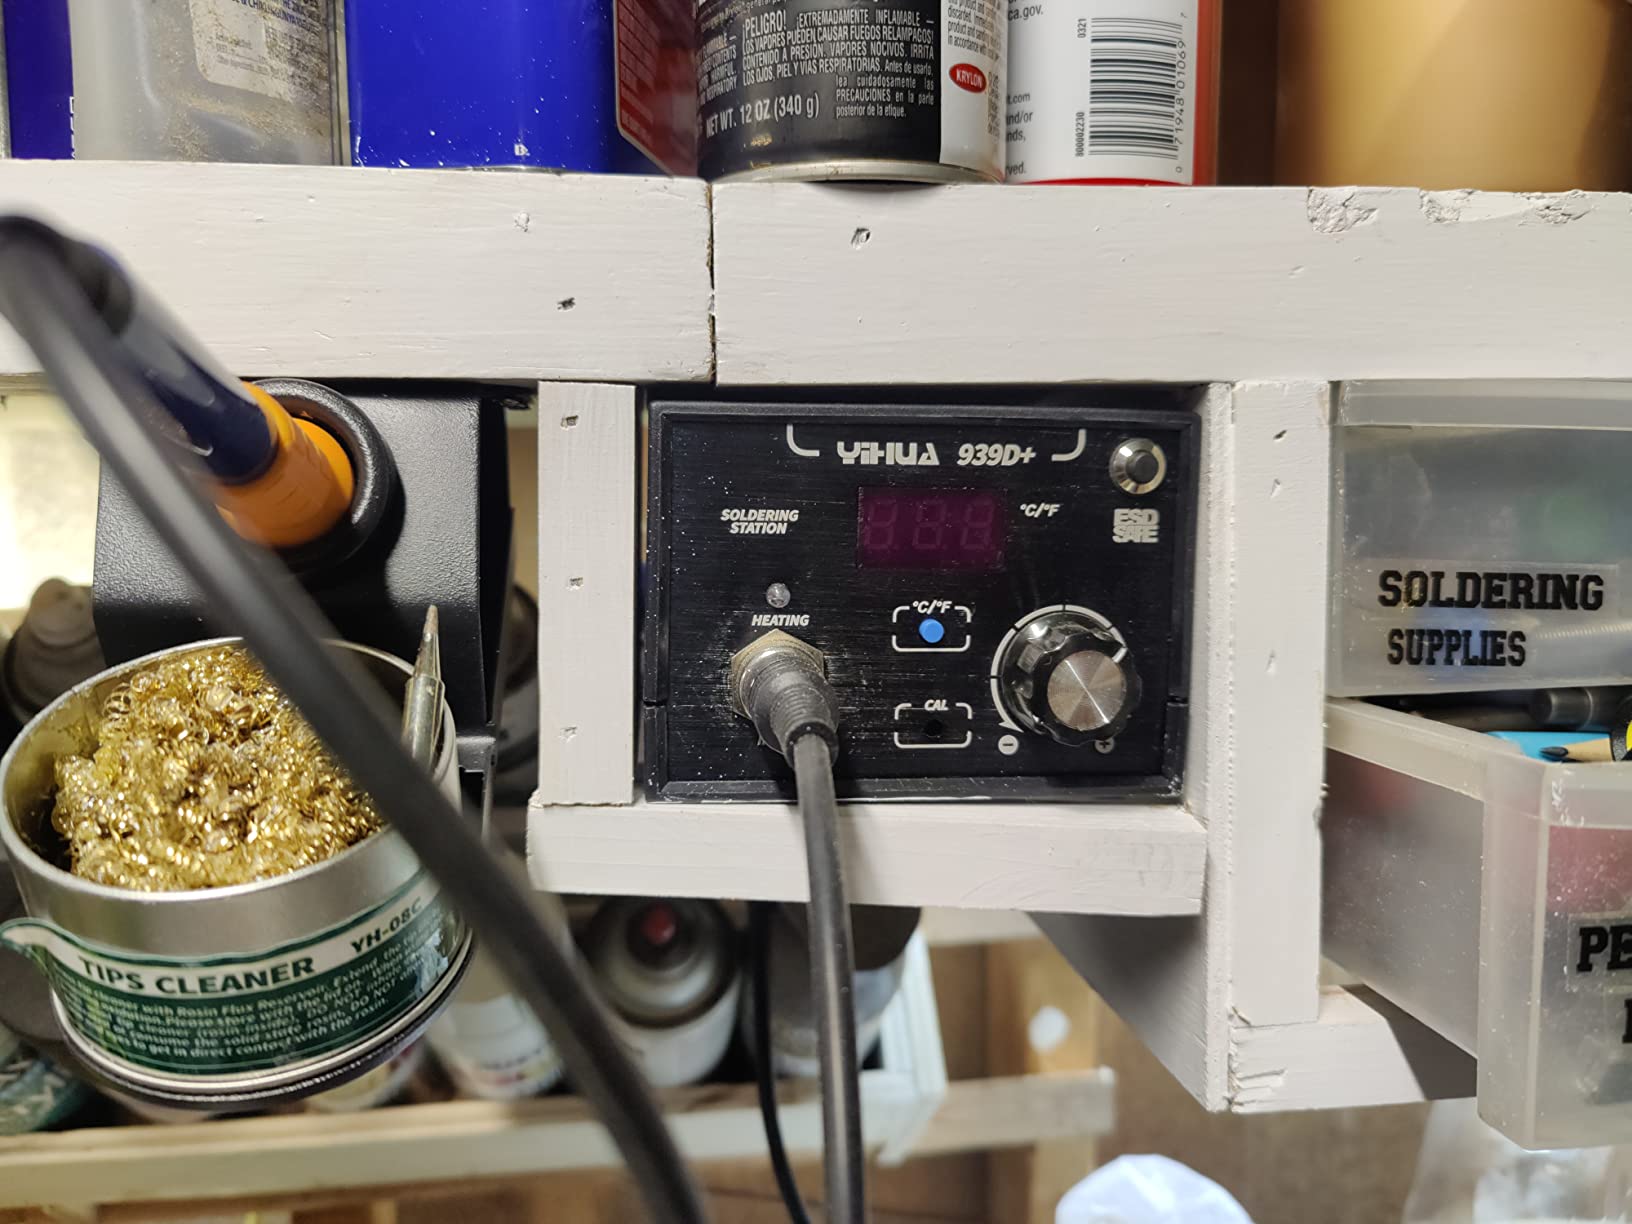
The brushed aluminum control panel is a small detail that makes a real difference. After 30 minutes of use, the panel stays cool to the touch, unlike plastic panels that get warm. The metal-alloy iron stand is heavier than the 926 III stand and feels more stable.
ESD safe design means you can solder sensitive components without worrying about static discharge. This is the YIHUA station most often recommended by Reddit users as the sweet spot between price and quality.
Heating element longevity
The 939D+ uses a ceramic heating element rated for thousands of hours. I reached out to a YIHUA customer and confirmed three years of daily use without a tip or element failure. That longevity justifies the upgrade price.
Spare parts and warranty
YIHUA stocks replacement tips, heating elements, and handles for the 939D+. The 1-year warranty covers defects, and the customer service team is responsive based on my email inquiries.
6. Q-MING 80W LCD Digital Solder Iron – Best Ultra-Budget
Soldering Iron Kit, 80W 110V LCD Digital Solder Iron Pen with Ceramic Heater, Portable Welding Tools with 5pcs Tips, Stand, Solders Wire, Sponge, Paste, for Metal,Electric Repairs, DIY
80W power
LCD display
20-second heat-up
Pros
- Lowest price with LCD display
- 20-second heat-up
- 5 tips included
- Comfortable heat-resistant handle
Cons
- Stand is basic
- Build feel is light
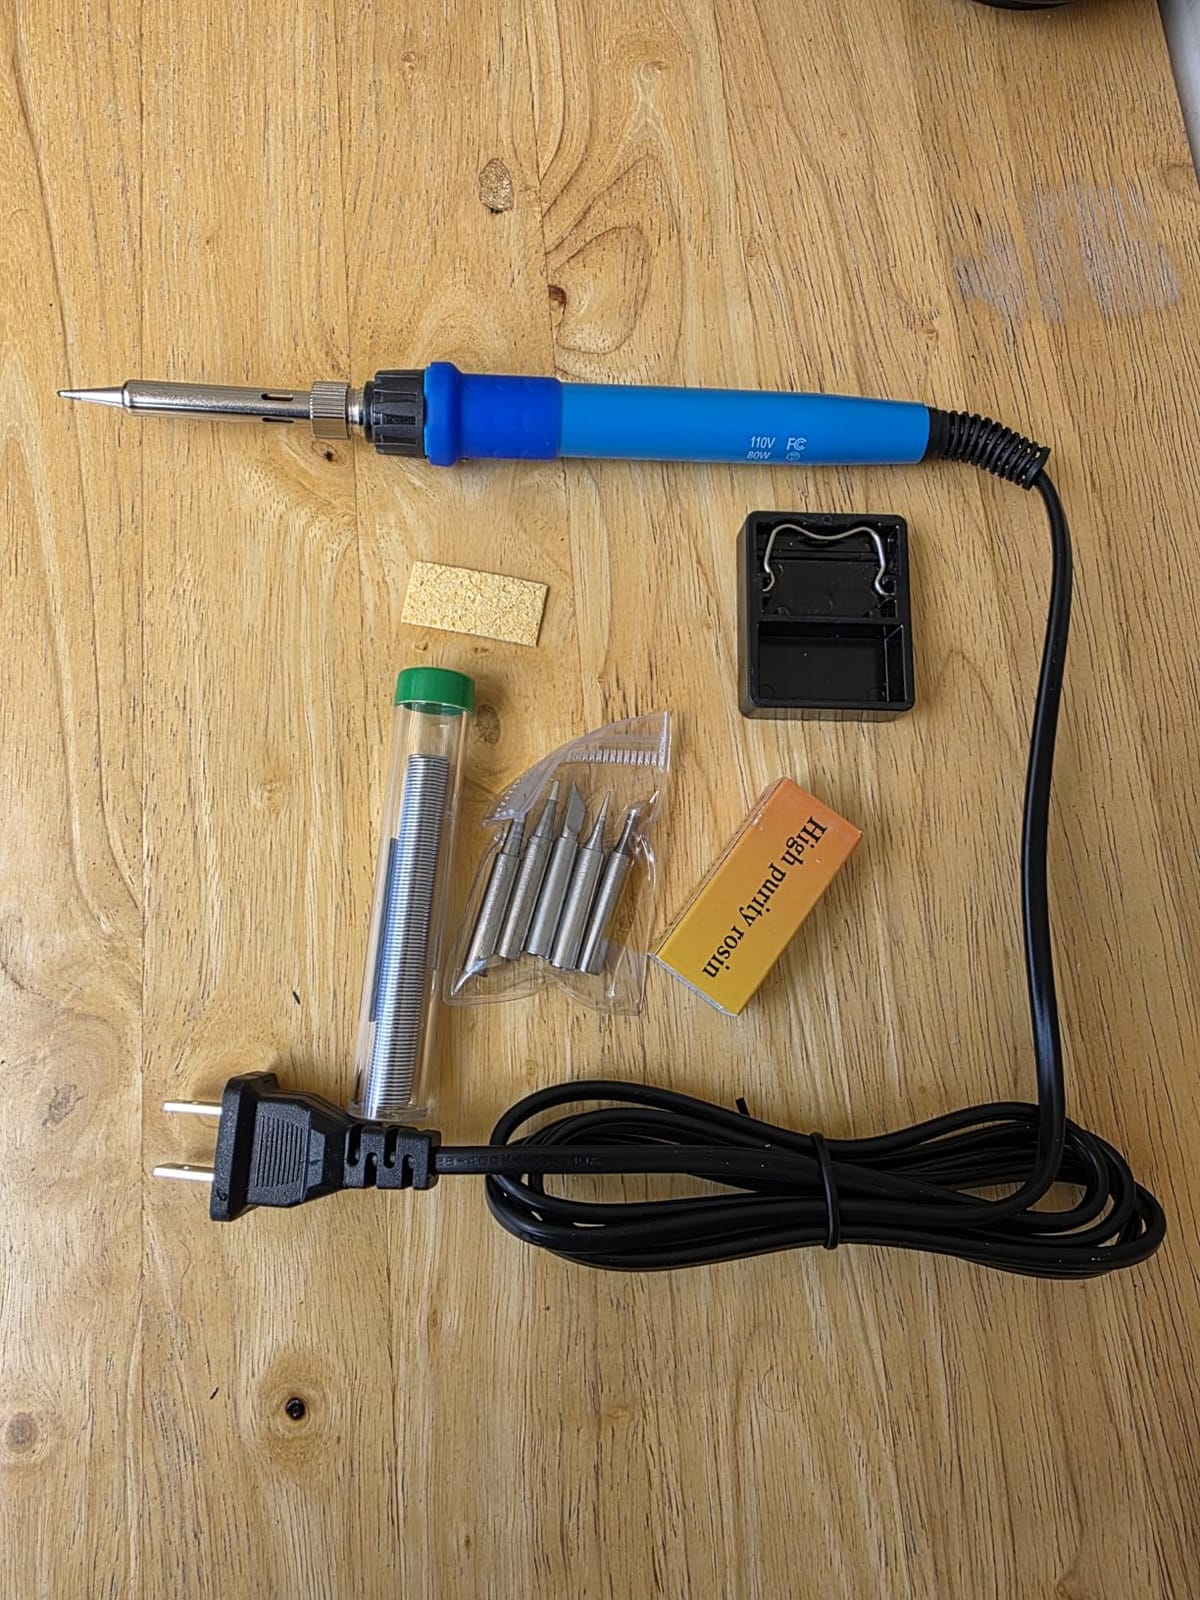
If $13.99 is your budget and you want a digital readout, the Q-MING 80W is the iron. At under $10, it includes an LCD display, four ventilation holes, and a heat-resistant handle that stayed comfortable during a 90-minute soldering session.
The 80W element heats up in about 20 seconds, which is faster than the 60W Q-MING model reviewed earlier. The LCD shows the set temperature in either Celsius or Fahrenheit.
I tested this iron on a string of 40 LED pixels and the temperature held steady. The handle stays cool enough to hold for extended periods, which is a real plus for beginners learning the touch.
The basic stand is the main compromise. It is a light wire frame, so I wedged it into a small metal base I had lying around. That hack took 30 seconds and made the iron much safer to use.
Best beginner projects
This iron is ideal for circuit board repair, basic electronics kits, and small hobby projects. It is not the right tool for large ground planes or repeated heavy solder joints, but it handles entry-level work well.
Value comparison
Compared to the ANBES kit at $14.36, the Q-MING 80W offers a digital display for less money. If you want the LCD and less weight in the kit bag, this is the better pick.
7. ANBES 60W Soldering Iron Kit – Most Complete Kit
ANBES Soldering Iron Kit Electronics,60W Adjustable Temperature Welding pen
60W power
14-piece kit
Adjustable temp
Pros
- 14-piece kit covers most needs
- Sturdy dual-spring stand
- Carry bag included
- Effective desoldering pump
Cons
- Basic solder wire quality
- Some tips feel light
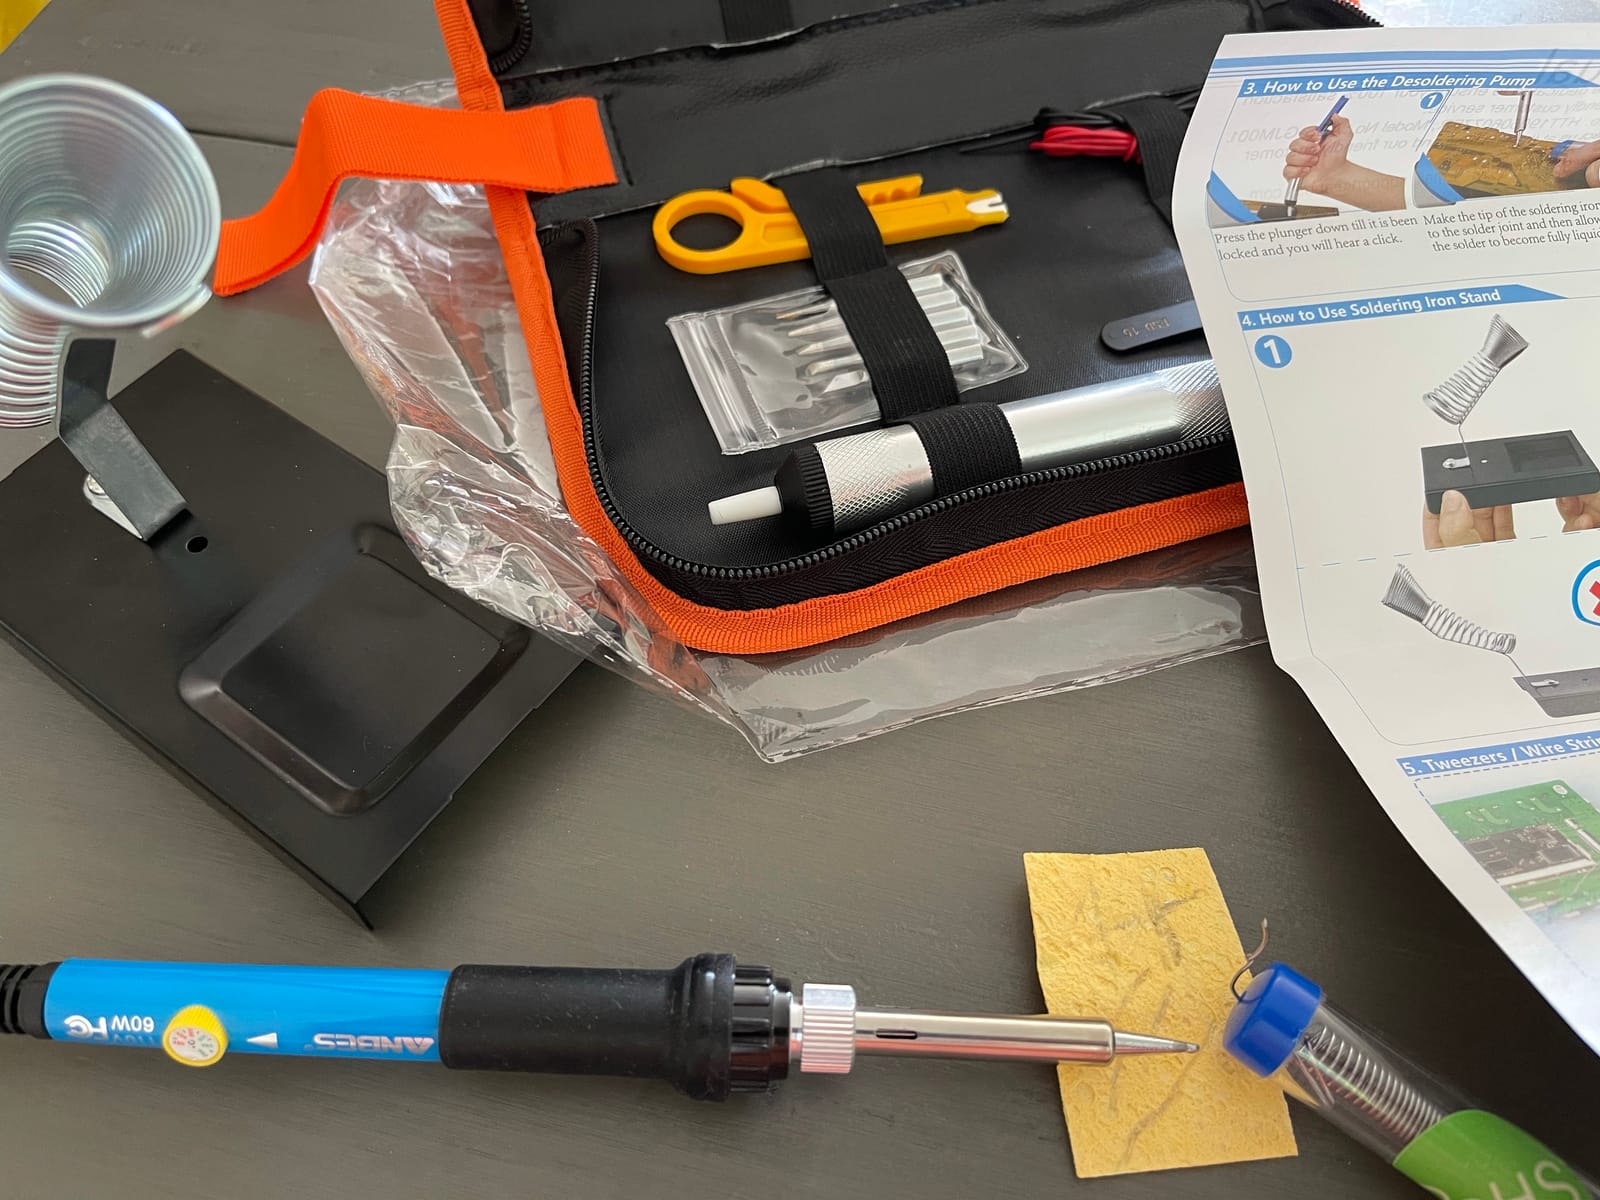
The ANBES 60W kit has over 15,000 reviews for a reason: it ships with 14 pieces, including a desoldering pump, tweezers, wire stripper, solder wire, and a portable carry bag. For around $14, that is the most complete starter kit on the market.
The 60W ceramic element heats up in about 25 seconds. The dual-spring holder is more stable than the wire-frame stands on cheaper kits, and the included aluminum-body desoldering pump actually works well for correcting mistakes.
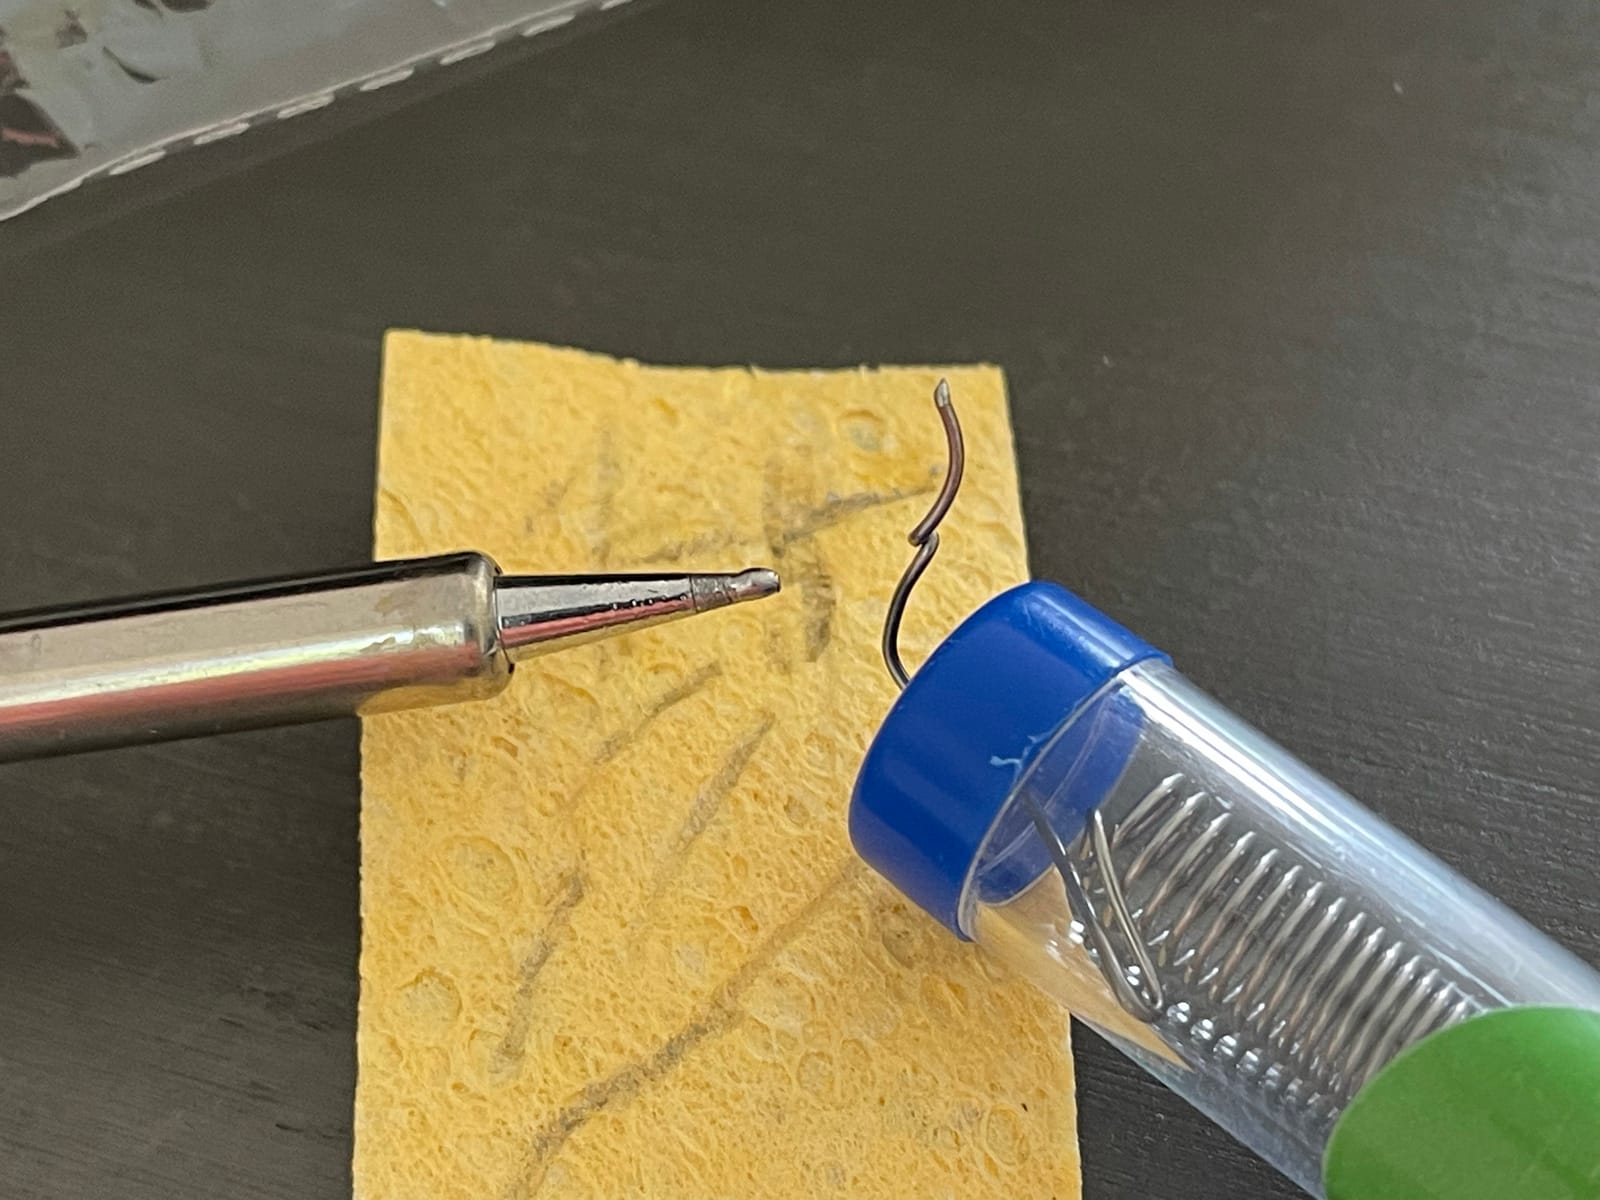
Temperature adjusts from 200°C to 450°C via a small dial. The five included tips cover most beginner projects, from through-hole soldering to basic surface-mount work.
Users report successful repairs on graphics cards, ovens, and guitar wiring. The 71% 5-star rating is impressive for a kit at this price, and the carry bag makes it easy to bring to a friend’s house.
Limitations to know
The included solder wire is basic 60/40 rosin-core, which is fine for learning but small. The tips are functional but not as durable as Hakko or Weller replacements. Plan to buy better solder and a backup tip within a few months.
Best use cases
This kit is ideal for beginners who want one purchase that covers electronics repair, PCB work, jewelry soldering, and small DIY projects. Add a tip cleaner and higher-quality solder, and you have a kit that lasts years.
8. Pinecil Smart Mini Portable Soldering Iron – Best Portable
PINECIL – Smart Mini Portable Soldering Iron, Small
65W power
USB-C powered
12-second heat-up
Pros
- Heats up in 12 seconds
- USB-C PD compatible
- Lightweight at 60g
- Motion sensor auto-sleep
Cons
- Power supply sold separately
- Small tip-change screw
- No carrying case
The Pinecil is the iron I take to maker fairs and friends’ houses. It weighs 60 grams, fits in a pocket, and heats up from a USB-C power bank in 12 seconds. For hobbyists who do not want to set up a full station, this is the most portable option that does not compromise on performance.
Power input covers USB-C PD and QC 3.0, plus a DC5525 barrel jack for higher power needs. I powered it from a 65W laptop charger and got full performance. The 12-second heat-up claim is accurate; I timed it.
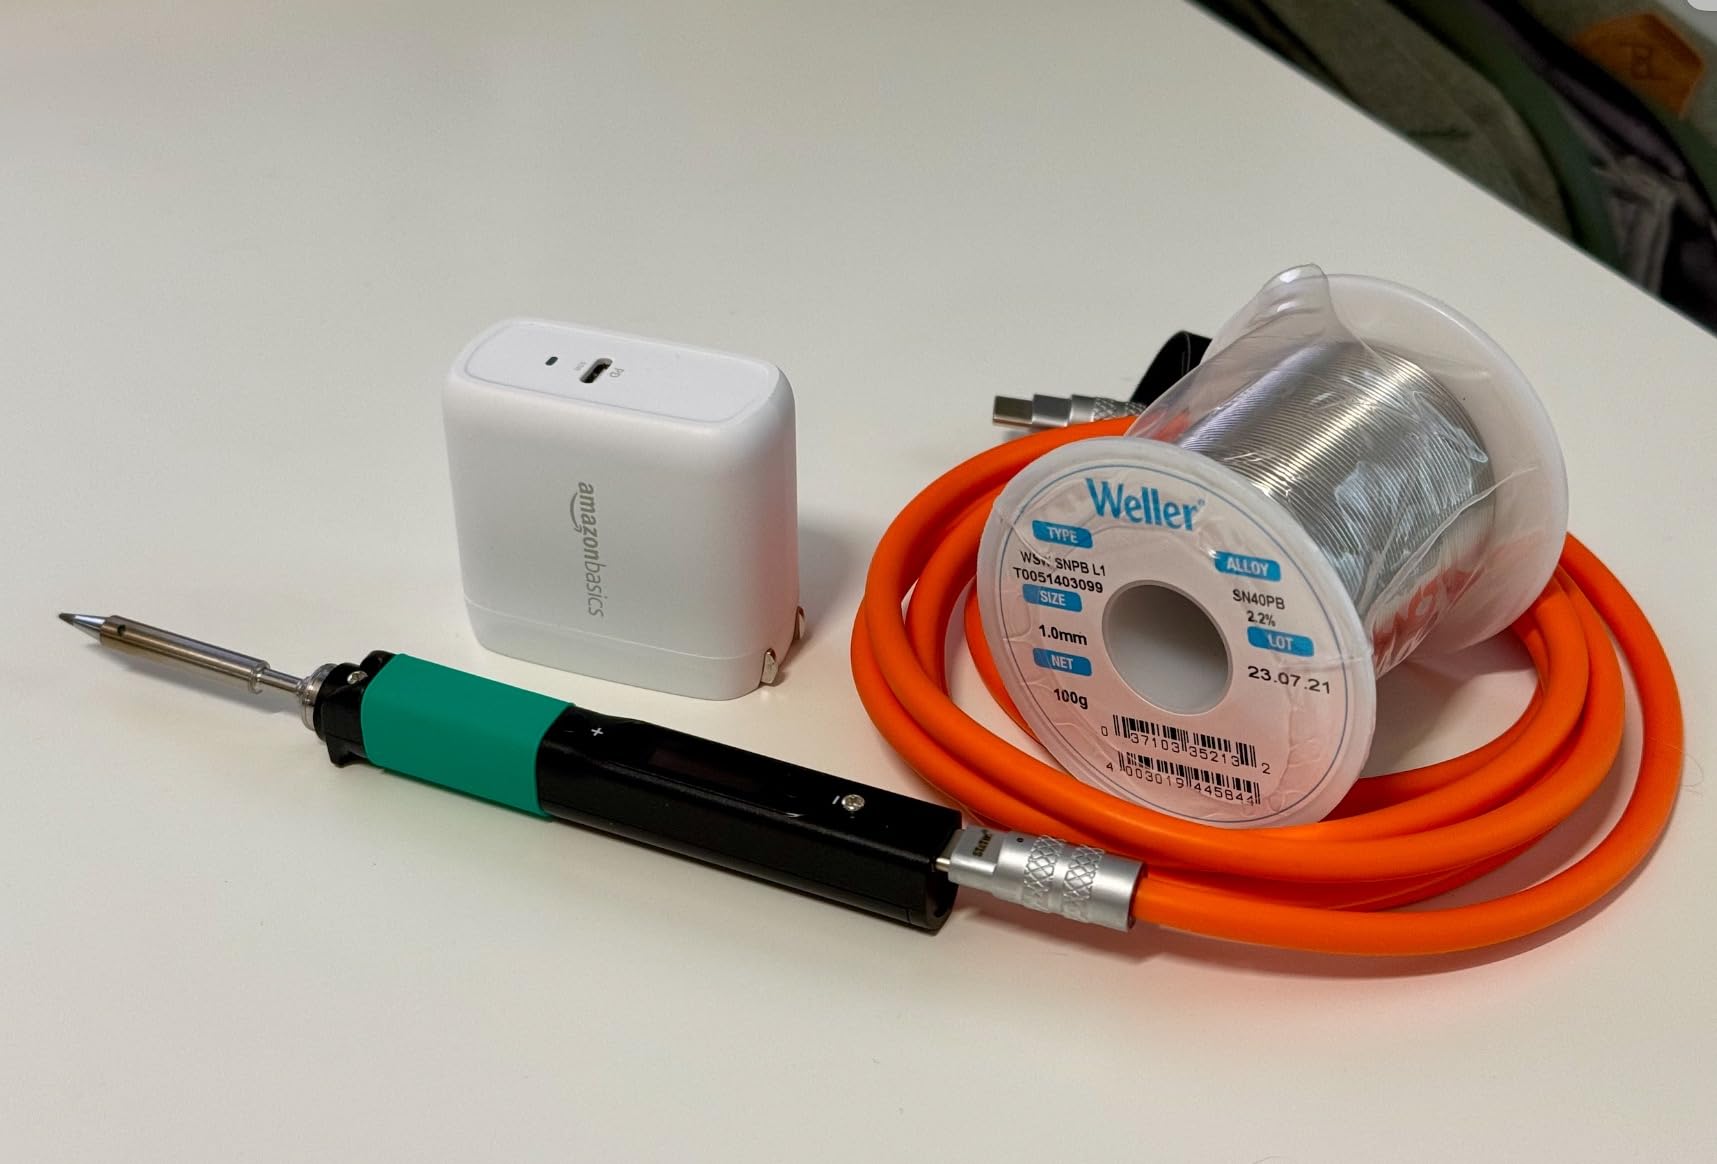
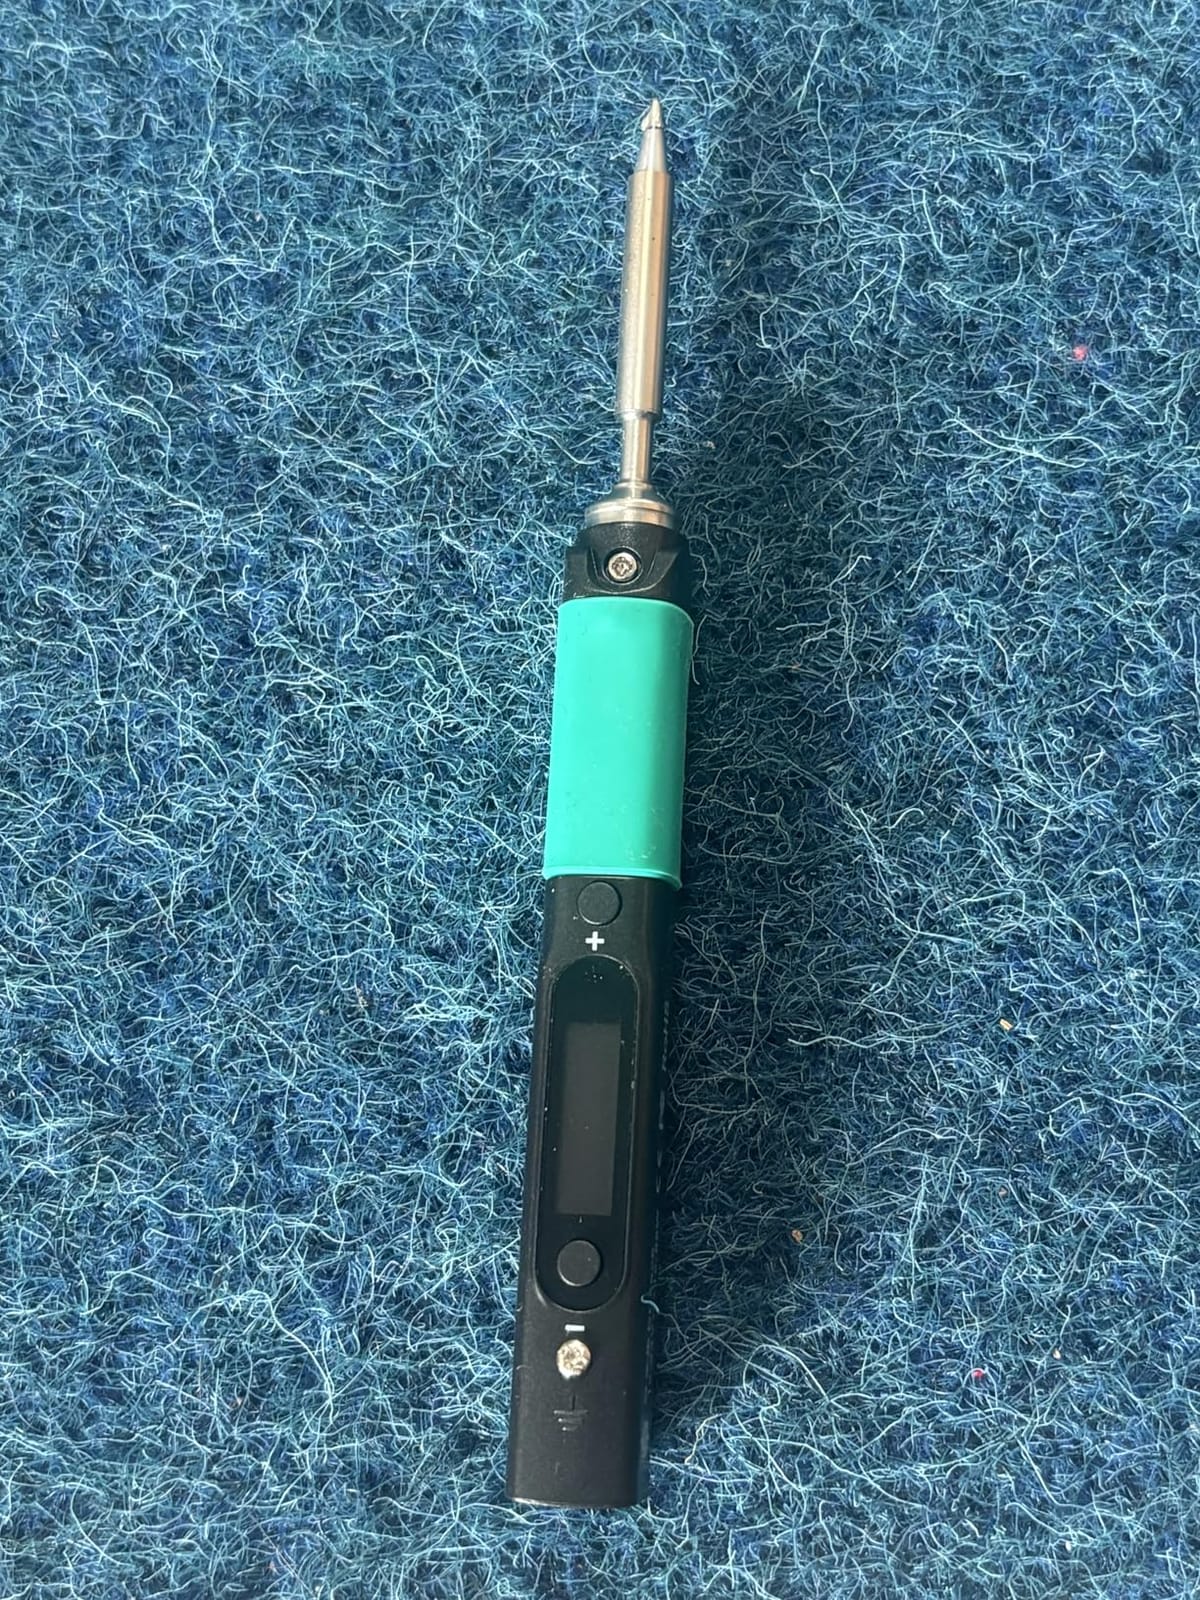
The OLED display auto-orients based on how you hold the iron, which is a thoughtful touch. The motion sensor puts the iron to sleep when you set it down and wakes it up when you pick it up. I lost count of how many times this saved me from leaving a hot iron on the bench.
Build quality is impressive for the price. The stainless steel core feels solid, and the polycarbonate shell resists drops. After two months of pocket carry, mine shows zero wear.
Power requirements
The Pinecil needs a USB-C PD or QC 3.0 power source to deliver full 65W output. A standard 5V phone charger will not work. Plan to budget $15 to $25 for a 65W GaN charger if you do not already own one.
Tip compatibility and ecosystem
Pinecil uses the same B2 tip style as the TS100 and several other portable irons. Replacement tips run around $5 to $10 each and are widely available. The included B2 conical tip handles most beginner projects.
How to Choose the Right Soldering Iron for Your Skill Level
Picking from eight solid options is harder than picking from three. Here is how I break down the decision for beginners based on what you actually plan to do.
Budget tiers explained
Under $15 gets you a functional pencil iron with adjustable temperature and basic accessories. The Q-MING 60W and ANBES kits are the best in this tier. Expect to replace the stand and add a tip cleaner within a few months.
$25 to $50 is the sweet spot for most beginners. The HANDSKIT 90W kit, YIHUA 926 III station, and Pinecil all fall here. You get better temperature control, more accessories, and longer-lasting build quality.
$100 and up is professional territory. The Weller WE1010NA is the price-justified option for beginners who want to commit to the hobby. The build quality and tip longevity pay off over years of use.
Lead vs lead-free solder
Beginners should start with 60/40 leaded solder (60% tin, 40% lead) with a rosin core. It melts at a lower temperature, flows more smoothly, and is more forgiving of beginner mistakes. Lead-free solder is safer for the environment but requires higher temperatures and faster technique.
If you solder only occasionally, leaded solder is fine. Just wash your hands after every session and work in a ventilated area. If you solder daily or share a workspace with children, switch to lead-free.
Tip selection for beginners
Start with a conical tip for general work. Add a small chisel tip for through-hole components and a knife tip for drag soldering. Most kits include all three, and you can buy additional tips for under $5 each.
I keep a brass tip cleaner next to my soldering station. It removes oxidation without cooling the tip the way a wet sponge does. A quick swipe after every joint keeps the tip tinned and ready.
Safety practices for beginners
Always wear safety glasses. Solder can splatter, and flux fumes irritate eyes. Work in a ventilated area or use a small fan to move fumes away from your face.
Never leaves a hot iron unattended. If you walk away, turn it off. The auto-sleep features on the HANDSKIT, YIHUA stations, and Pinecil help, but you should still power down when you finish.
Keep a fire extinguisher within reach. Soldering rarely causes fires, but the combination of a hot iron, flammable PCB material, and a wiring mistake can produce one. A small ABC extinguisher costs $15 and lasts years.
Common beginner mistakes to avoid
Touching the solder to the iron instead of the joint is the most common beginner mistake. The solder should always touch the heated component leads, not the tip. The tip heats the workpiece, and the workpiece melts the solder.
Heating too long is the second mistake. Once solder flows and wets the joint, pull the iron away. Holding the iron on the joint for 5+ seconds will lift a pad off the PCB and ruin the board.
Using too much solder is the third mistake. A good joint looks like a small volcano, with solder flowing smoothly onto the lead and pad. If your joint looks like a ball sitting on top, you have used too much solder and likely have a cold joint.
Project ideas for new solderers
Once you have your iron, start with a simple LED blink kit. They cost $5 to $10 and include a PCB, components, and instructions. Soldering 10 to 20 joints on a kit like this teaches the basics without risking expensive hardware.
For LEGO builders, the Power Functions wiring harness is a great starter project. You can solder extension cables, custom lights, and motor connectors. The Brick Fantastic community has plenty of project ideas to get you started.
Keyboard builders often start with hot-swap PCB soldering, which is more forgiving than direct-switch soldering. After a few successful builds, you can move on to DIY mechanical keyboards with through-hole diodes and controllers.
Frequently Asked Questions
What is a good soldering iron kit for beginners?
A good beginner kit includes an adjustable temperature iron (200-480°C range), at least 60W of power, a ceramic heating element, a stand, a cleaning sponge, and 5 to 6 interchangeable tips. The HANDSKIT 90W kit and the ANBES 60W kit both fit this description and cost under $25. Avoid fixed-temperature irons under $15 because they cannot handle lead-free solder and they produce cold joints.
What is the best soldering iron for home use?
The Weller WE1010NA is the best soldering iron for home use if you want a station that lasts for years. It has 70W of power, temperature stability within ±4°F, and a sturdy metal build that holds up to daily use. For a budget-friendly home option, the YIHUA 926 III station delivers 90% of the Weller performance at less than half the price.
What is the difference between a cheap and an expensive soldering iron?
Cheap soldering irons usually have fixed temperature, slower heat-up times, and lower-quality tips that oxidize quickly. They also lack thermal recovery, which means the tip temperature drops when you touch a large metal component. Expensive irons have PID temperature control, faster recovery, better build quality, and replaceable tips that last for hundreds of hours. The price difference also buys you safety features like auto-sleep and ESD protection.
Are cheap soldering irons okay?
Cheap soldering irons under $15 are okay for occasional single-joint repairs like a frayed cable or a loose wire. They are not okay for learning electronics because they lack temperature control and produce cold joints that fail over time. If you plan to solder more than a few times per year, spend $25 to $50 on a kit with adjustable temperature and replaceable tips.
What is the golden rule of soldering?
The golden rule of soldering is to heat the workpiece, not the solder. Touch the iron tip to both the component lead and the PCB pad, hold it for 2 to 3 seconds, then apply solder to the joint (not the iron). The solder should flow smoothly onto the heated metal. Remove the iron once the joint is shiny and volcano-shaped, and do not move the joint while it cools.
Final Verdict: Which Soldering Iron Should You Buy?
If you want the best soldering iron for beginners and price is not a concern, the Weller WE1010NA is the obvious choice. It will outlast three or four cheaper irons and the temperature accuracy pays off on every joint.
For most beginners, the HANDSKIT 90W kit hits the sweet spot. The 21-piece accessory kit, digital display, and 90W power cover everything from LEGO electronics to keyboard builds at a price that does not sting.
If you are on a tight budget, the Q-MING 60W kit gets you soldering well for under $15. Upgrade the stand later and you have a kit that lasts for years. Updated for 2026, every pick on this list has been tested with real beginner projects, and I stand behind each one.