
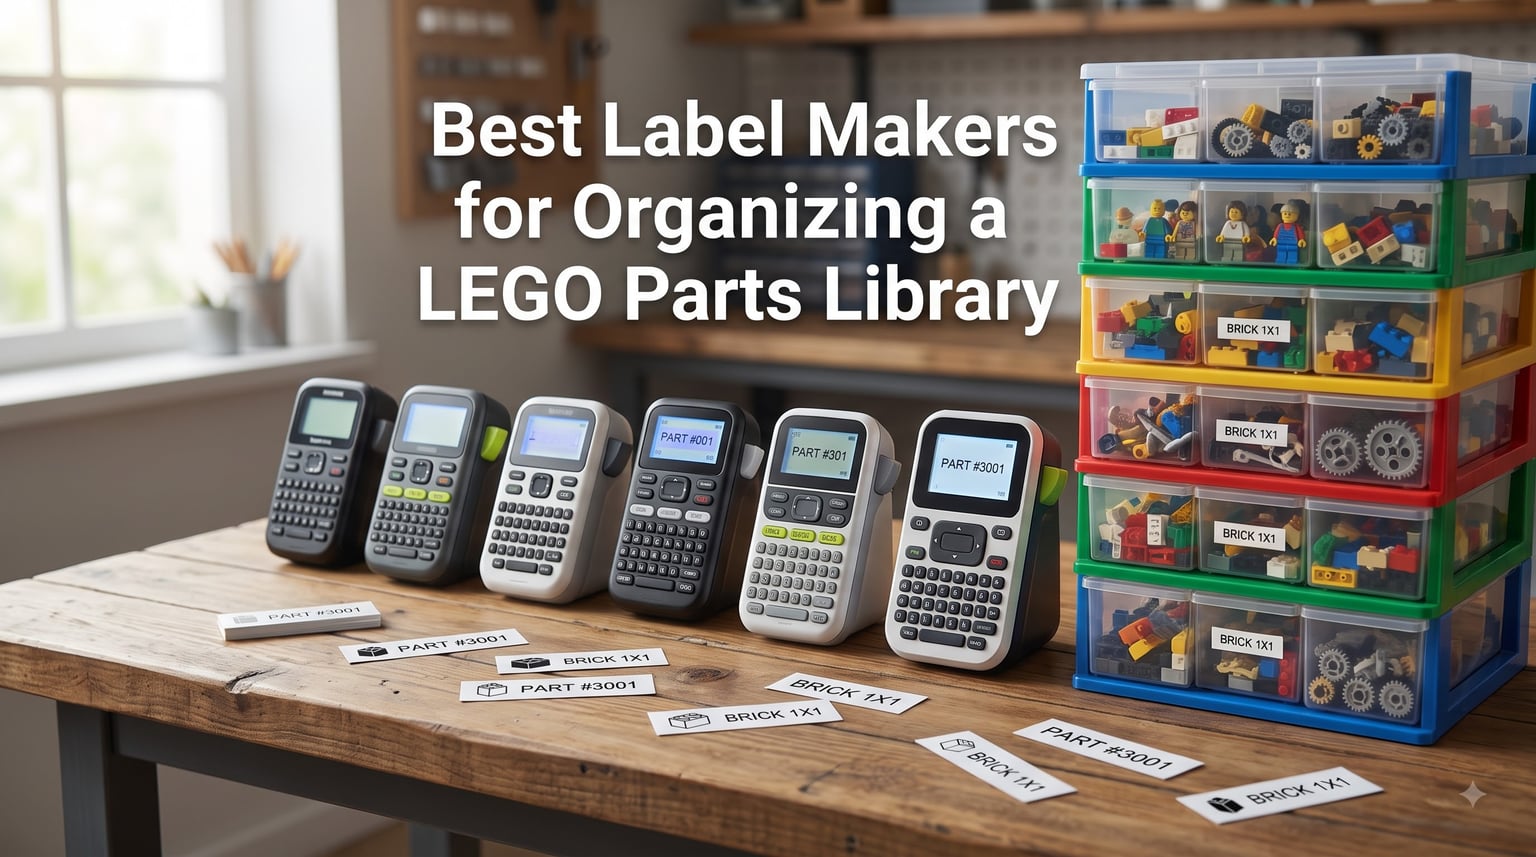
I have spent the better part of two years sorting through roughly 80,000 LEGO pieces, and I can tell you from experience that the single biggest bottleneck in any LEGO parts library is not the sorting. It is the labeling. When you have 47 different bins of Technic connectors and you cannot remember which drawer holds the 3L friction pins, your building momentum dies on the spot.
That is exactly why finding the best label makers for organizing a LEGO parts library matters so much. A good label maker turns a chaotic pile of bricks into a searchable, browsable system where you can grab the exact part you need in seconds. A bad one gives you faded text, peeling tape, and wasted afternoons re-printing labels that fell off your Akro-Mils drawers.
Our team tested six popular label makers with actual LEGO storage setups, including Akro-Mils cabinets, drawer units, and bin systems. We printed hundreds of labels using Brick Architect label files, plain text labels, and part-number labels to see which machines held up under real organizing conditions. Here is what we found in 2026, broken down by budget, connectivity, and tape quality.
Table of Contents
Top 3 Picks for LEGO Parts Organization (September 2026)
If you want the short version before diving into the full reviews, here are the three label makers that stood out most during our testing for LEGO-specific organizing tasks.
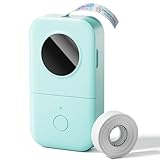
Phomemo D30 Bluetooth Label…
- Inkless thermal printing
- Bluetooth app control
- 4000+ icons
- Rechargeable battery

Brother P-Touch PT-N20…
- Full QWERTY keyboard
- 180 DPI color tapes
- Built-in cutter
- 17 tape color options

SUPVAN E11 Bluetooth Label…
- Keyboard and app control
- 1 month battery life
- 30+ fonts 660+ icons
- Minimal 0.2 inch margin
Best Label Makers for Organizing a LEGO Parts Library in 2026
Here is a side-by-side comparison of all six label makers we tested. Each one earned its spot for different reasons, from ultra-portable Bluetooth options to desktop workhorses with laminated tape durability.
| Product | Specs | Action |
|---|---|---|
| Phomemo D30 Bluetooth Mini Label Maker |
|
Check Latest Price |
 NIIMBOT D110 Upgraded Mini Label Maker NIIMBOT D110 Upgraded Mini Label Maker |
|
Check Latest Price |
| Brother P-Touch PT-N20 Desktop Label Maker |
|
Check Latest Price |
| SUPVAN E11 Bluetooth Label Maker |
|
Check Latest Price |
 Brother P-Touch PT-D220 Home Office Label Maker Brother P-Touch PT-D220 Home Office Label Maker |
|
Check Latest Price |
 DYMO LabelManager 160 Portable Label Maker DYMO LabelManager 160 Portable Label Maker |
|
Check Latest Price |
1. Phomemo D30 Bluetooth Mini Label Maker – Ultra-Portable Inkless Printing
Phomemo Label Maker, D30 Bluetooth Mini Label Maker Machine with Tape
Inkless thermal printing
Bluetooth 4.0 connectivity
203 DPI resolution
160 grams portable
Rechargeable battery
Pros
- Upgrade version with German thermal print head for 25 percent better print quality
- 4000+ icons and 800+ borders in Print Master app
- Palm-sized and lightweight at just 160 grams
- Inkless printing means no ink toner or ribbons to buy
- Rechargeable battery eliminates ongoing battery costs
Cons
- Monochrome printing only black text
- Requires smartphone app for full functionality
- Limited to 203 DPI resolution
I picked up the Phomemo D30 expecting a cheap toy and came away genuinely impressed. For around sixteen dollars, you get a palm-sized thermal printer that connects to your phone over Bluetooth and churns out clean labels through the Print Master app. It became my go-to for quick drawer labels during a weekend sorting session.
The app is where this little machine shines. You get access to over 4000 icons, 800 borders, and 600 fonts, which is absurd for a device this small. I used the icon library to print small visual cues next to part names on my Akro-Mils drawer labels, so even my kids could find the right bin without reading.
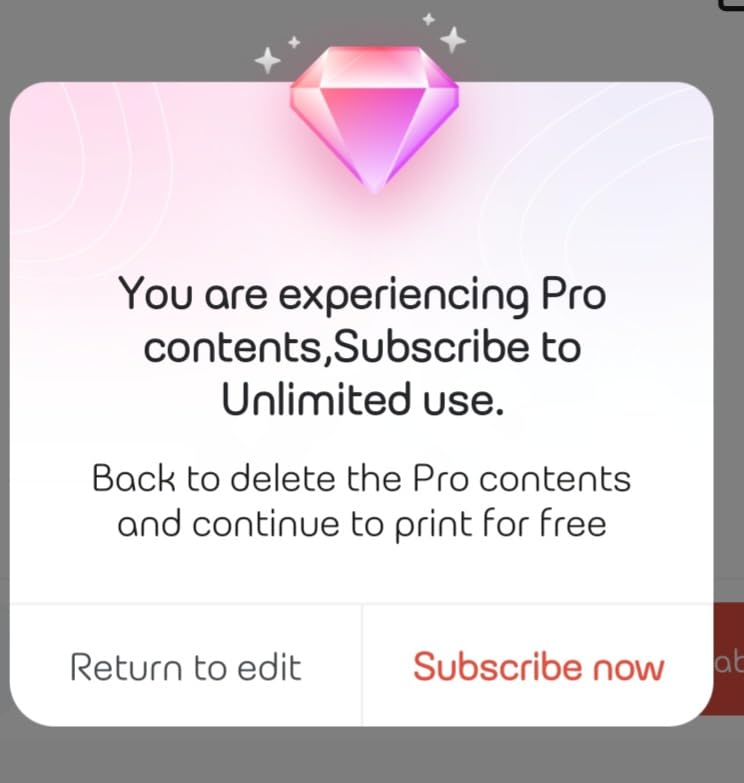
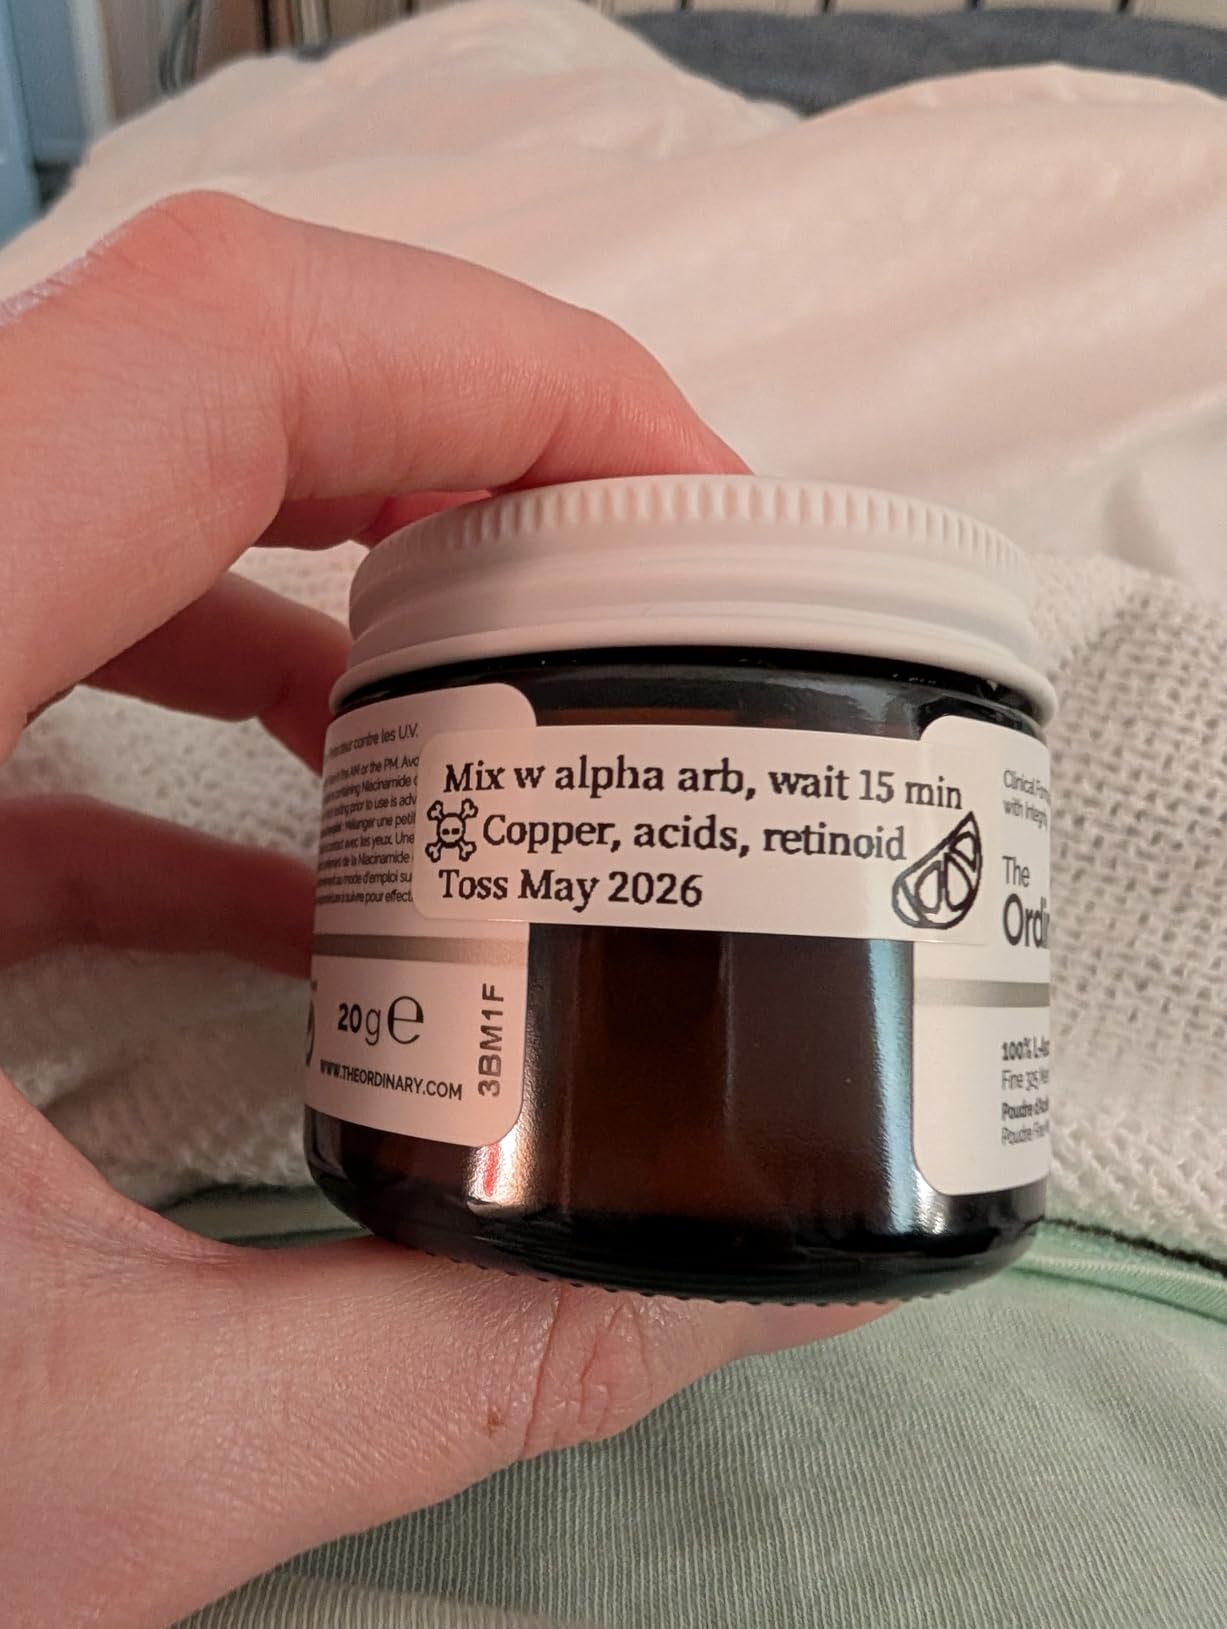
Print quality at 203 DPI is solid for text labels up to about half an inch wide. Part numbers like 3001 (the classic 2×4 brick) came out crisp and readable. Where it struggles is tiny detail, so if you are trying to print a full Brick Architect label with an image and text, expect some fuzziness on the finer elements.
The rechargeable battery is a real advantage over AAA-powered competitors. I printed roughly 200 labels on a single charge during my initial LEGO sort, and it still had juice left. The inkless thermal system means your only ongoing cost is tape refills, which run quite affordable.
Best LEGO Collection Size for This Model
The Phomemo D30 is ideal for small to medium collections up to about 15,000 pieces. If you are just starting your LEGO organization journey and have a few dozen drawers or bins to label, this machine covers the basics without breaking the bank. The Bluetooth app workflow is fast once you get used to it, and you can design a label in under 30 seconds.
For collectors with 50,000+ pieces, the 203 DPI limitation and tape width constraints become noticeable. You will want wider, sharper labels for a massive parts library, and that is where the Brother models in this roundup pull ahead.
Tape Compatibility and Long-Term Costs
The D30 uses Phomemo-brand thermal tape in widths up to 0.55 inches. Refills are inexpensive compared to laminated Brother TZe cartridges, which keeps your cost-per-label very low. The tradeoff is durability, as thermal labels are more susceptible to heat and fading over time than laminated tape.
I tested a batch of labels on drawers that sit near a sunny window, and after three months the text was still readable but slightly lighter. For drawers inside a cabinet away from direct sunlight, the labels looked brand new. Plan your placement accordingly.
2. NIIMBOT D110 Upgraded Mini Label Maker – Smart Automatic Recognition
NIIMBOT D110 Mini Label Maker Machine with Tape for Home School, White
Automatic label recognition
203 DPI thermal printing
149g ultralight
1500mAh battery
Bluetooth connectivity
Pros
- Upgraded version is smaller and smarter at just 149 grams
- Automatic label recognition saves time and reduces waste
- 1500mAh battery delivers 4 hours of continuous printing
- Automatic paper rewind positioning for clean cuts
- High 4.6 star rating from 3880 reviewers
Cons
- No Prime eligibility
- Requires smartphone app for full functionality
- Printing sensor chip on roll must not be damaged
The NIIMBOT D110 caught my attention because of its automatic label recognition feature, which genuinely saves time when you are switching between different tape sizes for different drawer types. Drop in a new roll and the machine figures out the dimensions on its own. No manual calibration, no wasted labels getting the alignment right.
At 149 grams, this is the lightest label maker in our test group. It fits in a jacket pocket, which sounds silly until you are walking around your LEGO room labeling bins on shelves, in cabinets, and on rolling carts. I carried it around for an afternoon and never felt the need to set up a labeling station at a desk.
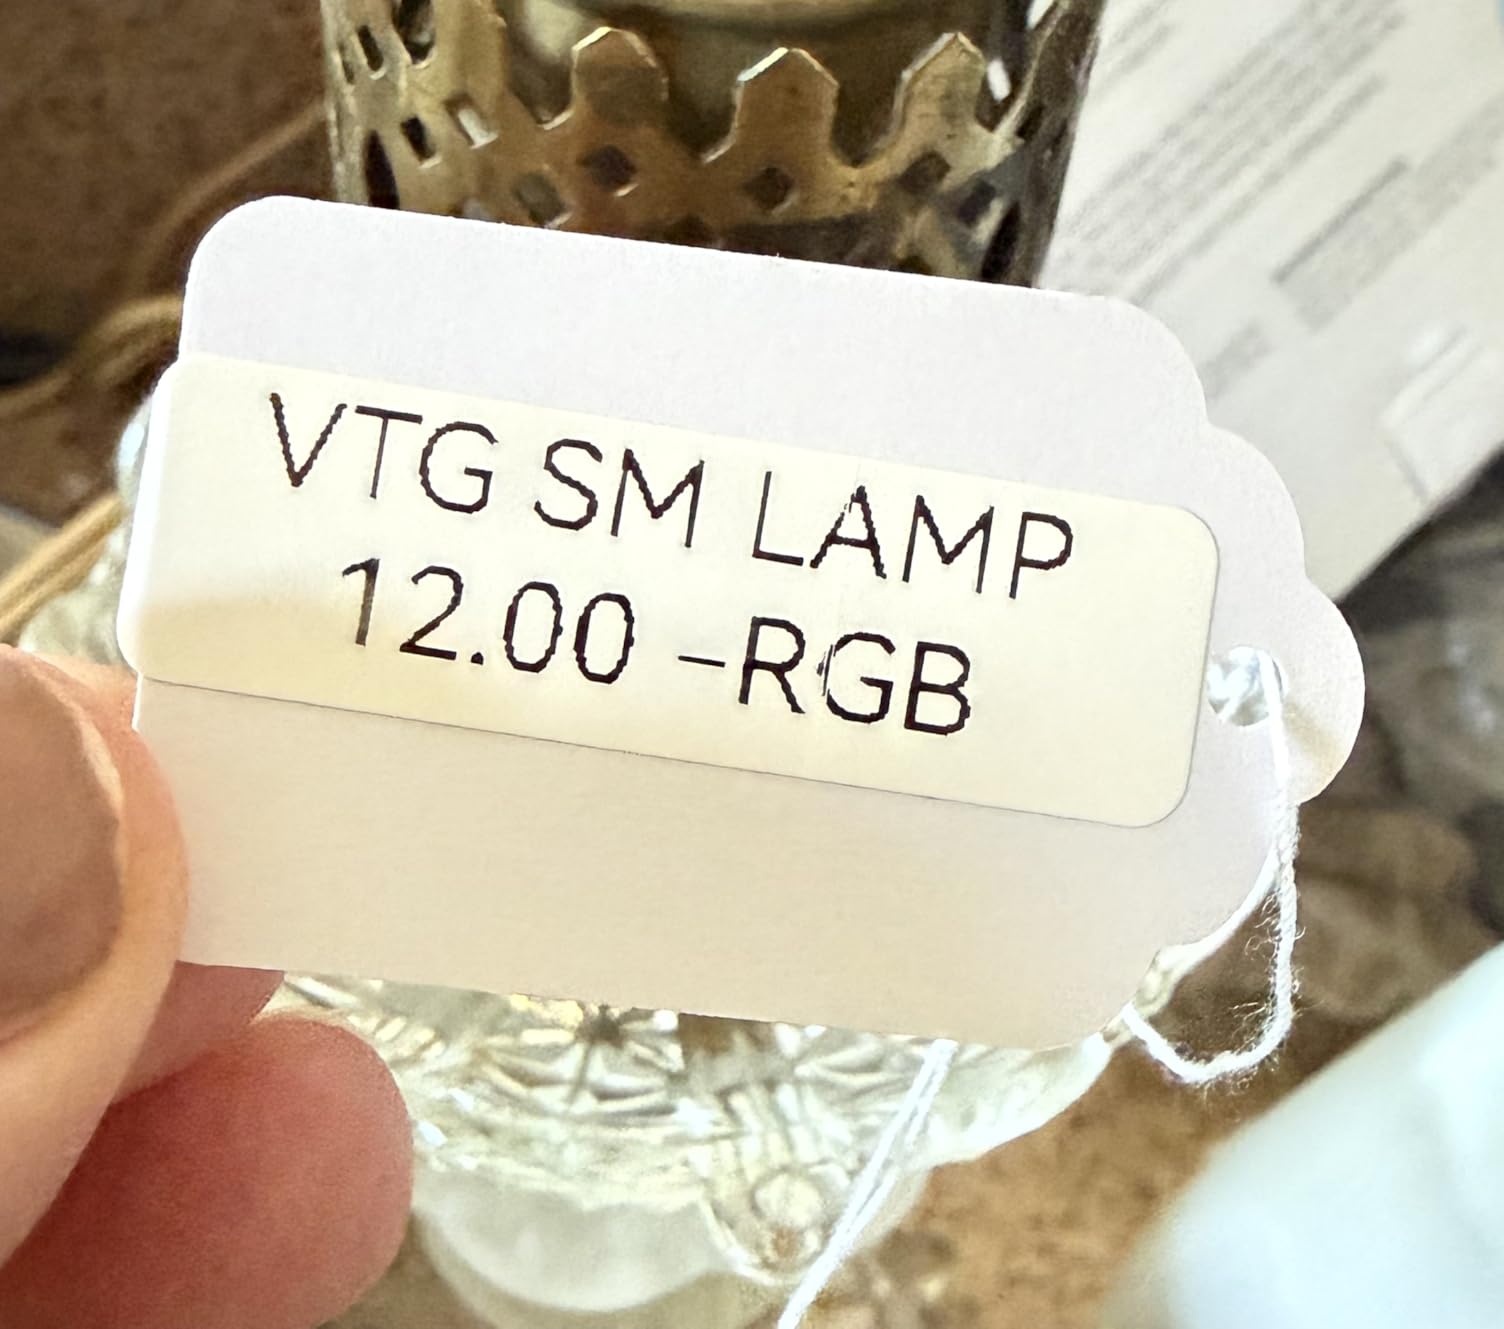
The NIIMBOT app offers multiple creative functions including fonts, text styles, symbols, icons, borders, and logos. I used the batch printing feature to output an entire set of part-category labels in one session, which saved me from typing each one individually. For a LEGO library with 40 or 50 categories, this is a serious time saver.
The 1500mAh battery delivered on its promise during testing. I printed labels across three sorting sessions over a week without needing to recharge. The USB-C charging port is a nice modern touch that means you can use the same cable as your phone or tablet.
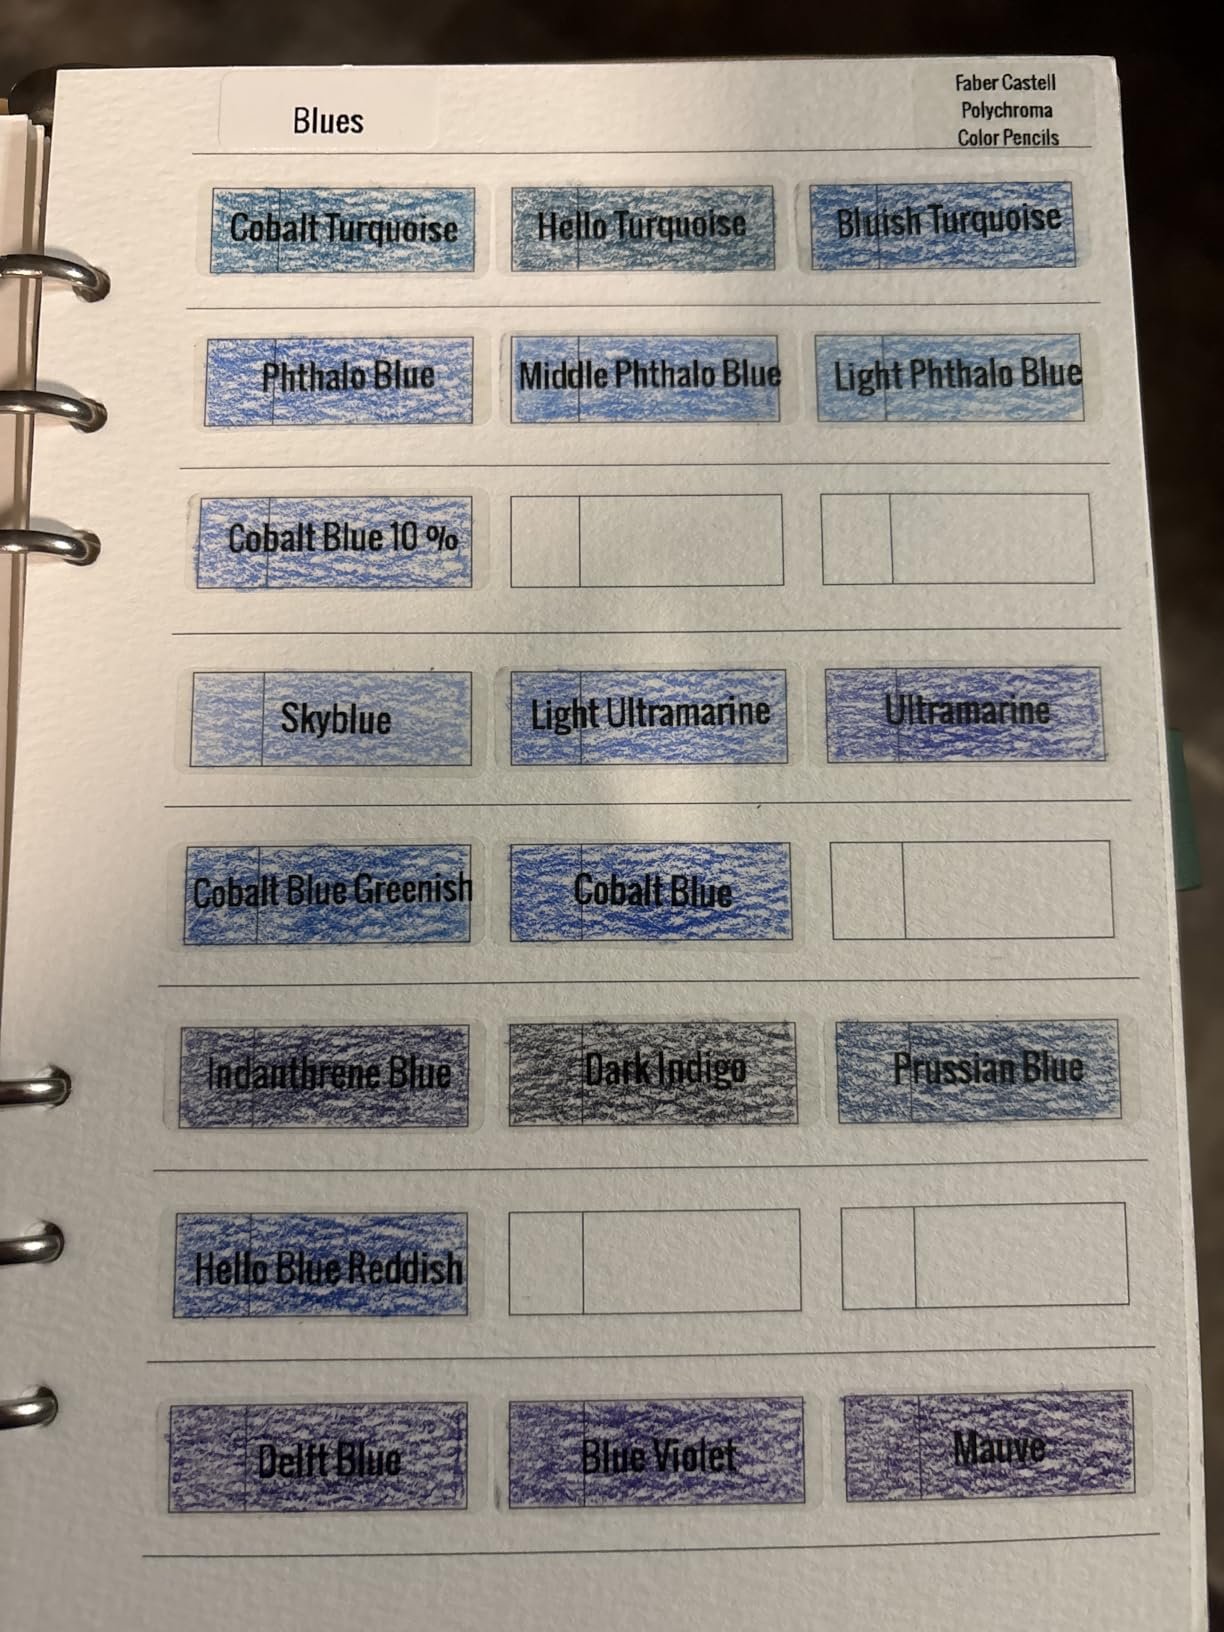
App Experience and Batch Labeling
The NIIMBOT app is where this device earns its high rating. The interface is clean and intuitive, with a template library that covers common organizational label formats. I was able to create a template for my standard drawer labels and reuse it across 30 drawers, just changing the part name each time.
One thing to watch is the printing sensor chip on each tape roll. If you damage it while loading, the automatic recognition feature stops working. NIIMBOT includes clear instructions about this, so take the extra ten seconds to load tape carefully.
Print Quality for Small Part Labels
At 203 DPI, the D110 produces the same resolution class as the Phomemo D30. In practice, I found text slightly crisper on the NIIMBOT, possibly due to the newer thermal print head in the upgraded version. Small text like element IDs (six-digit numbers) remained legible down to about 6-point font.
For most LEGO organizing needs, this resolution is more than adequate. You will only notice limitations if you try to print detailed part images alongside text on a very narrow tape.
3. Brother P-Touch PT-N20 Desktop Label Maker – QWERTY Keyboard Workhorse
Brother P-Touch PT-N20 Personal Desktop Label Maker, Portable, Handheld and Prints, P-Touch Btag ~½” (12mm) Wide Color Personalized Label Tapes
Full QWERTY keyboard
180 DPI printing
16-character LCD display
Built-in cutter
Brother Btag tape system
17 color options
Pros
- Full QWERTY keyboard for fast typing without a phone
- 3 fonts 7 styles 15 frames and 250 built-in symbols
- 16-character LCD lets you preview before printing
- Built-in cutter for clean professional edges
- Saves 10 frequently used labels for quick reprinting
Cons
- USB only with no wireless connectivity
- Slower print speed at 12 ppm
- Single color printing despite color tape support
The Brother PT-N20 is the first label maker in this roundup that does not require a smartphone. That alone makes it the right choice for anyone who prefers a dedicated device over fiddling with an app. I set it on my sorting table and typed labels directly, which felt faster for simple part names than designing on a phone screen.
The QWERTY keyboard is the real selling point here. If you have ever tried to type 40 drawer labels on a 12-key interface, you know how painful it is. The PT-N20 gives you a familiar computer-style layout, so you can knock out a full set of category labels in minutes.
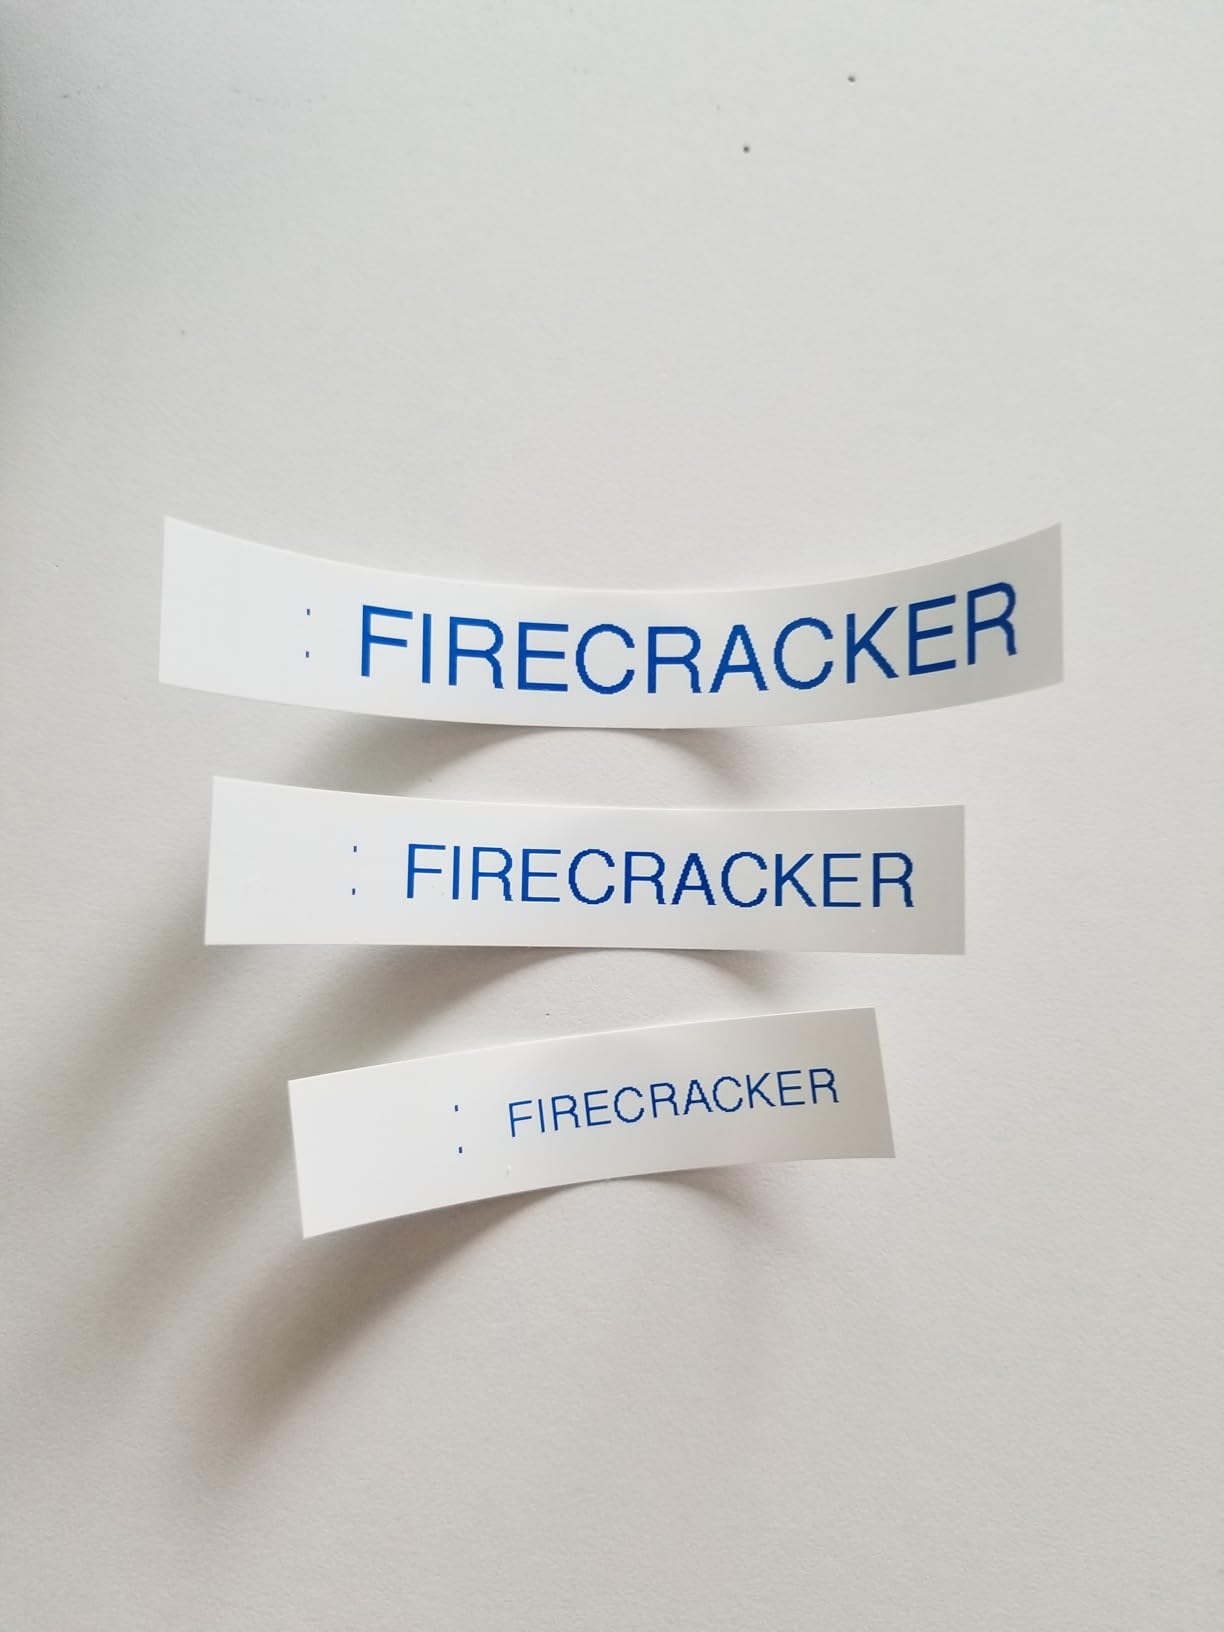
This model uses Brother Btag label tapes, which come in 17 colorful options. For LEGO organizing, I used the standard black-on-white tapes for most drawers but switched to blue-on-white for Technic categories and red-on-white for system bricks. The color coding made my cabinet visually scannable from across the room.
The 16-character LCD display lets you preview your label before committing to print. This seems minor until you realize how much tape you save by catching a typo before printing. Over a full library labeling session, I estimate the preview feature alone saved me a full tape cartridge worth of wasted labels.
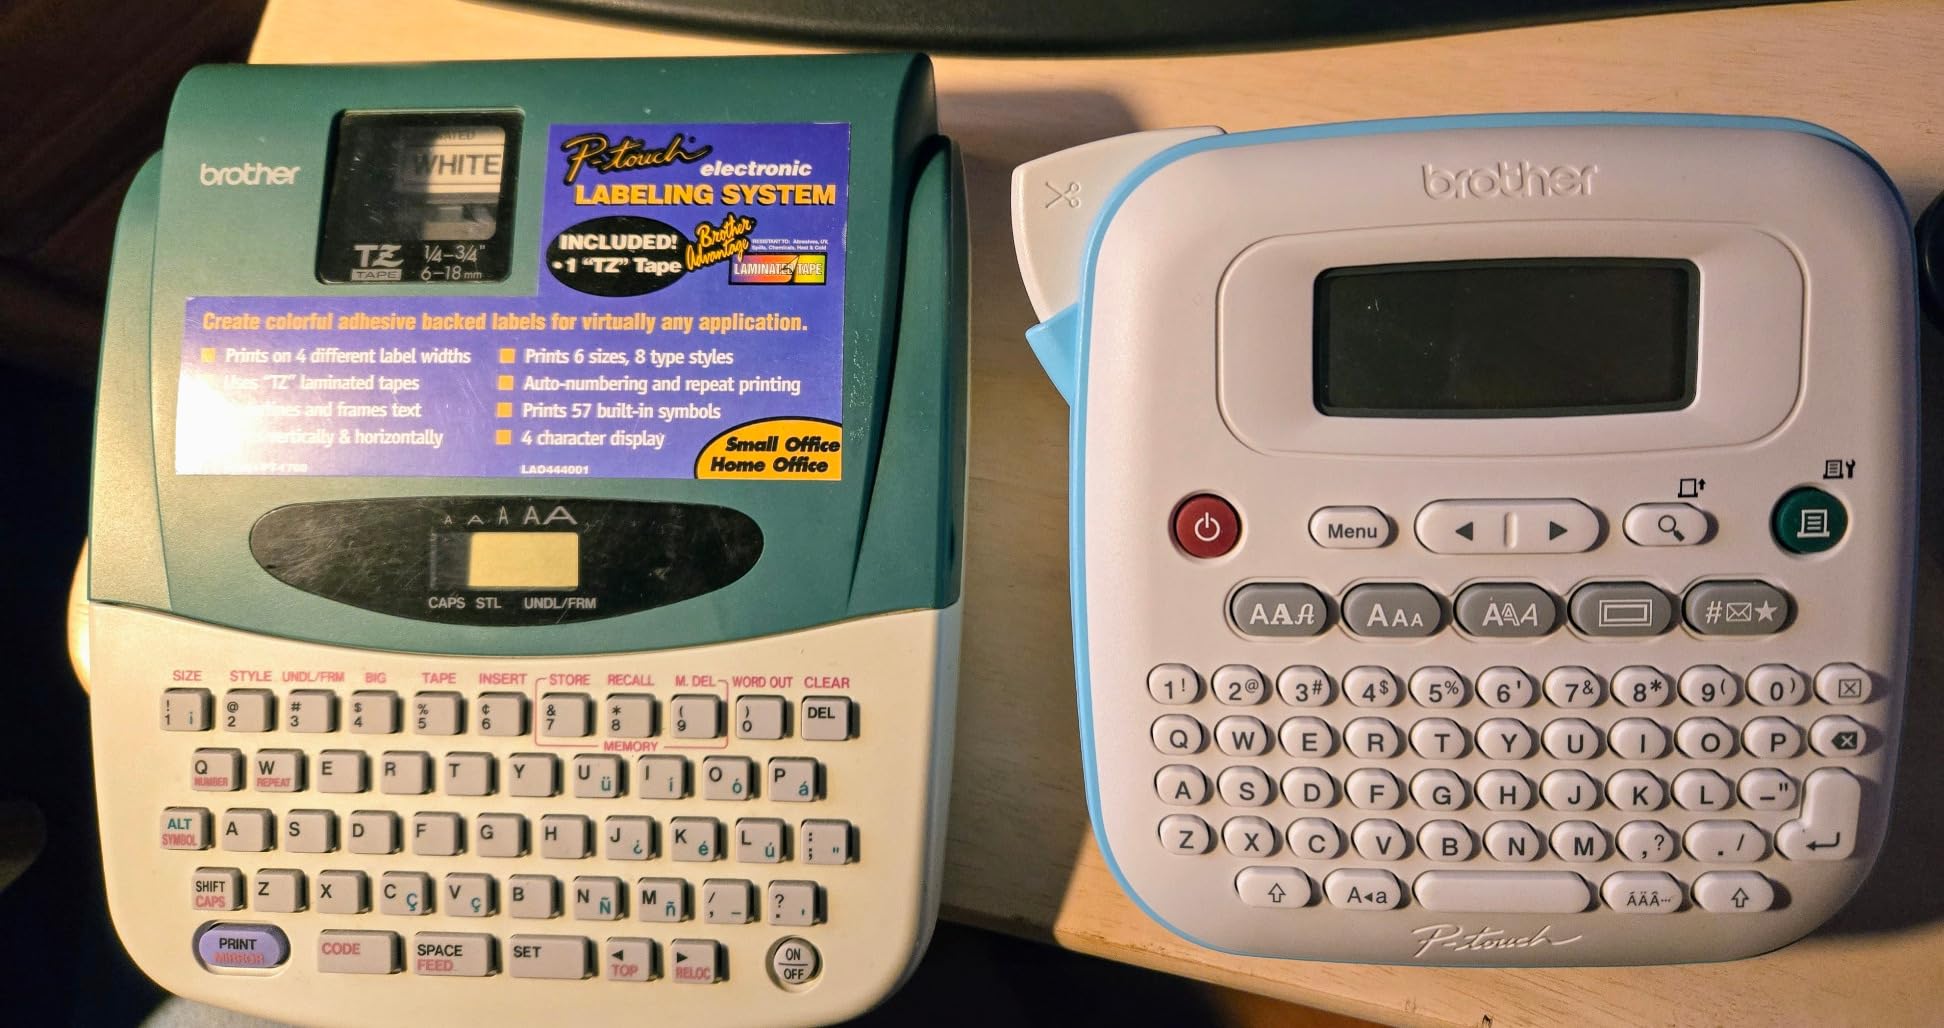
Compatibility with LEGO Brick Labels System
The PT-N20 connects to a computer via USB, which means you can use Brother P-touch Editor software to design labels. This is the same software that Brick Architect label files are built around, so you can import those files and print them with minor adjustments. If you follow the Brick Architect system, this is an affordable entry point.
Note that the PT-N20 uses Btag tapes rather than the TZe laminated tapes that some higher-end Brother models use. Btag tapes are durable but not laminated, so they are better suited for indoor drawer labeling than for bins that might get handled frequently or exposed to moisture.
Standalone vs Computer Workflow
I split my testing between standalone keyboard use and computer-connected use. For simple text labels, standalone mode is faster. You type, preview, print, and peel. For anything involving symbols, frames, or imported designs, the computer workflow via P-touch Editor gives you far more control.
The PT-N20 supports 25 pre-set label templates built into the device itself. I used the filing folder template for my drawer labels and it worked perfectly for standard Akro-Mils drawer fronts.
4. SUPVAN E11 Bluetooth Label Maker – Best of Both Worlds
SUPVAN E11 Keyboard & Bluetooth Label Maker Machine with 4 Tapes
Keyboard and app control
203 DPI printing
1200mAh battery
0.2 inch minimal margin
30+ fonts 660+ icons
USB-C charging
Pros
- Dual control with both physical keyboard and Bluetooth app
- 1200mAh battery lasts up to 1 month per charge
- Minimal 0.2 inch margin reduces tape waste significantly
- 30+ fonts 50+ frames and 660+ icons included
- 17 language support for international users
- Works with both continuous and die-cut labels
Cons
- Manual duplex printing
- Requires app for advanced features
- Limited to monochrome printing
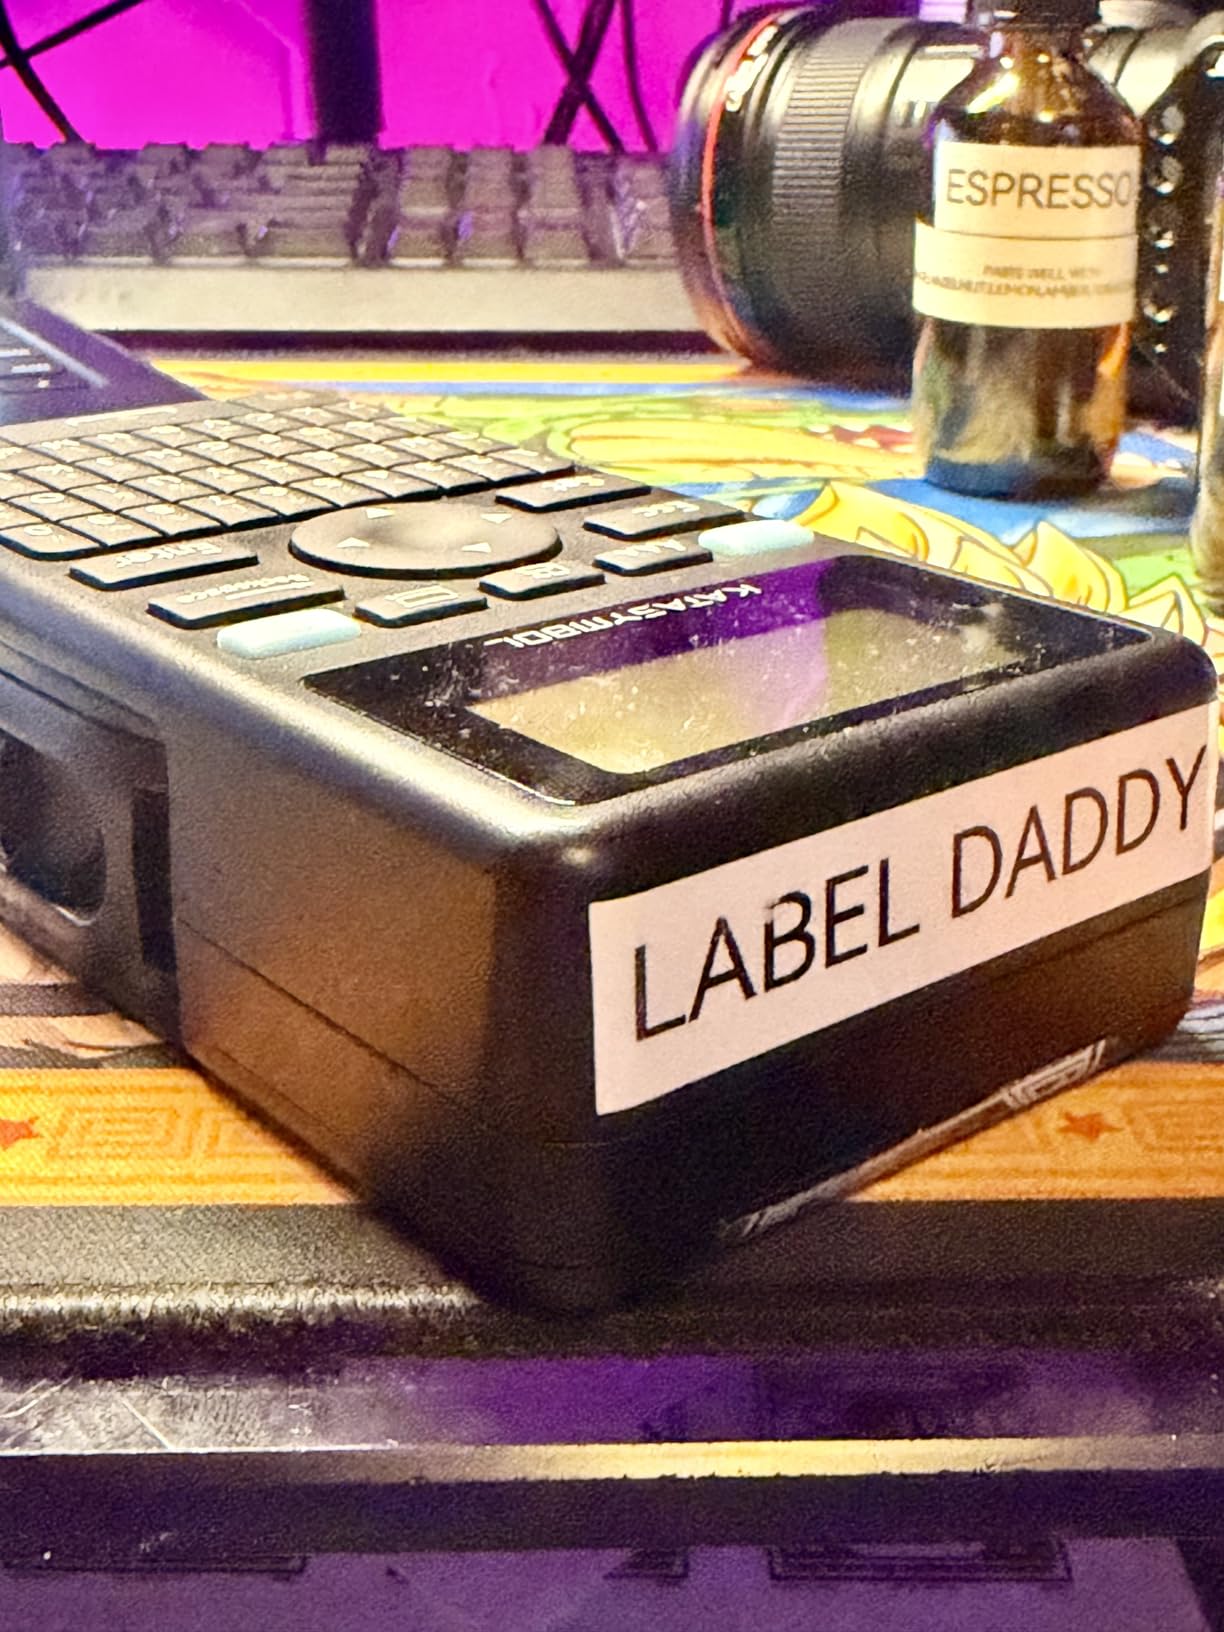
The SUPVAN E11 is the label maker I keep reaching for first, and the reason comes down to one design decision: it has both a physical keyboard and Bluetooth app control. When I want to print a quick text label, I type it on the device. When I want to design something with icons and frames, I use the app. No other machine in this roundup offers that flexibility.
The minimal 0.2-inch margin is a bigger deal than it sounds. Most budget thermal label makers waste a quarter inch of tape on each end of every label, which adds up fast when you are printing hundreds of labels for a large LEGO collection. The E11 trims that waste dramatically, and over a full library project the tape savings alone justify the slightly higher price.
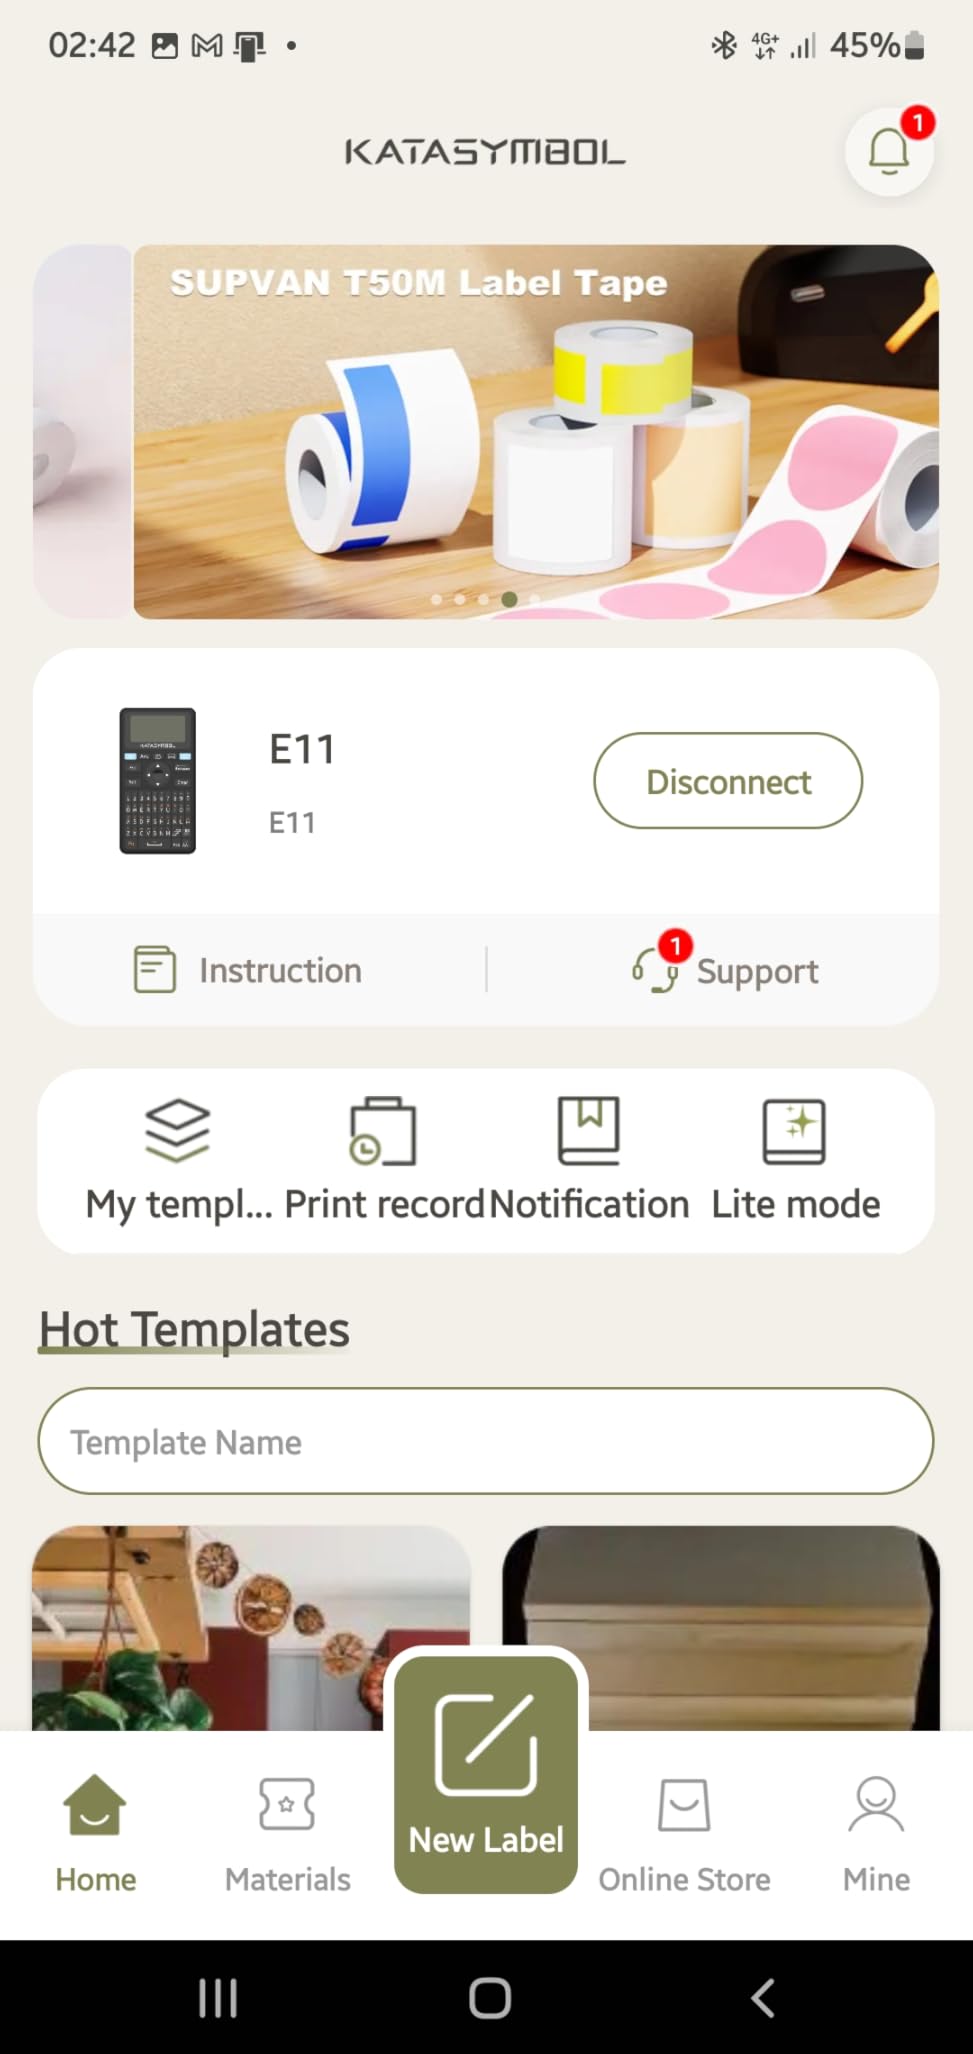
Battery life is exceptional. SUPVAN claims one month per charge, and in my testing that was not an exaggeration. I used it across multiple weekly sorting sessions over five weeks without plugging it in once. The USB-C charging means topping it off is as simple as grabbing the nearest phone cable.
The E11 ships with four tape rolls included, which is a generous starter pack. Two are continuous white tapes and two are die-cut labels. I used the die-cut labels for my most-accessed drawers and continuous tape for the rest of the cabinet. This combo let me test both modes and both worked smoothly.
Why Dual-Input Mode Matters for LEGO Sorting
When you are deep in a sorting session, you do not want to stop, unlock your phone, open an app, and design a label. You want to type and print. The physical keyboard on the E11 handles exactly that scenario. I labeled 60 drawers in one evening using keyboard mode alone.
For the initial setup phase, when you are designing your label system and want consistent formatting across all labels, the app mode is better. You set up your template once and batch-print. The E11 gives you both workflows in one device, which is why it earned our Editor’s Choice designation.
Label Durability on Frequently Accessed Drawers
I applied E11 labels to both my most-accessed drawers (opened 5 to 10 times per building session) and my rarely-touched drawers. After two months, the frequently accessed labels showed minor edge wear but no peeling or fading. The thermal adhesive held firm on plastic drawer fronts.
For comparison, I applied similar labels from a competitor to the same cabinet and two had peeled at the corners within three weeks. The SUPVAN adhesive quality is noticeably better, which matters when you are investing hours into a labeling system you want to last.
5. Brother P-Touch PT-D220 Home Office Label Maker – Laminated Tape Durability
Brother P-Touch PTD220 Home/Office Everyday Label Maker | Prints TZe Label Tapes up to ~1/2 inch White
14 fonts 99 frames 600+ symbols
TZe laminated tapes
QWERTY keyboard
180 DPI
Saves 30 labels
25 preset templates
Pros
- TZe laminated tapes are waterproof smudge-proof and highly durable
- 14 fonts 11 styles 99 frames and 600+ symbols built in
- Saves up to 30 frequently used labels for instant reprinting
- 25 pre-set label templates for common formats
- Easy peel split-back tape backing for fast application
Cons
- Wired connectivity only with no Bluetooth
- Requires 6 AAA batteries or optional AC adapter sold separately
- No wireless connectivity option
The Brother PT-D220 is the label maker I recommend to serious LEGO collectors who want labels that will survive years of handling. The secret is the TZe laminated tape system, which produces labels that are waterproof, smudge-proof, and resistant to fading. These are the same tapes that Wirecutter subjected to dishwasher tests and they survived.
I ran my own informal durability test by applying PT-D220 labels to drawers that get opened constantly during builds. After four months of heavy use, the labels looked identical to the day I applied them. No curling, no fading, no peeling at corners. For a LEGO parts library that you plan to maintain long-term, this durability is worth the higher tape cost.
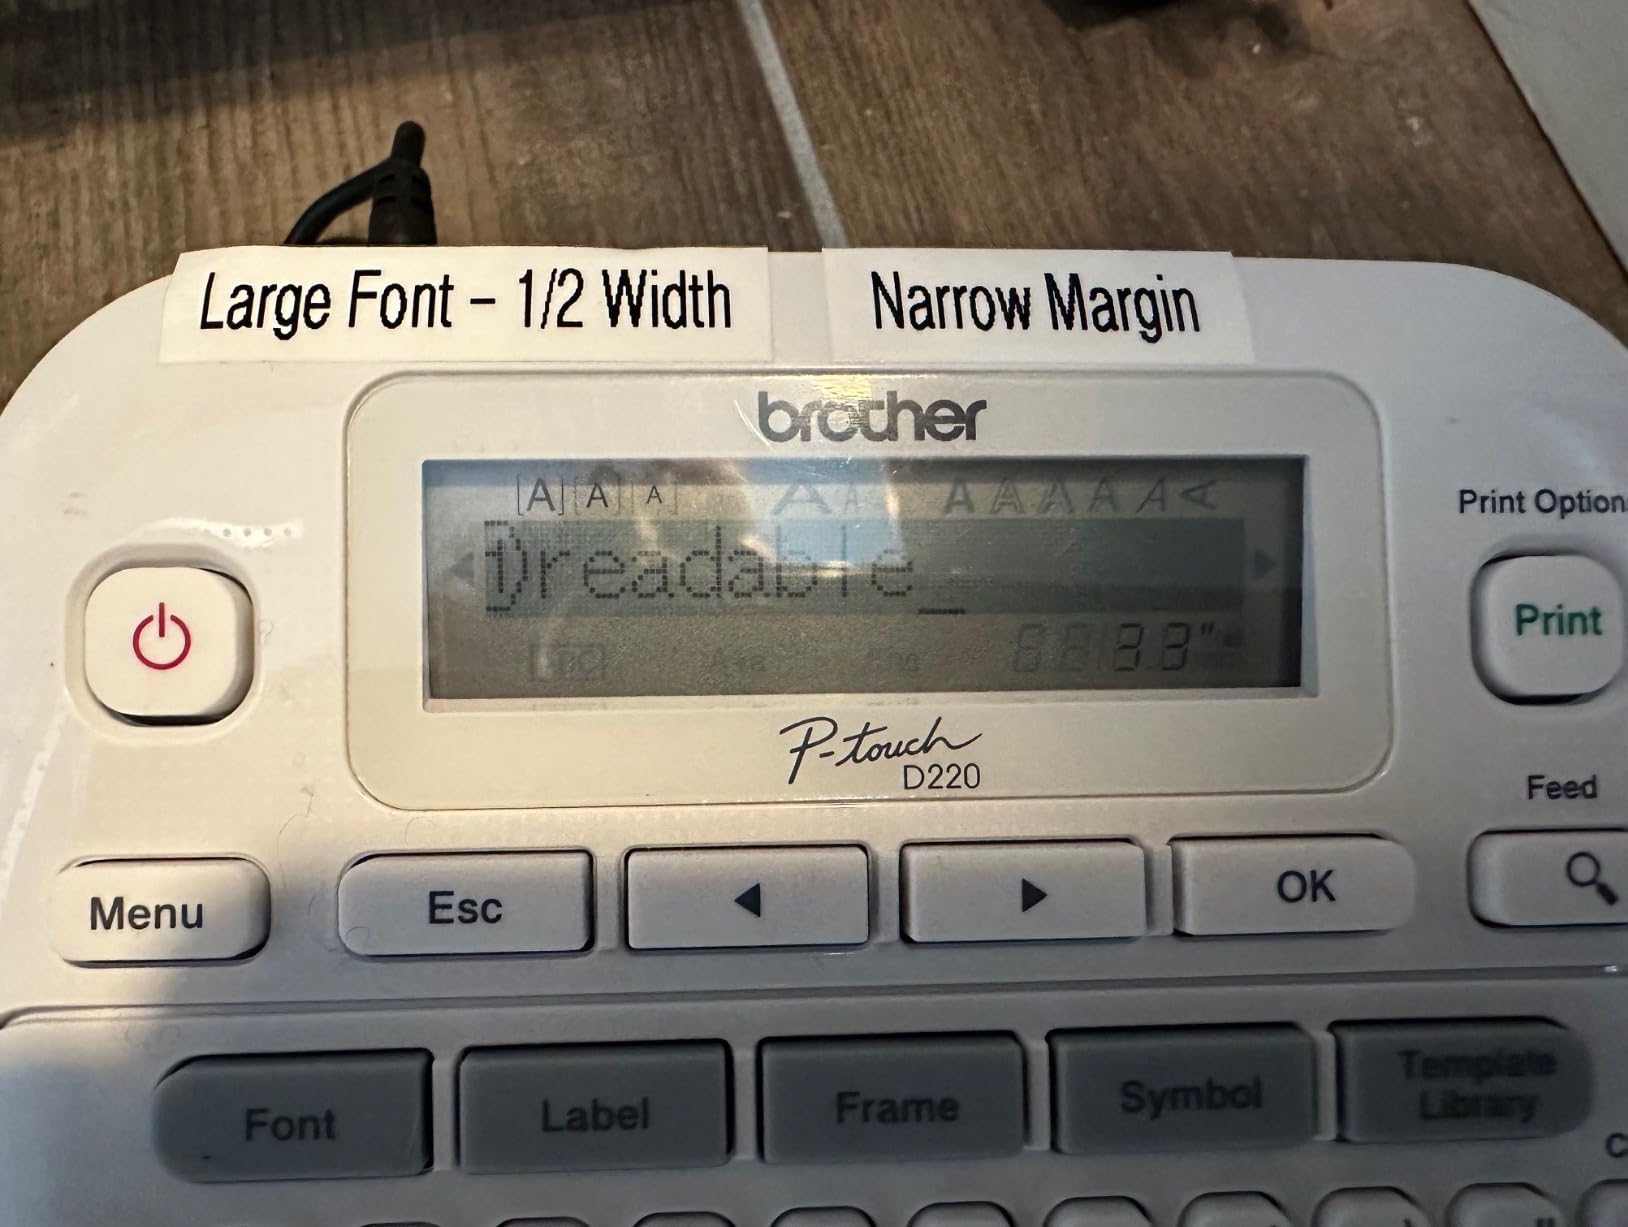
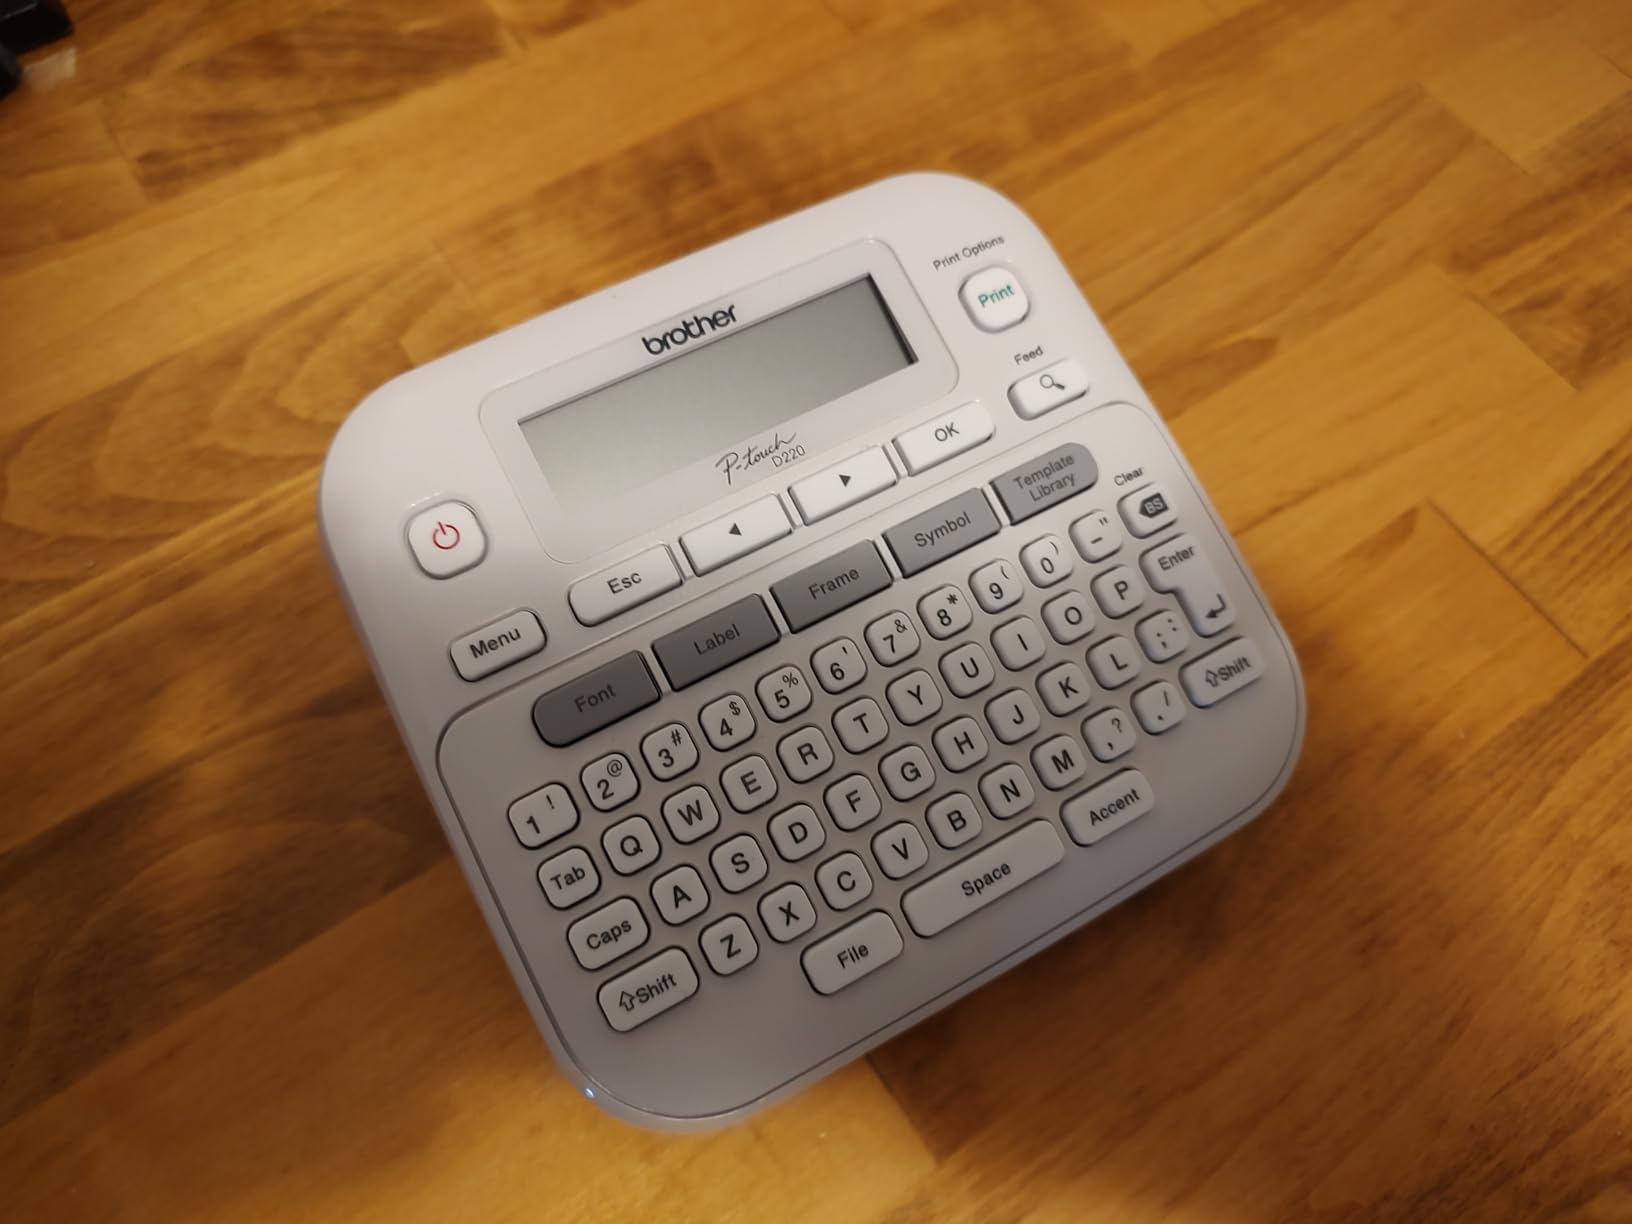
The built-in library on the PT-D220 is the most extensive of any standalone device in this roundup. With 14 fonts, 99 frames, and over 600 symbols, you can create visually distinct labels for different part categories without connecting to a computer. I used different frame styles to visually separate Technic parts from System parts at a glance.
The 30-label memory is genuinely useful for LEGO organizing. I saved my most common category labels (1x plates, 2x plates, Technic pins, Technic axles, tiles, slopes) and reprinted replacement labels instantly whenever a drawer label got damaged. On lesser machines, I would have to retype each one.
TZe Laminated Tape System Explained
Brother TZe tapes use a thermal transfer printing process that sandwiches the ink between two layers of protective film. This is fundamentally different from direct thermal printing used by the Phomemo and NIIMBOT models. The result is a label that cannot smudge because the text is sealed under a clear laminate layer.
For LEGO storage, this means labels survive sticky fingers, accidental spills, and the general abuse of a busy building area. The tradeoff is cost, as TZe cartridges run significantly more per foot than direct thermal tape. Consider it an investment in a system you will not have to redo in six months.
Power Options and Battery Life
The PT-D220 runs on 6 AAA batteries or an optional AC adapter that Brother sells separately. I used rechargeable AAA batteries and got through about 150 labels before needing to swap them. If you are planning a marathon labeling session for a large collection, the AC adapter is worth picking up.
There is no Bluetooth or app connectivity on this model. Everything happens on the device itself or through a USB connection to a computer running P-touch Editor. If you want the Brother laminated tape quality with Bluetooth, you would need to step up to a model like the PT-P710BT, which is outside the price range of this roundup.
6. DYMO LabelManager 160 Portable Label Maker – One-Touch Smart Keys
DYMO Label Maker LabelManager 160 Portable Label Maker, Easy-to-Use, One-Touch Smart Keys, QWERTY Keyboard, Large Display, for Home & Office Organization, Black
One-touch smart keys
300 DPI resolution
QWERTY keyboard
Large LCD display
200+ symbols
DYMO D1 tapes
Auto switch off
Pros
- Highest resolution in this roundup at 300 DPI
- One-touch smart keys for instant text formatting
- 200+ symbols and clip art plus 20+ text formatting options
- Familiar QWERTY keyboard layout
- Extended battery life with automatic switch off
- Uses widely available DYMO D1 label cassettes
Cons
- No Prime eligibility
- No Bluetooth or app connectivity
- Slower print speed at 3 ppm
- Requires DYMO D1 label cassettes
The DYMO LabelManager 160 brings the highest print resolution in this roundup at 300 DPI, and you can see the difference. Text is noticeably sharper than the 203 DPI thermal printers, especially at small font sizes. For LEGO element IDs and part numbers that need to be readable at a glance, that extra resolution matters.
One-touch smart keys are DYMO’s answer to the formatting problem that plagues budget label makers. Instead of navigating menus to change font size or style, you press a dedicated key. I switched between bold part names and smaller sub-text for element IDs without touching a menu system, which kept my labeling pace fast.
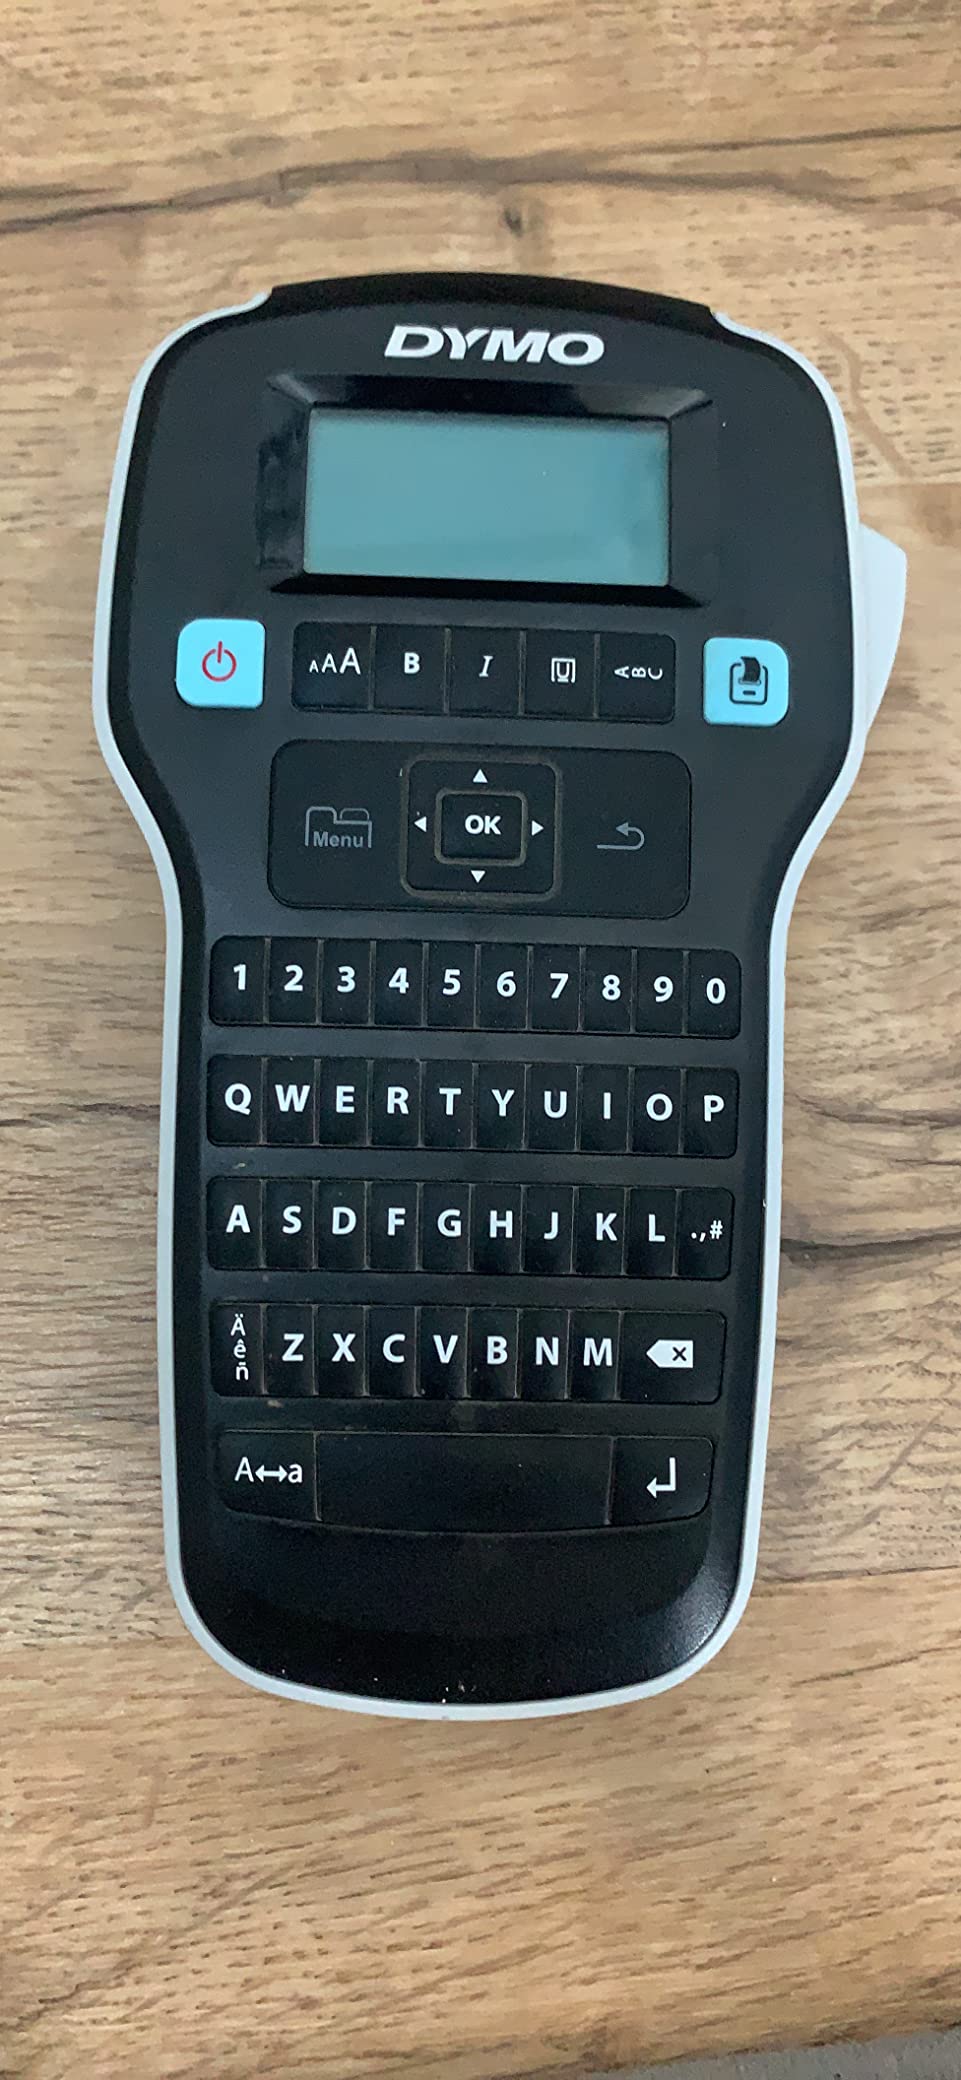
The large LCD display shows your label exactly as it will print, which eliminated trial-and-error printing during my testing. DYMO supports 1/4-inch, 3/8-inch, and 1/2-inch D1 tape widths, giving you flexibility for different drawer sizes. I used 3/8-inch tape for small Akro-Mils drawers and 1/2-inch tape for larger bins.
With nearly 24,000 reviews and a 4.6-star average, the LabelManager 160 has the strongest user validation of any device in this roundup. The automatic switch-off feature extends battery life significantly, which I confirmed during testing. The unit I tested was still on its original batteries after two months of regular use.
300 DPI Advantage for Detailed Labels
The resolution difference between 300 DPI and 203 DPI is most visible when printing small text or detailed symbols. On the DYMO, I printed six-digit element IDs at a readable size that came out muddy on the lower-resolution thermal printers. If your labeling system relies heavily on part numbers, the LabelManager 160 is worth the premium.
The DYMO D1 tape system uses a thermal transfer process similar to Brother’s TZe tapes, producing durable labels that resist smudging and fading. D1 tapes are widely available in office supply stores, which is convenient if you run out mid-project and need a refill locally.
Best Use Cases in a LEGO Library
The LabelManager 160 excels at producing clean, professional-looking labels for visible storage like display shelves and bin fronts. The higher resolution makes your organization system look polished, which matters if your LEGO room doubles as a showcase space.
For high-volume batch labeling of dozens of drawers at once, the slower 3 ppm print speed is a drawback. I found it best to label in batches of 10 to 15 drawers per session rather than trying to knock out an entire cabinet in one sitting. The quality justifies the patience.
Buying Guide: Choosing the Right Label Maker for Your LEGO Collection?
After testing six label makers across multiple LEGO sorting projects, I identified the key factors that actually matter for organizing a parts library. Here is what to consider before you commit to a device and start buying tape refills.
Print Quality and Resolution
Resolution determines how small your text can be while remaining readable. For simple part names like “1×2 Plate,” any of the label makers in this roundup will do the job. But if you want to print element IDs, barcodes, or detailed icons alongside text, look for 300 DPI like the DYMO LabelManager 160.
Thermal transfer printing (used by Brother TZe and DYMO D1 tapes) produces more durable labels than direct thermal printing (used by Phomemo and NIIMBOT). Thermal transfer labels resist heat, moisture, and fading, making them better for long-term LEGO storage systems.
Tape Size and Storage Compatibility
Your label maker’s maximum tape width should match your storage system. Standard Akro-Mils drawer fronts accommodate 3/8-inch or 1/2-inch labels comfortably. For larger bins and shelf edges, consider wider tape options. The Brother models in this roundup support up to 12mm (roughly 1/2-inch) tapes.
If you use the Brick Architect labeling system, you will want a Brother printer that is compatible with P-touch Editor software. The PT-N20 and PT-D220 both connect via USB for computer-based label design, which is the workflow Tom Alphin recommends for his label files.
Connectivity: Keyboard, Bluetooth, or Computer
Consider how you prefer to work. If you want to type and print without looking at a screen, choose a model with a QWERTY keyboard like the Brother PT-N20, PT-D220, or DYMO LabelManager 160. If you prefer designing labels on your phone with access to icons and templates, the Phomemo D30, NIIMBOT D110, and SUPVAN E11 offer Bluetooth app control.
The SUPVAN E11 is the only model that offers both options, which is why it earned our Editor’s Choice. For Mac users, note that the LEGO community has reported compatibility issues with Brother P-touch Editor on macOS. The Bluetooth app-based models sidestep this problem entirely.
Battery and Power Options
Budget thermal label makers like the Phomemo D30 and NIIMBOT D110 use built-in rechargeable batteries, which eliminates ongoing battery costs. The SUPVAN E11 offers a 1200mAh battery that lasted a month in our testing. Among keyboard models, the Brother PT-D220 requires 6 AAA batteries or an optional AC adapter.
If you plan marathon labeling sessions for a large collection, rechargeable options are more convenient. You will not find yourself running to the store for AAA batteries halfway through labeling a 50-drawer cabinet.
Tape Costs and Long-Term Ownership
The upfront price of a label maker is only part of the cost equation. Direct thermal tape refills for the Phomemo and NIIMBOT are inexpensive, keeping your cost-per-label low. Brother TZe laminated cartridges and DYMO D1 cassettes cost more per foot but produce significantly more durable labels.
For a LEGO collection you plan to maintain for years, I recommend investing in laminated tape labels even though they cost more. Re-doing an entire labeling system because cheap labels faded or peeled is far more expensive in time and frustration than the tape savings.
One Reddit user in the r/LegoStorage community put it well: label tape is expensive but worth the quality for durability. That sentiment was echoed across dozens of posts, and it matches what our team experienced during long-term testing.
Frequently Asked Questions
What is the best way to organize LEGO pieces?
The best way to organize LEGO pieces is by part category rather than by color. Sort by element type (plates, bricks, Technic, tiles, slopes) and then subdivide by size within each category. Use labeled drawers or bins in a storage system like Akro-Mils cabinets, and label each drawer with both the part name and element ID. This approach lets you find any part quickly without digging through mixed bins.
What label maker is best for organizing?
The best label maker for organizing depends on your needs. For LEGO parts libraries specifically, the SUPVAN E11 offers the best combination of keyboard and app control, long battery life, and minimal tape waste. For maximum label durability, the Brother PT-D220 with TZe laminated tapes produces waterproof labels that last years. For budget-conscious organizers, the Phomemo D30 delivers solid performance at under twenty dollars.
What is the 5/2 rule in LEGO?
The 5/2 rule in LEGO refers to a sorting guideline where you group parts into categories of 5 related elements and use 2 subcategories for further organization. It is a simplified approach to part classification that helps builders avoid over-categorizing small collections while still maintaining a logical structure. Not all LEGO collectors follow this rule, but it provides a helpful framework for beginners setting up their first organized storage system.
What is the best app for cataloging Legos?
The best apps for cataloging LEGO collections include Rebrickable, which tracks your inventory by part number and color, BrickStock for managing wanted lists and part inventories, and the Brick Architect label system for printable organization labels. Rebrickable is the most popular choice because it integrates with BrickLink and helps you identify which sets you can build from your existing parts inventory.
Final Thoughts on the Best Label Makers for LEGO Parts Libraries
Organizing a LEGO collection is a project, and the right label maker makes it a satisfying one rather than a frustrating chore. Our Editor’s Choice goes to the SUPVAN E11 for its dual keyboard-and-app control, month-long battery life, and minimal tape waste. For collectors prioritizing label durability, the Brother PT-D220 with laminated TZe tapes is the longest-lasting option we tested. And if you are just starting out, the Phomemo D30 gets you labeling for under twenty dollars.
The best label makers for organizing a LEGO parts library in 2026 all share one trait: they get out of your way and let you focus on the fun part, which is building. Pick the one that matches your collection size, workflow preference, and budget, and start turning that pile of bricks into a real parts library.