
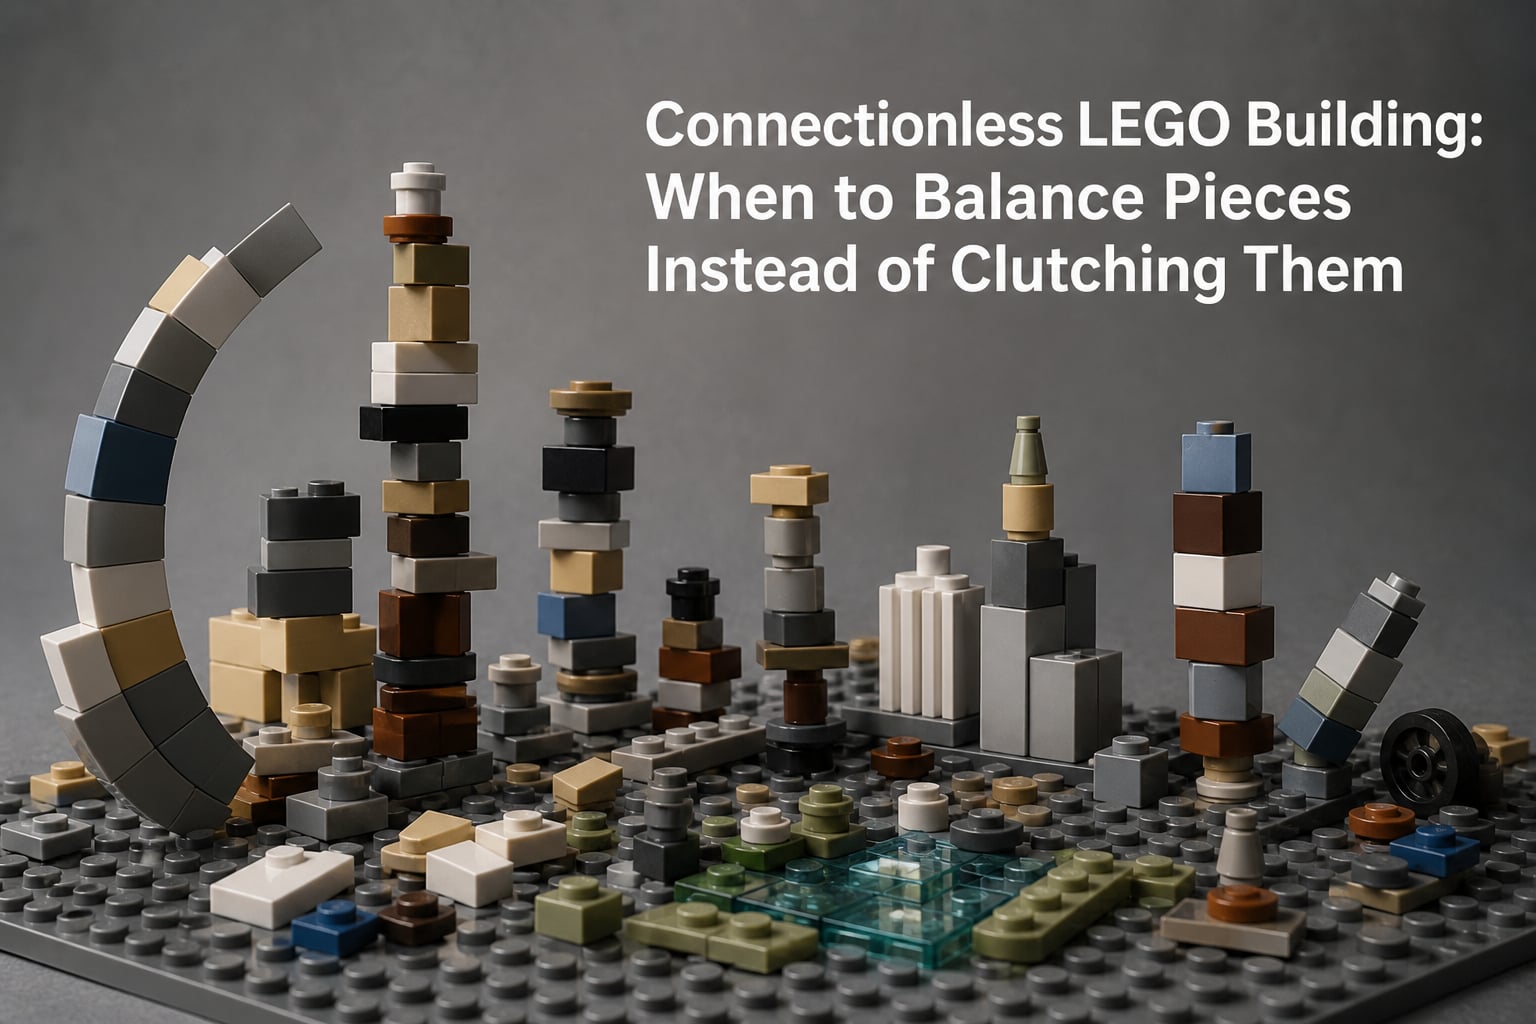
Most LEGO builders learn one rule from day one: snap every brick down tight. But some of the most stunning MOCs you will ever see break that rule completely. Connectionless LEGO building is the practice of balancing pieces against each other using weight, friction, and the tiny gaps built into every brick, rather than clutching studs into tubes. Once you understand when and why it works, a whole new world of curved walls, organic shapes, and gravity-defying micro-scale details opens up.
In this guide, our team breaks down the science behind connectionless LEGO building, walks through a clear decision framework for when to balance versus clutch, and gives you a beginner-friendly step-by-step technique you can try tonight. Whether you are building a micro-scale city or a sweeping curved wall, you will know exactly when to trust balance instead of clutch power.
Table of Contents
What Is Connectionless LEGO Building?
Connectionless LEGO building is any technique where pieces rely on balance, friction, or gravity to stay in place instead of being firmly clutched together with studs and tubes. The classic example comes from micro-scale building, where builders rest wheels, tiles, and small elements on a surface without snapping them down. The piece sits there because its weight and the surrounding geometry hold it steady.
This differs from brick bending, which uses the natural flex between connected pieces to form curves. Brick bending still relies on clutch power, just with enough tolerance that the chain of bricks can arc. Connectionless building goes further by removing the clutch entirely and trusting physics to do the work.
The technique matters because traditional LEGO connections force everything onto a rigid grid. Studs sit exactly 8mm apart, and every brick locks into that system. Connectionless building lets you escape the grid entirely, placing elements off-stud to create details and shapes that standard clutching cannot achieve.
Why LEGO Tolerances Make Balancing Possible
Every LEGO brick carries a manufacturing tolerance of roughly 0.002mm, which sounds tiny until you stack hundreds of pieces. Those microscopic gaps add up. Between two connected 1×2 bricks, builders have measured roughly two degrees of rotational play. Multiply that across a chain of 180 bricks and you can form a near-perfect circle without stressing any single piece.
Tolerance is the reason connectionless building works at all. When you rest a tile on a plate without pressing it down, the friction coefficient between two ABS plastic surfaces is high enough to keep it from sliding under its own weight. Add surrounding geometry, a wall on either side, a base underneath, and the piece locks into a pocket without a single stud engaged.
Clutch power, by contrast, is the compression force generated when a stud presses into a tube. A brand-new standard brick produces about 2.5 to 3 Newtons of clutch force. Over time, repeated assembly and disassembly reduces that force, which is why older bricks feel loose. Connectionless techniques sidestep clutch wear entirely because there is no compression to fatigue.
Understanding this distinction helps you choose the right approach. If you need a joint that resists pulling forces, clutching wins. If you need placement freedom, weight distribution, or an organic look, balancing takes over.
When to Balance Pieces Instead of Clutching Them
The decision to balance or clutch comes down to three questions. Will the model be moved frequently? Does the detail need to sit off the stud grid? Is the piece too small or oddly shaped to clutch cleanly? If you answer yes to any of these, connectionless building is your best option.
Balance pieces in micro-scale builds. At small scales, standard connections look chunky and unrealistic. A microfigure standing on a 1×1 round tile does not need to be clutched, it needs to sit naturally. Builders on theBrickBlogger and across Reddit consistently report that connectionless details make micro-scale scenes read more convincingly than clutched ones.
Balance pieces when creating organic or curved shapes. Curved walls, rounded towers, and flowing decorative elements all benefit from elements that are not locked to the grid. You can angle a plate slightly, wedge it between two clutched walls, and achieve a sweep that no stud connection allows.
Balance pieces for temporary or display-only structures. If your model will sit on a shelf and never be picked up, you do not need every joint clutched. Gravity does an excellent job of holding decorative elements, signage, and architectural details that point in awkward directions.
Clutch instead when the model must survive handling, transport, or play. A spaceship that gets swooshed across the room needs maximum clutch power at every joint. Likewise, load-bearing walls in a large build should use staggered bond patterns with full clutching to distribute weight properly.
Clutch when precision matters. If two pieces must align to a specific stud position and stay there, balancing introduces variability. Tolerances that help with curves become a liability when you need exact repeatability.
Step-by-Step Connectionless Building Technique
Ready to try it yourself? Here is a beginner-friendly method our team uses for micro-scale detailing and curved accents.
Step 1: Build a stable base. Start with a firmly clutched foundation, at least two plates thick. Your connectionless elements will rest on or against this base, so it needs to be rock solid.
Step 2: Identify the piece you want to balance. Choose something with a flat bottom and reasonable weight, a 1×2 tile, a round 1×1 plate, or a small wheel all work well for first attempts.
Step 3: Create a pocket. Surround the resting spot with clutched pieces that form walls on at least two sides. This geometry prevents the balanced piece from sliding in those directions.
Step 4: Place the piece gently. Set it into the pocket without pressing down. If it sits flat and does not wobble, the balance is correct. If it tilts or slides, adjust the pocket walls or choose a slightly different element.
Step 5: Test with gentle handling. Lift the base slowly and tilt it about 15 degrees. If the piece stays put, your connectionless joint is solid for display purposes. If it slides, add a third wall or switch to a heavier piece.
Step 6: Scale up gradually. Once comfortable with single pieces, try a small connectionless assembly, like a row of tiles angled slightly to suggest a curving path. Each tile rests on its neighbor’s edge rather than its own studs.
Stability and Stress Considerations
Connectionless builds are stable when they sit still and fragile when they move. That is the trade-off. Forum builders on Reddit report that connectionless structures can be surprisingly sturdy in their resting position but will partially disassemble if lifted carelessly. Plan your build around how it will be handled.
Weight distribution matters more than in clutched builds. A balanced element transfers its load to whatever surface it rests on, not to a connected neighbor. If the supporting surface flexes, the balanced piece shifts. Use rigid plates and technic beams underneath connectionless sections to prevent deflection.
Brick bending, a related technique, does put stress on elements. When you flex a chain of clutched 1×2 bricks into a curve, each joint carries compression on the inside of the bend and tension on the outside. Jeff Sanders, recognized as a pioneer of brick bending, demonstrated that large-diameter circles of 180 or more 1×2 bricks distribute this stress evenly enough to be safe. Tight bends concentrate force on fewer joints and risk cracking older or weakened bricks.
To keep stress within safe limits, avoid bending bricks that are already loose or visibly worn. Choose newer elements for any bending application, and never force a bend that resists. If the chain fights you, the radius is too tight for the piece count.
Temperature also affects tolerances. ABS plastic expands and contracts with heat. A connectionless build that sits perfectly stable at room temperature may shift in a hot display case or a cold garage. Keep connectionless models in climate-stable environments.
Common Mistakes and How to Avoid Them
The most frequent mistake beginners make is balancing a piece on a single point of contact. One tiny edge touching a plate means the piece will tumble at the slightest vibration. Always aim for full-surface contact or a three-walled pocket.
Another pitfall is forgetting that connectionless details add up. Twenty balanced tiles feel stable individually, but if they all sit on a flexing surface, one shift can cascade into a domino collapse. Group your connectionless elements on the most rigid section of your base.
Builders also underestimate clutch wear from bending. Repeatedly flexing the same chain of bricks fatigues the tubes. If you practice bending techniques, rotate your bricks between sessions and retire any that feel looser than average.
Finally, do not mix connectionless balance with play features. A connectionless element inside a model that children will handle is a recipe for lost pieces. Reserve the technique for display models, dioramas, and photography setups.
Real-World Applications and Project Ideas
Connectionless techniques shine in micro-scale cityscapes. Parked micro-cars with unclutched wheels, lampposts balanced on 1×1 round plates, and signage angled off-grid all add realism that clutched details cannot match.
Curved architecture is another natural fit. Round towers, sweeping garden walls, and decorative arches all benefit from elements placed without rigid stud alignment. Combined with brick bending for the structural curves and connectionless details for the accents, you can achieve results that look almost molded rather than assembled.
Try a small practice project: a micro-scale market stall. Build the frame with full clutching, then balance a fabric-like awning made of angled tiles on top. Add unclutched crates and barrels inside. You will see immediately how connectionless details bring a static scene to life.
FAQs
What makes a LEGO structure strong and stable?
A strong LEGO structure uses staggered bond patterns where bricks overlap at least one stud, alternates brick orientations for cross-bracing, distributes weight evenly across the base, and uses clutch power at every load-bearing joint. Connectionless balancing adds detail but should not replace clutching in structural walls.
What is an illegal building technique in LEGO?
An illegal LEGO building technique is one that stresses elements beyond their design limits, such as wedging plates between studs, bending elements to the point of cracking, or using non-LEGO parts as connectors. LEGO design teams avoid these techniques in official sets because they risk damaging pieces over time.
What is the 5/2 rule in LEGO?
The 5/2 rule refers to the proportion where five plate heights equal two stud widths. This relationship lets builders stack plates to create offsets that align with the stud grid at different levels, enabling techniques like sideways building and half-stud offsets.
What are some cool LEGO building techniques?
Popular advanced techniques include brick bending for curved walls, connectionless balancing for off-grid details, SNOT (Studs Not On Top) for smooth surfaces, half-stud offsets for tight spacing, and greebling using small parts to add textured detail. Each escapes the standard grid in a different way.
Wrapping Up
Connectionless LEGO building gives you the freedom to escape the rigid stud grid and create details that pure clutching cannot achieve. The key is knowing when to balance pieces instead of clutching them: use balancing for micro-scale details, organic shapes, and display models, and reserve clutching for structural walls and anything that gets handled.
Start small with a single pocket-held tile, then scale up as your confidence grows. Once you feel the difference between a balanced piece and a clutched one, you will never look at your parts bin the same way again.