
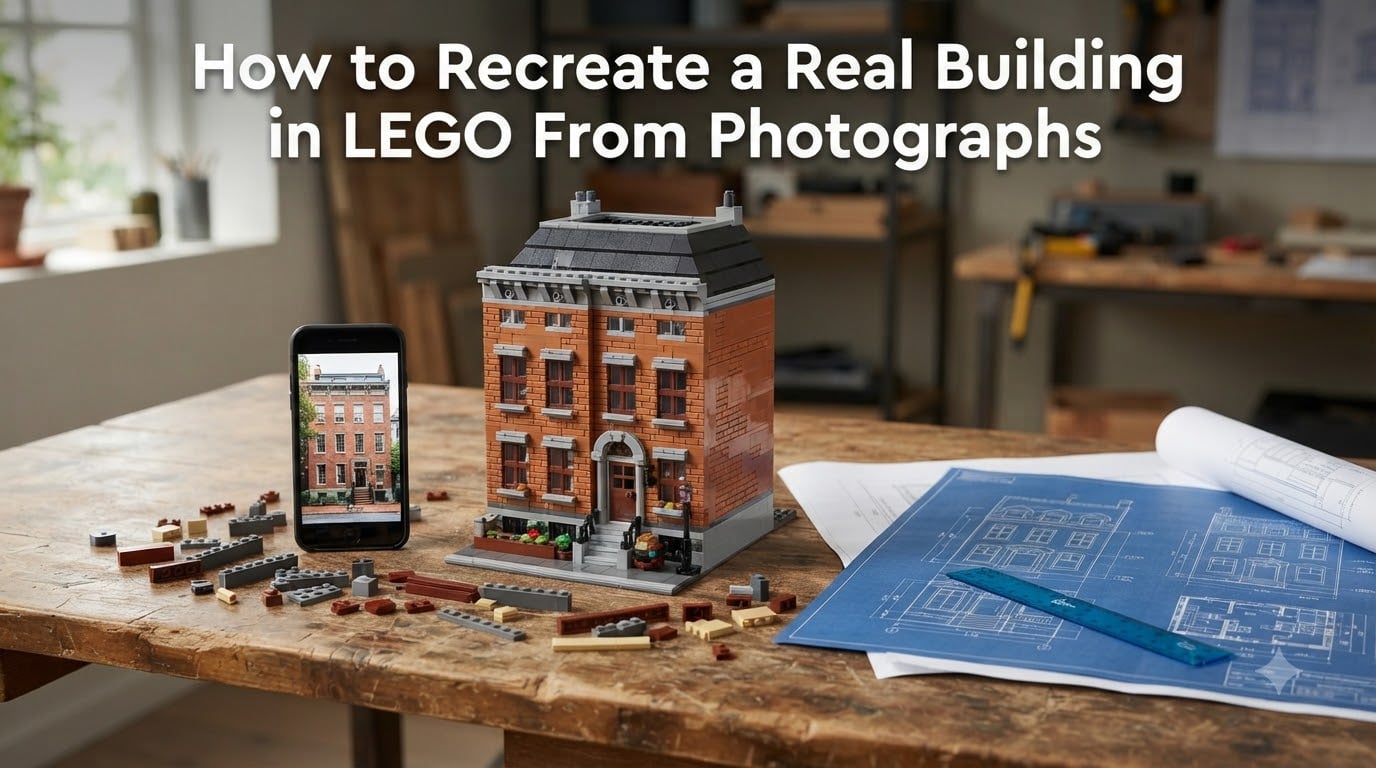
Recreating a real building in LEGO from photographs has become one of the most rewarding rabbit holes in the LEGO hobby. I remember sketching out my first church replica in a notebook, only to discover that free digital tools now let you turn a few phone shots into a complete brick-by-brick model. The gap between “I have a photo” and “I have a finished LEGO landmark” is shorter than most builders realize, as long as you understand scale, software, and sourcing.
This guide walks through every step of that journey. Whether you are recreating your childhood home, a hometown landmark, or an iconic skyscraper, the same workflow applies. We will cover photography tips, scale conversion math, the best free design software, brick sourcing, and the mistakes that catch first-time builders off guard.
If you have ever wondered how to recreate a real building in LEGO from photographs without guessing your way through it, you are in the right place. By the end, you will have a repeatable process you can use for any building on the planet.
Table of Contents
What Does Recreating a Real Building in LEGO From Photographs Mean?
Recreating a real building in LEGO from photographs means using reference photos of an existing structure to design and build a proportional LEGO scale model of it. You capture or gather images of the building, calculate the right LEGO scale, then design the model digitally before buying and assembling the physical bricks.
This is different from following an official LEGO Architecture kit. With a real-building replica, you are the designer. You make every decision about scale, color, level of detail, and which bricks to use. The reward is a one-of-a-kind model that no one else on earth owns.
How to Gather Strong Reference Photos of a Building
The single biggest factor in how accurate your replica looks is the quality of your reference material. I have seen stunning LEGO models collapse visually because the builder worked from one blurry phone shot. Get this step right and every downstream decision gets easier.
Shoot the Building From Multiple Angles
Walk around the building and capture at least five angles: front, back, both sides, and an oblique three-quarter view. The three-quarter shot often reveals rooflines and depth that straight-on photos hide. Stand as far back as possible and zoom in, since wide-angle lenses distort proportions badly.
If you cannot visit the building, supplement with satellite imagery from Google Earth and street-level photos from mapping services. Many hobbyists stitch together a dozen online images to reconstruct a building they have never seen in person.
Capture Architectural Details Up Close
Wide shots give you the silhouette. Close-ups give you the character. Photograph doors, windows, cornices, columns, signage, and any decorative trim that defines the building’s personality. These detail shots drive your parts selection later.
Note material textures too. A brick facade, a stone foundation, and a metal awning all translate to different LEGO colors and surface techniques. Jot down rough color names on the spot so you do not forget whether that wall was tan or light bluish gray.
Use Blueprints and Public Records When Available
For famous landmarks, search for architectural drawings, blueprints, or measured floor plans published online. Wikipedia, library archives, and preservation society websites sometimes host dimensioned elevations that remove all guesswork from scaling.
For local buildings, check your city’s property assessor or planning department. Many publish square footage, stories, and setback data. Even an approximate story count and a door height estimate give you enough to lock in a working scale.
Understanding LEGO Scale and Proportions
Scale is where most first-time builders stumble. Pick the wrong scale and your model either balloons to a kitchen-table-sized monster or shrinks so much that windows and doors become impossible to render. Getting scale right is the difference between a model that feels like the building and one that feels like a suggestion of it.
The Three Main LEGO Scales for Buildings
Minifig scale (roughly 1:42) is the most popular choice for building replicas because a minifigure is about 1.5 inches tall, which matches a 6-foot person. At this scale, a 30-foot building stands about 8.5 inches tall in LEGO form. Doors, windows, and interiors all work at minifig scale.
Micro scale (commonly 1:200 or smaller) compresses entire skylines into a footprint that fits on a shelf. The official LEGO Architecture Skyline series uses micro scale. Detail is limited but recognizable silhouettes shine.
Detail or “midi” scale sits between the two, often around 1:100. You lose minifig compatibility but gain enough room for architectural features that micro scale cannot capture.
How LEGO Studs and Plates Convert to Real Measurements
One LEGO stud equals 8 millimeters, or about 0.31 inches. A standard 1×1 brick is 8mm wide and 9.6mm tall. A plate is one-third the height of a brick, roughly 3.2mm. Memorize those three numbers and you can convert any real dimension into studs.
Here is the practical formula. Divide the real-world dimension in millimeters by 8 to get the stud count. A 30-foot wall is about 9,144mm, which divided by 8 gives you roughly 1,143 studs at full size. Now apply your scale ratio to shrink that number down to something buildable.
The community refers to a quick mental shortcut as the 5/2 rule in LEGO: five plates stacked equals two studs in height, since 5 x 3.2mm = 16mm, which matches the 16mm width of two studs side by side. This trick lets you swap plates and bricks interchangeably when you need a section to align.
Choosing the Right Scale for Your Project
Start by deciding how big the finished model can be. Measure the shelf or table where it will live, then work backward. If your display space caps the model at 12 inches tall and the real building is 120 feet tall, your scale is locked at 1:120. From there, check whether the smallest details you care about, like windows and doors, are still renderable at that scale.
When in doubt, build a small test section first. A single wall or corner tells you instantly whether your scale is too tight or too loose before you commit to a full design.
Best Digital Design Tools for Converting Photos to LEGO Models
You do not need to design your replica on paper. Free software now handles the heavy lifting, from placing individual bricks to generating a parts list you can shop against. The community consensus from forums like r/DigitalLego and Bricks StackExchange points to four main tools.
BrickLink Studio: The Free Standard
BrickLink Studio, often just called Stud.io, is the tool most builders reach for first. It is free, actively updated, and integrates directly with BrickLink’s marketplace so you can generate a parts list and price out your build in a few clicks. Studio also includes a built-in rendering engine that produces near-photorealistic images of your model before you buy a single brick.
Studio has a mosaic maker feature that converts a photo into a flat LEGO mosaic. That is useful for facades and signage, though it does not handle 3D structures. For full building replicas, you will use Studio’s standard 3D builder.
LEGO Digital Designer (LDD): The Original
LEGO Digital Designer was LEGO’s official design software for years. LEGO stopped updating it, but it still works and many veteran builders prefer its interface. LDD does not generate parts lists or connect to a marketplace, which is a real drawback for sourcing. New builders are generally better off starting with Studio.
LDraw and Advanced Editors
LDraw is an open standard for LEGO CAD that has been around since the 1990s. Tools like LDCad and LeoCAD run on LDraw parts libraries and offer power features like flexible parts, submodel references, and scripting. The learning curve is steeper, but for complex architectural models LDraw-based tools are unmatched in precision.
AI-Powered Photo-to-LEGO Tools
Several newer tools and websites promise to convert a photo directly into a LEGO model or mosaic. Services like Brick My Picture turn photos into flat mosaic art you can purchase as a kit. For 3D building replicas, AI is still a starting point rather than a finished solution, meaning you will get a rough concept that you then refine manually in Studio.
Step-by-Step: How to Recreate a Real Building in LEGO From Photographs
This is the complete workflow from photo to finished model. Follow these six steps in order and you will not miss anything critical.
Step 1: Prepare Your Reference Library. Collect at least five exterior angles, three or four detail close-ups, and any blueprints or dimension data you can find. Open them all in a reference folder or on a second monitor so you can see them while you design.
Step 2: Convert Real Dimensions to LEGO Studs. Decide your scale based on available display space. Use the 8mm-per-stud rule to translate real measurements into stud counts. For example, a 40-foot-wide building at 1:100 scale works out to about 15 studs wide. Write down the stud width, depth, and height of the model before you open any software.
Step 3: Build the Structure Digitally. Open BrickLink Studio and start with the footprint. Lay out the ground floor walls in the correct stud count, then build upward floor by floor. Match window and door positions to your reference photos. Use the render mode frequently to compare your digital model side by side with the real building.
Step 4: Generate a Brick Inventory. Once the digital model looks right, use Studio’s built-in parts list generator. It exports a complete bill of materials showing every brick type, color, and quantity. Review the list and substitute rare or expensive parts for more common equivalents where the difference is invisible.
Step 5: Source the Bricks. Upload the parts list to BrickLink’s “Wanted” list feature and use the auto-cart tool to fill your cart across multiple sellers. Add BrickOwl and the official LEGO Pick-a-Brick wall or online store for parts BrickLink sellers are out of. Expect to place three to six orders to complete a medium-sized build.
Step 6: Assemble the Physical Model. Build from the digital instructions Studio generates. Work in sections, starting with the base and core walls, then adding facades and detail last. Photograph each section as you go so you can compare against your reference and catch proportion errors early.
Where to Source the LEGO Bricks for Your Building Replica
Sourcing is where the dream meets reality. A medium building replica can require 1,000 to 5,000 pieces, and no single store carries everything. Builders typically combine four sources to fill a parts list.
BrickLink is the largest secondary marketplace for LEGO parts, with millions of listings from individual sellers worldwide. The auto-cart feature splits your wanted list across sellers to minimize shipping. Always check seller feedback ratings before ordering.
BrickOwl is a smaller but growing alternative marketplace with a slightly different inventory mix. Some colors and rarer parts are cheaper on BrickOwl, so it is worth cross-shopping.
LEGO Pick-a-Brick (both the in-store wall and the online service) is reliable for common parts in current colors. The online selection rotates, so check it monthly for restocks of basic bricks and plates.
Used lots and bulk bins from local LEGO resale shops, garage sales, and online auction sites are a budget-friendly way to stock up on basic colors. Sort carefully, as mixed lots often contain non-LEGO clones and damaged pieces.
Tips for Color Matching and Architectural Details
LEGO’s color palette is vast but not infinite. Real buildings use materials and shades that do not have a perfect LEGO equivalent, so the goal is plausibility, not pixel-perfect accuracy.
Match colors under daylight, not under indoor lamps. LEGO grays, tans, and browns shift noticeably under warm light. Bring a handful of candidate bricks outdoors or to a window when comparing against your reference photos.
For brick textures, use the “headlight” brick, the “jumper” plate, and tiles with grooves to suggest masonry courses. SNOT techniques (Studs Not On Top) let you rotate textured pieces to face outward, which is how advanced builders achieve realistic stone and brickwork patterns.
Windows are the signature detail of any building replica. Use window frames, panes, and arch elements in the right proportions. If the real building has arched windows, LEGO offers several arch radiuses that map to different scales, so pick the one that matches your stud count.
Rooftops are often underbuilt by beginners. Real roofs have parapets, chimneys, HVAC units, skylights, and pitch. Adding even two or three of these elements transforms a flat-topped box into something that reads as a real building from across the room.
Common Mistakes to Avoid When Building LEGO Buildings From Photos
Picking a scale before measuring your display space. This is the most common and most expensive mistake. Design at a scale that fits where the model will live, not at a scale that sounds impressive on paper.
Working from a single photo. One image hides the back, the roof, and the depth. Always build from at least three angles or you will guess on half the model.
Ignoring structural integrity. Tall LEGO buildings need internal supports. Plan for technic beams, stacked plates, or a solid core to keep walls from bowing. Studio will not warn you that your 30-stud-tall wall has no bracing.
Buying parts before finishing the digital design. Finalize the model in Studio first, generate the parts list, then buy. Builders who buy as they go almost always end up with the wrong quantities and colors.
Over-detailing at too small a scale. If your model is micro scale, accept that windows become 1×1 dots. Forcing tiny detail into a tiny model looks cluttered. Let the silhouette do the work.
Budget Estimation: How Much Will Your LEGO Building Cost?
Cost is the question every builder asks and few guides answer. Here is a practical framework based on typical parts pricing.
Common basic bricks (1×1 through 2×4 in standard colors) run roughly $0.03 to $0.10 each on BrickLink. Specialty parts, window elements, and rare colors can climb to $0.25 to $1.00 or more per piece. A medium building replica of 2,000 pieces in mostly common colors typically costs between $80 and $200 in parts.
To estimate, multiply your parts count by $0.08 for a conservative baseline, then add 20 percent for shipping and for the handful of pricier specialty pieces every build needs. Always build digitally first so the parts list is exact rather than estimated.
Save money by substituting rare colors for visually identical common ones, buying used parts for hidden structural sections, and consolidating orders to reduce shipping fees. A few smart substitutions can cut a parts bill by 30 percent without changing how the finished model looks.
Frequently Asked Questions
Can you turn a photo into a LEGO set?
Yes. You can use free design software like BrickLink Studio to build a 3D LEGO model based on a photo of a real building, generate a parts list, and source the bricks to assemble a physical replica. The photo serves as your reference for proportions, colors, and details.
What is the 5/2 rule in LEGO?
The 5/2 rule states that five LEGO plates stacked together equal the height of two studs placed side by side, because five plates at roughly 3.2mm each total 16mm, matching the 16mm width of two studs. This lets builders swap between plates and bricks when aligning sections.
What app turns photos into LEGO?
BrickLink Studio is the most popular free app for designing LEGO models from scratch using reference photos. For flat photo-to-mosaic conversion, Studio includes a mosaic maker tool, and services like Brick My Picture convert photos into LEGO mosaic kits you can buy.
Can you make a real house out of Legos?
People have built life-sized or near-life-sized LEGO structures, but a true functional house requires engineering far beyond standard bricks, including load-bearing supports, weatherproofing, and utilities. For hobby purposes, builders recreate houses as scaled LEGO models rather than full-size structures.
How do you scale a building for LEGO?
Decide your finished model height based on display space, then divide the real building height by the model height to get your scale ratio. Convert the scale ratio to stud counts using the rule that one stud equals 8 millimeters. Most building replicas use minifig scale (about 1:42) or micro scale (about 1:200).
How do I get bricks for a custom LEGO build?
Generate a parts list from your digital design in BrickLink Studio, then upload it to BrickLink’s Wanted list and use the auto-cart tool to fill orders across multiple sellers. Supplement with BrickOwl, the official LEGO Pick-a-Brick service, and local used-part lots for harder-to-find pieces.
Conclusion
Learning how to recreate a real building in LEGO from photographs comes down to a repeatable process: gather strong references, lock in your scale, design digitally in BrickLink Studio, generate an exact parts list, source from multiple marketplaces, and build in sections. Start with a small, simple building for your first project, then work up to more complex landmarks as your confidence grows. The tools are free, the workflow is proven, and your next favorite model is sitting in a photo on your phone right now.