
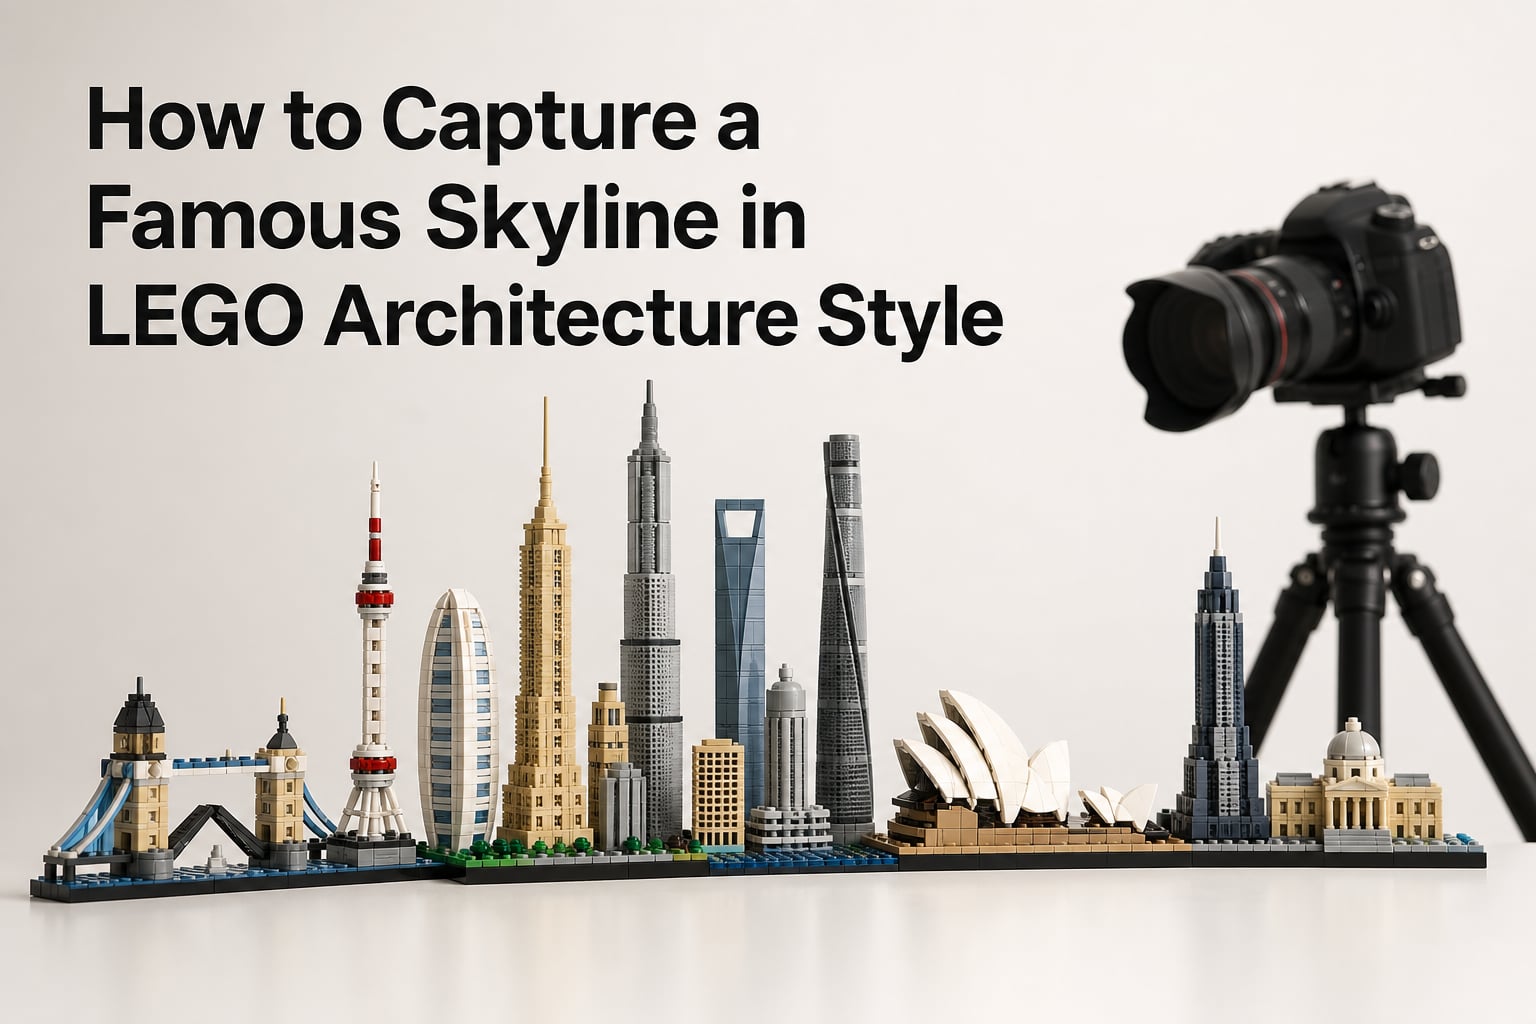
You have spent hours building a LEGO Architecture skyline set, carefully placing every brick and stud. Now you want to photograph it in a way that does justice to the tiny skyscrapers, landmarks, and streets you assembled on your table. Learning how to capture a famous skyline in LEGO Architecture style takes your builds from quick phone snaps to display-worthy images that look like they belong in a magazine.
Our team has photographed dozens of LEGO Architecture sets over the years, from the New York City skyline to Tokyo and Paris. Along the way, we learned that a few adjustments to your lighting, camera settings, and composition make a massive difference. Whether you are shooting with a DSLR, a mirrorless camera, or a smartphone, the techniques in this guide will help you produce clean, sharp, professional-looking LEGO skyline photos.
In this guide, you will learn the exact camera settings to use, how to set up lighting that avoids harsh shadows and plastic reflections, which angles work best for skyline sets, and a step-by-step process you can follow every single time. We will also cover common mistakes that ruin LEGO photos and how to fix them in post-processing.
Table of Contents
How to Capture a Famous Skyline in LEGO Architecture Style: The Basics
LEGO Architecture skylines are unique among LEGO sets because they present a wide, horizontal arrangement of buildings meant to be viewed from the side. This layout creates specific challenges that standard LEGO photography advice does not always address. You are dealing with multiple structures at different heights, a shared baseplate, and often intricate micro-scale details that need to stay sharp across the entire frame.
The goal is to make each building readable while keeping the skyline feeling cohesive as a single scene. That means controlling your depth of field carefully, choosing angles that show off the tallest structures without hiding shorter ones, and lighting the set so every building is evenly illuminated from left to right.
A successful skyline photo also tells a story about the city. Think about what makes the skyline recognizable. Is it the Empire State Building’s spire? The Tokyo Tower’s red lattice? Position your camera so the most iconic landmarks anchor the composition and lead the viewer’s eye through the scene.
Camera Settings for LEGO Architecture Photography
Getting your camera settings right is the foundation of every great LEGO skyline photo. The plastic surfaces, small details, and compact scale mean that settings designed for general photography will not always give you the best results. Here is what we recommend.
ISO: Keep It Low
Set your ISO as low as possible, ideally between 100 and 200. Low ISO keeps your images clean and free of grain, which becomes especially visible on smooth LEGO surfaces like windshields, tiles, and baseplates. Noise from high ISO looks muddy on plastic and is hard to remove completely in editing.
If you are shooting indoors with limited light and your photos come out dark at ISO 100, do not jump straight to ISO 3200. Instead, add more light to your scene first. Use a desk lamp, a window, or a lightbox. Raising ISO should always be your last resort, not your first move.
Aperture: Balance Sharpness and Depth of Field
For skyline sets, you generally want everything in focus from the nearest building to the farthest. That means using a narrower aperture, somewhere between f/8 and f/11. This gives you a deep depth of field so all the buildings stay acceptably sharp across the width of the set.
If you want a more artistic shot where one landmark is in sharp focus and the rest fades into a soft bokeh background, open up to f/2.8 or f/4. This works beautifully for close-up detail shots of individual buildings but is less useful for capturing the full skyline.
Shutter Speed: Use a Tripod and Take Your Time
Because you are keeping ISO low and aperture narrow, your shutter speed will need to be slower to let in enough light. Anything below 1/60th of a second risks camera shake if you are shooting handheld. Mount your camera on a tripod and use a shutter release or the camera’s built-in timer to avoid touching the camera during exposure.
A shutter speed of 1 to 2 seconds is common for indoor LEGO skyline photography with diffused lighting. If you are outdoors on an overcast day, you may get away with 1/125th or faster. The beauty of a tripod is that shutter speed becomes flexible since camera movement is eliminated.
Lighting Techniques for LEGO Skylines
Lighting is where most LEGO photos succeed or fail. The ABS plastic used in LEGO bricks is glossy and reflective, which means harsh light sources create bright hotspots, deep shadows, and unwanted glare. Diffused, even lighting is the secret to clean, professional-looking skyline photos.
Natural Light: Overcast Days Are Your Best Friend
The single best lighting condition for photographing LEGO models is an overcast day outdoors. Clouds act as a giant diffuser, scattering sunlight evenly across your set with almost no harsh shadows. Take your skyline setup outside, place it on a neutral surface, and shoot away.
Early morning and late afternoon light also works well, though you may need a reflector (even a piece of white foam board) to bounce light into shadow areas. Avoid direct midday sunlight at all costs. It creates blinding reflections on windows and plates and throws harsh shadows that obscure building details.
Indoor Lighting: Build or Buy a Lightbox
If outdoor conditions are not available, a lightbox is the next best option. A lightbox surrounds your set with diffused white light from multiple angles, eliminating shadows and reflections. You can buy a foldable photo lightbox online for a reasonable price, or build one yourself using a cardboard box, white tissue paper as diffusion material, and a couple of desk lamps.
The key principle is that your light source should never point directly at the LEGO set. Instead, point lights at the diffusion material, which then softly redirects the light onto the model. This is called indirect or bounced lighting, and it is the difference between amateur and professional results.
Use Multiple Light Sources
One of the most common tips from experienced LEGO photographers on forums like r/legophotos is to never rely on a single light source. A single light creates strong shadows on the opposite side of your buildings. Use at least two lights positioned at 45-degree angles on either side of the set, and add a third from above if possible.
White foam boards make excellent reflectors to fill in remaining shadow areas. Place one opposite each light source to bounce light back onto the dark side of the buildings. This three-point lighting setup is standard in studio photography and works perfectly for LEGO skylines.
Never Use Flash
We cannot stress this enough: turn off your camera’s built-in flash. Direct flash creates terrible reflections on LEGO surfaces, blows out highlights, and produces flat, unflattering images. Every experienced LEGO photographer we have encountered says the same thing. If you need more light, add a continuous lamp or move to a brighter location.
Composition Angles for Skyline Photography
No competitor currently covers skyline-specific composition angles in detail, and this is where you can make your photos stand out. LEGO Architecture skylines are designed to be viewed from a specific perspective, but that does not mean you should only shoot from one angle. Here are the approaches that work best.
The Standard Front View
Position your camera directly in front of the skyline at the same height as the tallest building’s midsection. Keep the camera level, not tilted up or down. This is the angle the set designers intended, and it produces a clean, catalog-style image where every building is clearly visible.
Use a narrow aperture (f/8 to f/11) to keep the entire skyline sharp. Make sure the set is centered in the frame with even spacing on both sides. This straight-on view is perfect for documentation photos, collection catalogs, and social media posts where clarity matters most.
The Low Minifigure-Eye Angle
Drop your camera down to the baseplate level, as if a minifigure were looking up at the skyline. This angle creates a dramatic sense of scale, making the buildings feel towering and imposing. The low perspective also captures ground-level details that disappear from higher angles.
Forum photographers consistently report that getting the camera down to minifigure eye level creates the strongest sense of presence and immersion. It puts the viewer inside the scene rather than looking down at it. This angle works especially well for skylines with detailed street-level elements like trees, vehicles, or water features.
The Elevated Overview
Raise your camera above the skyline and shoot downward at roughly a 30 to 45 degree angle. This perspective shows the full layout of the set, including depth and positioning of buildings relative to each other. It is useful for showing off the complete collection of landmarks in a single frame.
The elevated angle also lets you incorporate a real background. Place your skyline on a table near a window with an actual city view behind it, and the real skyline blends with your LEGO skyline for a creative forced-perspective shot. This is one of the most popular creative techniques in the LEGO photography community.
The Side Three-Quarter View
Move your camera 30 to 45 degrees to one side of the skyline. This angle reveals the depth of the buildings and creates a more dynamic, three-dimensional feel compared to the flat front view. The three-quarter angle is ideal for skylines where buildings overlap when viewed straight on.
Be aware that this angle narrows your depth of field since buildings are now at different distances from the lens. You may need to stop down to f/11 or f/16 to keep everything acceptably sharp, which in turn requires more light or a slower shutter speed.
Equipment You Will Need
You do not need expensive gear to take great LEGO skyline photos. Many of the best results come from simple setups using household items. Here is what we recommend at different budget levels.
Essential Gear
A tripod is the single most important piece of equipment for LEGO photography. It eliminates camera shake, lets you use low ISO and slow shutter speeds, and keeps your composition locked in while you adjust lighting. Any sturdy tripod will work, including inexpensive desktop models that are perfect for small LEGO sets.
A plain background is essential. White or black poster board, foam core, or a sheet of smooth fabric placed behind and under your skyline creates a clean, distraction-free setting. Avoid patterned surfaces and textured fabrics that compete with the LEGO details.
Lighting Equipment
For indoor shooting, two adjustable desk lamps with daylight-balanced bulbs (5000K to 5500K) provide consistent, controllable light. Add white tissue paper or a thin white sheet as diffusion material placed between the lamps and the set. A foldable photo lightbox bundles all of this into one convenient package.
White foam boards serve as reflectors to bounce light into shadow areas. A pack of three from any craft store gives you enough to build a simple reflector wall on three sides of your setup.
Camera and Lens Choices
A DSLR or mirrorless camera gives you the most control over settings, but modern smartphones are entirely capable of producing excellent LEGO photos. If using a phone, tap to set focus on the tallest building, lock exposure, and use the phone’s built-in grid for leveling.
For interchangeable lens cameras, a standard kit lens (18-55mm or equivalent) works well for full skyline shots. A macro lens is valuable for close-up detail shots of individual landmarks. A telephoto lens can compress the skyline for a flattened, realistic perspective that mimics real city photography.
Step-by-Step: How to Capture a Famous Skyline in LEGO Architecture Style
Follow this process every time you photograph a skyline set. These steps work regardless of your camera or experience level, and they address the specific challenges that skyline sets present.
Step 1: Choose your location and background. Find a flat surface with enough room for your skyline and your camera setup. Place a plain white or black backdrop behind and beneath the set. If shooting outdoors, pick an overcast day and find a shaded area with even light.
Step 2: Position the skyline set. Arrange the set so the most iconic landmark is slightly off-center, following the rule of thirds. Make sure all buildings are firmly attached and the baseplate is level. Clean any dust off the bricks with a soft brush or compressed air.
Step 3: Set up your lighting. Position two diffused light sources at 45-degree angles on either side of the set. Add a reflector opposite each light to fill shadows. If outdoors, let the overcast sky do the work and use a foam board reflector for any remaining shadows.
Step 4: Mount your camera on a tripod. Position the camera at the height and angle you chose during composition planning. Level the camera using a bubble level or the on-screen grid. Connect a shutter release or set the camera’s self-timer to 2 seconds.
Step 5: Configure your camera settings. Set ISO to 100, aperture between f/8 and f/11, and adjust shutter speed until the exposure looks correct. Shoot in RAW format if your camera supports it for maximum editing flexibility. Enable manual focus and focus on the tallest or most important building.
Step 6: Take a test shot and review. Check the image on your camera screen, zooming in to inspect focus, shadows, and reflections. Look for hotspots on glossy pieces and dark areas where detail is lost. Adjust lighting position or add reflectors as needed.
Step 7: Shoot from multiple angles. Once your settings are dialed in, capture the front view, low angle, elevated overview, and three-quarter view. Take several shots at each angle with slightly different focus points to ensure you get at least one perfect frame.
Step 8: Review and select your best shots. Transfer images to a computer and review them at full size. Pick the sharpest, best-lit images for editing. Discard any with focus issues, unwanted reflections, or distracting background elements.
Common Mistakes to Avoid
Even experienced photographers run into issues with LEGO skyline sets. Here are the most common problems and how to prevent them.
Mistake 1: Using Direct Flash
Built-in camera flash ruins LEGO photos by creating harsh reflections, blown-out highlights, and flat lighting. Every experienced LEGO photographer we found in forums agrees on this point. Always use continuous diffused lighting instead, and disable the flash completely on your camera or phone.
Mistake 2: Cranking Up ISO to Brighten the Image
When photos come out dark, the instinct is to raise ISO. But noise from high ISO is extremely visible on smooth plastic surfaces and looks worse on LEGO than on almost any other subject. Add more light to the scene first, use a tripod to allow longer exposures, and only raise ISO as a last resort.
Mistake 3: Shooting Handheld at Slow Shutter Speeds
Without a tripod, slow shutter speeds produce blurry images from hand movement. Even a tiny amount of shake softens the fine details that make LEGO Architecture sets special. Always use a tripod and a shutter release or self-timer for exposures slower than 1/60th of a second.
Mistake 4: Ignoring Dust and Fingerprints
Dust on baseplates and fingerprints on glossy elements are magnified in close-up photography. Before shooting, inspect the set under bright light and wipe down all smooth surfaces with a microfiber cloth. Use a soft brush to remove dust from studs and crevices.
Mistake 5: Uneven Lighting Across the Skyline
Skylines are wide, and a single light source leaves one end darker than the other. Position your lights so the illumination is even from the leftmost building to the rightmost. Take a test shot and check the histogram or visual brightness across the frame to confirm consistency.
Post-Processing Tips for LEGO Skyline Photos
Editing is where good LEGO photos become great ones. You do not need expensive software. Free tools like GIMP, Photopea, or even your phone’s built-in editor handle most of the adjustments you will need.
Start with White Balance Correction
Indoor lighting often adds a warm or cool color cast to photos. Adjust the white balance until white LEGO pieces (especially white baseplates and tiles) look truly white. This single correction makes LEGO colors pop accurately, which matters because the correct color rendering is part of what makes a set recognizable.
Adjust Exposure and Contrast
If parts of your skyline are too dark, use shadow recovery to bring up detail without blowing out highlights. Increase contrast slightly to make the building edges crisper and more defined. Avoid pushing contrast too far, as it can create unnatural-looking halos around studs and architectural details.
Sharpen Carefully
A moderate sharpening pass enhances the fine details in micro-scale buildings. Apply sharpening to the entire image at a low setting, or use selective sharpening on the most important landmark. Over-sharpening creates a grainy, artificial look that is especially noticeable on smooth surfaces.
Crop for Composition
Crop the image to remove distracting background edges and tighten the framing around the skyline. A slight crop can also fix minor leveling issues. Keep some breathing room around the set so the buildings do not feel cramped against the frame edges.
Remove Dust Spots and Distracting Elements
Use a healing or clone tool to remove any dust spots, stray brick reflections, or background imperfections you missed during setup. These small cleanups make a big difference in the final presentation quality.
FAQs
What camera settings should I use for LEGO photography?
For LEGO Architecture skyline photography, use ISO 100 to 200, aperture between f/8 and f/11 for deep depth of field, and a shutter speed slow enough to properly expose the image. Always mount your camera on a tripod and use a self-timer or remote shutter release to prevent camera shake.
What is the best lighting for photographing LEGO architecture sets?
Overcast outdoor daylight is the best natural lighting for LEGO photography because clouds diffuse sunlight evenly. Indoors, use two or more diffused light sources positioned at 45-degree angles with white reflectors to fill shadows. Never use direct flash, as it creates harsh reflections on plastic surfaces.
Do I need a professional camera for LEGO skyline photography?
No. Modern smartphones can produce excellent LEGO skyline photos when you lock focus and exposure, use good lighting, and keep the phone steady on a small tripod. A DSLR or mirrorless camera gives you more control over settings, but it is not required for great results.
How do I avoid reflections when photographing LEGO sets?
To avoid reflections on glossy LEGO pieces, use diffused indirect lighting rather than direct light or flash. Point your light sources at white diffusion material or reflectors instead of at the set itself. Avoid wearing brightly colored clothing that can reflect onto the model, and position lights at angles that minimize glare on windows and tiles.
What is the best angle for LEGO skyline photos?
The front-level view at the midpoint height of the tallest building is the standard catalog-style angle. For a dramatic look, drop to baseplate level for a minifigure-eye perspective. An elevated overview at 30 to 45 degrees shows the full layout and works well for creative shots that combine real and LEGO skylines.
Conclusion
Learning how to capture a famous skyline in LEGO Architecture style comes down to three pillars: controlled camera settings, diffused even lighting, and thoughtful composition angles. Keep your ISO low, your aperture narrow enough for deep focus, and your camera on a tripod. Light the set with soft, indirect sources rather than direct flash or harsh sunlight. And experiment with multiple angles to find the perspective that best showcases the city you built.
The techniques in this guide work for any LEGO Architecture skyline set, whether you are photographing New York, Tokyo, Paris, Dubai, or Las Vegas. The principles stay the same even as the landmarks change. Start with the standard front view, then push yourself to try the low minifigure-eye angle and the elevated overview for more creative results.
Grab your skyline set, set up your lights, and start shooting. The difference between a quick snap and a stunning LEGO architecture photo is about twenty minutes of setup and a willingness to experiment. Your collection deserves better than a blurry phone shot in bad lighting. Give it the presentation it earned.