
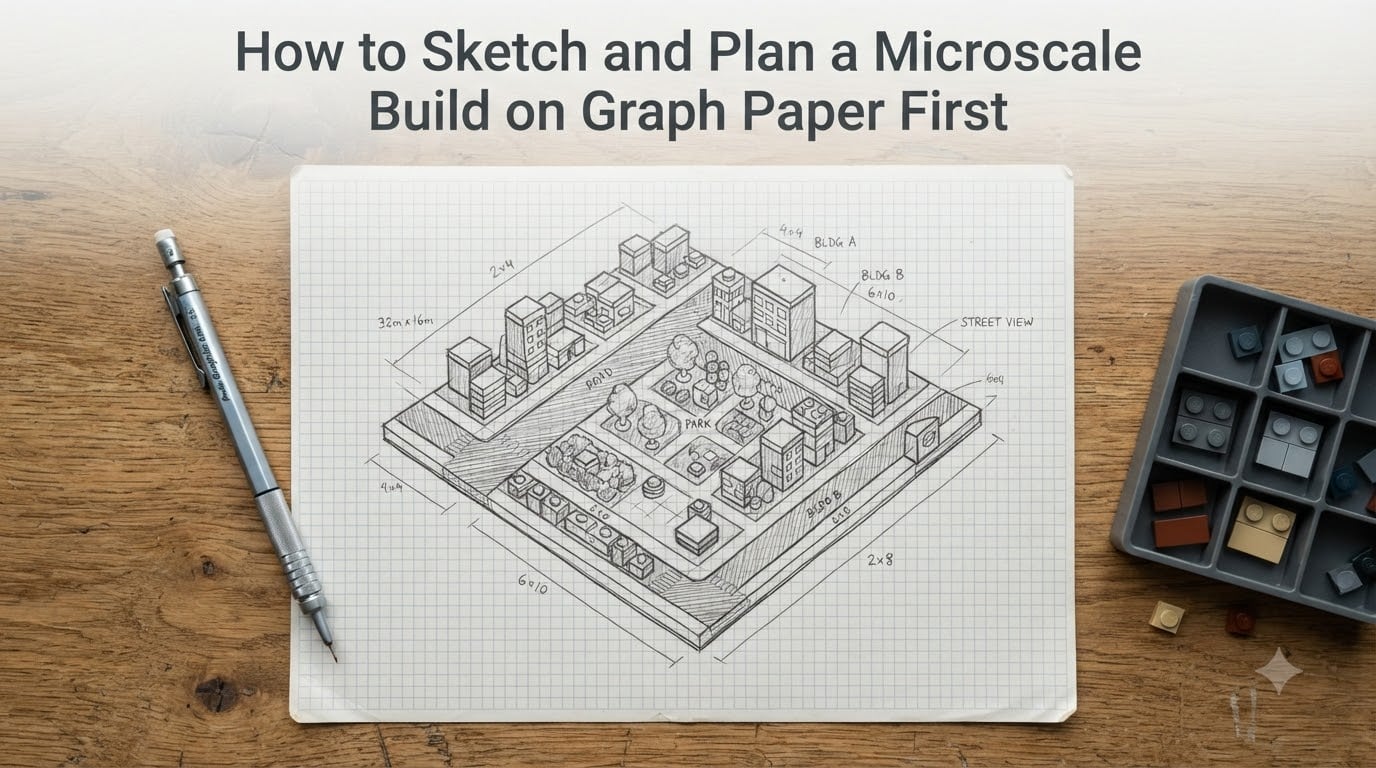
Building microscale LEGO without a plan is the fastest way I know to waste two hours of parts sorting. When every stud counts, sketching on graph paper first turns guesswork into a layout you can trust. In this guide, I will walk you through the exact graph paper planning method our team uses for microscale LEGO, from choosing the right grid to translating the finished sketch into bricks.
Table of Contents
What Microscale LEGO Means and Why Scale Ratios Matter
Microscale LEGO is any build built at a scale far smaller than a minifigure. In practice, that means using 1 stud to represent 1.6 meters (about 5 feet) or even larger real-world distances. Most microscale builders work in the 1:200 to 1:500 range, where one brick represents an entire building or vehicle that would normally need dozens of pieces.
I learned this the hard way on my first microscale city block. I tried to eyeball a single-story storefront next to a four-story office tower. The tower dwarfed the shop in real life, but on my build plate they looked like neighbors. Everything felt wrong. Graph paper planning would have caught it in five minutes.
The biggest reason scale ratios matter is internal consistency. If one building in your scene is 1:200 and another is 1:300, the smaller one will look like a dollhouse next to a skyscraper. Pick a single ratio and commit. 1:300 is the most popular entry point because it lets most small details stay readable while still feeling tiny.
Here is a quick reference table from our team’s standard cheat sheet:
| Scale Ratio | Real-World Distance per Stud | Best For |
|---|---|---|
| 1:150 | 1.2 m (4 ft) | Microfigure city blocks |
| 1:200 | 1.6 m (5 ft) | Mid-sized microscale scenes |
| 1:300 | 2.4 m (8 ft) | Classic microscale city builds |
| 1:500 | 4 m (13 ft) | Wider cityscapes with landmarks |
Pick the ratio that fits the story you want to tell, then stick with it across the whole model.
Essential Tools and Materials for Graph Paper Planning
You do not need anything fancy to start microscale LEGO graph paper planning. I use a $1 notebook and a mechanical pencil 90% of the time. Still, having the right tools cuts planning time roughly in half.
Here is what our team keeps in the planning kit:
Quad-ruled (4 squares per inch) or engineering graph paper (5 squares per inch)
Mechanical pencil with 0.5mm lead and a good eraser
Clear ruler with millimeter markings
Colored pencils or fineliners for color blocking
Calculator (for converting stud counts to real units)
Reference photos of your target architecture or scene
Sticky notes for trying alternate layouts on the same page
Quad-ruled paper is the most flexible for new microscale builders. Each square is roughly 6.4 mm, which scales close enough to a standard LEGO stud (8 mm) that one square per stud reads naturally. Engineering paper with 5 squares per inch is tighter and great for crowded scenes, but it leaves less room for color notes.
Skip the printer paper. The lines are too far apart and your sketch drifts the moment you start free-handing. If you build at the kitchen table like I do, a clipboard keeps everything flat when someone walks by.
How to Choose the Right Grid Size for Your Microscale Build
Choosing the right grid size is the single most important decision in graph paper LEGO planning. The wrong grid either eats your page in two streets or leaves your sketch so small you cannot read the color notes.
The rule I follow is one square per stud for the main footprint. A standard LEGO plate is 6 studs wide. That gives you a 6-square footprint in plan view. On quad-ruled paper, that 6-square footprint spans about 38 mm, which is close enough to a real 6-stud plate (48 mm) that the proportions feel right.
For elevation views, the same one-square-per-stud rule applies for horizontal, but vertical measurements need extra room. Brick heights stack in 1.2 stud units (one plate = 0.4 bricks in height), so I usually draw vertical lines every 2 squares to keep the math simple. A 4-brick tall building becomes an 8-square-tall rectangle, easy to label and easy to count.
When the build gets dense, switch to engineering paper and use one square per 0.5 stud. This gives you finer control on windows and trim without skipping pages. The trade-off is that you spend more time counting half squares, which is why I save it for the second pass on a sketch, not the first.
Pro tip from one of our builders: do a quick dry run on scrap paper before committing to a full sketch. Draw three 6-stud footprints in different grids and pick the one your eye reads as “microscale” in under three seconds. That is your grid.
Step-by-Step Graph Paper Sketching Process for Microscale Builds
Once your grid is picked, the sketching process itself follows a reliable sequence. I have used these steps on every microscale city block I have built over the last two years, and they have saved me from rebuilding more times than I can count.
Step 1: Define the Footprint on Graph Paper
Start in plan view (looking down). Sketch the outline of your baseplate first. Then fill in the footprints of each building or feature, counting squares as you go. A 32×32 stud baseplate is a 32×32 square on quad-ruled paper, which fills a standard notebook page nicely. Leave one square of margin around the edge so you can label streets.
Step 2: Sketch Elevation Views for Each Structure
For every building in the plan view, draw a separate elevation sketch on the next page. Use the same grid scale (one square per stud wide, two squares per brick tall). Mark the roofline, window pattern, and door height in light pencil first. Label each elevation with the building name and stud dimensions so you can find it later.
Step 3: Color Block and Texture Notes
Once the outlines feel right, go back in with colored pencils and fill in LEGO part colors. Our team uses dark gray for window shadow, light bluish gray for modern building walls, and reddish brown for brick textures. The color blocks turn a line drawing into a parts list without writing a single number.
Step 4: Mark Stud Coordinates for Tricky Sections
For sections where the build could go several ways (a corner, a roofline, a stair), draw a small zoom-in box on the sketch. Label individual studs with x/y numbers like an old chessboard. This is the most tedious step, but it is the one that catches 80% of the build errors before you touch a brick.
Step 5: Run a Consistency Check
Before you move to LEGO, hold the plan view and elevation views side by side. Look for any building where the elevation width does not match the plan view footprint. Fix those first. They always happen, and they always ruin the final build if you do not catch them now.
Translating Your Sketch Into a Working LEGO Microscale Build
The translation step is where most microscale beginners stall. The sketch looks great, but figuring out which LEGO pieces match which squares takes practice. I keep a small reference tray of the parts I reach for most when translating.
The most useful microscale parts to have on hand for translation are 1×1 plates, 1×1 bricks, 1×2 plates, and 1×3 plates. These four parts cover about 70% of any microscale building shell. Stack a 1×1 brick on a 1×1 plate to mark door height. Two 1×1 bricks next to a 1×2 plate becomes a two-story wall section.
For windows, use 1×1 plates in dark gray to suggest glass without using transparent pieces. Transparent elements at microscale tend to look like gaps or holes, not windows. The dark gray plate trick is what experienced microscale builders call “suggestion over representation,” and it works because the eye fills in the rest.
When you start building, work from the back of the scene to the front. This lets you hide structural seams in the foreground and means you never have to redo a back wall because you bumped the front. Build the tallest building first, then step the heights down. That way you always see how the silhouettes interact before you commit to a roof angle.
Common Mistakes to Avoid When Planning Microscale on Graph Paper
Every microscale builder I know has repeated the same handful of mistakes. Most of them show up in the planning stage, which is the good news. Catch them on paper and you never waste a single brick.
The biggest mistake is mixing scales inside one build. A 1:300 skyscraper next to a 1:200 storefront makes the storefront look like a shed. Pick one ratio and use it for every building, vehicle, and tree in the scene.
Second, do not over-detail the sketch. A line for every brick in the wall is overkill. Stick to outline, roofline, and major color blocks. The actual LEGO bricks will add the texture that the sketch cannot predict.
Third, skip the consistency check and you will build two buildings that share a wall but do not line up. Always verify elevation widths match plan view footprints before you start. Our team has a 5-minute rule: if the consistency check takes longer than 5 minutes, the sketch is too detailed and we strip it back.
Digital Alternatives and When to Switch From Graph Paper
Graph paper is my go-to for the first sketch, but it is not the right tool forever. Once a build passes three revisions, I move to Stud.io or LDraw. Both let you snap parts onto a virtual grid, render the build in 3D, and export a parts list. For large city scenes, digital planning is faster than paper after the second or third pass.
The signal to switch is simple: if you find yourself redrawing the same footprint more than twice on graph paper, switch. Paper is for exploration. Digital is for refinement.
FAQs
How do you draw to scale on graph paper for microscale LEGO?
Pick one scale ratio (most builders use 1:300) and assign each graph paper square to one LEGO stud. For horizontal measurements, one square equals one stud. For vertical measurements, use two squares per brick height so the math stays simple. Stick to the same ratio across your entire scene.
What grid spacing is best for microscale LEGO graph paper planning?
Quad-ruled notebook paper (4 squares per inch) is the most beginner-friendly choice, since one square reads close to a standard LEGO stud. Engineering paper with 5 squares per inch works better for dense scenes or fine details like window mullions.
How do you sketch a floor plan on graph paper for a LEGO build?
Start in plan view looking down. Sketch the baseplate outline first, then fill in each building footprint while counting squares as studs. Add street lines, then label each structure so you can match it to a separate elevation sketch.
How long should a microscale LEGO sketch take?
Plan roughly 20 to 30 minutes for a small scene (3 to 5 buildings) and 60 to 90 minutes for a full city block. If your sketch runs longer, the plan is too detailed and you should switch to digital tools like Stud.io to refine the design.
Should I use graph paper or digital tools first for microscale planning?
Use graph paper first for brainstorming and rough layouts. It is fast, cheap, and forgiving. Move to a digital tool like Stud.io or LDraw once your design passes three revisions, since digital tools handle parts lists and 3D rendering far better than paper at that point.
Final Thoughts on Microscale LEGO Graph Paper Planning
Sketching on graph paper first is the planning habit that separates a successful microscale build from a bucket of leftover parts. Pick one scale ratio, choose a grid that matches your stud math, and work through plan view, elevation view, and color blocks before you touch a brick. The 30 to 90 minutes you spend on paper will save you hours of rebuilds.
For 2026, our team still reaches for a mechanical pencil and a quad-ruled notebook before any digital tool. Once you have done this a few times, the workflow becomes muscle memory. Pick a small scene, sketch it on paper this weekend, and see how much faster the build goes.