
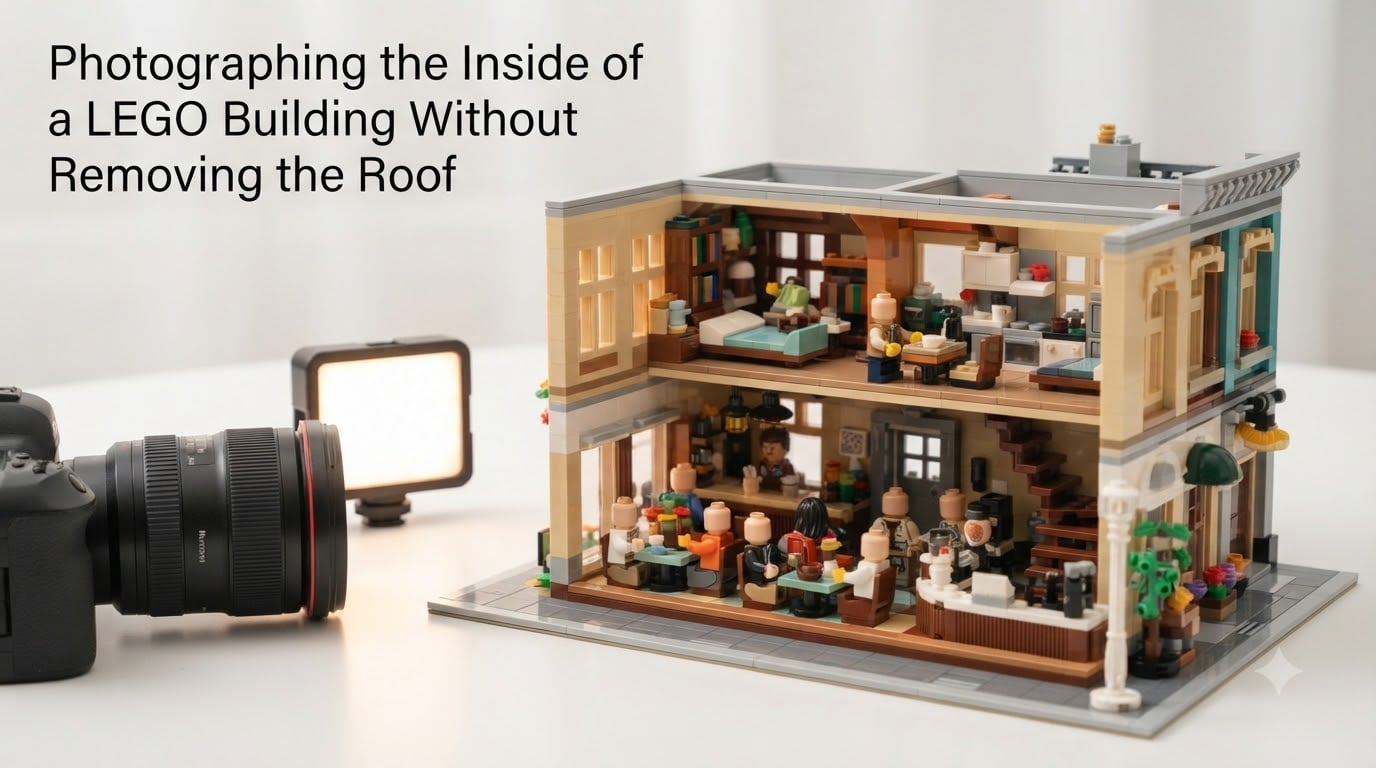
I spent three months photographing the inside of every LEGO building in my collection before I figured out what actually works. Most of what you read online tells you to just remove the roof, but that’s not always possible, and honestly, it kills the magic of the finished scene. This guide covers the real techniques for photographing the inside of a LEGO building without removing the roof, including lighting, lens choice, camera settings, and the translucent trick almost nobody covers.
Whether you’re documenting a Modular Building, a Castle set, or your own custom MOC, capturing interior detail without disassembly takes some setup. I’ll walk you through the exact process I use, plus what to avoid based on mistakes I’ve already made for you.
Table of Contents
Why Photographing the Inside of a LEGO Building Without Removing the Roof Is So Challenging
LEGO interiors fight you at every turn. The walls block your camera, the roof blocks your light, and every opening is too small for the angle you actually want. This is the core problem every LEGO photographer runs into when shooting enclosed builds.
Here’s what makes it hard. Standard LEGO sets have roofs that are fully sealed. Windows are typically only 4-6 studs wide. Doors rarely open past 90 degrees. And the deeper the room, the less natural light reaches it. On my first Modular Building interior shoot, I got exactly zero usable frames out of 40 attempts because the interior was pure shadow.
The challenge isn’t your camera. It’s geometry. A typical LEGO wall is 8 studs tall, which translates to about 6cm or 2.4 inches of physical space. Your camera needs to see through a tiny aperture, with light coming in at the same angle, without reflecting off the plastic. That triangulation problem is why most beginners give up and remove the roof.
You don’t have to give up though. Three core strategies solve the problem: shooting through existing openings, lighting from outside the building, and using translucent pieces as light modifiers. I’ll cover each one in detail below.
Shooting Through Windows and Doors: The Primary Approach
The most reliable way to photograph the inside of a LEGO building without removing the roof is to shoot through the openings the designer already gave you. Windows and doors are small, but they’re enough when combined with the right lens and lighting.
Positioning Your Camera at Window Openings
Press your lens as close to the window as physically possible. The shorter your minimum focusing distance, the closer you can get, and the more interior you capture. I aim for a 1-2cm gap between my lens hood and the window frame to avoid knocking the model over.
For window shots, remove any glass panes first if your model allows it. LEGO windows with transparent pieces create unwanted reflections and cut light transmission by about 30%. If your windows don’t have removable panes, shoot at a slight angle instead of straight-on to push reflections off-axis.
Using Doorways for Wider Interior Access
Doors give you roughly double the aperture of windows. Position the camera at the door threshold and shoot inward. If the door is hinged, prop it fully open. If it’s a fixed frame, lean the camera against the doorframe for stability.
Doorway shots work especially well for ground-floor scenes with minifigs. The angle mimics how a person would naturally look into the room, and you can include more foreground detail like furniture or floor tiles.
Shooting Through Gaps and Partial Openings
Look for any gap in your model that’s wider than your lens diameter. Cracks between roof tiles, partially open garage doors, chimney openings, even the gap under an awning can work. I’ve gotten some of my best interior shots through a 1-stud-wide crack in a roof assembly I didn’t think was shootable.
When shooting through tiny gaps, focus stacking becomes essential. A single frame will have parts of the interior in sharp focus and parts blurred. I’ll cover the focus stacking workflow in the camera settings section below.
Lighting LEGO Interior Shots Without Internal Access
Light is the second half of the equation, and arguably the harder half. You cannot light the inside of a sealed LEGO building from the inside, so you have to push light in from outside through the same openings you’re shooting through.
External Light Positioning Principles
Place your light source on the same side as your camera, just slightly offset. This prevents the light from being blocked by the wall between you and the interior. A good rule of thumb is the 45-degree offset – your light goes 45 degrees away from your camera axis, aimed at the interior subject.
For larger rooms, you may need multiple lights at different angles. One light rarely covers an entire LEGO interior evenly. I use two LED panels on opposite sides of a building for most of my Modular Building shoots, with a third small light as a fill.
Multiple Light Sources for Even Illumination
One light creates shadows. Two lights fill shadows. Three lights give you control. For a standard LEGO room, plan on at least two light sources from outside, positioned to cross-light the interior.
A practical setup I use: one LED panel at the main window for key light, a second smaller panel or flash at a side window for fill, and a third bounce card or white LEGO tile opposite the key light to lift shadows. This three-point setup works for rooms up to about 16×16 studs.
Diffusion and Softening Techniques
Direct LED light on LEGO plastic creates harsh specular highlights, especially on smooth tiles and transparent pieces. Diffuse everything. A sheet of white paper, a piece of baking parchment, or a small photography softbox between the light and the window will soften the light dramatically.
I use a 30x30cm portable softbox for my main light and white copy paper taped over smaller LED panels. The difference between diffused and undiffused light on black LEGO pieces is night and day – undiffused lights blow out highlights, while diffused lights keep detail.
Translucent Piece Lighting: The Secret Weapon Nobody Talks About
Transparent and translucent LEGO pieces are not just decorative. They are light modifiers, and most photographers don’t use them as such. This is the technique that took my interior LEGO shots from decent to portfolio-worthy.
Here’s the trick. Place a light source on the outside of a wall that has a transparent piece, like a window pane, a smooth tile, or a trans-clear element. The transparent piece will glow when the light hits it, acting as a built-in softbox. This gives you even, diffused light inside the room without any external diffusion setup.
Translucent 1×1 round plates and tiles work especially well as accent lights. Put a small LED behind a trans-clear tile inside the wall, and the light bleeds through to illuminate the adjacent room. I’ve used this to fake ceiling lights, wall sconces, and even backlit signs in custom MOCs.
For maximum effect, experiment with colored transparent pieces. Trans-red pieces behind a strong light create a sunset glow. Trans-blue pieces create cool moonlight. Trans-yellow pieces create warm interior lighting. This is the only cost-effective way I know to add cinematic lighting to a LEGO scene.
Practical Lights Inside Your LEGO Building
Practical lights are light sources that appear in the frame – a table lamp, a chandelier, a TV screen, a fireplace glow. They’re the difference between a flat interior shot and a story.
The most common practical lights for LEGO are small LED strips and point lights. LightBrick components and third-party lighting kits like those from Brickstuff or Liteables fit inside LEGO builds and run on small batteries or USB power. A single warm-white LED under a 1×1 round translucent tile mimics a perfect table lamp.
Hiding the wires is the tricky part. Route them through wall cavities, behind furniture, and out through the back of the building where the camera won’t see them. For Modular Buildings, I run wires through the back panel and exit at the base, then cover the base with a backdrop.
If you don’t want to install LEDs, balloon lights and small LED panel lights placed outside the building aimed through openings can simulate practicals. The light hits the same angle a viewer would expect the practical to emit from, which sells the effect even if the source is technically external.
Camera Equipment and Lens Recommendations
You don’t need a $5,000 setup to photograph the inside of a LEGO building. You need the right lens, the right camera body, and a tripod. Here’s what I actually use and what alternatives work.
Macro Lenses for LEGO Photography
A macro lens with a 1:1 reproduction ratio and a minimum focusing distance of 15-30cm is ideal. The most popular options for LEGO photographers are the Canon RF 100mm f/2.8 Macro, the Nikon Z 105mm f/2.8 Macro, and the Sony FE 90mm f/2.8 Macro. All three give sharp images with enough working distance to shoot through windows.
For a budget option, the Canon EF 100mm f/2.8 Macro USM (used) gives excellent results at a fraction of the price. If you shoot mirrorless, an adapter lets you mount it on most modern bodies. I’ve used this lens for two years and it’s still my primary macro glass.
Prime macro lenses beat zoom macro lenses every time. Faster apertures, sharper images, better build quality. If you can only buy one lens for LEGO photography, get a 90-105mm macro prime.
Using Your Phone Camera for Interiors
Phone cameras work surprisingly well for LEGO interior photography, especially in tight spaces. The wide-angle lens and short minimum focusing distance of modern phones let you shoot through openings that would block a larger camera.
For phone shooters, use a third-party macro lens attachment. Companies like Moment, Xenvo, and Ulanzi make clip-on macro lenses that turn your phone into a capable macro camera. A 10x macro attachment gives you minifig-scale close-ups that rival dedicated macro setups.
The downside of phones is sensor size. Low-light performance is limited, so you’ll need longer exposures or brighter external lights. A small phone tripod plus a 2-second timer solves the camera shake problem.
Camera Settings for Interior LEGO Shots
Settings matter more than gear when shooting LEGO interiors. Here’s the exact configuration I start with, then adjust based on the scene.
Aperture: f/8 to f/11. This gives enough depth of field to keep most of a LEGO room sharp while letting in more light than f/16. f/16 is sharper but requires longer exposures or higher ISO.
ISO: 100 to 400. Modern cameras handle low ISO without noise. Push higher only when shutter speed demands it. I’ve shot clean images at ISO 800 on full-frame cameras.
Shutter speed: 1/60s or slower with a tripod, 1/200s or faster handheld. Interior shots almost always need a tripod because light levels are low.
White balance: Daylight or custom. Mixed lighting from multiple LEDs creates color casts. Set a custom white balance by shooting a white LEGO tile under the same lighting setup.
Focus: Manual focus with focus peaking if available. Autofocus hunts through small openings and often locks onto the wall instead of the interior subject. Manual focus is faster and more accurate.
For focus stacking, take 5-10 shots at slightly different focus distances and combine them in post. Software like Helicon Focus or Adobe Photoshop does the blending automatically. This is how you get a sharp image from the front wall to the back wall of a deep LEGO room.
Composition Techniques for Enclosed Spaces
Composition rules for interiors are different from exterior LEGO photography. The framing is dictated by the openings, and you have to work within those constraints.
High Angle vs Minifig-Eye Level
Two angles work best for LEGO interiors. A high angle (looking down from above) shows room layout and floor detail. Minifig-eye level (looking straight at the scene from a minifigure’s height) creates an immersive, cinematic feel.
For high angles, you typically need to shoot through a roof opening or window from above. For minifig-eye level, position the camera at the height of the minifigs, around 4cm above the floor of the model.
Mix both in your shoot. Wide establishing shots work best at high angles. Close-up character shots work best at minifig-eye level. Storytelling shots combine both – high angle for setup, eye-level for emotion.
Framing Through Windows and Doorways
Use the window or door frame as part of your composition. The frame creates natural visual structure, leads the eye to the subject, and adds depth. Don’t fight the frame – lean into it.
For window frames, center the subject in the window or use the rule of thirds to offset. For doorways, the doorframe becomes a leading line into the scene. Both create the feeling of “peeking in,” which is a powerful narrative technique.
Post-Processing Tips for Interior LEGO Photography
Even perfectly lit interior shots need a little post-processing. The dynamic range inside a LEGO building is wider than your camera can capture in one shot, so you’ll need to recover shadows and tame highlights.
Shadow recovery: Most interior detail hides in shadows. Lift shadows by +30 to +50 in Lightroom or Camera Raw to reveal hidden detail without introducing noise. Be careful not to overdo it – lifted shadows look unnatural fast.
Highlight adjustment: LED reflections on smooth tiles blow out easily. Lower highlights by -20 to -40 to recover detail. White balance correction: Mixed LED lighting creates color casts. Use the white balance eyedropper on a neutral white or gray LEGO piece to set a clean baseline.
Sharpening: Apply selective sharpening to interior details only. Mask out the window frame and any out-of-focus elements. Local contrast adjustment (Clarity or Texture in Lightroom) makes LEGO details pop without affecting overall exposure.
Avoiding Common Mistakes When Photographing LEGO Interiors
These are the mistakes I’ve made so you don’t have to. Each one has cost me hours of reshoots.
Mistake 1: Using the built-in flash. Built-in camera flashes are too close to the lens axis and cause reflections on every smooth LEGO surface, especially black pieces. Use external lights only.
Mistake 2: Visible wires from practical lights. Plan your wire routing before you start shooting. Wires that show in frame ruin the illusion. Route through wall cavities, behind furniture, and out the back of the model.
Mistake 3: Dust on the model. LEGO pieces attract dust fast. Use a soft brush or compressed air before every shoot. Dust shows up under raking light and ruins close-ups.
Mistake 4: Camera shake. Even small vibrations blur macro shots. Use a tripod, a remote shutter, or a 2-second timer. Mirror slap vibration can blur images on DSLR cameras – use mirror lockup or live view.
Mistake 5: Forgetting to check the back of the building. Light leaks from openings on the back side can create unwanted bright spots. Walk around the model and check before you start shooting.
Frequently Asked Questions
What lens is best for photographing LEGO interiors?
A macro prime lens in the 90-105mm range is best for photographing LEGO interiors. The Canon RF 100mm f/2.8 Macro, Nikon Z 105mm f/2.8 Macro, and Sony FE 90mm f/2.8 Macro are the most popular choices. Look for a 1:1 reproduction ratio and a minimum focusing distance of 15-30cm so you can shoot through windows and doors.
How do you light a LEGO building from the outside?
To light a LEGO building from the outside, place LED panels or flash units at the windows and doors, angled 45 degrees away from your camera axis. Use diffusion like white paper or a softbox to avoid harsh reflections on smooth LEGO pieces. Multiple light sources on different sides give even illumination across the interior.
Can I photograph LEGO interiors with a phone camera?
Yes, you can photograph LEGO interiors with a phone camera. Modern phones have wide-angle lenses and short minimum focusing distances that work well in tight spaces. Add a clip-on macro lens attachment for close-up shots and use a small tripod with a 2-second timer to avoid camera shake in low light.
How do I avoid reflections when photographing LEGO models?
Avoid reflections when photographing LEGO models by never using the built-in flash, always diffusing your light sources with paper or softboxes, and shooting through transparent pieces at a slight angle to push reflections off-axis. Black LEGO pieces are especially prone to reflections, so use extra diffusion on lights aimed at dark surfaces.
What are practical lights in LEGO photography?
Practical lights are light sources visible in the photograph, such as table lamps, chandeliers, candles, or glowing screens inside the LEGO scene. They add realism and storytelling to interior shots. Common practical lights are small LEDs placed inside LEGO elements, often under translucent 1×1 round plates that act as lamp covers.
How do I hide wires when lighting LEGO interiors?
Hide wires when lighting LEGO interiors by routing them through wall cavities, behind furniture, and out the back of the building where the camera can’t see them. For Modular Buildings, run wires through the back panel and exit at the base, then cover the base with a backdrop or photography surface.
Final Thoughts on Photographing the Inside of a LEGO Building Without Removing the Roof
Photographing the inside of a LEGO building without removing the roof takes practice, but it’s a skill any LEGO photographer can learn. Start with shooting through windows and doors, add external diffused lighting, and experiment with translucent pieces as light modifiers. These three techniques cover 90% of interior LEGO photography situations.
Update your workflow for 2026 with the latest gear and lighting kits, but the core principles stay the same. Set up your lights before you bring the camera out, shoot in RAW for post-processing flexibility, and always check the back of the model for unwanted light leaks. You’ll get usable interior shots on your first session and great shots within a month.