
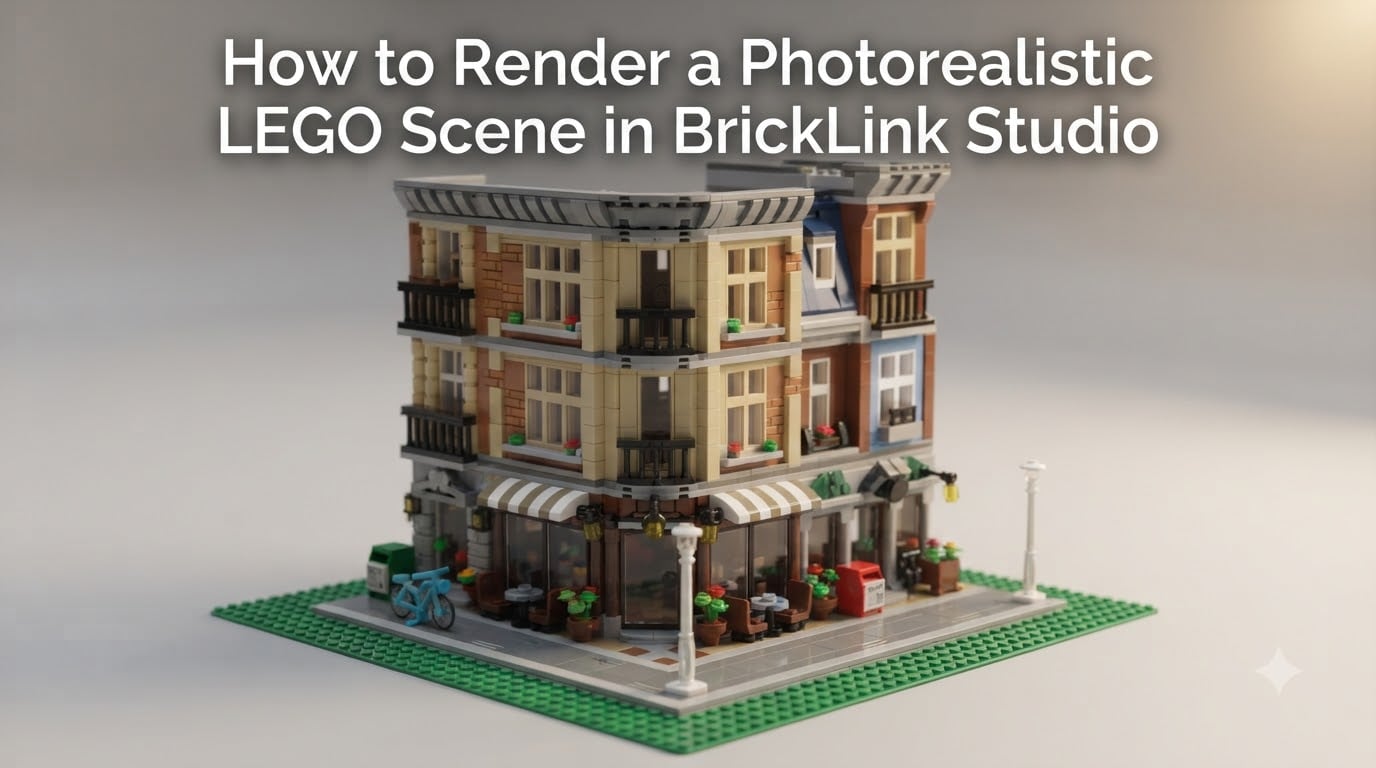
I’ve spent the last three months inside BrickLink Studio rendering LEGO scenes for both my MOC portfolio and a couple of LEGO Ideas submissions. After burning through hundreds of test renders, I’ve nailed down a workflow that consistently produces photorealistic LEGO images without resorting to Blender or expensive add-ons.
In this guide, I’ll walk you through exactly how to render a photorealistic LEGO scene in BrickLink Studio, from switching into the right mode all the way to exporting a competition-ready image. You’ll get my recommended settings, the lighting tricks that actually matter, and the fixes for the most common render problems. Everything below works in the current 2026 release of Studio.
Table of Contents
What Is Photorealistic Rendering in BrickLink Studio
Photorealistic rendering in BrickLink Studio is the process of generating a physically accurate image of your LEGO model using the built-in Eyesight path tracer engine. It simulates how light actually bounces off plastic bricks, studs, and minifigure elements, giving you a final image that looks like a real photograph of a built LEGO set.
BrickLink Studio offers three render modes inside the Render menu: Photoreal (powered by Eyesight), POV-Ray, and Animation. The Eyesight path tracer is what you want for photorealistic output. It handles soft shadows, indirect lighting, reflections on glossy plastic, and subtle material differences in a way that POV-Ray simply cannot match.
The render tab itself is split into a Preview area and an Inspector panel. The Preview shows your scene as it will appear in the final render. The Inspector on the right holds every setting you can tweak, including quality, sample rate, output size, lighting controls, and HDRI environment selection.
If you’ve only ever used the default render mode and wondered why your images look flat, the photoreal engine is almost certainly what you were missing.
Eyesight vs POV-Ray: Which Should You Choose
POV-Ray is older, faster, and produces flat, stylized images. It’s useful for instruction manuals where clarity matters more than realism. For portfolio pieces, LEGO Ideas submissions, or anything you want to share on social media, Eyesight in Photoreal mode is the only serious choice in 2026.
The path tracer also gives you access to material-specific behaviors. Transparent elements refract light correctly. Chrome parts pick up environment reflections. Even the slight subsurface tint of translucent bricks shows up in the right lighting conditions.
Why Photoreal Renders Matter for LEGO Builders
A flat, unlit screenshot tells people what your MOC looks like from one angle. A photorealistic render tells them what it feels like to stand in front of the build. That difference is what gets a design shared, bookmarked, and submitted to LEGO Ideas.
Setting Up Photoreal Mode and Camera Controls
Before you touch any settings, you need to put Studio into the right mode and frame your shot. Camera position is the single biggest factor in whether your final render looks professional or amateur.
To enter Photoreal mode, click the Render menu at the top of Studio and choose Photoreal. Your preview window will refresh and you’ll see the Inspector panel populate with Eyesight-specific settings on the right.
Camera Controls You Need to Know
The Preview window supports standard orbit, pan, and zoom controls. Hold the left mouse button to orbit around your model. Hold the right mouse button (or middle button) to pan the camera left, right, up, or down. The scroll wheel zooms in and out.
To dolly the camera closer to or further from your model without changing the angle, use Ctrl + left drag. To tilt precisely, hold Shift while orbiting. These two modifiers are the ones most beginners miss, and they make a huge difference when framing a minifigure or a tight architectural detail.
Field of View and Composition
You can change the field of view in the Inspector under Camera settings. A FOV between 35 and 50 degrees mimics what a real camera lens sees and avoids the fish-eye distortion you get at the default 60-degree setting. For LEGO scenes, I usually land around 40 degrees.
Aim for rule-of-thirds composition. Place your model’s focal point along imaginary lines that divide the frame into thirds. Position your camera slightly above eye level looking down at the scene for that natural showroom feel.
For vehicles, get low. A car or spaceship MOC looks dramatic when the camera is just a few studs above the ground plane. For buildings and architecture, raise the camera to roughly the height a person would view the build in real life.
Render Quality, Resolution, and Format Settings
These are the numbers that actually matter. Most blurry or rejected renders come from leaving these on default values. Below is my recommended starting point for any photorealistic LEGO render in 2026.
Sample Rate
Sample rate controls how many light paths the path tracer calculates per pixel. Low sample rates produce grainy, noisy images. Higher sample rates produce clean, smooth results at the cost of render time.
For portfolio work, set sample rate to 256 or higher. For LEGO Ideas submissions, 256 is the community-validated minimum. If you have time, push to 512 for noticeably cleaner output. Anything above 1024 has diminishing returns unless you’re zoomed in on fine details.
Resolution
Resolution determines the pixel dimensions of your final image. The Inspector lets you choose from preset sizes or input custom dimensions.
For LEGO Ideas, the safe minimum is 1280×960. I render everything at 1920×1440 or higher so the image holds up when scaled. If you’re producing hero shots for a portfolio or social post, 3840×2160 (4K) gives you room to crop later.
Output Format
PNG is lossless and preserves every detail. JPEG is smaller but introduces compression artifacts. Always render to PNG if you plan to edit the image later in Photoshop or GIMP. Use JPEG only for quick previews or web uploads where file size matters more than perfect quality.
Render Quality Presets
The Inspector offers quality presets labeled from Draft to Maximum. Draft is fast but ugly. Maximum is slow but gorgeous. For most scenes, Medium or High gives you the best balance between time and quality. Switch to Maximum only for final hero renders you intend to share widely.
Sample rate and quality preset are independent settings. A Medium preset at 512 samples will look better than a Maximum preset at 128 samples. Always think of sample rate as your primary quality knob.
HDRI Lighting for Realistic LEGO Renders
HDRI (High Dynamic Range Imaging) lighting is what turns a flat model into a believable scene. An HDRI map is a 360-degree image that wraps around your model and acts as both the light source and the visible environment in reflections.
Studio ships with several built-in HDRIs. Open the Inspector, find the Environment section, and click the HDRI dropdown. You’ll see options like Studio Softbox, Outdoor Sky, Sunset, and Indoor Office. Each gives a completely different mood and shadow direction.
Choosing the Right HDRI
For clean product-style renders, use Studio Softbox. It produces soft, even lighting with gentle shadows that show off every brick detail. For dramatic shots, use Sunset or Outdoor Sky to get strong directional light and long shadows.
Match the HDRI to the story your scene is telling. A spaceship MOC looks right under cool, blue-tinted HDRIs. A medieval castle looks right under warm, cloudy HDRIs. Mismatched lighting breaks the illusion instantly.
Importing Custom HDRIs
You can import your own HDRI files in .hdr or .exr format. Click the folder icon next to the HDRI dropdown and select your file. Custom HDRIs give you total control over reflections and mood.
Poly Haven offers free, high-quality HDRIs you can download legally for personal and commercial use. I keep a folder of about twenty favorites organized by lighting style and rotate through them depending on the build.
If a render looks too dim, raise HDRI intensity in the Inspector. If it looks washed out, lower the intensity or rotate the HDRI so its brightest spot isn’t pointing straight at your model.
Step-by-Step Render Process
Here’s the exact sequence I follow for every photorealistic LEGO render. These steps assume you already have a built model open in Studio.
Step 1: Switch to Photoreal Mode
Open the Render menu and select Photoreal. Wait for the preview to load. You’ll know it’s ready when the lighting in the Preview changes and the Inspector shows Eyesight settings.
Step 2: Frame Your Camera
Use orbit, pan, and zoom to position your camera. Apply rule-of-thirds composition. Adjust FOV to around 40 degrees. Take your time here because no amount of post-processing can fix a badly framed render.
Step 3: Choose Your HDRI
Open the Environment section in the Inspector. Pick the HDRI that matches your scene’s mood. Adjust HDRI intensity if your scene looks too dark or washed out.
Step 4: Set Render Settings
In the Inspector, set sample rate to 256 or higher. Choose your resolution (1920×1440 minimum for portfolio work). Select PNG as the output format. Pick Medium or High quality preset.
Step 5: Render and Save
Click the Render button. Studio will start calculating the path tracer. Progress shows up in the bottom-left corner. When the render finishes, use File then Save As to export the image. Rename the file with your project name and date.
A full photoreal render at 256 samples on a moderately complex MOC usually takes between 5 and 20 minutes on a modern GPU. Plan your render queue accordingly if you have multiple shots to produce for the same submission.
Advanced Tips: Fill Lights, Scratches, and UV Degradation
Once you’ve nailed the basics, a few advanced features push your renders from good to portfolio-ready. These are optional but worth experimenting with.
Adding Fill Lights
Fill lights are extra point or area lights you place in your scene to lift shadows on the dark side of your model. The Inspector has a Lights section where you can add directional, point, or area lights.
Place a single soft fill light opposite your main HDRI’s light direction. Keep intensity low (around 0.3 to 0.5). The goal is to reveal detail in the shadows without flattening the overall contrast.
Adding too many fill lights is a common rookie mistake. Each extra light adds render time and flattens the scene. One carefully placed fill light almost always beats three random ones.
Scratches Toggle
The Scratches option in the Inspector adds subtle wear marks to your bricks. Toggling it on gives a used, lived-in look that’s perfect for vintage car MOCs or post-apocalyptic scenes. Leave it off for showroom-clean renders.
UV Degradation
UV degradation simulates the slight fading and color shift that real LEGO elements develop over years of sunlight exposure. Enabling it adds authenticity to renders of older sets but can muddy the colors of brand-new builds.
I only enable UV degradation for renders that are explicitly meant to look aged. For LEGO Ideas submissions of fresh ideas, leave it off so the colors pop.
Special Material Colors
Studio supports special material types like Rubber, Glow in the Dark, Metallic, and Translucent. Each behaves differently under the Eyesight renderer. Rubber absorbs more light and looks matte. Glow in the Dark emits a subtle bloom. Translucent parts scatter light internally.
Make sure the material types on your model are set correctly before rendering. A chrome grille rendered as standard plastic will lose all its visual impact.
Common Render Issues and Solutions
Even with the right settings, renders can go wrong. Here are the issues I run into most often and how to fix them.
Grainy or Noisy Renders
Cause: sample rate is too low. Fix: bump sample rate to 256 minimum. If grain persists, increase to 512 or 1024.
Blurry Renders
Cause: resolution is too low or you zoomed the camera too close. Fix: render at higher resolution or move the camera further from the model and crop later.
Too Dark or Too Bright
Cause: HDRI intensity mismatch. Fix: increase or decrease HDRI intensity in the Inspector. Add a fill light if shadows are too deep.
Slow Render Times
Cause: high sample rate at high resolution with software rendering. Fix: enable GPU rendering in Studio’s preferences if your graphics card supports it. GPU rendering can cut render times by 5x or more.
Crashes During Render
Cause: out-of-memory errors on large scenes. Fix: close other applications to free RAM. Render at lower resolution first, then re-render at full size once you confirm the framing is correct. Splitting a complex MOC into separate renders and compositing later is also a valid workaround.
FAQs
How do I create photorealistic renders in BrickLink Studio?
Switch to Photoreal mode under the Render menu, choose an HDRI environment, set sample rate to 256 or higher, pick a resolution of at least 1920×1440, and click Render. The Eyesight path tracer engine handles physically accurate lighting automatically.
Why are my BrickLink Studio renders blurry?
Blurry renders usually come from low resolution or zooming the camera too close to the model. Render at 1920×1440 minimum and frame your shot from a normal viewing distance. Crop in post-processing rather than zooming the camera.
What sample rate should I use for LEGO Ideas submissions?
Use a sample rate of 256 as the community-validated minimum for LEGO Ideas. For cleaner output with no visible grain, go with 512. Avoid going below 256 or your image will look noisy when reviewers zoom in.
How do I use custom HDRI maps in BrickLink Studio?
Open the Inspector in Photoreal mode, find the Environment section, click the folder icon next to the HDRI dropdown, and select your .hdr or .exr file. Free HDRI maps are available from Poly Haven in 2026.
Does Lego Digital Designer still work for rendering?
Lego Digital Designer was discontinued and no longer receives updates. BrickLink Studio replaced it as the official LEGO building software and includes the Eyesight photorealistic renderer, which LDD never had.
How do I make a minifigure sit in BrickLink Studio?
Select the minifigure, switch to hinge manipulation mode, and rotate the hip joint forward until the legs are at a 90-degree angle to the torso. Use the angle snap tool for precise poses and check the position in Photoreal preview before rendering.
Final Thoughts on Rendering Photorealistic LEGO Scenes
Rendering a photorealistic LEGO scene in BrickLink Studio comes down to three things: choose the Photoreal mode with the Eyesight path tracer, set sample rate to 256 or higher, and pair your model with an HDRI that fits its mood.
Once those basics are locked in, the advanced features like fill lights, scratches, and UV degradation add the polish that separates a quick render from a portfolio piece. Run a few test renders, save the settings that work for your style, and reuse them across projects.
If you’re rendering for LEGO Ideas, follow the settings in this guide and your images should pass the quality bar on the first try. For everyone else, focus on composition and lighting first. No amount of sample rate will fix a badly framed shot.