
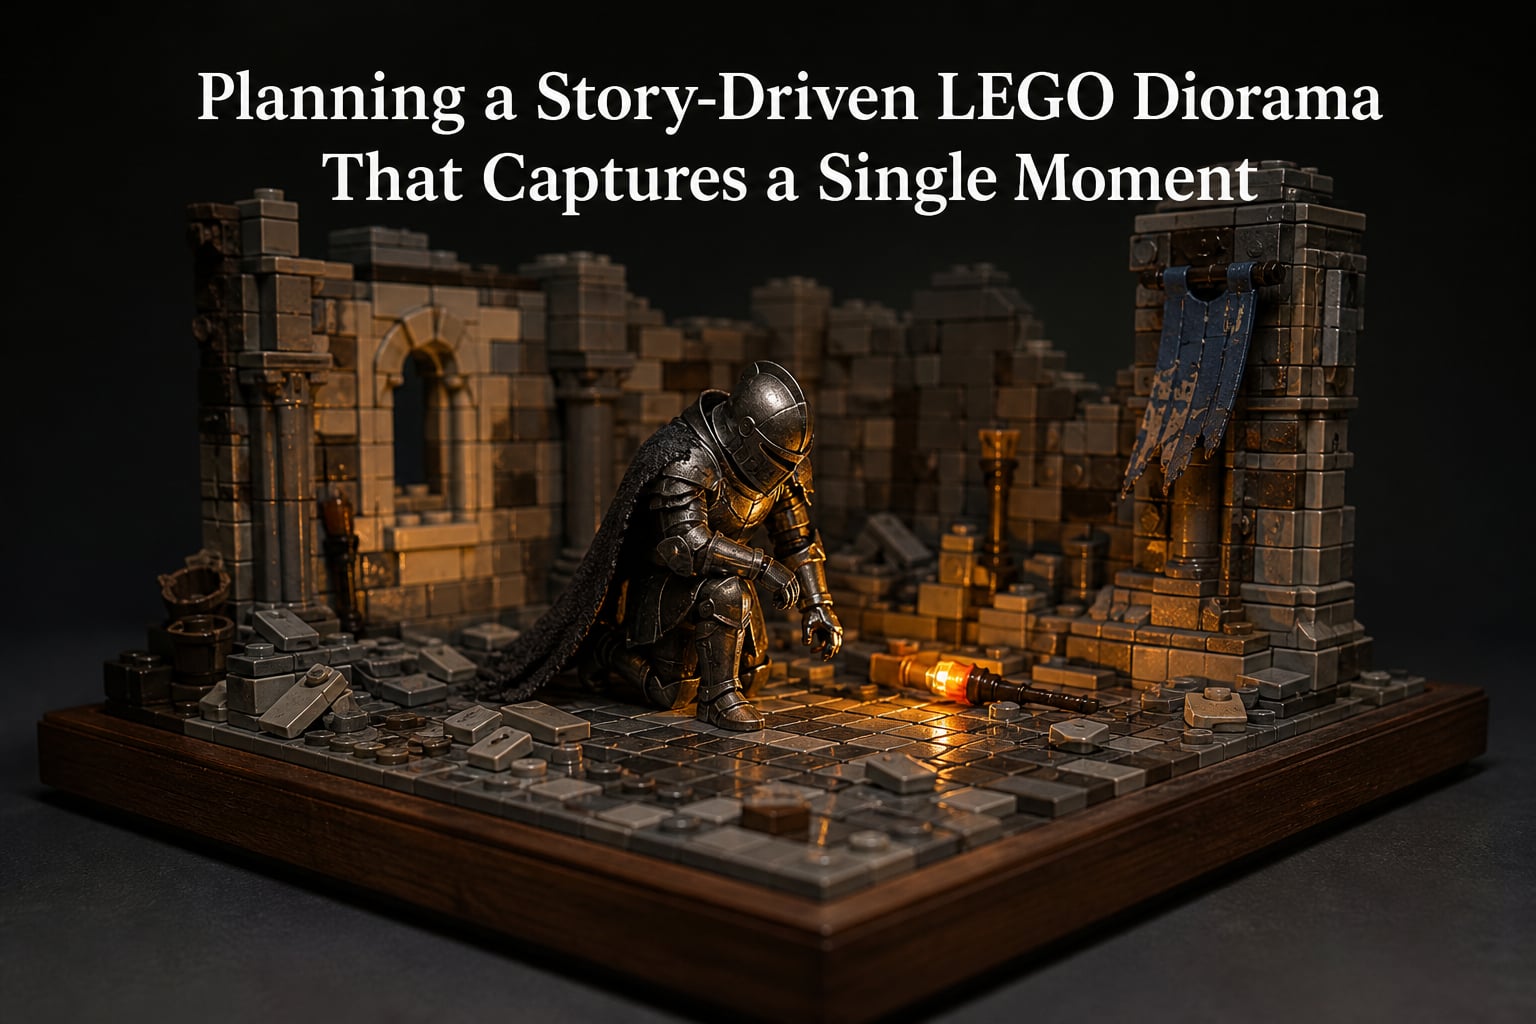
Planning a story-driven LEGO diorama that captures a single moment is the difference between building a pile of bricks and creating a tiny piece of cinema. I built my first diorama in 2018 and threw together a “castle attack” scene with no story in mind. It looked like a castle with minifigures standing around. When I rebuilt it two years later around one frozen instant, the same pieces became a desperate last stand. The shift was not technical. It was narrative.
A great LEGO diorama stops time. It asks the viewer to lean in, finish the sentence, and imagine what happened one second before and what will happen one second after. In this guide, I will walk you through how to plan a diorama with that kind of weight, from the first spark of a story to the final frozen pose. You will learn the 5/2 rule that nobody seems to explain, plus the layout and posing techniques that turn a build into a scene.
Table of Contents
What Is a Story-Driven LEGO Diorama?
A story-driven LEGO diorama is a miniature scene built to capture one frozen moment in time, where every element exists to tell part of a single narrative. Unlike a spaceship or a modular building, a diorama is viewed from the front, almost like a single frame of a movie paused at its most charged instant.
Builders in the AFOL (Adult Fans of LEGO) community often describe dioramas as “frozen movie frames.” One builder on Reddit put it perfectly: a diorama is “a story-driven build designed to be viewed from the front, almost like a frozen movie frame.” That framing is the whole game. You are not just stacking bricks. You are composing a single image that needs to communicate emotion at a glance.
Three things separate a story-driven diorama from a regular LEGO build. First, there is a clear narrative moment, not just a setting. Second, every brick supports that moment, so a wall, a tree, or a stray accessory has a job. Third, the viewer is invited to wonder what comes next. If your scene could be a screenshot from a film, you have done it right.
Why the “Frozen Moment” Matters
Choosing one moment, instead of trying to show a whole sequence, is the secret to emotional impact. A single instant forces you to focus on what matters most. A soldier mid-step, eyes on a doorway, communicates more than ten soldiers standing in formation.
Forum builders consistently confirm this. One experienced AFOL wrote that a diorama “needs a story, it gives the creator something to aim towards and gives the viewer something to follow and understand.” Without that anchor, the build drifts into decoration. With it, every choice becomes intentional.
Choosing Your Frozen Moment
Your frozen moment is the single instant your diorama depicts, chosen for maximum emotional charge. The most powerful scenes are not the loud ones. They are the quiet beats right before or right after something important happens.
I think about moments in three categories. The “just before” is anticipation, like a treasure hunter reaching for a chest as a trap clicks. The “just after” is consequence, like a lone figure standing over a fallen companion. The “right now” is action, like two characters clashing mid-swing. Each type creates a different feeling, and your choice shapes everything else.
Where to Find Your Story
Stories come from everywhere, but a few sources work especially well for LEGO scenes. Movie stills give you professional lighting and composition cues. Video game cutscenes often freeze at dramatic beats. Personal memories, like your child’s first lost tooth or a holiday mishap, create scenes nobody else can build. Original micro-stories, like a band of thieves regrouping after a loss, give you total creative freedom.
One builder on r/legocastles shared a perfect example: “When designing this castle, I wanted to tell the story of a band of thieves suffering a major loss and regrouping in an abandoned outpost.” That single sentence dictated the ruined walls, the grim faces, the scattered loot. The story came first, and the build followed.
Test Your Moment With Three Questions
Before you start sketching, run your moment through three filters. Can you describe it in one sentence without using the words “and then”? If not, you are trying to capture more than one scene. Does it have an emotional core, like loss, joy, fear, or hope? And can a viewer guess what just happened or what comes next from the visual alone?
If you answered yes to all three, you have a strong frozen moment. If any answer is no, refine the idea until the answers click. This filter is faster than rebuilding a scene that does not land.
Planning Your Diorama Layout
Planning your diorama layout means deciding where every major element sits before you touch a single brick. Skipping this step is the number one reason builds feel cluttered or unbalanced. A good layout is invisible. The viewer just feels that the scene makes sense.
I start every build with a quick sketch on graph paper. The grid lines match LEGO studs, so each square is one plate width. This sounds fussy, but it saves hours of rebuilds. You can move elements around with a pencil instead of dismantling bricks.
The 5/2 Rule Explained
The 5/2 rule is a simple composition guideline that keeps your diorama visually balanced. For every five stud widths of horizontal space, you should create about two stud widths of vertical depth in your main action zone. In plain terms, your scene should read roughly two and a half times wider than it is tall.
This ratio matches how our eyes naturally scan wide shots in cinema. It also prevents two common mistakes. Too tall and your scene looks cramped, like a slice of wallpaper. Too shallow and it looks like a flat backdrop with minifigures pasted on. The 5/2 ratio gives the eye room to wander while keeping the focus on your frozen moment.
For example, on a 32×32 baseplate, aim for a main action band about 20 studs wide and 8 studs tall. Outside that band, you can place supporting elements like terrain or background architecture that frame the moment without competing with it.
Sketching Your Scene
Your sketch does not need to be art. A top-down view with simple shapes for buildings, terrain, and minifigure footprints is enough. Mark the “camera angle” or viewing direction with an arrow, since dioramas almost always face forward. Place your main characters slightly off-center, following the rule of thirds, and leave breathing room around them.
Make two or three quick variations before committing. I keep three versions on a single page, draw arrows showing sight lines between characters, and pick the one where the implied action feels strongest. The sketch that wins is usually the one where your eye lands on the emotional core within one second.
Building the Foundation
The foundation is the base your entire story rests on, and choosing the right one sets you up for success or struggle. Your base affects stability, scale, terrain options, and how easy the diorama is to display. There is no single right answer, but there is a right answer for your scene.
Base Options Compared
Standard baseplates are the easiest starting point. A 32×32 or 48×48 grey, green, or sand baseplate gives you a sturdy LEGO-compatible surface that connects to everything else. They are perfect for first-time builders and scenes that fit a tidy rectangular footprint.
Custom bases open up more creative shapes. Foam board cut into irregular terrain, wooden plaques painted and sealed, or 3D-printed terrain shells all let you build outside the stud grid. These take more prep work but reward you with shapes baseplates cannot match, like cliffs, riverbeds, or curved shorelines.
MDF and plywood bases are the workhorses for serious displays. They are heavy, stable, and ready for lighting rigs. If you plan to add LEDs or ship your diorama to shows, build on at least 6mm MDF. The weight alone stops curious fingers from knocking it over.
Preparing the Base
Whatever you choose, prep the surface before building. For baseplates, check that the studs are clean and the plate sits flat. For foam or wood, paint the surface a base color that matches your scene, so any gaps read as ground texture rather than yellow foam. A thin coat of PVA glue seals porous surfaces and stops loose debris from sticking to bricks later.
Plan your build order from the ground up. Terrain first, then mid-level structures like walls or vehicles, then minifigures and small props last. This top-down approach keeps you from building a wall only to realize the floor underneath needs to be one plate higher.
Creating Emotional Impact Through Minifigure Posing
Minifigure posing is where your frozen moment either lands or falls flat. The pose is the entire emotional payload of your scene. A perfect diorama with a stiff minifigure feels dead. An imperfect build with a killer pose feels alive.
Think of each minifigure as a tiny actor. Their body language, the angle of their head, and which hand holds what, all carry meaning. Two minifigures facing each other tells one story. The same two with one turned slightly away tells a completely different one.
The Three Pose Types
Action poses freeze motion. A sword mid-swing, a hand reaching for a doorknob, or a figure leaping across a gap. Use these sparingly. One action pose per scene reads as heroic. Five action poses reads as chaos with no focal point.
Reactive poses show response. A figure stepping back with arms slightly raised, or one kneeling beside a fallen companion. These poses let the viewer infer what just happened. They are my favorite because they pull the audience into completing the story.
Still poses anchor the scene. A guard standing watch, a child looking up at a parent, a traveler gazing into the distance. Still poses are not boring. They give the eye a place to rest and make the action poses feel more intense by contrast.
Accessories That Sell the Story
Props turn a minifigure into a character. A pirate with no hat and no weapon is just a torso. The same pirate with a tricorne, cutlass, and treasure map becomes Captain Holt, retired and bitter. Choose one signature accessory per character that signals who they are and what they want in this moment.
Hand positioning is everything. Standard minifigure “C-grip” hands look passive. Swap in claw hands, tool grips, or specific accessory holders to match the action. Many AFOLs keep a small parts drawer sorted by hand type for exactly this reason.
Adding Terrain and Narrative Details
Terrain and small details are what make your frozen moment feel inhabited rather than staged. Background details do not need to be complex. They need to be consistent with the story you are telling.
I follow a “five-feelings” rule for every diorama. Pick five small environmental cues that reinforce the mood and add only those. For a sad scene, that might be a wilted flower, a single dropped tool, an overturned stool, a torn flag, and rain streaking a window. Each detail repeats the same emotional note without competing for attention.
Terrain Techniques That Work
Plate stacking creates smooth ramps and elevation changes. SNOT (Studs Not On Top) building lets you add detail on vertical surfaces like cliff faces or building walls. Rock pieces and slopes handle organic terrain quickly. Mix these techniques so your terrain does not look like it was made from one mold.
Texture breaks up flat areas. A patch of 1×1 round plates in a different color can read as gravel. Tan tiles over a green base become dirt paths. A scatter of transparent blue tiles becomes water. These micro-textures cost almost nothing but add realism that viewers feel rather than notice.
Lighting and Final Display Techniques
Lighting transforms a good diorama into a great one by controlling where the eye lands and reinforcing the emotional tone. Even simple lighting setups make a visible difference. The goal is not to flood the scene with light. It is to use light and shadow the way a cinematographer would.
Warm white LEDs (around 2700K to 3000K) feel nostalgic and intimate, perfect for fireside or sunset scenes. Cool white (5000K and up) feels clinical or tense, ideal for sci-fi or horror. A single warm pinpoint LED placed above and behind your main character creates a halo effect that draws the eye without any visible hardware.
Where to Hide Your Lighting
Strip LEDs hide well along the back edge of a base. Single bulb LEDs fit inside hollow brick-built structures like chimneys or lamp posts. Fiber optic strands can simulate tiny star or spark effects. The trick is to test your lighting at night before finalizing. What looks fine in daylight can become a hot spot in a dark room.
Display Considerations
A display case protects your diorama from dust and curious hands while making it feel like a finished piece of art. Acrylic display boxes work for small dioramas. For larger builds, a glass curio cabinet with adjustable shelves gives you room to grow a series. Keep your display out of direct sunlight to prevent fading over time.
Photographing your diorama is part of the build. Shoot at eye level with the scene, not above it, to preserve the cinematic feel. A small piece of black foam board behind the camera helps control reflections. Most modern phones handle this well in natural window light.
Planning Checklist for Your Diorama
Here is the step-by-step planning checklist I use before opening any brick. Print it, tape it above your workspace, and tick off each step as you go. It is the simplest way to keep your story-driven diorama on track from idea to display.
- Write your frozen moment in one sentence without using “and then.” If you cannot, simplify the scene.
- Identify the emotional core of the moment (loss, hope, fear, joy, tension).
- Sketch three top-down layouts on graph paper, aiming for the 5/2 ratio.
- Mark the camera angle on each sketch. Choose the sketch where the eye lands on the core emotion first.
- Choose your base (standard baseplate, foam, or MDF) and prep the surface.
- List the characters and assign each a primary pose type (action, reactive, or still).
- Gather signature props for each character before starting to build.
- Build terrain first, then structures, then minifigures and small props.
- Add five-feelings environmental details that match your emotional core.
- Install and test lighting at night before final placement.
- Photograph at scene eye level. Adjust if any element looks off.
- Mount in a display case away from direct sunlight.
Run this checklist once and you will never go back to the “stack bricks and hope” method. The plan is the build. Everything after step four is just execution.
Frequently Asked Questions
What is the 5/2 rule in LEGO?
The 5/2 rule is a composition guideline for LEGO dioramas. For every 5 stud widths of horizontal space, your main action zone should occupy about 2 stud widths of vertical height, giving a roughly 2.5:1 width-to-height ratio. This matches how our eyes scan wide cinematic shots and prevents scenes from looking too cramped or too flat.
Is making dioramas expensive?
Dioramas can be built on almost any budget. A small scene on a 16×16 baseplate using parts from a single set can cost less than $30. Larger custom bases, lighting kits, and rare minifigures push costs higher, but a thoughtful small scene often tells a stronger story than an expensive large one. Start small, learn what you enjoy, and scale up over time.
What can I use as a base for a diorama?
You can use standard LEGO baseplates, foam board, MDF, plywood, wooden plaques, or 3D-printed shells. Baseplates are the easiest entry point. Foam board and MDF let you create irregular terrain and shapes outside the LEGO grid. Whichever you choose, seal and paint porous surfaces so any gaps read as terrain texture instead of raw material.
How to make a diorama template?
To make a diorama template, draw a top-down view on graph paper where each square equals one LEGO stud. Mark the camera or viewing angle with an arrow. Sketch the footprints of buildings, terrain features, and minifigures. Apply the 5/2 ratio so the main action zone is wider than it is tall, and make two or three variations before committing to one layout.
What are some cool LEGO building techniques?
Cool LEGO building techniques include SNOT (Studs Not On Top) for vertical detail, plate stacking for smooth terrain, brick ordering to maintain scale, and integrated lighting using strip LEDs hidden along base edges. Combining these techniques in a single build creates visual depth and realism that single-method builds rarely achieve.
What are some diorama ideas?
Strong diorama ideas come from personal memories, movie stills, video game cutscenes, historical moments, or original micro-stories. Popular themes include Star Wars duels, medieval last stands, post-apocalyptic survivor camps, detective interrogations, and everyday scenes like a child discovering a hidden treasure. The best idea is one where you can describe the frozen moment in a single sentence.
Start With the Story, Not the Bricks
Planning a story-driven LEGO diorama that captures a single moment comes down to one habit. Choose the story before you choose the bricks. Every choice that follows, from the base material to the minifigure pose, becomes a way to serve that one frozen instant.
Pick a moment you care about this week. Sketch three layouts. Apply the 5/2 rule. Build the scene your eye lands on first. By the time you place the last prop, you will not just have a LEGO build. You will have a tiny frame from a film that only you can make, sitting on your shelf, waiting for someone to lean in and finish the story in their own head. That is what a great diorama does, and now you have the plan to build one.