
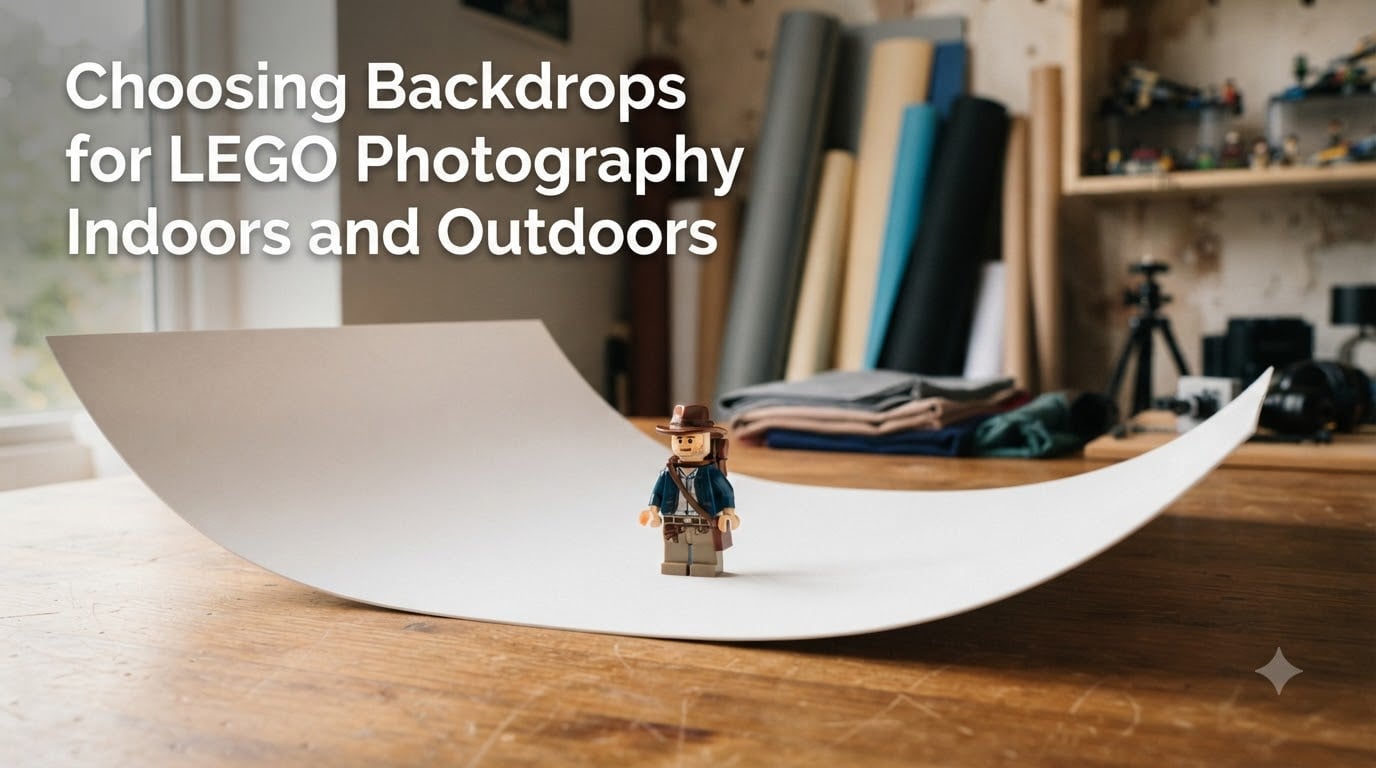
When I started photographing LEGO minifigures five years ago, I used whatever surface was nearby: a kitchen counter, a bed sheet, the living room rug. The photos looked exactly like what they were: snapshots of toys on random surfaces.
Everything changed the day I bought a $4 roll of white poster board. Suddenly my minifigures looked like they belonged in a scene. They popped off the page. People started asking what camera I used, when really I had just changed my backdrop for LEGO photography.
That is the secret most beginners miss. Your backdrop matters more than your camera, your lens, or your lighting setup. The right surface behind a $5 minifigure can make it look like a professional product shot. The wrong surface behind a $500 LEGO set can make it look like a garage sale listing.
In this guide, I will walk you through everything I have learned about choosing backdrops for LEGO photography, both indoors and outdoors. We will cover materials, color theory, theme matching, DIY solutions, and the mistakes that cost me hundreds of shots before I figured them out.
Table of Contents
Why LEGO Photography Backdrops Matter
A backdrop for LEGO photography is more than decoration. It is the visual context that tells the viewer where your scene takes place. It controls the mood, the focus, and the perceived value of your build.
Consider two photos of the same Star Wars X-wing. In one, it sits on a wrinkled blue bedsheet. In the other, it sits on a smooth matte black surface with subtle stars projected behind it. The brick build is identical. The story is completely different.
Professional toy photographers understand this principle. They spend more on backdrops than on cameras in many cases. The backdrop frames the subject, separates it from distractions, and carries the emotional weight of the image.
For minifigure photography specifically, backdrops solve a unique problem. Minifigures are small. Without a controlled background, they look lost. A solid backdrop anchors them, gives them scale, and lets the viewer focus on the character instead of the clutter around it.
The same applies to MOC photography. If you spent 40 hours building a custom castle, you want viewers to study the architecture. A busy background pulls their eye away. A clean backdrop lets the build speak for itself.
Here is what a good backdrop accomplishes:
- Eliminates visual clutter and competing elements
- Creates separation between subject and surroundings
- Establishes mood, time, and setting
- Controls color reflections on glossy LEGO pieces
- Makes post-processing easier and faster
Once you understand why backdrops matter, the next question is which type to choose.
Indoor Backdrop Options for LEGO Photography
Indoor setups give you total control. You decide the lighting, the temperature, and the backdrop itself. Most LEGO photographers start indoors for exactly this reason.
The main indoor backdrop materials fall into three categories: paper and poster board, vinyl and fabric, and lightboxes.
Poster Board and Paper Backdrops
Poster board is the workhorse of LEGO photography backdrops. I have a stack of white, black, gray, and blue boards leaning against my studio wall at all times.
The advantages are real. Poster board costs under $2 per sheet at dollar stores. It comes in solid colors that match most LEGO themes. It is rigid, which means it stays flat and crisp in photos. You can curve it to create seamless backgrounds where the floor meets the wall.
For the seamless look, lean the bottom of the poster board against a flat surface and curve the top up against a wall or backdrop stand. This eliminates the hard line between horizontal and vertical surfaces. Your minifigures appear to float in pure color.
Paper rolls work similarly but offer more length. A 50-foot roll of background paper costs around $20 and lasts for years. It is the choice of professional product photographers for good reason.
The downside of paper and poster board is crease damage. Store them flat or rolled, never folded. A single crease shows up in every photo.
Vinyl and Fabric Backdrops
Vinyl backdrops cost more upfront but last longer. They wipe clean, resist wrinkles, and come in textures like wood grain, marble, and concrete. For MOC photography, a weathered wood vinyl backdrop can transform a Viking ship into a believable scene.
Fabric backdrops offer another option. Muslin, felt, and velvet each create different moods. Velvet absorbs light and creates rich, deep colors. Muslin diffuses light gently. Felt has a soft texture that adds warmth without distraction.
The catch with fabric is ironing. Wrinkles will ruin your shot. I steam all fabric backdrops before each session and store them rolled, never folded.
Lightboxes and Tabletop Studios
A lightbox for LEGO photography is a small, enclosed setup that controls reflections and creates even lighting. Portable lightboxes from Amazon cost $25-40 and fold flat for storage.
These work well for minifigure photography and small product shots. The white walls bounce light back onto the subject, eliminating harsh shadows. Your LEGO pieces look evenly lit from all sides.
The limitation is size. A standard tabletop lightbox handles minifigures and small builds. For larger MOCs, you need a full studio setup.
For beginner LEGO photographers, I recommend starting with poster board and adding a lightbox only when you photograph small items regularly.
Outdoor Backdrop Strategies for LEGO Photography
Outdoor LEGO photography introduces variables you cannot control: weather, time of day, and background clutter. It also offers something indoor setups never can: natural light and real-world context.
A castle MOC photographed against grass and trees looks different than the same castle on poster board. The outdoor setting adds scale and believability that no backdrop can replicate.
Natural Settings That Work
The best outdoor LEGO photography locations are simple and uncluttered. A patch of green grass. A sandy beach. A wooden picnic table. A brick wall with interesting texture.
Look for backgrounds with smooth color transitions. A meadow with wildflowers looks beautiful to your eye but creates visual noise behind a small LEGO subject. A clean stretch of grass or a uniform stone wall keeps focus on the build.
Urban settings work too. Concrete sidewalks, asphalt parking lots, and metal benches all create industrial moods that match certain LEGO themes. A Speed Champions car looks at home on asphalt. A modular building looks at home on a city sidewalk.
Avoid locations with too many competing elements. Posters, signs, and people in the background pull attention from your subject.
Weather and Lighting Considerations
Overcast days are the gold standard for outdoor LEGO photography. Clouds act as natural diffusers, softening shadows and evening out the light. This is the lighting forum photographers consistently praise across Reddit and hobby forums.
Direct sunlight creates harsh shadows and bright highlights. It can also cause unwanted reflections on glossy black and gray LEGO pieces. If you must shoot in direct sun, use a diffuser or shoot in open shade.
Golden hour, the hour after sunrise and before sunset, produces warm, soft light that flatters most subjects. The color temperature matches well with LEGO’s warm tones. Just watch for changing light. The window is short.
Wind is the enemy of outdoor LEGO photography. Even a light breeze will tip over minifigures and move small pieces. Bring blue tack, museum putty, or small clamps to secure your models.
Portable Outdoor Setups
For controlled outdoor work, bring your own backdrop. A roll of paper, a vinyl sheet, or even a large towel can create a portable studio anywhere.
I keep a 3-foot by 5-foot piece of gray vinyl in my camera bag for outdoor shoots. It weighs almost nothing and provides a consistent surface regardless of location.
Tabletop poses work well outdoors. A small folding table lets you control the height and angle of your backdrop. Position it to take advantage of natural light while avoiding direct sun.
Color Selection and Theme Matching
Choosing backdrop color for LEGO photography is where art meets science. The right color enhances your subject. The wrong color creates muddy reflections and visual confusion.
Neutral Colors as a Safe Foundation
White, black, and gray are the safest backdrop colors for LEGO photography. They work with almost any subject and let the LEGO colors stand out.
White backdrops create a clean, bright look. They work especially well for colorful minifigures and architectural builds. The challenge with white is exposure. Overexpose the backdrop and you lose detail. Underexpose the subject and the whole image looks flat.
Black backdrops create drama and mystery. They make bright colors pop and add contrast to light gray or white builds. The challenge with black is absorbing too much light, leaving your subject underexposed. Increase your lighting or extend your exposure to compensate.
Gray sits between white and black. It is forgiving, neutral, and rarely creates color casts. Medium gray is my most-used backdrop for general LEGO photography.
Complementary Colors and Color Theory
Once you master neutrals, complementary colors open creative possibilities. The color wheel guides these choices.
Complementary colors sit opposite each other on the wheel. Red and green. Blue and orange. Yellow and purple. Placing a complementary color behind your LEGO subject creates visual tension and makes the subject stand out.
For example, a green grass backdrop behind an orange Mars rover LEGO set makes the rover pop. A deep blue backdrop behind a yellow construction truck makes the truck more vibrant.
Analogous colors sit next to each other on the wheel. They create harmony and calm. A blue backdrop behind a green dragon MOC creates a cohesive, natural feel.
The risk with colored backdrops is color reflection. A bright red backdrop can cast a red tint onto white LEGO pieces. This shows up on minifigures and architecture. Test your backdrop color by photographing a white LEGO brick against it before committing to a full shoot.
Theme-Specific Backdrop Ideas
Here is where LEGO photography backdrops get fun. Tailoring the backdrop to your theme tells a richer story.
For Star Wars photography, deep space colors work best. Black with subtle star patterns. Dark blues and purples for nebula effects. Sand-colored backdrops for Tatooine scenes. Gray and metallic surfaces for Imperial interiors.
For City photography, asphalt gray, concrete, and urban textures fit the modern setting. A street map vinyl backdrop adds context. Bright sky blue works well for outdoor City scenes.
For Castle and fantasy themes, weathered stone, aged wood, and mossy green create authentic medieval moods. Earth tones dominate this genre.
For Technic and vehicle photography, clean gray, white, or black surfaces let the mechanical details shine. Showroom-style lighting works better than dramatic shadows here.
For seasonal photography, shift your palette. Autumn calls for warm oranges, reds, and browns. Winter suggests whites, silvers, and pale blues. Spring brings pastels. Summer favors bright, saturated colors.
DIY vs Purchased Backdrops
You can spend $0 or $500 on LEGO photography backdrops. Both ends of the spectrum work. The choice depends on your goals, frequency, and patience.
Budget-Friendly DIY Solutions
Dollar store cardstock is the LEGO photographer’s best friend. For under $5, you can stock up on solid colors that cover most needs. This is the technique forum members recommend most often for beginners.
Painted foam boards create custom textures. A few coats of craft paint on insulation foam produce convincing concrete, weathered wood, or sandy surfaces. Seal the paint to prevent chipping.
Fabric remnants from craft stores offer variety at low cost. A quarter-yard of muslin costs under $3. Keep a small collection in different colors.
Wrapping paper and shelf liner create instant patterns. A roll of marble-print shelf liner creates a luxury surface for under $5. Solid-color wrapping paper works in a pinch.
Construction paper is too thin and wrinkles easily. Stick with cardstock weight (65 lb or higher) for best results.
When to Invest in Purchased Options
If you photograph LEGO regularly, purchased backdrops pay for themselves in time saved and consistency gained.
Professional vinyl backdrops run $30-80 each but last for years. A good vinyl backdrop resists wrinkles, wipes clean, and photographs the same way every time.
Backdrop stands ($40-80) hold paper rolls and fabric securely. They allow quick changes between shoots and keep your materials flat and wrinkle-free.
Full lightbox studios ($50-150) are worth the investment for product photographers selling LEGO sets online. The consistent lighting and clean backgrounds increase perceived value and reduce return rates.
The math is simple. If you photograph LEGO more than once a week, purchased backdrops save time. If you shoot occasionally, DIY solutions are plenty.
Common Mistakes to Avoid
After thousands of LEGO shots, I have made every mistake possible. Here are the ones that cost me the most time and how you can avoid them.
Mistake 1: Ignoring color casts. Colored backdrops reflect their color onto glossy LEGO pieces. White minifigures photographed against a green backdrop pick up a green tint. The fix is simple: use neutral backdrops for white and light-colored subjects, or balance your white balance carefully in post-processing.
Mistake 2: Wrinkled and creased backdrops. Every wrinkle in your backdrop becomes a distraction in the final image. Store backdrops flat or rolled. Iron or steam fabric before each shoot. Replace damaged paper backdrops rather than trying to photograph around the wrinkles.
Mistake 3: Backdrop too small. A backdrop that fills the frame but leaves edges visible ruins the illusion. Buy larger than you think you need. A 27-inch poster board is rarely enough. Go 36 inches or larger for most setups.
Mistake 4: Mismatched color temperature. If your backdrop is lit by warm indoor light and your subject by cool daylight, the colors will not match. Use consistent lighting across both, or adjust white balance in post to align them.
Mistake 5: Using flash directly on glossy bricks. Flash creates hot spots on black and dark gray LEGO pieces. Use diffused lighting instead. Softboxes, bounce cards, or even white bedsheets between your light and subject reduce reflections.
Mistake 6: Forgetting the floor-to-wall seam. A hard line where the horizontal surface meets the vertical backdrop looks artificial. Curve your paper or poster board to create a seamless transition. This single change makes the biggest difference in professional-looking shots.
Mistake 7: Tablet or laptop screens that look fake. Using a tablet or TV as a digital backdrop can work, but the light emission often creates an unrealistic glow around your subject. Lower the screen brightness to match ambient light, and be prepared for color temperature mismatches.
Mistake 8: Neglecting the edges. Check the corners and edges of your frame. A glimpse of cluttered desk, stray LEGO pieces, or a power cord pulls the viewer out of the scene. Crop tighter or expand your backdrop to hide these distractions.
Backdrop Maintenance and Storage Tips
Your backdrops are an investment. Treat them well and they will last years.
Store paper and poster board flat in a dry location. Humidity causes warping. Keep them in a closet or under a bed where temperature stays stable.
Roll vinyl and fabric backdrops rather than folding them. A 3-inch cardboard tube from a paper towel roll works for smaller materials. Hang them from a hook in your closet.
Clean vinyl surfaces with a damp microfiber cloth after each session. Fingerprints and dust show up in photos. Allow the vinyl to dry completely before rolling.
Label the back of each backdrop with its color and dimensions. This saves time when setting up and helps you track your collection.
Replace paper backdrops when they show visible wear. A backdrop with creases, stains, or fading will affect every photo you take with it.
Frequently Asked Questions
What is the best backdrop color for LEGO photography?
White, black, and gray are the safest backdrop colors for LEGO photography. They work with almost any subject and prevent unwanted color casts on your LEGO pieces. White creates a clean, bright look. Black adds drama and contrast. Gray sits between the two and is the most forgiving option for beginners.
How do I choose a backdrop for LEGO photography?
Start by matching the backdrop to your theme and mood. Use neutral colors (white, black, gray) for general work. Choose complementary colors from the color wheel to make specific subjects pop. Consider your lighting setup, the size of your subject, and whether you need a portable or permanent solution. Buy larger than you think you need to avoid visible edges in your frame.
What are common backdrop mistakes in LEGO photography?
The most common mistakes include wrinkled or creased backdrops, color casts from bright backgrounds onto white LEGO pieces, backdrops that are too small for the frame, mismatched color temperatures between backdrop and subject, and visible seams where the floor meets the wall. Avoid these by storing backdrops properly, using neutral colors for light subjects, buying oversized backdrops, matching your lighting, and curving paper to create seamless transitions.
What lens works best for LEGO minifigure photography?
A macro lens in the 50-105mm range works best for LEGO minifigure photography. These lenses let you focus closely and capture fine details like facial expressions and printed patterns. A 50mm or 85mm prime lens with a close focusing distance is a good budget option. Avoid wide-angle lenses, which distort minifigure proportions and make them look unnatural.
Final Thoughts on Choosing Backdrops for LEGO Photography
Choosing backdrops for LEGO photography indoors and outdoors comes down to three principles. First, match the backdrop to your theme and mood. Second, keep it simple and clean. Third, invest in size and quality over quantity.
Start with a few sheets of dollar store poster board in white, black, and gray. Add more colors as your needs grow. Experiment with outdoor settings when weather cooperates. Test complementary colors to make specific builds pop.
Your backdrops will define the look of your LEGO photography more than any other piece of equipment. Choose them with care, store them properly, and your photos will improve immediately.