
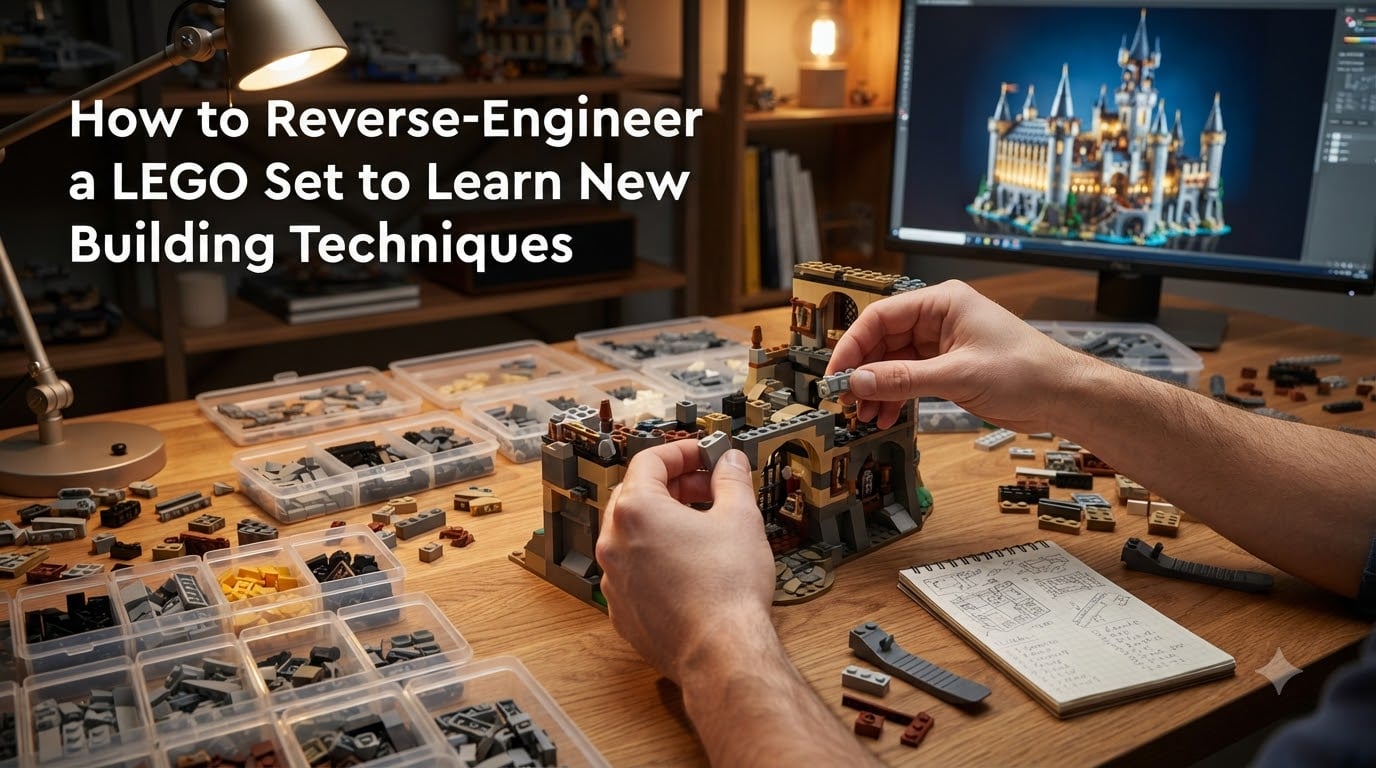
I remember the first time I tried to build a LEGO MOC I saw online. There were no instructions, no parts list, just a beautiful photo of a castle gate. I sat in front of my pile of bricks for hours feeling completely stuck.
That frustration led me to discover reverse engineering LEGO builds. Reverse engineering a LEGO set means closely examining someone else’s creation, figuring out how they built it piece by piece, and rebuilding it yourself without official instructions. This guide will walk you through exactly how to reverse engineer a LEGO set so you can learn new building techniques, expand your skill set, and start creating your own designs with confidence.
Table of Contents
What Reverse Engineering Means in the LEGO World
Reverse engineering in the LEGO community refers to the practice of studying a finished build, often a MOC (My Own Creation) shared by another builder, and recreating it without any official instructions. A MOC is any LEGO model designed by a fan rather than produced by the LEGO Group itself.
When you reverse engineer, you become a detective. You look at photos from every angle, identify each brick, and work out how they connect. The Adult Fans of LEGO (AFOL) community has embraced this practice because it teaches advanced building techniques you simply cannot learn by following a manual step by step.
The most important rule is simple. Always give credit to the original creator when you finish. The AFOL community generally accepts reverse engineering as long as you do not claim the design as your own. Mention the builder who inspired you, link to their original post, and the community will support your work.
Why You Should Reverse Engineer LEGO Sets
There are real, measurable benefits to reverse engineering LEGO builds. After I spent three months working through five different MOCs, my own original designs improved dramatically. Here is what I gained from the practice.
You learn techniques you never knew existed. SNOT (Studs Not On Top) techniques, hidden connections, modified bricks, and barely legal joints all show up in advanced MOCs. You cannot learn these from official sets alone. You learn them by studying how other builders used them.
You develop patience and problem-solving skills. Reverse engineering is a meditative puzzle. I have spent entire evenings staring at a single photo trying to figure out how two pieces connect. That frustration teaches persistence, which is a skill every LEGO builder needs.
You build muscle memory for part recognition. After enough reverse engineering, you can spot a wedge plate or a clip brick at a glance. You start to recognize common connection patterns and can apply them in your own designs.
You save money by using parts you already own. Instead of buying new sets to learn techniques, you can study photos, swap colors, and substitute parts from your existing collection. The 5/2 rule, a concept I’ll explain later in this guide, even helps you estimate what you might need.
How to Reverse Engineer a LEGO Set: Step-by-Step Process
Here is the exact process I follow every time I tackle a new MOC. These eight steps work whether you are a beginner or an experienced builder.
Step 1: Pick a MOC with a clear, zoomable photo. Find a build with multiple high-resolution photos from different angles. Bricksafe, Flickr, and Reddit are great sources. Avoid MOCs with only one blurry photo because you will get stuck trying to identify pieces.
Step 2: Start with something small. Do not try to reverse engineer a 5,000-piece castle as your first project. Pick a small vehicle, a single building, or a simple character. You will learn the process faster with fewer pieces.
Step 3: Study the overall shape and structure first. Before counting individual bricks, look at the silhouette. What is the dominant shape? Is it symmetrical? Where are the major sections divided? This gives you the framework before you dive into details.
Step 4: Identify the main color palette. Make a list of the five or six most visible colors. This narrows down your part search and helps you plan color swaps if you do not own specific shades.
Step 5: Work from the bottom up, layer by layer. Every LEGO build has a foundation. Start there and build upward. Take your own reference photos as you go so you do not lose your place.
Step 6: Use BrickLink to identify unfamiliar pieces. When you spot a piece you cannot name, search BrickLink’s catalog by category, color, and shape. The advanced search lets you filter by part type and dimensions.
Step 7: Color swap aggressively. If the original used light bluish gray and you only have dark gray, swap it. The community considers this fair practice. Document your swaps so you can revisit the original color later.
Step 8: Document your process and share. Take progress photos, write notes about techniques you learned, and post your finished build. Credit the original creator and tag them if possible.
Photo Analysis Techniques for Identifying LEGO Pieces
Photo analysis is the single most important skill for reverse engineering. Most of your time will be spent staring at reference images trying to identify pieces, and this becomes easier with practice.
Zoom in as far as your screen allows. Many builders miss details because they look at photos at thumbnail size. Open the image in full screen and zoom to 200% or 400%. Individual studs become visible and you can count them across a brick.
Look at shadows to understand depth. LEGO photos are 2D, but the builds are 3D. Shadows reveal which pieces stick out, which are recessed, and how layers stack. If a piece casts a shadow on another piece, it sits on top of it.
Cross-reference multiple angles. A single photo can hide connections on the back or underside. If the original builder posted multiple shots, study all of them. Rotate the build mentally as you go.
Use photo editing tools if needed. I sometimes adjust brightness and contrast to see pieces that blend into backgrounds. Cropping out distractions helps focus on a single section.
Be aware that some techniques hide in plain sight. Modified bricks, clipped pieces, and hidden connections may look like standard parts in photos. When you cannot figure out how something stays together, you have probably found an advanced technique worth researching.
Using BrickLink and Studio to Support Your Reverse Engineering
Digital tools have transformed reverse engineering. Two free resources stand out for every builder.
BrickLink is the world’s largest LEGO catalog with more than 10,000 unique parts. The advanced search lets you filter by category, dimensions, and even year of production. When I see an unfamiliar piece in a photo, I open BrickLink, guess at the part type, and browse until I find a match.
LEGO Studio (formerly LDD) is free digital building software from LEGO. You can build models on your computer, rotate them in 3D, and check connections from every angle. For reverse engineering, Studio is invaluable when you are stuck on a section. Build your interpretation digitally, rotate it, and compare it to the reference photo.
Many AFOLs use Studio as a planning tool before committing physical bricks. You can test color swaps, try different connection methods, and even export part lists to BrickLink for purchasing missing pieces.
Dealing With Missing Pieces and Color Swaps
You will almost never have every exact part in the exact color shown in the photo. This is normal and expected. Here is how experienced builders handle it.
Color swapping is the most common solution. If the original used sand red and you only have dark red, swap it. The community accepts this as long as you acknowledge the swap. Some swaps actually look better and become your own creative choice.
Part substitution means using a similar piece when you lack the exact one. A 2×4 brick works in place of two 2×2 bricks in some positions. A clip brick can replace a specialized holder. Study the function of each piece, not just its appearance.
Buy missing parts from BrickLink. If you fall in love with a build and want to recreate it faithfully, BrickLink lets you buy individual pieces, often for just a few cents each. Many sellers specialize in rare or unusual parts.
Embrace the “barely legal” techniques. These are connections that are not officially supported but physically work. Builders use them to create angles and details that would be impossible with standard connections. Trying these teaches you the limits of LEGO pieces.
Understanding Illegal and Barely Legal LEGO Techniques
Every LEGO builder eventually encounters the term “illegal” connections. Understanding what this means unlocks a new world of building.
Illegal connections are brick placements that stress pieces in ways the LEGO Group did not intend. For example, wedging a plate between two studs without proper support creates tension that can crack pieces over time.
Some builders use “barely legal” techniques that work but are not officially sanctioned. These include connecting plates at angles, using clips in unusual orientations, and building outward without stud alignment. The result looks amazing but may be fragile.
The 5/2 rule is a community guideline for reverse engineering projects. It suggests you can complete a project in 5 hours of effort if you plan carefully, but most projects actually take 10 hours or more. This rule keeps expectations realistic. You will probably spend twice as long as you expect, and that is fine.
SNOT techniques deserve special mention. SNOT stands for Studs Not On Top. In a SNOT build, studs face sideways instead of up, allowing for smooth surfaces and realistic details like windows, walls, and architectural features. SNOT is essential for advanced builds and reverse engineering is the best way to learn it.
Community Resources and When to Ask for Help
Reverse engineering can feel lonely when you are stuck, but the LEGO community is one of the most helpful online. Several platforms are worth bookmarking.
Reddit’s r/lego and r/legomoc communities are active and welcoming. Post a photo of your progress, explain where you are stuck, and ask for advice. Most members will offer suggestions within hours.
Eurobricks is a long-running forum dedicated to LEGO building. The advanced techniques section has thousands of posts on SNOT, illegal connections, and reverse engineering tips.
Bricks Stack Exchange works like a Q&A site for LEGO questions. Search for your specific problem first; chances are someone has asked it before. If not, post a clear question with photos.
When you ask for help, give as much detail as you can. Share the original photo you are working from, describe what you have tried, and post photos of your own progress. The community responds to effort and curiosity.
Always credit the original creator when you finish. Link to their original post, mention their username, and thank them for the inspiration. This keeps the community healthy and encourages builders to keep sharing.
Frequently Asked Questions
What is the 5/2 rule in LEGO?
The 5/2 rule is a community guideline that suggests you can complete a reverse engineering project in about 5 hours of focused work if you plan carefully, but most builders find that realistic projects actually take 10 hours or more. This rule helps set realistic expectations so you do not feel discouraged when a build takes longer than expected.
Why are some LEGO techniques illegal?
Some LEGO techniques are called illegal because they stress pieces in ways the LEGO Group did not design. For example, wedging a plate between studs without proper support creates tension that can crack or warp pieces over time. Illegal connections work but are not durable. Barely legal techniques are similar; they function but fall outside official guidelines.
How do you improve LEGO building skills?
You improve LEGO building skills by reverse engineering MOCs, studying advanced techniques like SNOT (Studs Not On Top), practicing part substitution, color swapping, and building from your own imagination. Joining the AFOL community, posting your work for feedback, and tackling progressively harder builds all accelerate your learning curve.
Is it OK to reverse engineer someone else’s MOC?
Yes, reverse engineering someone else’s MOC is generally accepted in the LEGO community as long as you give clear credit to the original creator. Do not claim the design as your own. Mention the builder who inspired you, link to their original post, and document any changes you made like color swaps or part substitutions.
What is the hardest LEGO Technic project to build?
The hardest LEGO Technic projects to build are typically large flagship sets with thousands of pieces and complex mechanical functions, such as the Liebherr crawler crane or the Bugatti Chiron. These combine advanced gear systems, pneumatics, and structural engineering. For reverse engineering, hard Technic MOCs often involve custom gear trains and motorized functions that are difficult to identify from photos alone.
Conclusion
Reverse engineering a LEGO set is one of the best ways to learn new building techniques, develop patience, and join a creative community. Start small, pick MOCs with clear photos, use BrickLink and Studio for support, swap colors freely, and always credit the original creator.
The skills you gain from reverse engineering will change how you look at every LEGO set you own. You will start seeing connections, techniques, and possibilities you never noticed before. That moment when you finally understand how a complex build stays together, that is the real reward.
Pick your first MOC today and start the puzzle. The Brick Fantastic community is here to help you along the way.