
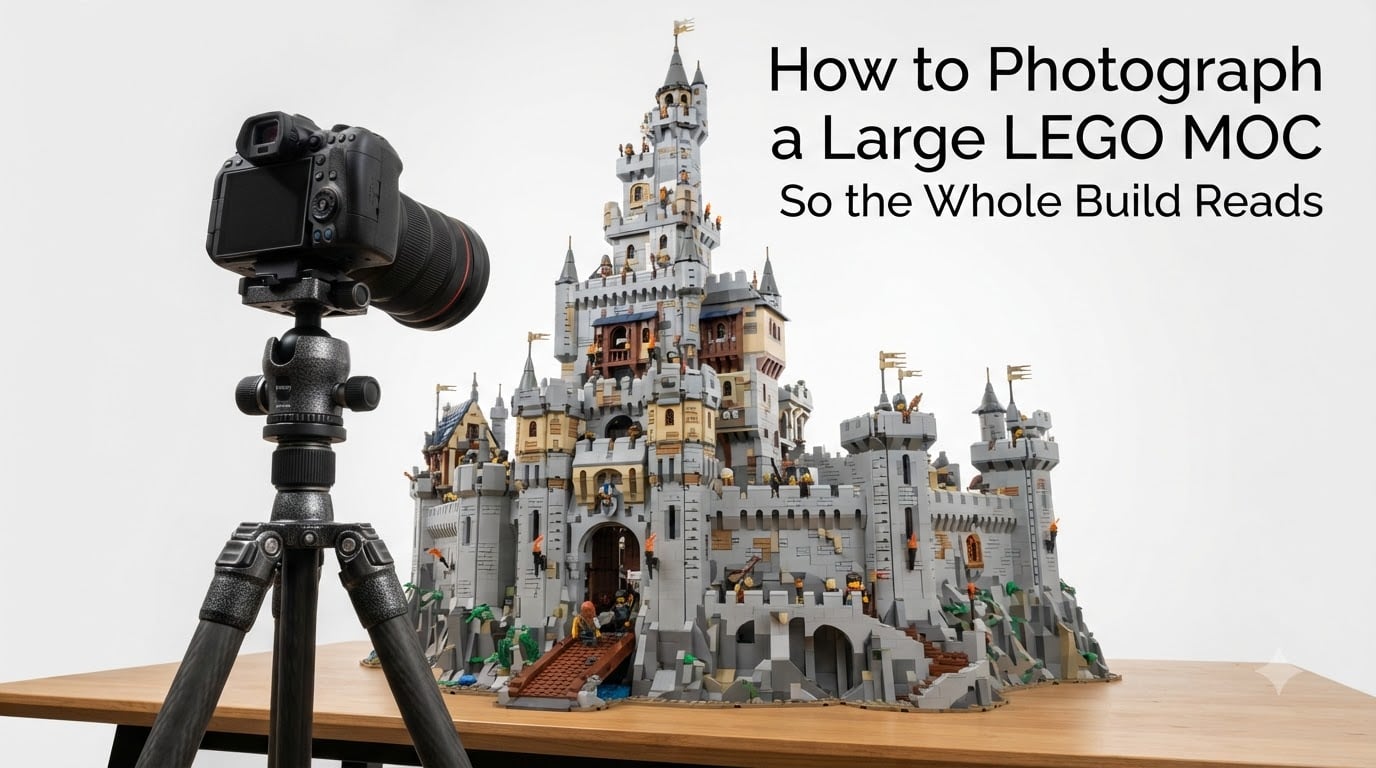
You spent three months building a 4,000-piece castle. The walls are perfect, the towers lean just right, and the courtyard is packed with tiny details you spent hours placing. Then you take a photo and the whole thing falls flat: the front tower is sharp, the back wall is mush, and half your build feels like it belongs to a different scene. If that sounds familiar, you have run into the single biggest problem in large MOC photography. The whole build has to read, and almost nothing about it is forgiving.
I have been photographing my own MOCs for years, and I still get it wrong more often than I would like to admit. After enough ruined shots I started treating the camera like another building tool. Once I did, my photos stopped looking like documentation and started looking like the build actually feels in person. This guide is everything I wish someone had told me before I started.
Table of Contents
What “The Whole Build Reads” Actually Means in LEGO Photography
“The whole build reads” is shorthand for a photo that communicates your LEGO MOC the way your eye experiences it in person. Every part of the build is visible, sharp, and clearly connected to the rest of the scene. There are no mystery zones, no blurry corners pulling attention away from the design, and no harsh shadows chopping the model in half.
A photo where the whole build reads well does three things at once. First, the entire model sits in acceptable focus from the closest brick to the farthest one. Second, the lighting is even enough that no part of the build disappears into shadow or blows out into glare. Third, the composition directs the viewer through the build in a logical order so your eye knows where to start and where to finish.
The opposite is also easy to recognize. Photos that fail usually have one or two sharp elements and a soft, dim, or cropped-out mess everywhere else. Large MOCs make this problem worse because they have so much depth, so many surfaces, and so many internal details competing for attention. Solving it is mostly about choosing the right settings and giving yourself enough time.
Camera Settings for Photographing a Large LEGO MOC
The settings that matter most for a large LEGO MOC are aperture, shutter speed, and ISO. They form the exposure triangle, and you control them in manual mode. If you have never used manual mode before, this is the moment to learn. Auto modes will fight you on every shot.
Use a High F-Stop for Deep Depth of Field
Aperture controls how much of your scene is in focus. For a large LEGO MOC, you almost always want a high F-stop, somewhere between F16 and F22. At these apertures the depth of field is deep enough that a tower in the foreground and a wall in the background can both be sharp at the same time.
Beginners often shoot wide open at F2.8 or F4 because it looks pretty on a single minifigure. That look is wrong for large MOCs. The pleasing background blur, called bokeh, actually works against you when you need the whole build to read. Save the wide apertures for hero shots of a single character or vehicle.
Keep ISO Low to Avoid Grain
ISO controls how sensitive your camera sensor is to light. Lower numbers mean cleaner images with less grain. For MOC photography indoors, start at ISO 100 and only push higher if your shutter speed drops below what you can handhold steadily. I rarely need to go above ISO 400 for my builds because I use good lighting.
Set a Shutter Speed That Stops Camera Shake
Shutter speed controls how long the sensor is exposed to light. A general rule for handholding is that the shutter speed should be at least the reciprocal of your focal length. For a 50mm lens that means 1/50 of a second or faster. For a 24mm lens it means 1/25 or faster. A tripod and self-timer or remote release remove this concern entirely.
Shoot in Manual Mode and Check the Histogram
Manual mode lets you lock in aperture, shutter speed, and ISO all at once. Once you have the right exposure for the brightest part of your build, the rest will usually fall in line. The histogram, that graph on the back of your camera, tells you whether you are clipping highlights or losing shadow detail. Adjust until the graph sits comfortably between the edges.
Lighting Techniques for Large LEGO Builds
Lighting is where most large MOC photos succeed or fail. LEGO plastic is glossy, oddly colored, and unforgiving. Direct light creates glare on studs, hard shadows under overhangs, and color casts that change the look of every brick. The fix is diffusion, and lots of it.
Diffuse Every Light Source
Diffused lighting means the light hitting your build has been scattered so it comes from many directions at once instead of a single harsh point. You can achieve this with a lightbox, a softbox, tracing paper taped over a window, or even a white bedsheet hung between your build and a lamp. The goal is the same: soft, even light with no hot spots.
The r/studshooters community and BrickNerd both emphasize the same rule: never use direct flash on LEGO. A bare flash reflects off every stud like a tiny mirror and ruins the photo. Bounce your flash off a ceiling or wall instead, or skip flash altogether and use continuous LED panels.
Use Multiple Light Sources for Even Coverage
A large build is too big for a single light to cover it well. Place two, three, or even four lights around the scene so every surface receives some light from some angle. The classic setup is a key light at about 45 degrees to the front, a fill light on the opposite side at lower power, and a back or rim light to separate the build from the background.
For interiors, point lights and LED strips work better than trying to shine a single lamp through a window. Many builders install small battery-powered LEDs inside their MOCs to light rooms from within. This is the easiest way to get that cozy “lived-in” look.
Try Natural Overcast Light for Outdoor Shots
If you are shooting a large MOC outdoors, wait for an overcast day or shoot in open shade. The clouds act as a giant diffuser and produce beautifully even light. Direct sunlight on LEGO creates strong shadows under every overhang, which makes the build harder to read. Bright cloudy days are a LEGO photographer’s best friend.
Composition Strategies for Scale and Cohesion
Composition is how you arrange the camera, the build, and the background so the photo tells a clear story. Even with perfect settings and lighting, a poorly composed photo will leave the viewer confused.
Apply the 20-60-20 Rule
The 20-60-20 rule is a framing guideline. The middle 60 percent of your frame is the main subject, the leading 20 percent is setup, and the trailing 20 percent is payoff. For a large LEGO MOC, place the most important feature, the doorway, the bridge, the flag, in the center 60 percent. Use the leading 20 percent to bring the viewer in with a foreground detail like a tree or minifigure, and use the trailing 20 percent to land them somewhere meaningful, maybe a horizon or a distant tower.
Shoot From Low to Emphasize Scale
Most beginners shoot from above because that is how we usually look at LEGO on a table. Drop your camera to the eye level of a minifigure instead. A low angle makes a 30-stud-wide castle look imposing, almost cinematic. It also hides clutter on the table behind the build and creates a cleaner background.
Use Leading Lines and Focal Hierarchy
Walls, roads, beams, and staircases inside your MOC all create natural leading lines. Position your camera so those lines pull the viewer’s eye toward the most important feature of your build. Avoid centering everything. A photo with one clear hero element and several supporting details feels stronger than a photo where every part of the build screams for attention.
Keep the Background Simple
A busy background destroys a large MOC photo. Use a plain poster board, a bed sheet, or a real environment like grass or pavement that does not compete with the build. The eye should land on your LEGO first, then wander outward. If the background is louder than the build, the build stops reading.
Common Mistakes to Avoid When Photographing Large MOCs
Every LEGO photographer makes these mistakes early on. The good news is that they are easy to fix once you see them.
Shooting Too Wide Open
A low F-stop like F2.8 looks gorgeous for a single minifig but blurs out most of a large build. Drop to F16 or F22 and the whole scene will suddenly snap into focus.
Using Direct Flash
Flash pointed straight at LEGO creates harsh glare on every stud and terrible shadows. Bounce it, diffuse it, or skip it entirely and rely on continuous lighting.
Skipping the Tripod
Handholding a camera at low shutter speeds introduces micro-blur that you will not notice on the back screen but will see clearly on a monitor. A tripod fixes this and frees both hands to adjust the build.
Failing to Manage Reflections
LEGO bricks reflect light and other bricks. Photographing through glass or with a bright window behind you doubles up reflections and confuses the viewer. Use a lens hood, position yourself to avoid reflections, or shoot through removable walls if your MOC has them.
Cropping Out Part of the Build
If a critical feature of your MOC sits right at the edge of the frame, the viewer will wonder what they are missing. Either step back and reframe, or commit to a deliberate crop that highlights a single feature rather than awkwardly chopping the whole build.
Step-by-Step Shooting Process for a Large LEGO MOC
Use this checklist every time you sit down to photograph a large build. After a few sessions you will internalize it and stop needing the list.
Step 1. Clean and stage the build. Remove dust, fingerprints, and stray bricks. Place the model on a stable surface and clear the surrounding area of distractions.
Step 2. Set up your lights. Position a diffused key light at 45 degrees in front of the build, a softer fill light on the opposite side, and a rim light behind to separate the model from the background.
Step 3. Mount the camera on a tripod. Frame the entire build with a small margin on each side so nothing gets clipped.
Step 4. Switch to manual mode. Set the aperture to F16 or F22, ISO to 100, and adjust the shutter speed until the histogram looks balanced. For very long exposures, use the self-timer or a remote release to avoid camera shake.
Step 5. Focus carefully. Use manual focus, live view, and zoom in on the back screen to confirm that both the nearest and farthest parts of the build are sharp. Make small adjustments until the entire scene reads clearly.
Step 6. Take a test shot and review it on a larger screen if possible. Check for blown highlights, lost shadows, distracting background elements, and any part of the build that looks soft.
Step 7. Shoot a series. Take wide shots of the whole build, medium shots of key features, and close-ups of interesting details. Variations give you options when you share the photo later.
Step 8. Edit lightly. Straighten the image, adjust white balance so colors look accurate, and gently lift the shadows if the build looks too contrasty. Resist the urge to over-saturate; LEGO colors are already strong.
Once you have a few builds photographed this way, you will start to see the differences instantly. The whole build reads, every detail has a place, and the photo finally matches the build in your memory.
How do I photograph a large LEGO MOC so the whole build reads?
Use a high F-stop (F16 to F22) for deep depth of field, diffuse all your lights to avoid harsh shadows and reflections, mount the camera on a tripod, and compose so the most important features sit in the middle 60 percent of the frame. Shoot in manual mode and check the histogram to confirm your exposure.
What is the best aperture for photographing LEGO MOCs?
For large builds, use F16 to F22 so the entire model stays in focus from front to back. Lower F-stops like F2.8 or F4 are great for single minifigures or close-ups where you want a soft background, but they make large builds look blurry and incomplete.
How should I light a large LEGO MOC for photography?
Diffuse every light source using a softbox, lightbox, or tracing paper. Use two to four lights placed around the build so every surface receives even illumination. For outdoor shots, wait for an overcast day or shoot in open shade. Never use direct flash on LEGO because it creates harsh glare on the studs.
Can a smartphone photograph a large LEGO MOC well?
Yes. Modern smartphones can produce excellent MOC photos because of their wide lenses and close-focusing ability, which makes them useful for tight interior shots. Use a phone tripod, tap to focus on the build, lock exposure by holding the focus point, and shoot in good diffused light to get the best results.
Final Thoughts on Photographing a Large LEGO MOC
Learning to photograph a large LEGO MOC so the whole build reads is less about expensive gear and more about patience, diffusion, and depth of field. Lock in F16 to F22, light the scene evenly, mount the camera on a tripod, and compose deliberately. Those four habits alone will solve 90 percent of the problems you have been fighting.
Your build deserves a photo that does it justice. Try the steps above on your next MOC, share the results with the LEGO photography community, and you will see the difference almost immediately.