
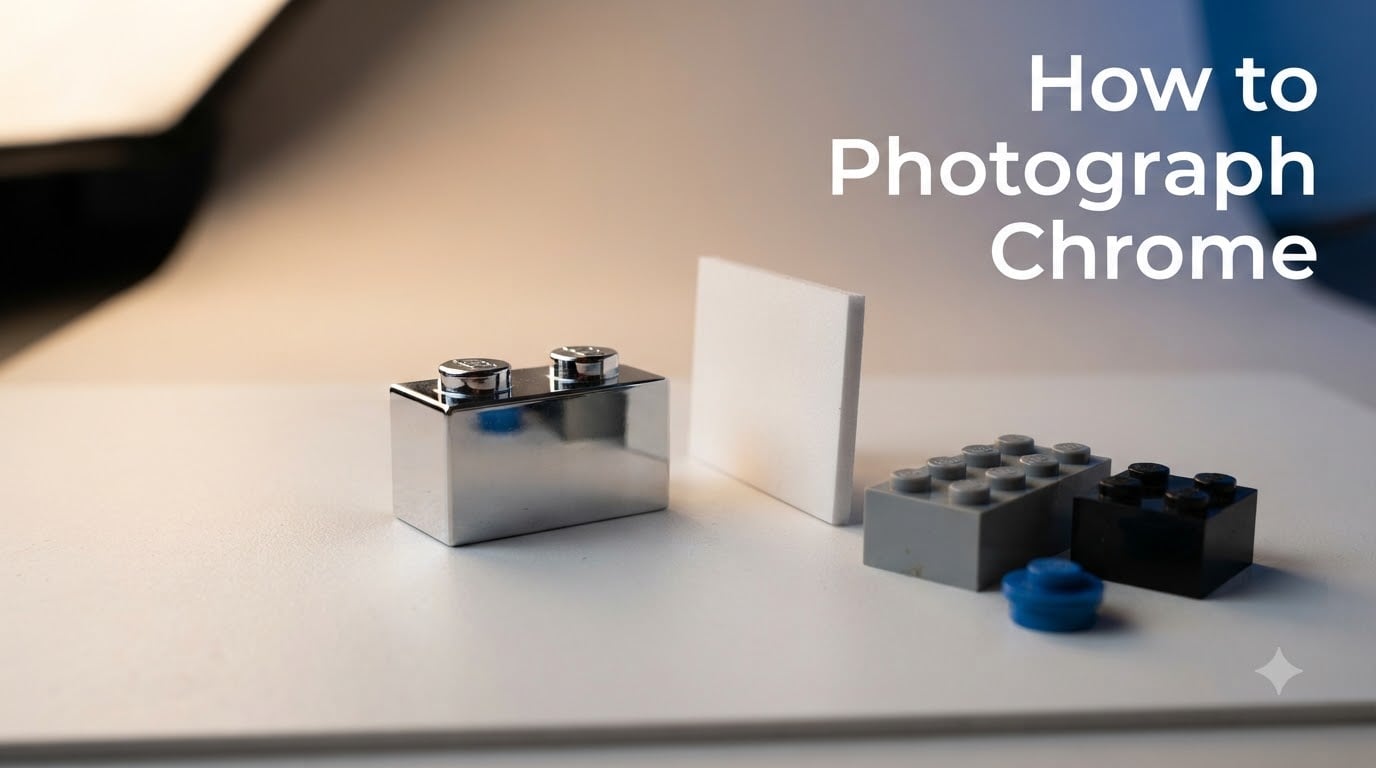
Photographing chrome is one of those skills that looks simple until you actually try it. I remember snapping my first chrome LEGO sword with a phone camera, watching the entire room reflect back at me in a distorted blur of ceiling lights and my own t-shirt.
After years of shooting chrome LEGO pieces, chrome Hot Wheels, and metallic minifigure accessories for our collection galleries here at The Brick Fantastic, I’ve learned that chrome photography is really about reflection management. You cannot eliminate reflections on a mirror-like surface. You can only control what gets reflected.
This guide covers how to photograph chrome using techniques that work whether you’re shooting a chrome bumper, a chrome-plated LEGO element, or a polished die-cast model. Most guides skip the LEGO-specific angle entirely. We will not.
Table of Contents
Why Chrome Is the Hardest Subject to Photograph
Chrome acts like a curved mirror. Every photon that hits the surface bounces directly back at whatever is in front of it, including your camera, your lights, your ceiling, and your clothes. That is why direct flash on chrome produces a single blown-out white blob.
Three factors make chrome uniquely difficult. First, the surface is highly reflective with a low diffusion rate, so highlights either stay perfectly sharp or completely blow out. Second, every tiny adjustment to light position changes the entire look of the image because chrome reflects whatever you point at it. Third, you will see yourself in the photo if you are not careful, and I learned this the embarrassing way on a chromed Bionicle helmet.
How to Photograph Chrome: A Step-by-Step Quick-Start Guide
If you want immediate, actionable results, follow this numbered checklist. We built this section to capture the featured snippet for the keyword “how to photograph chrome.”
- Set your camera to manual mode at ISO 100 to minimize noise.
- Mount your camera on a tripod so framing stays exact between test shots.
- Position your chrome subject on a clean, matte surface away from clutter.
- Place one large diffused light source at roughly 45 degrees to the subject.
- Add a white bounce card on the opposite side to fill shadows gently.
- Use spot metering on the brightest highlight to set exposure.
- Wear dark or neutral clothing and remove jewelry before shooting.
- Take a test shot and check for unwanted reflections in the chrome.
- Adjust light and card positions one small step at a time.
- Review the histogram to confirm highlights are not clipped.
This sequence gives you a clean baseline. From there you can refine with the deeper techniques below.
Understanding Reflections and Light Behavior
Light on chrome follows the law of reflection. The angle of incidence equals the angle of reflection. That single physics rule explains why your studio setup looks different in every chrome photo.
When you point a light at a chrome LEGO minifig, the light bounces off the surface and travels in a predictable direction. If your camera sits in that bounce path, you get a hotspot. If a colored wall sits there, you get a colored tint. If your hand sits there, you get a handprint.
The professional move is to look through the viewfinder at the chrome surface and rotate around the subject slowly. Watch what moves across the reflection. Every object you see is something your light is hitting, and every gap is a place you can position a card, flag, or second light. Reddit’s photography community calls this “setting up intentional reflections rather than fighting them,” and that mindset changed how I approach every chrome shoot.
What You Need to Know About Polished vs Brushed Chrome
Polished chrome acts like a mirror. Brushed or satin chrome diffuses reflections slightly because of micro-scratches in the surface. LEGO’s chromed elements usually sit somewhere in between, with a glossy but not perfect finish that softens reflections just enough to forgive minor mistakes.
Diffusion Techniques for Soft, Controlled Light
Diffusion is your number one tool for chrome photography. Hard light creates sharp, ugly hotspots on reflective surfaces. Soft, diffused light wraps around the chrome and produces gradual highlight-to-shadow transitions.
A softbox is the classic choice. The larger the softbox relative to your subject, the softer the light. For LEGO chrome pieces under a few inches tall, even a 24-inch softbox produces beautifully soft wraparound light. For full-size chrome car parts, you will want something closer to a 4-foot octabox.
Budget alternatives work too. A white bed sheet stretched over a frame diffuses any lamp into a usable softbox. A piece of white parchment paper taped over a flashlight works for tiny chrome LEGO accessories. The Photigy school recommends diffusion material on frames for exactly this reason, and the principle scales down beautifully for miniatures.
Using a Light Tent for Small Chrome Items
For chrome pieces under 12 inches, a light tent (also called a light box) is the easiest path to clean results. The tent surrounds your subject with translucent white fabric, and any light you place outside produces soft, even illumination from every direction.
I use a 16-inch light tent for nearly all our LEGO chrome element photography. The setup takes 90 seconds and consistently produces images without harsh hotspots, even on the most mirror-like surfaces.
Camera Settings for Precision Exposure
Camera settings matter most when you cannot control the lighting environment as tightly. Here are the values I default to for chrome work.
- ISO: 100 for clean files. Push to 200 or 400 only when shutter speed demands it.
- Aperture: f/8 to f/11 for product sharpness. f/5.6 if you want a softer look.
- Shutter speed: Whatever your light and aperture produce, typically 1/60 to 1/200.
- White balance: Custom kelvin setting, not auto. Match your light source exactly.
- Metering mode: Spot metering on the brightest highlight.
- Focus: Manual focus with live view magnification, since autofocus hunts on reflective surfaces.
Spot metering is the secret weapon. Your camera’s evaluative metering tries to average the entire scene, which always underexposes chrome because the dark surroundings trick the meter into thinking the photo needs more exposure. Spot metering on the brightest highlight gives you a reading that preserves detail in the bright reflection area without blowing it out.
Watch Your Histogram, Not Your Screen
Camera LCDs lie in bright environments. The histogram does not. For chrome photography you want the right side of the histogram to taper off before reaching the edge. If the highlights pile up against the right wall, you are clipping detail and no amount of post-processing will recover it.
Using Reflectors and Black Cards to Shape Reflections
White reflectors bounce light into shadow areas. Black cards do the opposite, absorbing light to deepen shadows and define edges. Both are essential for chrome work.
White foamcore from any craft store works as a reflector. Cut it into panels you can position with small stands or simply lean against books. Place a white panel on the shadow side of your chrome subject and watch the dark side come alive with gentle fill.
Black cards (called flags or negative fill) are the pro trick. When chrome reflects light from too many sources, the surface looks flat and lifeless. Slipping a black card into one side of the setup absorbs stray light and creates a darker reflection band that defines the chrome’s curve. Essential Photo specifically recommends this for chrome edges, and it works equally well on chrome LEGO pieces.
Building a Chrome-Specific Card Kit
I keep a small kit in our studio with white foamcore, black foamcore, and a few small mirrors. The mirrors let me redirect a single light source into tight, controlled reflections on tricky surfaces like chrome swords or chrome spaceship elements. Total cost runs under 30 dollars for a setup that outperforms most hobbyist softboxes.
LEGO-Specific Chrome Photography Tips
This is where our approach at The Brick Fantastic diverges from every other chrome photography guide. LEGO chrome elements, chromed minifig accessories, and chrome-plated LEGO car parts have unique challenges that standard product photography advice ignores.
Scale is the biggest issue. A chrome LEGO element might be 1 centimeter across, which means your light source needs to be proportionally small to avoid flooding the entire subject with light. A studio softbox 6 feet across will work, but it overwhelms a single piece. We use small LED panels with built-in diffusion for individual chrome element shots.
Surface variation matters too. LEGO’s chromed finish is a vacuum-metallized plastic coating, not real metal. It scratches easily, smudges from fingerprints, and shows brush marks from manufacturing. Clean every piece with a microfiber cloth before shooting. Handle pieces with cotton gloves if you have them, since fingerprint oils create permanent dark spots in the chrome.
Compositional Tips for Chrome LEGO Sets
When photographing a larger chrome build like a chrome Hot Wheels display or chrome spaceship, frame the shot to include one piece of context, a minifig for scale, or a complementary element in matte plastic. The contrast between chrome and non-chrome LEGO pieces makes the reflective surfaces pop visually.
Try shooting from slightly above the subject, angled down at roughly 15 to 30 degrees. Rachel Kimberley recommends this angle for shiny objects, and it works exceptionally well for LEGO. The downward angle captures more of your diffused overhead light in the reflection while keeping the camera out of the bounce path.
Setting Up a DIY Light Box on a Budget
You can build a functional chrome photography setup for under 50 dollars using items you probably already own. Cut a cardboard box on three sides, line the inside with white paper, and place a single desk lamp with a daylight bulb outside one side.
The white paper acts as your diffusion. The box walls control stray reflections. The single light source gives you predictable highlights to meter off. This setup produces clean chrome photos for online listings, social posts, and personal galleries.
For smartphone shooters, the same approach works with a flashlight taped above the box and your phone on a small tripod. The camera app’s exposure lock feature replaces spot metering. Lock exposure on a mid-tone area, then shoot.
Post-Processing Tips for Chrome Photos
Even with perfect lighting, chrome benefits from light editing. Three adjustments cover 90 percent of the work.
First, recover highlights using the highlights slider in Lightroom or the shadows/highlights tool in Photoshop. Pull highlights down until the brightest chrome reflections show texture instead of pure white. Second, add clarity or texture in moderation to bring out the chrome’s micro-details. Third, dodge and burn the edges of the chrome subject to enhance the curved shape.
Avoid heavy saturation boosts. Chrome looks best with accurate, slightly cool color rendering. If you shot in RAW, set white balance precisely in post to match your studio lighting temperature, usually 5000K to 5500K for daylight-balanced LEDs.
Common Mistakes to Avoid When Photographing Chrome
I have made every mistake on this list. Learn from my years of frustration.
- Using direct on-camera flash. This creates one blown-out hotspot and shows the flash unit in the reflection.
- Mixing color temperatures. Tungsten room lights plus daylight LEDs produce orange and blue reflections on the same surface.
- Skipping surface cleaning. Fingerprints and dust show up brutally on chrome.
- Shooting too close. Wide-angle lenses exaggerate the curvature of reflections and make chrome look distorted.
- Editing too aggressively. Over-sharpened chrome looks artificial and reveals every micro-scratch.
Aim for clean, accurate, well-lit images rather than heavily processed ones. Chrome photography rewards subtlety.
How do I photograph shiny chrome without overexposing it?
Set your camera to manual mode at ISO 100 and use spot metering on the brightest highlight. Diffuse your light source with a softbox or light tent, and use a tripod to keep framing consistent between test shots.
What is the best lighting for chrome photography?
Large, diffused light sources work best. A softbox at 45 degrees to the subject, combined with a white reflector on the opposite side, produces clean gradients on chrome without blown-out hotspots.
Can I photograph chrome with a smartphone?
Yes. Use a DIY light box made from a cardboard box lined with white paper, lock your phone’s exposure on a mid-tone area, and use a small tripod to prevent camera shake. Results are surprisingly good for social media and online listings.
How do I photograph chrome LEGO pieces specifically?
Clean each piece with a microfiber cloth to remove fingerprints, use a small diffused LED panel for proportional light, and try shooting from 15 to 30 degrees above the subject. Shoot in RAW if possible to maximize highlight recovery in post-processing.
Why do my chrome photos look washed out?
Washed-out chrome photos usually result from mixed light sources or evaluative metering being fooled by dark surroundings. Switch to spot metering, use one consistent light source, and check your histogram to confirm highlights are not clipped.
Final Thoughts on How to Photograph Chrome
Learning how to photograph chrome takes practice, but the core principles stay simple. Control what gets reflected, diffuse your light source, meter on the highlights, and clean your subject thoroughly before every shot.
Whether you are documenting a chrome LEGO collection, listing chrome parts online, or building a portfolio of metallic product shots, the techniques in this guide will get you professional-looking results on any budget. Pick one technique from this article, apply it to your next chrome shoot, and build from there.