
So you just washed a pile of LEGO bricks and now you are staring at soggy plastic, wondering how to dry LEGO properly after washing to avoid trapped water inside every single stud and cavity. I have been there, more times than I can count after cleaning bulk lots from eBay, sanitizing hand-me-down sets, and rescuing bricks that sat in a damp basement for years.
The problem is that LEGO bricks are not smooth on the inside. Every single piece has hollow tubes, stud cavities, and tight clutch tolerances that hold onto water like tiny cups. If you just toss them in a bin to air dry, that trapped moisture can sit for days, creating the perfect environment for mold, mildew, and that musty smell nobody wants on their collection.
After testing different drying methods on thousands of bricks, I have found that a combination approach works best. Spread your pieces out, use airflow to your advantage, and verify each piece is bone dry before it goes anywhere near a storage bin. This guide walks through every method I trust, the mistakes that ruined some of my pieces, and the fastest ways to get from wet to dry without damaging a single brick.
Table of Contents
Why Proper Drying Matters: The Risks of Trapped Water
LEGO bricks are made from ABS plastic, which is durable but not completely waterproof in the way you might expect. The plastic itself does not absorb water, but the internal structure of every brick, the hollow studs, the clutch tubes, the tight seams between connected pieces, all trap moisture against the surface.
When water sits inside those cavities for too long, three things can happen. First, mold and mildew can develop in the warm, damp environment inside a brick. Second, mineral deposits from your water can leave chalky white residue on the surfaces. Third, if heat is involved during drying, the plastic itself can warp.
I learned the hard way that stacking wet bricks speeds up mold growth dramatically. A batch I rushed into storage developed black spots inside the cavities within a week, and getting those out required a second full cleaning with vinegar. Since then, I treat the drying step as just as important as the washing step itself.
There is also a resale angle. If you ever plan to sell or trade your collection, buyers can spot water damage, mineral staining, and warped bricks instantly. Properly dried LEGO holds its value, while bricks that were improperly dried look cloudy and worn.
How to Dry LEGO After Washing: The Complete Air Dry Method
The air dry method is the safest way to dry LEGO after washing, and it is what LEGO itself recommends. It takes patience, but it will never damage your bricks. Here is the step-by-step process I follow every time.
Step 1: Drain the Excess Water First
After rinsing your bricks, do not spread them out immediately. Instead, dump them into a colander or strainer and give them a few good shakes. This removes the bulk of the standing water and dramatically cuts down your total drying time.
I let mine sit in the colander for about five minutes, shaking once or twice, before moving to the next step. You would be surprised how much water drains out during this short rest period.
Step 2: Lay Out a Lint-Free Towel
Spread a clean microfiber cloth or a lint-free cotton towel flat on a table or counter. Avoid terry cloth bath towels because they shed lint onto wet bricks, and that lint sticks stubbornly to the plastic.
Microfiber is my go-to because it absorbs fast and leaves zero residue. If you do not have microfiber, a clean cotton bedsheet works well too.
Step 3: Spread Bricks in a Single Layer
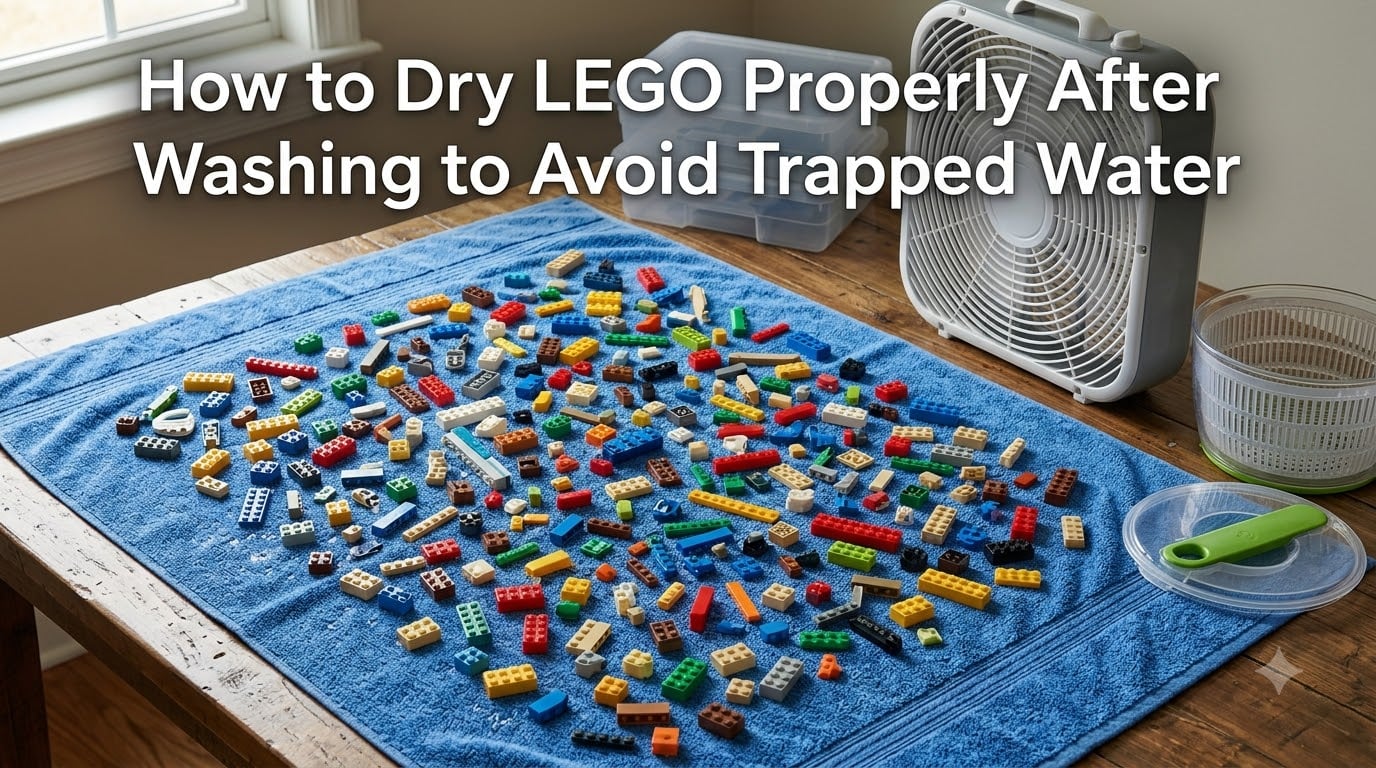
Pour your drained bricks onto the towel and spread them out so none are stacked on top of each other. Every brick needs maximum surface area exposed to air for efficient evaporation.
For larger quantities, use multiple towels or work in batches. Crowding the pieces is the number one reason trapped water lingers.
Step 4: Choose a Well-Ventilated Spot
Place your towel of bricks in a room with good airflow. Near an open window, under a ceiling fan, or in any space where air circulates freely. Stagnant air extends drying time significantly.
I set up a folding table in my living room near a vent, and bricks dry about twice as fast there compared to a closed bathroom.
Step 5: Flip and Rotate After a Few Hours
Every three to four hours, give the bricks a gentle shuffle with your hands. This exposes the underside and the cavities that were resting against the towel. Flipping is especially important for pieces like 2×4 bricks where the internal tubes hold water.
Step 6: Wait 24 to 48 Hours for Full Dry
Air drying LEGO completely takes between 24 and 48 hours depending on humidity, temperature, and airflow. Surface dry happens in a few hours, but the water inside cavities takes much longer to evaporate naturally.
Do not rush this. I know it is tempting to start building again, but storing even slightly damp bricks is asking for mold.
Speed Drying Techniques to Cut Wait Time in Half
Sometimes 48 hours is too long to wait. Whether you need bricks for a project or you just cleaned a massive bulk lot, here are the speed drying techniques the LEGO community on Reddit swears by. I have personally tested all of these.
The Salad Spinner Method
This is my favorite speed technique for bulk bricks. After rinsing, place a handful of bricks into a clean salad spinner. Spin for about 30 seconds, and centrifugal force flings most of the water out of the cavities.
You will be amazed at how much water collects in the bottom of the spinner bowl. After spinning, transfer the bricks to a towel for the final air dry phase, which now takes only a few hours instead of a full day.
One warning: do not overload the spinner. Bricks need room to move freely for the spinning to work. Work in small batches of 20 to 30 pieces at a time.
The Box Fan and Mesh Bag Method
Reddit users in the r/lego and r/LegoStorage communities rave about this one, and for good reason. Place your rinsed bricks into mesh laundry bags and hang them in front of a box fan set to medium or high.
The airflow passes through the mesh and reaches every cavity of every brick. I have had bricks go from soaked to completely dry in about six hours using this method. The mesh bag keeps pieces contained while letting air circulate freely.
If you do not have mesh bags, a window screen propped up over a box fan works just as well. Lay the bricks on the screen in a single layer and let the fan push air up through them.
The Towel and Ceiling Fan Combo
This is the simplest method and requires no special equipment. Spread your bricks on a towel directly under a ceiling fan running at full speed. The constant downward airflow accelerates evaporation across all surfaces.
I use this method for delicate pieces that should not go in a salad spinner, like printed tiles and minifigure accessories. It reliably dries pieces in 12 to 18 hours.
The Paper Towel Press
For flat pieces like base plates, tiles, and plates, lay them between two sheets of paper towel and press gently. The paper towel wicks moisture from the smooth surfaces. Follow up with air drying for the edges and any cavities.
What NOT to Do When Drying LEGO Bricks
Some drying shortcuts will permanently damage your LEGO. I made several of these mistakes early on, and the results were costly. Avoid all of the following methods.
Do Not Use a Clothes Dryer
Never put LEGO bricks in a tumble dryer. The heat exceeds the safe limit for ABS plastic, which begins to soften and warp at around 104 degrees Fahrenheit (40 degrees Celsius). A typical dryer runs at 125 to 135 degrees Fahrenheit, well past the danger zone.
Even on a no-heat setting, the tumbling action will scratch, crack, and chip your bricks as they bang against each other and the drum.
Do Not Use a Microwave
Microwaving LEGO is dangerous on multiple levels. The plastic will melt and warp unevenly, and metal components in some pieces, like axles with paint or electronic parts, can spark and potentially start a fire. This is a hard no.
Do Not Use an Oven
Even on the lowest setting, an oven cannot maintain a temperature low enough to be safe for ABS plastic. Ovens cycle on and off, meaning the actual temperature inside spikes well above the dial setting. Warping is practically guaranteed.
Do Not Use a Hair Dryer
A hair dryer seems gentle, but the concentrated hot air stream can easily exceed 104 degrees Fahrenheit at close range. Holding a hair dryer too close to a brick for even a few seconds can cause localized warping that ruins the clutch power permanently.
If you must use a hair dryer, use the cool air setting only. Even then, a box fan is more effective because it covers a larger area.
Do Not Sun Dry Your LEGO
Direct sunlight causes two problems. First, UV rays fade and discolor LEGO plastic, especially white pieces which yellow rapidly in sun exposure. Second, the sun can heat the surface of dark-colored bricks above the safe temperature, causing subtle warping.
LEGO itself explicitly warns against sun drying for these exact reasons. Always dry your bricks indoors, away from direct sunlight.
Do Not Use a Heater or Radiator
Placing bricks near a space heater, radiator, or heating vent introduces uncontrolled heat. The temperature gradient can warp individual bricks unevenly, and plastic that close to a heat source can soften before you realize it.
How to Dry Different Types of LEGO Pieces
Not all LEGO pieces dry the same way. The shape, size, and material of each piece type affects how you should approach drying. Here is how I handle the most common categories.
Drying LEGO Minifigures
Minifigures need special attention because water gets trapped inside the head cavity, the torso tube, and the hip joints. After washing, remove the head, hair piece, torso, and legs from each other.
Stand the torso upside down on a towel so water drains from the neck opening. Remove the arms if possible and let them dry separately. Use a cotton swab to gently wick moisture from the neck socket and the leg hip joints.
Minifigures take about 24 hours to fully dry because of all the internal cavities. Do not reassemble them until every piece is completely dry.
Drying LEGO Base Plates
Base plates have hundreds of tiny stud cavities that each hold a droplet of water. Lay the base plate flat, stud side up, on a towel in a well-ventilated area.
Press a second towel gently on top to wick surface moisture, then let it air dry. Base plates typically need 24 hours minimum because of the sheer number of stud cavities.
A fan blowing across the surface helps enormously here. I prop base plates at a slight angle so water does not pool in the studs.
Drying LEGO Pieces With Stickers or Prints
Stickered and printed pieces require the gentlest approach. Never rub or press hard on the decorated surface, as stickers can peel and prints can scratch when wet.
Lay these pieces face up on a towel and let them air dry. Do not use a salad spinner for stickered pieces, as the spinning motion can catch an edge and peel the sticker right off.
Pat the non-stickered surfaces gently with a microfiber cloth and let the rest evaporate naturally.
Drying Electronic LEGO Components
Electronic pieces like LEGO motors, battery boxes, light bricks, and Power Functions components should never be submerged in water. If they need cleaning, wipe them with a slightly damp cloth.
If an electronic piece does get wet during cleaning, remove the batteries immediately and let it dry in front of a fan for a minimum of 48 hours before testing. Water inside a motor or battery box can cause corrosion and short circuits.
When in doubt, do not wash electronic pieces at all. A dry makeup brush works great for dusting them.
How to Tell If Your LEGO Bricks Are Fully Dry
This is the question I see most often in LEGO forums, and it is a valid concern. Surface dry is easy to spot, but how do you know the cavities are dry inside?
Here is my verification process. First, pick up a few random bricks from different spots on your drying towel. Press a cotton swab or the corner of a paper towel into each cavity and tube opening. If it comes out completely dry, those pieces are done.
Second, hold a brick up to your ear and shake it gently. If you hear any water sloshing inside, it needs more time. This sounds obvious, but the slosh test catches pieces that look and feel dry on the outside.
Third, do the touch test on the underside of plates and tiles. The bottom edges and clutch tubes are the last to dry because they sit against the towel. If they feel even slightly cool or damp, give them another few hours.
When in doubt, wait. An extra six hours of drying time is far better than discovering mold a week after you put everything away.
Preventing Mold During LEGO Storage After Washing
Drying is only half the battle. If you store your freshly cleaned bricks in the wrong environment, moisture can creep right back in and undo all your effort.
Always store completely dry LEGO in airtight containers with tight-fitting lids. I use clear plastic storage bins with silicone gasket seals because they keep humidity out and let me see what is inside.
Avoid storing bricks in basements, garages, or other areas with high humidity and temperature fluctuations. If you must store in these areas, add silica gel packets to each container to absorb trapped moisture. I toss two or three small packets into every bin.
Check your stored bricks periodically. If you open a bin and smell anything musty, pull everything out and re-dry the affected pieces immediately. Musty smell means mold has started, and it spreads fast in a sealed container.
Here are the warning signs of water or mold damage to watch for in stored bricks. Black or dark green spots inside stud cavities indicate active mold growth. A cloudy or chalky white film on surfaces means mineral deposits from incomplete drying. Warped or distorted bricks suggest heat damage occurred at some point during the drying or storage process.
If you catch mold early, a soak in a mild vinegar solution, one part white vinegar to ten parts water, followed by a thorough rinse and complete re-drying usually solves the problem. Discard any bricks with deep-set mold staining that does not respond to cleaning.
Frequently Asked Questions
How to dry LEGO after washing them?
Spread rinsed LEGO bricks in a single layer on a lint-free microfiber towel in a well-ventilated room. Flip them every few hours and allow 24 to 48 hours for complete drying. For faster results, spin excess water off in a salad spinner first or place bricks in mesh bags in front of a box fan.
What is the LEGO 5 2 rule?
The LEGO 5 2 rule refers to the official guideline that LEGO bricks should be washed by hand at temperatures no higher than 104 degrees Fahrenheit (40 degrees Celsius), using a mild detergent. The numbers 5 and 2 are a community shorthand that does not correspond to an official LEGO policy, but the temperature limit of 104F is the critical figure to remember when washing and drying.
Will LEGOs mold if they get wet?
Yes, LEGO bricks can develop mold if they stay wet or are stored while damp. The hollow cavities and tight internal tubes inside each brick trap moisture, creating an ideal environment for mold and mildew. Always dry LEGO completely, 24 to 48 hours of air drying, before storing them in sealed containers.
Is it okay if I run water through my dusty LEGOs?
Yes, rinsing dusty LEGO under running water is safe as long as the water temperature stays below 104 degrees Fahrenheit (40 degrees Celsius). Use plain water or a mild detergent for washing, then dry thoroughly. Avoid this for electronic components, stickered pieces, and printed parts, which should be cleaned with a dry or barely damp soft brush instead.
Can you put LEGO in the dryer?
No, never put LEGO in a clothes dryer. The heat exceeds the safe temperature for ABS plastic, which softens and warps above 104 degrees Fahrenheit. Even on a no-heat setting, the tumbling action will scratch and crack bricks as they collide with each other and the drum.
Why shouldn’t you sun dry LEGO?
Direct sunlight causes two problems for LEGO bricks. UV rays fade and discolor the plastic, especially white pieces which yellow quickly. Sun exposure can also heat dark-colored bricks above the safe 104 degree Fahrenheit limit, causing warping. Always dry LEGO indoors away from direct sunlight.
Knowing how to dry LEGO properly after washing to avoid trapped water protects your collection from mold, warping, and permanent damage. Drain excess water, spread bricks on a lint-free towel in a ventilated space, and use speed techniques like a salad spinner or box fan to cut your wait time. Never use heat from a dryer, oven, microwave, or hair dryer, and keep bricks out of direct sunlight. Verify every cavity is dry before storage, use airtight containers with silica packets, and your freshly cleaned LEGO will stay in top condition for years.