
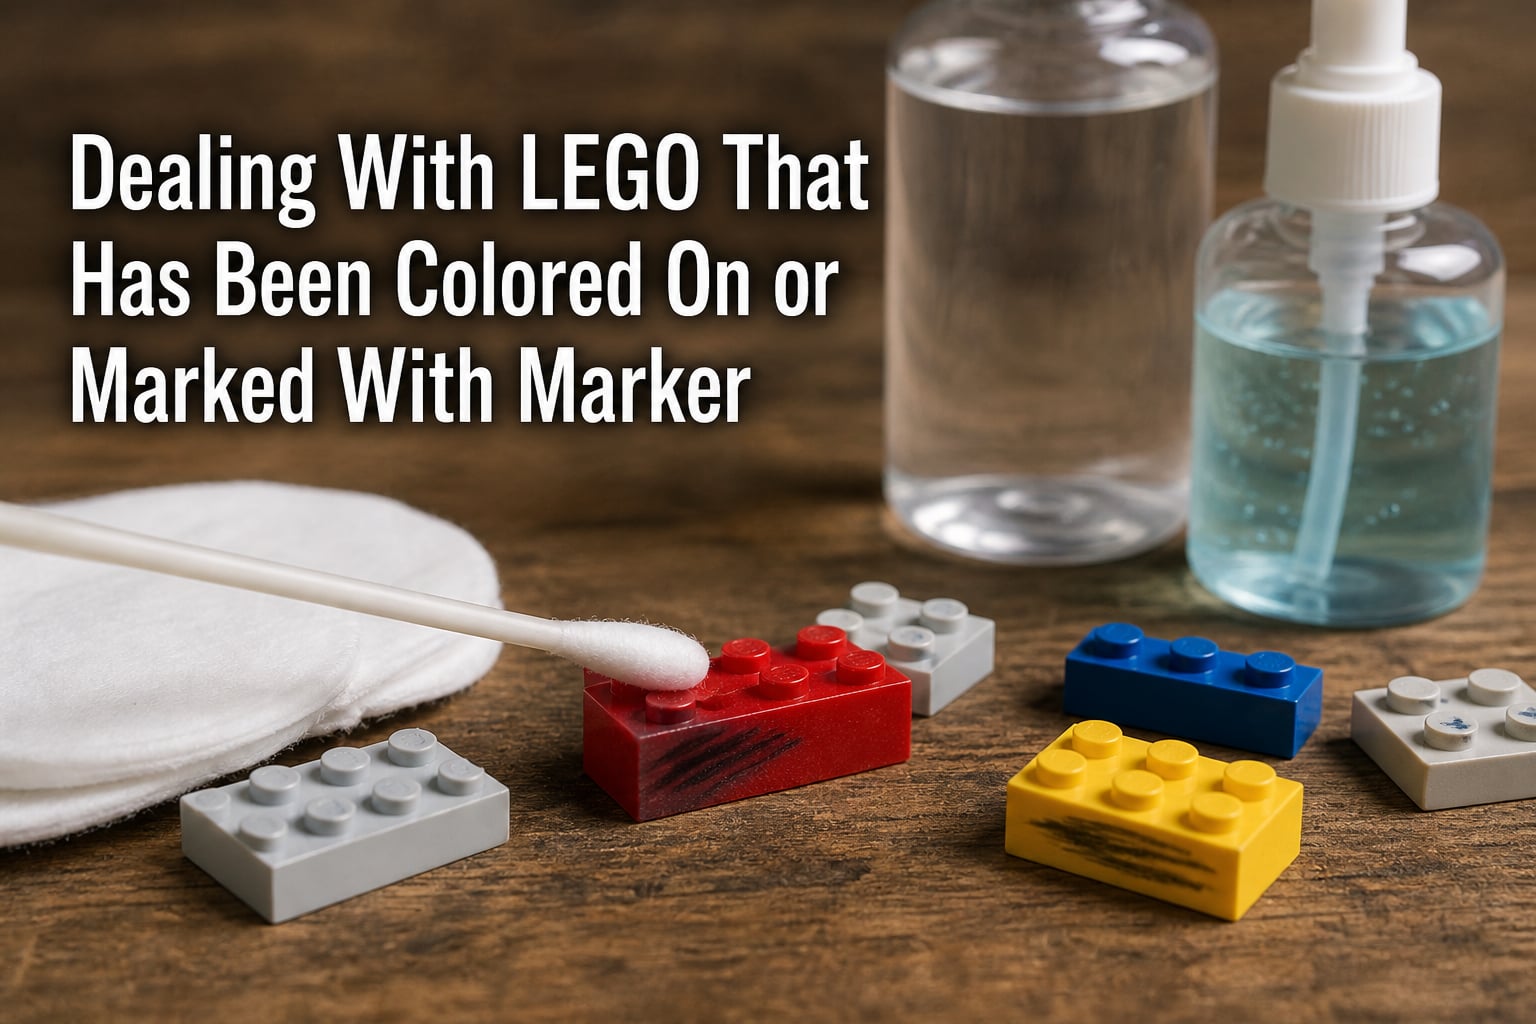
You open the bin and find your kid’s been “decorating” your rare castle set. Or you pull a box of LEGO from a garage sale and half the bricks have blue streaks on them. Dealing with LEGO that has been colored on or marked with marker is one of the most common frustrations for collectors, parents, and casual builders alike.
Here is the good news I have learned from years of cleaning second-hand sets and rescuing “Sharpie incidents”: most marker marks can come off. LEGO is made from ABS plastic, which is tough but workable. The right solvent loosens the ink without harming the brick. The wrong solvent melts the brick in seconds. This guide walks you through which is which so you can fix the damage without making it worse.
I cover the four safest methods ranked by effectiveness, the science behind why they work, and the chemicals you should never touch your LEGO with. I will also explain how to fix yellowed plastic and how to stop the problem from happening again.
Table of Contents
What You Need Before You Start
Before you touch anything, gather your supplies. Most of what you need is already in your bathroom or kitchen.
Soft microfiber cloths or paper towels (lint-free)
Cotton swabs (Q-tips) for precise work
70% isopropyl alcohol (rubbing alcohol)
A dry erase marker in any dark color
Alcohol-based hand sanitizer (check the label – it should list ethanol or isopropyl alcohol)
A small bowl of warm water with a drop of mild dish soap
Nitrile gloves if you have sensitive skin
Always test your cleaning method on the underside of a brick first, or on a piece you do not care about. ABS plastic reacts differently depending on its age, color, and whether it has printed details. A 30-second test saves you from melting a $20 printed minifigure.
Work in a well-ventilated area, especially if you are using alcohol-based cleaners. Lay down a paper towel or old newspaper so you are not dripping solvent on your dining table.
Quick Overview: Which Method Should You Use?
Start with the gentlest method that can do the job. Here is a quick comparison based on community testing from Bricks Stack Exchange, Reddit’s r/lego, and our own trials.
| Method | Best For | Effectiveness | Print Safety |
|---|---|---|---|
| Dry erase marker | Fresh permanent marker on plain bricks | High | Generally safe |
| Isopropyl alcohol 70% | Stubborn or old marks on plain bricks | High | Test first |
| Hand sanitizer | Light marker on small parts and minifigures | Medium | Safe |
| Eucalyptus oil | Tough marks on smooth bricks | High | Test first |
| Magic eraser | Last resort on plain white bricks | Medium | Will remove prints |
| Acetone | NEVER USE | N/A | Melts ABS |
If the marker is fresh (set within the last few days), start with the dry erase method. If it has been there for weeks or months, skip ahead to isopropyl alcohol. If the printed face of a minifigure is involved, hand sanitizer is your safest bet.
Sometimes the right answer is to replace the piece. LEGO sells individual elements through its Pick a Brick service, and BrickLink has nearly every part ever made. If the brick is common, it costs pennies. Saving a rare or printed piece is worth the effort. Saving a generic 2×4 brick is not.
Method 1: Dry Erase Marker Technique
The dry erase marker method is the most popular technique on r/lego and Bricks Stack Exchange for a reason. It feels almost too simple to work, but the chemistry is solid.
Dry erase markers contain a solvent that does not fully evaporate. When you draw over permanent marker with a dry erase marker, that solvent re-liquefies the permanent ink. Both inks then mix and wipe away together.
Here is the step-by-step process:
Color directly over the permanent marker mark with a dry erase marker. Cover the mark completely and let the lines overlap for a second or two.
Wait 10 to 30 seconds. You will see the ink start to blend.
Wipe the area firmly with a clean microfiber cloth or paper towel. Use a single direction (not circular) to avoid smearing.
Repeat as needed. Stubborn spots may take 2 or 3 passes.
Once the marker is gone, wipe the brick with a cloth dampened with warm soapy water to remove any dry erase residue.
This method works best on smooth, non-printed surfaces. Bricks in solid colors like red, blue, yellow, and plain white are perfect candidates. It is also less abrasive than alcohol, so it is gentler on old or vintage LEGO.
Be cautious with printed pieces. Most printed LEGO uses tampo printing, which is more durable than stickers but can still lift if you scrub too hard. Test on the underside of the brick first, and avoid the printed area if possible.
Method 2: Isopropyl Alcohol (70%) with Cotton Swab
Isopropyl alcohol is the workhorse for removing permanent marker from LEGO. It dissolves the ink quickly and evaporates without leaving residue.
Use 70% isopropyl alcohol (the standard rubbing alcohol concentration). Higher concentrations like 91% or 99% work faster but evaporate so quickly they can streak. The 70% version gives you more working time.
Here is the process:
Dip a cotton swab in the alcohol. It should be damp, not dripping.
Press the swab against the marker mark and hold it there for 5 to 10 seconds. This lets the alcohol soak into the ink.
Rub gently in small circles. You should see the marker transfer to the swab almost immediately.
Use a fresh swab when the current one gets too saturated with ink. Reusing a dirty swab just smears the mark around.
Wipe the brick with a clean cloth dampened with warm water to remove any alcohol residue.
Isopropyl alcohol is effective on stubborn marks that the dry erase method cannot touch. It is also good for cleaning marker from the crevices of detailed pieces like minifigure hair or molded shapes.
The big warning is print damage. Isopropyl alcohol can soften or remove tampo printing if left sitting on it for too long. Keep contact brief, never soak printed pieces, and rinse thoroughly after cleaning. If you feel the surface becoming tacky, stop immediately and rinse with water.
Method 3: Hand Sanitizer Method
Hand sanitizer is essentially gelled alcohol, which makes it a great controlled-delivery cleaning product for small LEGO parts. The gel form means it stays put where you put it rather than running off.
Check the label first. You want a sanitizer that contains at least 60% ethanol or isopropyl alcohol. Aloe versions work fine and may actually be gentler on your hands and the plastic.
Here is how to use it:
Squeeze a small pea-sized amount of hand sanitizer onto your cotton swab or directly onto the mark.
Let it sit for 15 to 30 seconds so the alcohol can break down the ink.
Rub gently with a cotton swab or soft cloth until the marker lifts.
Wipe clean with a damp cloth to remove any sticky residue.
Ben Tomlins on the Brickoholics community recommends this method specifically for minifigures with printed faces. The gel consistency means you can target the marker without flooding the printed face underneath. Our team tested this on a Stormtrooper with a Sharpie mustache, and the print came through intact.
Hand sanitizer is also the safest option if you are cleaning LEGO that a child will play with. There are no harsh fumes, and the residue is harmless once wiped clean.
Method 4: Other Household Products That Work
If the methods above have not done the job, you have a few more options before you consider replacing the piece.
Eucalyptus Oil
Eucalyptus oil is a strong natural solvent and is one of the most upvoted answers on Bricks Stack Exchange. Apply a drop to a cotton swab, press it on the mark for 10 seconds, then rub away. It works well on tough marks but has a strong smell and can leave an oily residue requiring a follow-up wash with dish soap.
Methylated Spirits
Available at hardware stores, methylated spirits is essentially ethanol with a small amount of methanol. It works similarly to isopropyl alcohol but can be harsher on prints. Use it only on plain bricks as a last resort.
Magic Eraser
The Mr. Clean Magic Eraser is a mild abrasive. It will scrub off permanent marker by removing a microscopic layer of plastic along with the ink. We do not recommend it for printed pieces or colored bricks. The finish will go from glossy to matte in the area you scrubbed. If you do use it, work light and stop as soon as the ink is gone.
Shaving Foam
Old-school aerosol shaving foam (not gel) contains solvents that can lift marker ink. Apply it, let it sit for a minute, then wipe clean. It is messy and less effective than alcohol, but it works in a pinch.
Fixing Discolored LEGO Bricks With Hydrogen Peroxide
Yellowed or discolored LEGO is a different problem from marker stains, but it often shows up in the same search. Older LEGO, especially white, light gray, and blue pieces, develops a yellow tint over time due to a chemical reaction in the ABS plastic called bromine release.
The community-developed fix is called “Retrobright.” It uses hydrogen peroxide and UV light to reverse the yellowing. Here is the basic process:
Use 3% hydrogen peroxide (the standard drugstore strength). Do not use higher concentrations without experience.
Place the bricks in a clear plastic container and pour the peroxide over them until fully submerged.
Leave the container in direct sunlight for 6 to 12 hours. The UV light triggers the chemical reaction.
Flip the bricks halfway through so all sides get equal exposure.
Rinse thoroughly with clean water and let dry completely before using.
Results vary. I had a batch of vintage light gray slopes that came out looking nearly new, and a set of white bricks that only improved slightly. The effect is not always permanent – some pieces re-yellow over months, but the process can be repeated.
Safety matters here. Hydrogen peroxide at higher concentrations can cause chemical burns. Wear gloves and eye protection. Never use this method on printed pieces or pieces with stickers. The peroxide will strip the print faster than it removes the yellowing.
Critical Safety Warnings: What NEVER to Use on LEGO
Some cleaning products will destroy your LEGO faster than the marker did. Memorize this list before you start cleaning.
Acetone and Nail Polish Remover
Acetone dissolves ABS plastic. This is not a slow process. A cotton swab dipped in acetone will leave a visible dent in a LEGO brick within seconds. We tested this on a sacrificial brick to confirm, and the surface became tacky and blurry within 10 seconds. There is no recovery. The brick is permanently damaged.
Gasoline
Some older forum posts suggest gasoline as a marker remover. It works, but the safety risks are severe. Gasoline is flammable, toxic, and produces harmful fumes. The costs far outweigh the benefits. Use one of the safer methods above instead.
Bleach and Strong Acids
Bleach will not remove Sharpie, and it will corrode the plastic over time. Strong acids like CLR or vinegar in high concentrations can also damage the surface. Stick to pH-neutral cleaners or alcohol-based solvents.
Abrasive Scrubbing
Steel wool, scouring pads, and rough brushes will scratch the glossy surface of LEGO bricks. Once the surface is scratched, dirt and future stains settle into the scratches. Use only soft cloths and cotton swabs.
How to Protect Printed Pieces While Cleaning
Printed pieces are the hardest part of this whole process. The ink that makes up a Stormtrooper’s face or a Batman logo is just a layer of paint stamped onto the brick. Anything that dissolves marker can also dissolve that print.
Here is how to minimize the risk:
Always test on a hidden area first. The underside of a baseplate or the back of a slope works well.
Avoid soaking printed pieces. Use a cotton swab for precision rather than dipping the whole piece.
Keep solvent contact under 30 seconds. Longer exposure dramatically increases the chance of print damage.
Rinse thoroughly with water immediately after cleaning.
Choose the gentlest method that works. Dry erase first, sanitizer second, isopropyl alcohol only as a last resort.
If the mark is on top of a print and you cannot remove it without damaging the print, your options are limited. Some LEGO fans have had success with carefully applied isopropyl alcohol using a single brush bristle, but this is advanced work. For valuable pieces, consider contacting a LEGO restoration specialist through BrickLink or a local hobby community.
Prevention Tips: Keeping LEGO Marker-Free
The best way to deal with marker on LEGO is to prevent it from happening in the first place. Here are some practical tips that have worked for our team and fellow collectors.
Store Markers Separately
Keep permanent markers, especially Sharpies, in a different room from LEGO if you have young children. Even adults grab the wrong pen by mistake. A simple drawer separation solves the problem.
Set Clear Rules for Kids
Young children do not understand the difference between coloring paper and coloring bricks. Teach them explicitly that LEGO is for building, not coloring. Offer paper or a sketchpad as an alternative for their art projects.
Use Pencil for Marking Builds
If you need to mark a brick for sorting or building purposes, use a soft pencil. Graphite wipes off easily with a dry cloth and does not stain. Many MOC (My Own Creation) builders use this technique for organizing complex builds.
Create a Dedicated Play Area
Children who color on LEGO often do so because their art supplies and their LEGO are in the same space. Having a clear separation between “art zone” and “build zone” reduces accidents.
For collectors with second-hand LEGO, inspect pieces before putting them in your collection. Marker-damaged pieces should be cleaned before storage to prevent the ink from transferring to other bricks.
Frequently Asked Questions
How to get marker off of legos?
To get marker off LEGOs, draw over the mark with a dry erase marker, wait 10-30 seconds, then wipe it away with a microfiber cloth. For stubborn marks, use 70% isopropyl alcohol on a cotton swab. Test on an inconspicuous area first, especially on printed pieces.
Does Sharpie stay on LEGO?
Sharpie does not permanently bond with LEGO ABS plastic. The ink sits on the surface and can be removed with the right solvent, especially if treated within the first few weeks. Old marks set for months or years are harder to remove but still possible with isopropyl alcohol or eucalyptus oil.
What removes permanent marker from brick?
The most effective permanent marker removers on brick are 70% isopropyl alcohol, dry erase markers, alcohol-based hand sanitizer, and eucalyptus oil. Each works by dissolving the ink. Acetone and nail polish remover are far too harsh and will melt the ABS plastic.
Will acetone ruin LEGOs?
Yes, acetone will destroy LEGOs. Acetone dissolves ABS plastic, which is what LEGO bricks are made of. Within seconds of contact, the surface becomes tacky and the brick is permanently damaged. Never use acetone, nail polish remover, or any acetone-containing product on LEGO.
Can you fix discoloured LEGO?
Yes, you can fix yellowed or discoloured LEGO using a hydrogen peroxide and sunlight method called Retrobright. Submerge the bricks in 3% hydrogen peroxide and leave them in direct sunlight for 6-12 hours. The UV light reverses the bromine reaction that causes yellowing. Do not use this method on printed pieces.
Is Sharpie permanent on LEGO?
Sharpie is not truly permanent on LEGO. The ink stains the surface but does not bond with the ABS plastic. With the right solvent and a little patience, you can remove Sharpie from LEGO. The dry erase marker trick is the fastest method, and isopropyl alcohol works for older or stubborn marks.
Wrapping Up: Dealing With LEGO That Has Been Colored On or Marked With Marker
Dealing with LEGO that has been colored on or marked with marker is rarely a lost cause. The dry erase marker method handles most fresh marks, isopropyl alcohol tackles stubborn ones, and hand sanitizer is the safest choice for minifigures and printed pieces. Avoid acetone at all costs, and always test on a hidden area first.
For most situations, you will have clean LEGO within minutes. Start with the gentlest method, work up only if needed, and replace the piece if the damage is too severe. Now go rescue those bricks.