
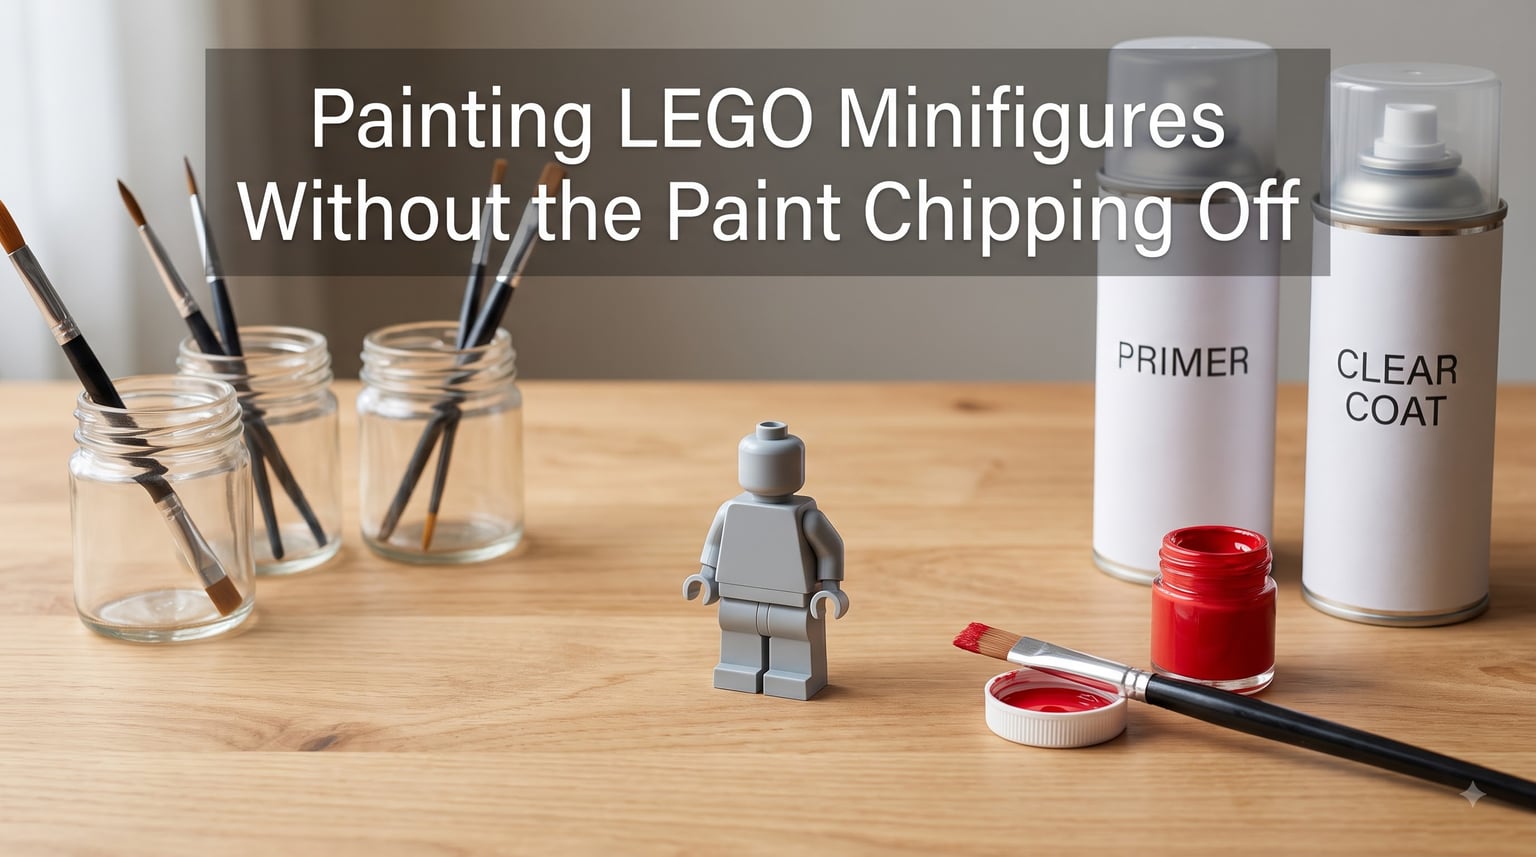
I’ve painted well over 50 LEGO minifigures over the last three years, and I still remember the frustration of seeing my first custom knight’s helmet flake off after a single afternoon of play. That is exactly why I wrote this guide on painting LEGO minifigures without the paint chipping off, because the difference between a paint job that lasts a weekend and one that lasts a decade comes down to a handful of careful steps you can repeat at home.
In this guide, I’ll walk you through the entire workflow I use on my own builds: surface preparation, primer, paint selection, thin coats, sealing, and the special handling needed for joints and high-wear figures like keychains. By the end, you’ll know exactly why minifigure paint chips and what to do about it.
Table of Contents
Why Paint Chipping Happens on LEGO Minifigures
LEGO bricks are made from ABS plastic, a hard, slightly slick material that was never designed to hold paint. When you brush acrylic directly onto a clean, glossy minifigure, the paint sits on top of the surface rather than bonding with it. Any friction from handling, pockets, or joint movement then lifts that loose layer away, and you get the classic chip we all dread.
A few specific factors make chipping worse. First, LEGO’s factory finish is very smooth, so there’s almost no tooth for paint to grip. Second, minifigures have multiple moving joints at the hips, shoulders, and hands that rub together constantly. Third, most beginners apply paint too thick, and a thick layer cracks at the first sign of stress. Understanding these causes is the first step in preventing them.
Essential Surface Preparation Techniques
Every durable paint job starts with a clean, slightly roughened surface. I never skip prep, and neither should you. Here’s the exact sequence I follow before any brush touches my minifigure.
Disassemble the figure as much as possible. Remove hair, hats, and accessories so you can paint separate pieces and avoid masking later.
Wash every piece in warm soapy water. LEGO figures pick up skin oils from handling, and oils are the number one enemy of paint adhesion.
Rinse and let pieces dry completely. I usually wait at least 30 minutes.
Lightly scuff the surface with 600 to 1000 grit sandpaper. You are not trying to remove material, just to give the plastic a microscopic texture for primer to grab.
Wipe away all dust with a lint-free cloth or a tack cloth before moving on.
If you skip the sanding step, your primer will still stick, but it will not hold as firmly under heavy use. Sanding adds about five minutes to the process and adds years to the paint job.
Painting LEGO Minifigures Without the Paint Chipping Off: Step-by-Step Workflow
This is the core of the guide. Follow these steps in order, and you will get paint that survives pockets, play, and display cases for years.
Step 1: Apply a Plastic Primer
Spray primer designed for plastic is non-negotiable for chip-free paint. I use a light dusting of automotive plastic primer or a hobby primer like Vallejo Surface Primer. Hold the can 8 to 10 inches away and apply two thin coats rather than one heavy coat. Let each coat dry for at least 15 minutes.
Step 2: Base Coat with Thin Acrylic Paint
Mix your acrylic paint with a drop of water or flow improver until it reaches the consistency of whole milk. Apply with a fine detail brush in two to three thin coats. Thick paint is the most common reason custom minifigures look blobby and chip early.
Step 3: Detail and Shade
Once the base is dry, add face details, armor trim, or weathering with a 10/0 or 20/0 brush. Citadel, Vallejo Model Color, and FolkArt all work well for this stage. Let each detail layer dry fully before adding the next.
Step 4: Seal with a Clear Coat
Sealing is what locks everything in. A matte or satin clear coat protects against friction and UV. I prefer Testors Dullcote or Badger Matte Clear for display pieces. Two light passes, with 20 minutes between coats, gives a durable finish that still looks natural.
Choosing the Right Paint for LEGO Minifigures
Acrylic paint is the only paint type I recommend for LEGO. It is water-based, flexible, and bonds well to primed plastic. Enamels, lacquers, and oil-based model paints dry harder but chip more easily on flexible ABS and require harsh solvents.
Within acrylics, my top picks are Vallejo Model Color for detail work, Citadel for their huge range of skin and fabric tones, and FolkArt for budget-friendly base coats. Avoid craft paint that is heavily pigmented and chalky, because it tends to crack under movement.
Warning About Nail Polish
I get this question a lot, so let me be direct. Do not use nail polish as a paint or sealer on LEGO minifigures. Nail polish yellows badly within months under normal light exposure, and the brittle film chips in sheets rather than small flakes. Many first-time customizers regret using it because by the time the yellowing shows up, the paint is sealed underneath.
Sealing and Top Coat Strategies for Long-Lasting Paint
The right sealer makes the difference between a paint job that lasts a season and one that lasts a decade. I always recommend a spray-on acrylic clear coat over brush-on sealers because it lays down an even, thin layer that does not disturb the underlying paint.
Matte vs Gloss vs Satin
Matte clear coats give the most natural LEGO look and hide small imperfections. Gloss sealers look plasticky but offer slightly more abrasion resistance. Satin splits the difference and is my default for most figures. For minifigs that will be handled often, I lean toward matte because it masks small scratches as they appear.
Trusted Sealer Options
Testors Dullcote, Vallejo Mecha Matte Varnish, Badger Matte Clear, and even Pledge Future floor wax thinned with water all have loyal followings among minifigure painters. Future is a budget classic, but it adds a slight gloss that some painters do not love. Whatever you choose, apply two thin coats and let the figure cure for 24 hours before handling.
Protecting Joints, Hinges, and High-Wear Areas
If there is one place paint always fails, it is at the joints. Arms rub against torsos. Hips flex with every step. Hands twist on accessories. Any paint in these zones will eventually wear, but you can slow it down dramatically with the right approach.
First, mask off joint areas with painter’s tape before painting, then remove the tape after sealing. This leaves a tiny unpainted buffer that flexes without cracking. Second, keep paint layers as thin as possible on moving parts. Third, for items like keychains that take constant abuse, consider leaving joint surfaces unpainted entirely and only painting the torso, head, and legs.
For extreme wear cases, a flexible Plasti Dip coating over the entire minifigure adds rubbery protection, though it changes the look and feel of the figure. Most painters only use this technique on keychain figures, not display pieces.
Common Mistakes to Avoid When Painting Custom LEGO Minifigures
Even experienced painters make these errors. Watch for them and your figures will look better and last longer.
Skipping the primer. Paint on bare ABS always chips faster.
Applying thick coats. Thin always wins on small figures.
Using nail polish. Yellowing and cracking are guaranteed.
Handling pieces before they are fully cured. Give your clear coat 24 hours.
Painting over factory prints. Strip or mask those areas first.
Using enamel paint. It looks great until the first flex, then it cracks.
One more mistake worth calling out. Many beginners try to seal with hairspray because they have seen it recommended for other miniatures. Hairspray yellows over time and does not hold up to handling. Stick with a proper acrylic clear coat and your figures will look the same years from now as the day you painted them.
Maintenance and Reapplication Schedule
Even the best paint job needs occasional touch-ups. For display minifigures that rarely get touched, a fresh coat of clear sealer every two to three years keeps the finish looking new. For play figures, expect to repaint high-wear areas every 6 to 12 months depending on use.
I keep a small kit with my base acrylic colors, a 10/0 brush, and a can of matte sealer for quick repairs. A five-minute touch-up after a year of play is far easier than starting from scratch.
FAQs
Can you paint LEGO Minifigures?
Yes, you can paint LEGO minifigures using acrylic paint on top of a plastic primer, then sealed with a clear coat. This process works on both custom and repair projects and creates a durable finish when done correctly.
What is the best paint for LEGO minifigs?
Acrylic paint is the best choice for LEGO minifigures. Vallejo Model Color, Citadel, and FolkArt are popular options because they are flexible, water-based, and bond well to primed ABS plastic. Avoid enamels, lacquers, and nail polish, which chip or yellow over time.
How do I prevent paint from chipping on LEGO joints?
Mask off joint areas with painter’s tape before painting, apply thin coats only, and seal with a flexible matte clear coat. For keychain minifigs that take heavy abuse, consider leaving joint surfaces unpainted entirely.
What sealer should I use to protect painted LEGO figures?
A spray-on acrylic clear coat like Testors Dullcote, Vallejo Mecha Matte, or Badger Matte Clear is ideal. Apply two thin coats with 20 minutes of drying time between them, then let the figure cure for 24 hours before handling.
Is it safe to use nail polish on LEGO minifigures?
No, nail polish is not recommended for LEGO minifigures. It yellows badly under normal light exposure within months and chips in sheets rather than small flakes. Use a proper acrylic sealer instead for long-lasting results.
How many coats of paint should I apply to a LEGO minifigure?
Apply two to three thin coats of acrylic paint, allowing each coat to dry fully before adding the next. Thin coats dry evenly, bond better to the primer, and resist cracking far longer than a single thick coat.
Conclusion
Painting LEGO minifigures without the paint chipping off comes down to four repeatable habits: clean and lightly sand every piece, prime with a plastic primer, apply thin acrylic coats, and seal with a quality clear coat. Add a little extra care around joints, and your custom figures will look as good in five years as the day you finished them.
Start with one test figure from your spares bin, work through the steps in order, and you will quickly see why this workflow is the standard among experienced customizers. Once you nail the technique, you can confidently paint keychains, display pieces, and full army customizations knowing the paint will stay put.