
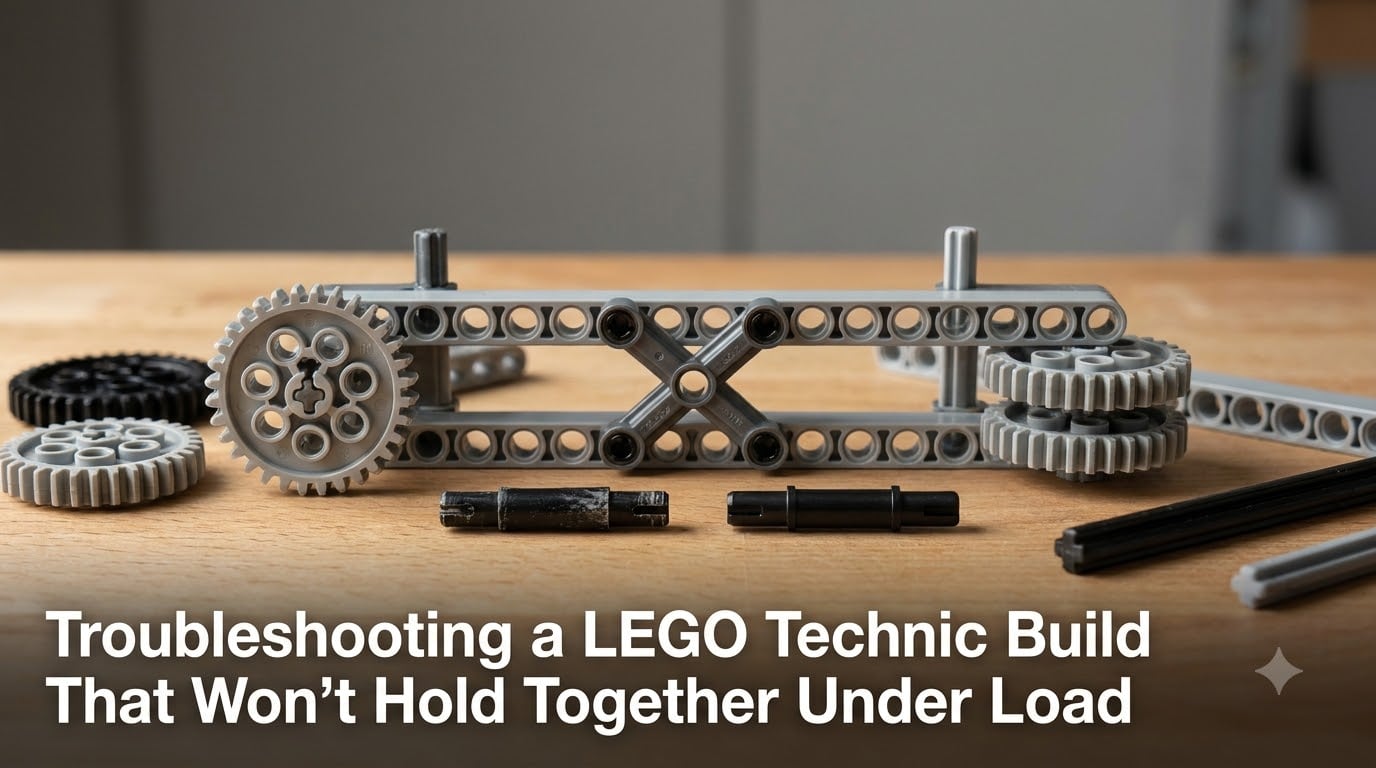
I’ve been a Technic builder for years, and I’ll tell you straight: nothing is more frustrating than a 2,000-piece gearbox that decides to pancake itself the moment you flip the power switch. This guide covers everything I wish I’d known during my first LEGO Technic build troubleshooting attempts, so you can fix loose connections and prevent the next one from falling apart.
If your Technic build wobbles, separates at the joints, or simply falls apart when you pick it up, the answer almost always lies in a handful of specific connection types and how they’re loaded. We’re going to walk through the underlying mechanics, the common failure points I’ve seen across gears, beams, and axles, and the exact fixes that real builders use.
Table of Contents
What Makes a LEGO Technic Build Fail Under Load
A LEGO Technic build fails under load when one of three primary connection types loses its holding force: friction pins, axle connectors, and beam-to-beam joins. Each type grips differently, and each fails differently.
Friction pins rely on the small ridge on the pin shaft that catches inside the round hole of a beam. When that ridge wears down or the receiving hole gets slightly oval from repeated stress, the pin will rotate freely and the joint loosens. Pin connector pieces work similarly but at a 90-degree angle.
Axle connectors grip the cross-shaped axle end using internal teeth. Over time, especially when gears fight each other for position, those teeth grind down and the axle slips out of the connector. Beam connectors themselves rarely fail. They fail only when installed under torsion.
The third category, stud-to-stud connections with standard bricks, often gets overlooked in Technic builds. When you mix standard bricks into a heavy Technic frame, the studs and anti-studs wear faster because the load transfers through them rather than through the more durable pin-and-beam system.
Common Causes of Loose Technic Connections
After rebuilding my share of falls-apart models, I can usually trace a loose connection back to one of four root causes. Here is what to look for first.
Worn friction pins. The tiny ridge on a black pin flattens after repeated disassembly. The pin still looks new but spins freely in the hole. This is the single most common issue I’ve encountered in older sets.
Cracked clutching surfaces. Visible hairline cracks near the arms of hand-of-LEGO pieces or near a beam-to-beam connector mean the part needs replacement, not repair.
Over-tightened or under-tightened gears. Push gears so tight that the axle bows inward, and the next gear in line loses its mesh. Leave them too loose, and meshing skips under load.
Subtle assembly errors. A pin inserted one stud off, or an axle that bypasses a strengthening cross-brace, can let a small wobble compound into structural collapse.
A member of the Eurobricks community put it well: with hands and arms, the problem is usually a crack in the arm, or the ridge on the peg is worn down. I’ve found this to be true of the entire Technic system: cracks mean replace, wear means assess.
How to Diagnose the Problem in Your Build
Before you start swapping parts, run through a four-step inspection that I use on every rebuild. It takes about ten minutes and saves hours of guessing.
Visual inspection. Lay the model on a white sheet of paper and look for gaps where two parts should meet flush. A 1 mm gap under a beam is often the source of a 5 mm wobble on the far side of the build.
Tactile check. Press each friction pin with your fingernail. If the pin rotates with no resistance, mark it. If it doesn’t budge, leave it alone.
The shake test. Hold the build at chest height, rotate it gently, and listen. A healthy build makes a soft uniform sound. A loose connection produces a faint, sharper click.
Load test. For a stationary build, place a 1 kg weight directly on the suspected section for 30 seconds. If any piece migrates, you’ve found your weak link.
Skip the load test on models with motors or delicate gears. Instead, run the model empty at half speed and watch for differential axles popping out or gears jumping teeth. Both are signs of misalignment, not worn parts.
Understanding the 5/2 Rule and Load Distribution
The 5/2 rule is one of those Lego concepts every serious builder knows and most casual builders have never heard of. It applies specifically to load-bearing structures in Technic and Creator Expert builds.
The rule says that for every 5 studs of horizontal span on a beam, you should include 2 studs of vertical reinforcement. This typically comes from a second beam crossing perpendicular, a liftarm brace, or a frame element tying the structure together.
Why 5 and 2? That’s roughly the stiffness ratio needed to keep a beam from sagging under its own weight plus whatever load you place on it. Going beyond this distribution adds weight without adding strength. Falling short causes the classic mid-beam droop you see in models with heavy superstructures.
Real-world failure I saw when building a 2,000-piece construction crane: the main horizontal beam spanned 13 studs with only one cross-brace. The boom drooped 4 mm at the tip, eventually popping a pin connector near the cab. After I added a second cross-brace following the 5/2 rule, the wobble disappeared and the same model now handles a 500 g load at full extension.
Step-by-Step Repair Techniques Without Glue
If you want to keep your build rebuildable, work through these techniques in order. I always start with the least invasive fix.
Swap the worn pin. Pull the offending pin with a Technic pin removal tool and replace it with a fresh black friction pin from your spares bin. I keep a small parts organizer with five of each pin type just for this.
Reinforce the axle. If an axle slips in its connector, add a second axle connector on the same axle but recessed one stud from the original. The two-connector stack acts as a redundancy clamp.
Substitute the beam. A hairline crack at a beam’s end means that beam is finished. Don’t try to tape or glue it. Replace the entire beam.
Add a strategic cross-brace. If your diagnosis points to a span too long for the load, drop in a perpendicular beam to redistribute the weight. This is the 5/2 rule in action.
Reflow the connection. Remove the pin or axle, clear any dust from the receiving hole with a soft brush, then reinsert. Sometimes a hidden micro-particle is the only real problem.
One Reddit user in r/lego fixed a wobbly Batman 89 Batwing by adding friction pins to several bottom pieces that originally used only stud connections. The trick was identifying which connections were absorbing weight and which were decorative. In Technic, the load-bearing points almost always involve a pin or axle, even if the manual calls for a standard brick.
Our team routinely disassembles and rebuilds the same Technic gearbox four times during a single project. After the third rebuild, even fresh pins start to feel loose. That’s the moment we replace every pin in the subassembly, not just the offending one.
When Glues and Adhesives Actually Help
Glue is not a first-line fix in Technic. But there are two situations where it makes sense, and one method I trust.
The first situation is a build you intend to display permanently. A museum-quality model of, say, the Liebherr R 9800 excavator is designed to be admired, not rebuilt. A single drop of cyanoacrylate at each critical joint eliminates future wobble for the lifespan of the display.
The second situation is a sealed gear train. Once a gearbox is closed and tested, a tiny amount of removable thread locker on the final drive axle prevents gears from migrating under load. The thread locker remains serviceable with a 10 Nm impact driver later.
The community-tested method I trust most is the clear nail polish fix documented on Eurobricks for fixing loose clutching bricks. Apply a single thin coat of clear polish to the worn ridge on a clutch element and let it cure for 24 hours. The polish adds back roughly 80% of the worn material. It is reversible with acetone when you eventually want to disassemble.
Preventing Future Structural Failures
Three habits have saved my builds from re-failure: smart storage, light lubrication, and a recurring inspection cycle.
Storage matters more than most builders realize. A Technic model stored under uneven pressure, like under a pile of other sets, develops slow creep. Creep is plastic deformation under sustained load. It permanently changes a beam’s length or a pin’s angle by fractions of a millimeter. That’s enough to start the wobble cycle. Store heavy builds on flat shelves with a foam underlay.
Lubrication is the unsung hero. A tiny drop of silicone lubricant on every axle-axle-connector pair during a build reduces the friction that grinds down internal teeth. Less grinding, longer-lasting connections. Just keep lubricant away from friction pins. It will make them slip.
Finally, do a 30-second inspection every 50 hours of play time. Pick the model up, rotate each major joint, listen for clicks, and gently load any horizontal spans. Catching a worn pin early prevents the cascade failure that takes down a gearbox or a suspension.
For builds with motors, run them briefly unloaded after every session. A buzzing motor before shutdown often signals gear teeth about to skip. Switch off, inspect, lubricate if needed.
FAQs
Why is my LEGO Technic build not staying together?
Loose Technic connections usually come from worn friction pins, cracked clutching arms, over-tightened gear axles, or a missed step in the assembly order. Start with a tactile check on every pin and confirm gears can rotate freely without pressure on adjacent parts. Replace any pin that rotates freely in its hole, and inspect beam ends for hairline cracks.
What is the 5/2 rule in LEGO Technic?
The 5/2 rule says that for every 5 studs of horizontal beam span, you should include 2 studs of vertical reinforcement, typically a perpendicular beam or a liftarm brace. This ratio keeps beams from sagging under their own weight plus loads and is the standard for Technic load-bearing structures. Falling below this ratio causes mid-span droop and pin connector failures.
How do I fix loose LEGO Technic pins without glue?
Remove the loose pin with a Technic pin removal tool and replace it with a fresh black friction pin from your spares. Clean the receiving hole with a soft brush before reinstallation. If the pin keeps slipping, add an axle connector or a beam across the same load path to redistribute the stress.
What causes Technic builds to wobble under load?
Wobble under load usually points to a single weak connection carrying more weight than its neighbors. The most common culprits are a worn friction pin, a missing cross-brace that breaks the 5/2 rule, or a cracked clutching arm. Run a shake test followed by a small load test to isolate the failing joint, then replace the worn part.
Are worn Technic pins repairable or do they need replacing?
Lightly worn friction pins can be revived with a single thin coat of clear nail polish on the ridge, allowed to cure 24 hours. Heavily worn or cracked pins always need full replacement. Cracking in the arm of a beam or clutching piece cannot be glued back to original strength, so swap the whole part.
Final Thoughts on LEGO Technic Build Troubleshooting
Successful LEGO Technic build troubleshooting comes down to one principle: respect the load path. When the path is well distributed across friction pins, axle connectors, and properly spaced cross-braces, your build will hold up under realistic loads for years. When the path is broken or worn, the model will tell you exactly where, if you take the time to inspect.
Start by diagnosing rather than gluing. Replace worn pins before they cascade into a gearbox failure. Apply the 5/2 rule whenever you extend a beam more than 5 studs. Reserve adhesives for display builds only. With these habits, your Technic builds will stop falling apart and start performing the way the designers intended.