
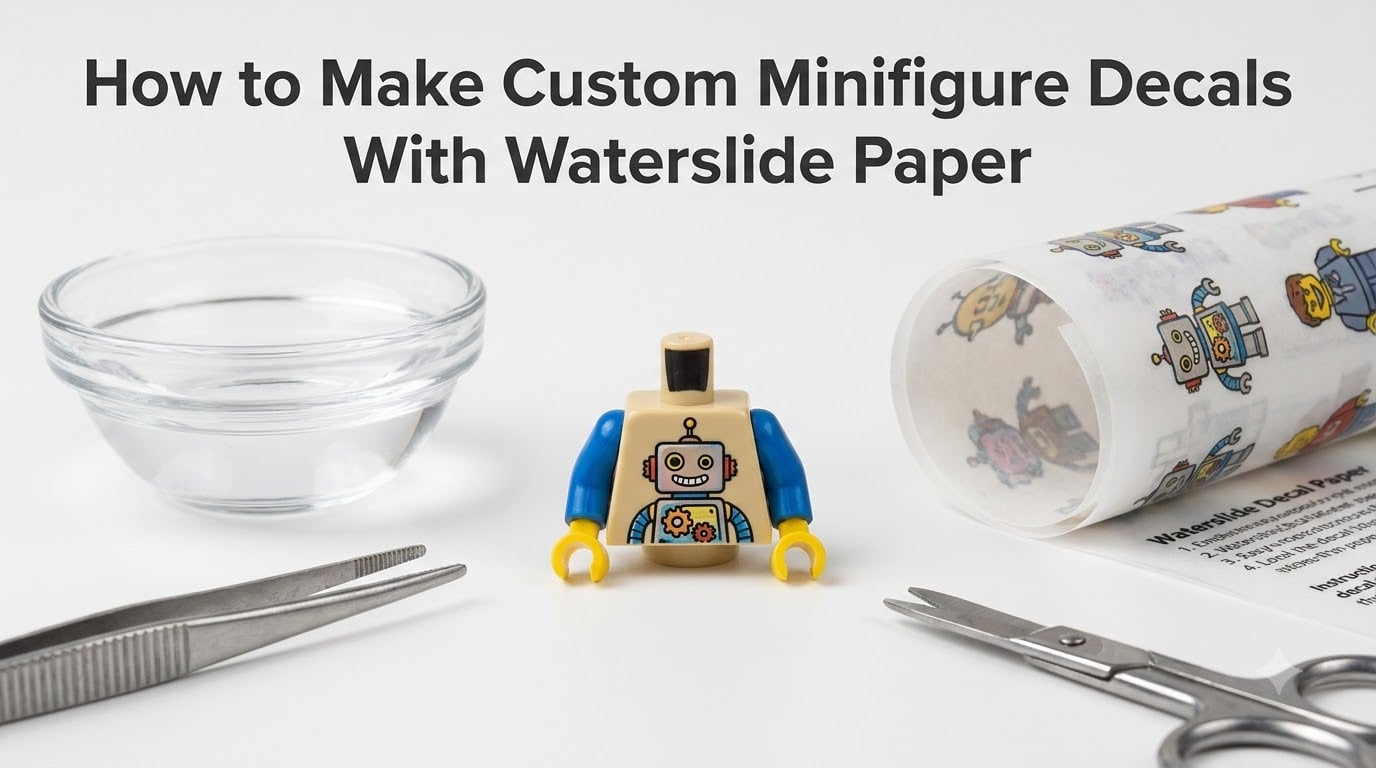
I still remember the first time I tried making custom minifigure decals. I printed a pirate captain design on plain paper, cut it out with scissors, and glued it to a torso with PVA. It looked like a kindergartner’s craft project. The colors bled, the edges peeled within a day, and the whole thing felt wasteful.
That disaster sent me down a rabbit hole. Two years and roughly 200 custom minifigures later, I have a process that works, and it all comes down to one tool: waterslide decal paper. In this guide, I will walk you through exactly how to make custom minifigure decals with waterslide paper, from the first design sketch to the final sealed torso.
If you have ever wanted a minifigure of yourself, your D&D character, or that obscure background NPC from your favorite show, this is the skill that makes it possible. Waterslide paper costs pennies per figure, fits any home printer, and gives you results that look like they came from a professional printing service.
Table of Contents
What Are Waterslide Decals and Why Use Them for Custom Minifigure Decals?
Waterslide decal paper is a thin printable film backed by a water-soluble paper carrier. You print your design on the film, soak the paper in water, and the backing releases the printed layer. You then slide the decal onto your surface and seal it in place.
For LEGO minifigures, this is the gold standard of home customization. Pad printing and UV printing are the professional methods, but they require industrial equipment that costs thousands of dollars. Waterslide paper lets you skip all of that and print designs from your kitchen table.
The benefits add up quickly:
- Full color and detail, including gradients and small text
- Conforms to curved surfaces like torsos, helmets, and heads
- Costs less than a dollar per figure once you have the setup
- Reprints are easy if you make a mistake
- No special skills beyond basic computer use and a steady hand
The two downsides are a small learning curve and the need to seal every decal. We will cover both in detail below.
Materials and Tools You Need to Get Started
Here is the full shopping list for your first custom minifigure decal project. Most of these items will last through dozens of figures.
Essential supplies
- Waterslide decal paper (clear for transparent designs, white for solid backgrounds)
- Home printer (inkjet or laser)
- Scissors or a craft knife with a sharp blade
- Tweezers (the angled kind work best)
- Small bowl or dish of room temperature water
- Paper towels or a microfiber cloth
- Acrylic sealer spray (matte or gloss, your choice)
- Spare minifigures for practice
Optional but recommended
- Micro Set, Micro Sol, and Micro Soft solutions (model railroad supplies)
- Self-healing cutting mat
- Ruler or cutting guide
- Rubber-tipped squeegee or a soft cloth
- Cotton swabs
- Nitrile gloves (keeps fingerprints off wet decals)
For paper, I have had the best results with clear Koala waterslide paper for inkjet printers. The film is thin enough to wrap around torso curves without cracking, and the adhesive activates reliably in 10 to 20 seconds of soaking.
You will also want a can of acrylic sealer. Testors Dullcote and Vallejo Metalized Varnish are both popular in the LEGO customization community. Avoid heavy gloss sprays on torsos because the look is noticeably different from official LEGO plastic.
Clear vs White Decal Paper: Which Should You Choose?
This is one of the first questions every beginner asks. The answer depends entirely on what you are printing.
Quick comparison
| Feature | Clear paper | White paper |
|---|---|---|
| Background | Transparent | Opaque white |
| Best for | Solid colors, simple icons, single-layer art | Full-color designs, gradients, photo-realistic images |
| Cost per sheet | Slightly lower | Slightly higher |
| Compatibility | Inkjet and laser | Inkjet and laser |
| Common issue | White halo on dark plastics | Visible white edge when cut close |
Use clear paper when your design has solid colors that do not need a white base. A black pirate skull on a yellow torso looks identical on clear or white paper, and clear is cheaper.
Use white paper when your design relies on bright colors or transparency. A blue sky, a multicolored logo, or any design with light pastels will look washed out on clear paper because the underlying plastic color bleeds through.
For LEGO torsos specifically, I default to white paper about 80 percent of the time. The slight extra cost is worth the richer colors, especially for characters with detailed costumes.
Inkjet vs Laser Printer: Picking the Right Setup for DIY LEGO Decals
Your printer choice affects both how your decals print and how they hold up over time.
Inkjet printers
Inkjet printers use liquid ink sprayed onto the paper. They handle colors and gradients beautifully, which is why most people already own one. The catch is that inkjet ink is water-based, so even after sealing, your decals are slightly more vulnerable to moisture than laser prints.
For minifigures that live on a shelf and are handled occasionally, inkjet is fine. For figures that will be played with by kids or taken to conventions, you may want to upgrade.
Laser printers
Laser printers use toner, which is essentially plastic powder fused to the paper with heat. Toner is waterproof the moment it leaves the printer. Decals printed on a laser printer are noticeably more durable.
The downside is that color laser printers are expensive, and the cheaper ones print flat colors that can look dull on complex artwork.
My recommendation
Start with whatever printer you already own. A good sealer coat will close the gap between inkjet and laser performance for most projects. Upgrade to a laser printer only if you find yourself making dozens of figures or planning to sell customs.
One more tip: print a small test swatch before committing to a full sheet of decal paper. Most printers handle the slightly thicker paper fine, but a 5-minute test run can save you from wasting a whole sheet.
How to Design Custom Minifigure Decals (Step-by-Step)
Designing a decal that actually fits a minifigure is the part most guides skip. I have learned these dimensions the hard way.
Standard decal sizes for LEGO minifigures
- Torso: roughly 1.4 cm wide by 1.8 cm tall for the printed area
- Head: 0.7 cm wide by 0.8 cm tall
- Legs: about 1.0 cm wide by 1.5 cm tall per leg
- Helmet or hat: varies, but 2.0 cm wide usually works
Design software options
You do not need Photoshop. Here is what works at different skill levels:
- Canva (free): great for beginners, has pixel rulers, exports PNGs
- GIMP (free): a Photoshop alternative with full control
- Inkscape (free): best for vector designs that scale cleanly
- Adobe Illustrator (paid): industry standard for vector work
I do most of my work in Inkscape because vector decals scale without losing quality. You can design at 100x size and shrink it down for crisp printing.
Design tips from my failed experiments
Keep important details at least 1 mm from the edge of your cut line. Anything closer tends to peel first.
Avoid ultra-thin lines below 0.5 mm. They print fine but often lift during application.
Test colors by printing on regular paper first. LEGO red is brighter than most monitor reds, so your design may look different on the figure than on screen.
If you are designing a character with a face on the torso, keep facial features small. Torsos are tiny, and a 3 mm face becomes unreadable.
How to Print, Cut, and Prepare Your Waterslide Paper Decals
Printing is where most first-timers go wrong. Waterslide paper has a printable side and a backing side. Get them mixed up and you waste a sheet.
Printing setup
- Identify the printable side. It is usually the glossier side. Most papers have a small notch in the corner to mark it.
- Load one sheet at a time, printable side up, into your printer’s rear feed tray if you have one.
- Select “Photo Paper” or “Heavyweight Matte” in your printer settings.
- Set quality to “Best” or “High.”
- Disable any “fast draft” modes.
- Print a test page on regular paper first to confirm sizing.
Allow the printed sheet to dry for at least 5 minutes before touching it. Wet ink smears easily on the film surface.
Cutting
Cut close to your design but leave a 1 mm border of clear film around the edges. This buffer makes application much easier and helps prevent tearing.
Sharp scissors work for simple shapes. For detailed designs or batch cutting, a craft knife on a self-healing mat is faster and more accurate.
Round your corners slightly. Sharp 90-degree corners are the first places decals lift during handling.
Prepping for application
Wipe the target minifigure part with a slightly damp cloth to remove dust and oils from your fingers. Let it dry fully. A clean surface is the difference between a decal that lasts years and one that peels in days.
How to Apply Waterslide Decals to LEGO Minifigures (The Main Event)
This is the part you came here for. Take a breath, set up a clean workspace, and work slowly for the first few figures.
Step-by-step application process
- Fill a small bowl with room temperature water. Cold water takes longer to release the decal, hot water can damage the film.
- Drop your cut decal into the water, film side up. Do not force it under.
- Wait 15 to 30 seconds. You will see the backing paper curl slightly as the adhesive activates.
- Slide the decal onto a flat surface like a plate or your cutting mat. Hold the corners with your fingers or tweezers.
- Position the minifigure part on top of the decal. The decal will slide onto the plastic almost on its own.
- Gently slide the decal off the backing and onto the part. If it resists, soak for another 5 seconds.
- Use a cotton swab or your fingertip to push the decal into position. Do not press hard yet.
- Dab excess water away with a paper towel. Work from the center outward to push air and water to the edges.
- Let the decal dry for 15 minutes before sealing.
Pro tips for tricky spots
For torsos, slightly over-wet the decal so it can wrap around the curve without creasing. The film stretches a little when saturated.
For heads, soak for only 10 seconds. Heads are small and decals over-soak quickly.
For legs, place the decal on the leg and roll the part slowly between your fingers to wrap the design around.
If your decal tears during application, do not panic. Soak it in water and try again. Waterslide paper is surprisingly forgiving.
How to Seal and Protect Your Custom Minifigure Decals
Sealing is not optional. Without a protective coat, your decals will scratch, fade, and peel within weeks of regular handling.
Sealer options ranked
- Testors Dullcote: the community favorite, matches LEGO’s matte finish
- Vallejo Metalized Varnish: more durable, slightly glossier
- Generic acrylic matte spray from a craft store: works fine, test on a sample first
- Brush-on acrylic varnish: best for spot repairs and touch-ups
How to apply sealer properly
- Wait at least 15 minutes after application for the decal to fully dry.
- Work in a well-ventilated area or outdoors. Sealer fumes are unpleasant.
- Hold the can 20 to 25 cm from the minifigure.
- Apply two light coats rather than one heavy coat. Heavy coats cause runs and cloudiness.
- Wait 10 minutes between coats.
- Let the sealed figure cure for 24 hours before handling.
Matte vs gloss finish
LEGO’s official plastic is a soft matte finish. Testors Dullcote is the closest match and looks the most authentic. Gloss finishes pop colors a little more but make customs look slightly “off” next to official minifigures.
I use matte for everything except specialty projects like superhero figures with shiny metallic costumes.
Troubleshooting Common Waterslide Decal Problems
Every customizer hits these issues eventually. Here is how I fix each one.
Decal not sticking
The most common cause is under-soaking. The adhesive needs 15 to 30 seconds to activate. If your decal still does not slide off the backing after 30 seconds, your water may be too cold. Switch to room temperature water.
Air bubbles under the decal
Bubbles happen when water gets trapped during application. To prevent them, dab the decal from the center outward with a paper towel as soon as you place it. To fix existing bubbles, prick them with a pin and press the air out gently.
Decal peeling at edges
This usually means you cut too close to the design. Leave a 1 to 2 mm clear border around all artwork. If the peeling has already started, apply a thin layer of brush-on acrylic varnish over the edge to glue it back down.
Colors running when wet
This is an inkjet-specific problem. You are using too much water during application. Keep your soak time short and pat dry quickly. Sealing also locks colors in.
Decal tearing during application
The film is too dry. Soak for another 5 to 10 seconds. You can also add a drop of Micro Sol to your water to soften the decal and make it more flexible.
White halo on dark plastics
You used white decal paper on a design that does not fully cover the white base. Either switch to clear paper for that design or make your art fill the entire print area.
Advanced Techniques: Layering and Curved Surfaces
Once you have the basics down, these techniques open up much more complex designs.
Layering two decals
You can build up a design by applying one decal, letting it dry for 30 minutes, then applying a second decal on top. This is how I create custom minifigures with logos on top of base colors.
The key is light pressure during the second application. You do not want to disturb the first layer.
Using Micro Set and Micro Sol
These model railroad products are game-changers. Micro Set improves adhesion on tricky surfaces. Micro Sol slightly softens the decal film, letting it conform to curves and details.
Apply Micro Set to the part before placing the decal. Apply Micro Sol on top of the placed decal with a brush. The decal will visibly relax and wrap around curves within 30 seconds.
Working with curved helmet and dome pieces
Helmets are some of the hardest parts because the curve is steep. Cut the decal into smaller sections that fit each curve separately. A single large decal will always crease on a dome shape.
Cost Breakdown: How Much Does a Custom Minifigure Cost?
One of the best things about DIY LEGO decals is how cheap they are compared to professional services.
Per-figure cost estimate
- Waterslide paper: roughly 12 cents per figure (5 figures per sheet on average)
- Ink or toner: about 5 cents per figure
- Sealer spray: roughly 4 cents per figure per coat (one can covers about 25 figures)
- Minifigure base part: 8 to 25 cents if buying from BrickLink
- Total: 30 to 50 cents per custom minifigure
A comparable custom figure from a professional printing service runs $3 to $8 each. Once you have made 20 or 30 figures, the waterslide method has paid for itself many times over.
The biggest variable is the base minifigure parts. If you buy new from LEGO, the cost jumps to $3 to $5 per figure. Buying used parts in bulk from BrickLink cuts that to under a dollar.
Frequently Asked Questions
How to put waterslide decals on LEGO minifigures?
Cut out your printed decal leaving a 1 mm border. Soak it in room temperature water for 15 to 30 seconds until the backing paper releases. Slide the decal onto the LEGO part, position it with tweezers, then dab dry from the center outward with a paper towel. Let it dry for 15 minutes before sealing with acrylic spray.
How do I make my own waterslide decals?
Design your artwork at the correct size for the LEGO part you are customizing. Print it on the glossy side of waterslide decal paper using a home printer. Let the ink dry for 5 minutes, then cut out the decal leaving a small border. Soak the cut decal in water for 15 to 30 seconds, slide it onto the minifigure, and seal with acrylic spray.
What do you seal waterslide decals with?
Acrylic sealer sprays are the most popular option. Testors Dullcote matches LEGO’s matte finish best. Vallejo Metalized Varnish is slightly glossier but more durable. Apply two light coats from 20 cm away and let the figure cure for 24 hours before handling.
Inkjet or laser for waterslide decals?
Both work. Inkjet printers handle colors and gradients better and are what most people already own. Laser printers use toner that is waterproof out of the printer and produces more durable decals. For occasional projects, inkjet is fine. For figures that will be handled often, laser is worth the upgrade.
How long do waterslide decals take to dry?
Allow 15 minutes after application for the decal to dry to the touch. Wait 10 minutes between sealer coats. The full cure time for the sealer is 24 hours. Avoid heavy handling until the sealer has fully cured to prevent fingerprints and scuffs.
Can you remove a waterslide decal once applied?
Yes. Soak the figure in warm water for 30 minutes and the decal will usually peel off. Stubborn decals can be loosened with a drop of isopropyl alcohol or a bit of Brasso metal polish. Be aware that Brasso can also remove the original LEGO printing, so use it only on blank parts.
Final Thoughts on Making Custom Minifigure Decals With Waterslide Paper
Learning how to make custom minifigure decals with waterslide paper opens up an entire world of LEGO customization. Once you have the basics down, you can create any character you can imagine, from tabletop RPG heroes to family portraits in minifigure form.
Start simple. Print a single design on clear paper, apply it to a spare torso, and seal it. Your first figure will not be perfect, but it will teach you more than any guide can. Within a few attempts, you will be designing custom minifigure decals faster than you can apply them.
For your next project, consider joining an AFOL community on Reddit or Flickr. Sharing your work and seeing what other customizers build is the fastest way to level up your skills. The community is friendly, helpful, and always hungry for fresh inspiration.