
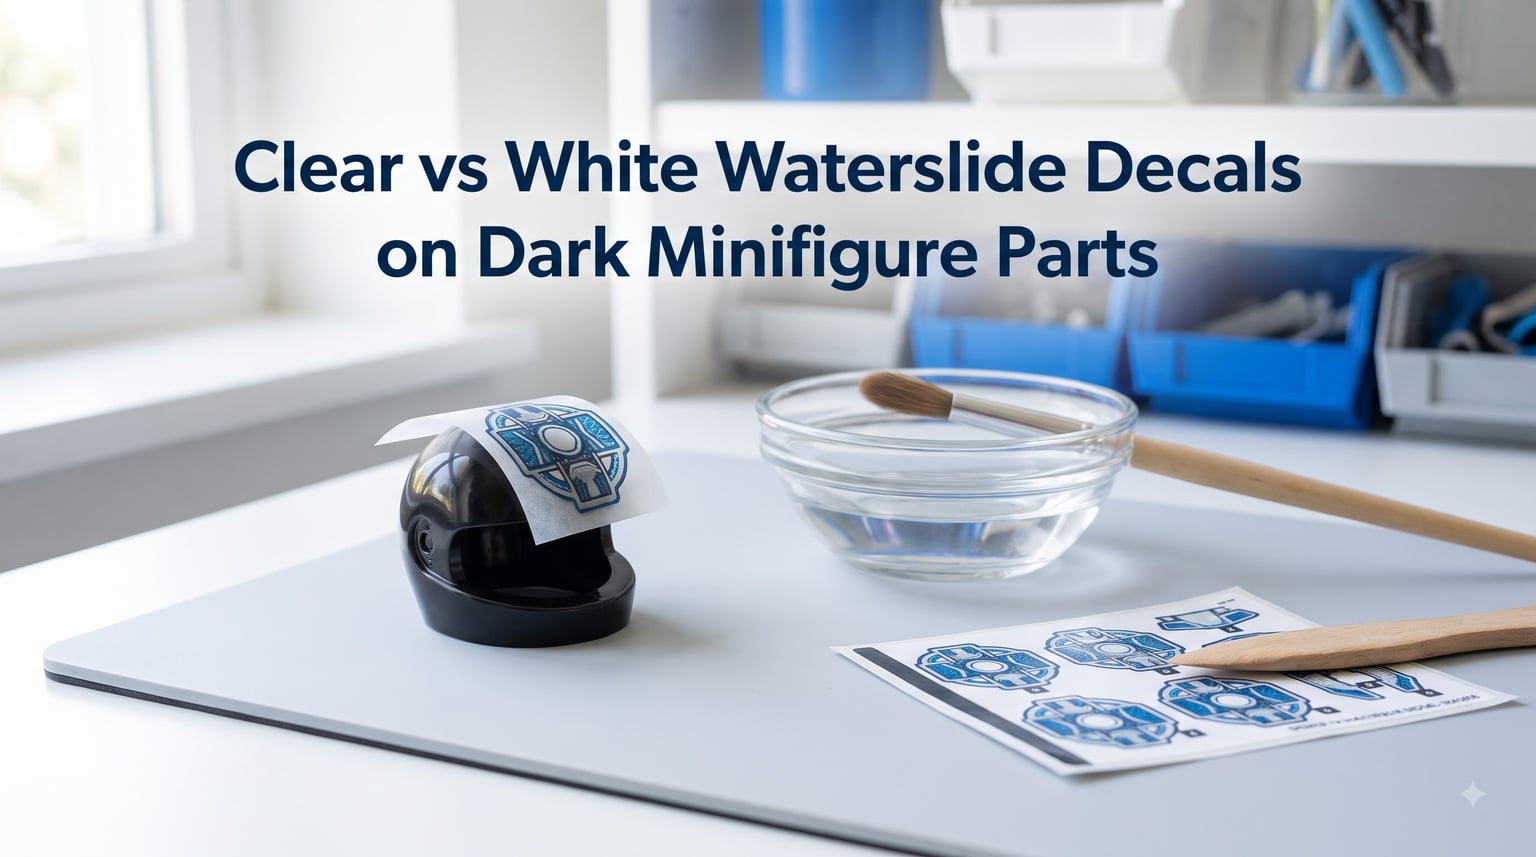
Choosing between clear vs white waterslide decals on dark minifigure parts is the single most important decision in any custom decaling project. Pick the wrong paper and your design vanishes into the plastic the moment you slide it on.
I have spent years customizing LEGO minifigures, from clone trooper helmets to black capes, and the clear-versus-white question comes up in nearly every project. The short version is simple: dark parts almost always need white decal paper, but there are real exceptions and workarounds worth knowing.
This guide breaks down exactly how each paper type behaves on dark ABS plastic, when to use which one, and the application steps that get clean, visible results every time. Whether you are building a custom MOC display army or a single hero figure, this article will help you avoid the most common decaling mistakes hobbyists make.
Table of Contents
What Is Waterslide Decal Paper and Why Does the Paper Color Matter?
Waterslide decal paper is a thin, film-backed sheet you print your design on, soak in water, and then slide the printed film directly onto a surface. In the LEGO customizing world it has largely replaced stickers because it conforms to curved minifigure parts and leaves almost no visible edge when applied well.
The paper comes in two background types, and this is where most customizers get tripped up. Clear (transparent) decal paper has no backing color at all, so anything you do not print stays see-through. White decal paper has a built-in opaque white layer behind the printed area, which acts like a built-in primer for your design.
That white layer matters enormously on dark minifigure parts. ABS plastic in black, dark blay, dark red, and navy is essentially a dark canvas. Any ink you print on clear paper sits as a thin, translucent film on top of that canvas, and dark colors behind thin inks always win.
Think of it like painting a yellow stripe onto a black wall with a single thin coat. Without a white undercoat, that yellow turns into a muddy brown. White decal paper provides that undercoat automatically, which is why experienced customizers reach for it the moment a part gets darker than medium gray.
Clear vs White Waterslide Decal Paper: The Core Difference
The core difference is opacity. Clear decal paper is fully transparent except where you print ink, while white decal paper carries an opaque white film that blocks the surface color underneath from showing through your design.
That single distinction controls which paper you should grab for a given minifigure part. Here is the comparison I use when planning every custom project.
| Feature | Clear Decal Paper | White Decal Paper |
|---|---|---|
| Background | Transparent | Solid white backing |
| Best surface color | White, light gray, tan, pastel | Black, dark gray, dark red, navy, dark blue |
| White areas in design | Invisible (shows surface color) | Crisp, true white |
| Color vibrancy on dark parts | Poor, washed out | Strong, accurate |
| Cutting precision needed | Low (invisible background) | High (white edge shows if not trimmed) |
| Inkjet compatible | Yes | Yes |
| Laser / white toner | Yes | Yes |
| Typical LEGO use case | Light torsos, faces, white helmets | Dark helmets, dark torsos, clone armor |
Notice the trade-off in the cutting row. Clear paper is forgiving because the unprinted film disappears on a light part, so rough cuts do not matter much. White paper is unforgiving, because any untrimmed white film shows as a visible halo on a dark part.
This is why a lot of customizers default to clear paper and only switch to white when they absolutely have to. On dark minifigure parts, though, you usually do have to.
When to Use White Decal Paper on Dark Minifigure Parts
Use white decal paper whenever your design contains any white elements OR needs accurate colors on a part darker than medium gray. This covers most dark minifigure projects.
The most common scenarios where white paper is the right call include black clone trooper helmets, dark bluish gray torsos, dark red capes, navy blue legs, and any printed face on a dark or trans-colored head. In all of these, the dark surface would otherwise bleed straight through a clear decal.
Clone trooper customizers know this rule cold. The community on Eurobricks and the various LEGO subreddits consistently recommends white decal paper for clone armor because the iconic white markings and colored accents simply do not survive on clear paper over white or light gray plastic, let alone dark bases.
White paper also saves you when your design has light text or thin lines. A thin yellow stripe on a black torso needs that white undercoat to read as yellow at all. Without it, you get a dull olive smear.
The one real downside is trimming. Because the white film is opaque, you have to cut exactly along your design outline, leaving no extra film. A sharp craft knife or fine scissors, plus patience, are non-negotiable for white paper on minifigure-scale parts.
When Clear Decal Paper Can Work on Dark Minifigure Parts
Clear decal paper works on dark parts only when your design is entirely dark or metallic, contains no white, and does not need accurate light colors. This is a narrow window, but it exists.
A solid black insignia on a dark gray helmet can still read fine on clear paper because the design itself is dark enough to contrast against the plastic. Gold and silver metallic inks also tend to hold up reasonably well on dark surfaces, since they sit on top with their own opacity.
The community-favorite workaround for using clear paper on dark parts is the white paint underlay technique. You paint a small patch of white acrylic or white enamel onto the dark part where the decal will go, let it dry, then apply a clear decal on top. The white paint does the job the white paper would have done.
This trick is popular because it lets you keep the forgiving cutting behavior of clear paper while still getting white visibility on a dark part. The trade-off is extra steps and a slightly raised paint edge that you have to blend carefully.
I have used this method for small face decals on dark heads where a full white-paper cut would have been fiddly. For anything larger than a coin-sized design, white paper is almost always less effort than painting an underlay.
How to Apply Waterslide Decals to Dark Minifigure Parts
Applying waterslide decals to dark ABS plastic follows the same basic process as any waterslide project, but surface prep and trimming matter more because mistakes are far more visible on a dark background.
Here is the step-by-step process I use for every dark-part decal job.
Step 1: Clean the part. Wash the minifigure part in mild soapy water, dry it completely, and wipe the application area with isopropyl alcohol. Any mold release residue or finger oil will wreck adhesion on ABS.
Step 2: Print on the correct paper. Use white decal paper for any dark part where you need accurate colors or white elements. Mirror-check your printer settings, especially if your design includes text, and always do a test print on plain paper first.
Step 3: Seal the printed design. Apply two to three light coats of clear acrylic spray or a dedicated decal sealer, letting each coat dry fully. This locks the ink into the film so it does not run when you soak the paper. Skipping this step is the number one cause of smudged decals.
Step 4: Trim precisely. Cut as close to your printed design as humanly possible. On white paper this is critical because any extra white film will show as a halo on a dark part. Use a fresh blade and take your time on curves.
Step 5: Soak and slide. Drop the trimmed decal into a shallow dish of lukewarm water for 20 to 40 seconds, depending on paper thickness. Slide it onto the part using the backing paper as a guide, then gently position it with a damp soft brush or cotton swab.
Step 6: Settle and smooth. Dab away excess water with a lint-free cloth. For curved surfaces like helmets and heads, apply a decal setting solution such as Micro Sol to soften the film so it conforms. Let it dry undisturbed for at least an hour.
Step 7: Top coat. Once fully dry, seal the finished decal with a matte or gloss clear coat matched to the sheen of the surrounding plastic. Matte coats blend better with stock LEGO finishes; gloss is fine for armor and helmet visors.
Common Mistakes When Decaling Dark Minifigure Parts (and How to Fix Them)
The same handful of mistakes come up again and again on the customizing forums, and nearly all of them trace back to choosing the wrong paper or skipping a prep step.
Mistake: Clear decals disappear on dark parts. This is the most common complaint, and the fix is simple. Switch to white decal paper, or paint a white underlay before applying the clear decal. There is no way to make a clear decal show white on a dark part on its own.
Mistake: Visible white halo around the design. This happens when white paper is not trimmed closely enough. The fix is a sharper blade, slower cutting, and leaving the absolute minimum border. Some customizers lightly tint the edge with a matching marker before applying.
Mistake: Ink runs during soaking. The decal was not sealed before soaking. Always spray two to three coats of clear sealer over the printed sheet and let it fully cure before cutting. If ink runs, that decal is lost, so reprint and reseal.
Mistake: Decal will not conform to a curved helmet. The film is too stiff or too dry. Use a decal setting solution like Micro Sol to soften the film, and apply it in very thin layers. For severe curves, slit the decal edge with a blade so it can overlap slightly.
Mistake: Decal peels or silvering on ABS. Surface was not clean, or the decal trapped air underneath. Clean with alcohol first, and use a soft damp brush to press out air bubbles before the setting solution dries.
How to Seal and Protect Your Dark Part Decals
Yes, you do need to clear coat waterslide decals, especially on minifigure parts that will be handled. The top coat is what locks the film to the plastic and protects the ink from rubbing off.
For display-only figures, a single light coat of matte acrylic spray is usually enough to blend the decal edge into the surrounding plastic. Matte finishes match the slightly satin look of stock LEGO printing and hide the decal film best.
For figures that will be posed or lightly handled, build up two to three thin coats, letting each dry fully. Gloss coats are more durable and work well for armor and helmet visors, but they stand out against the matte ABS body, so plan your sheen per part.
Decal setting solutions like Micro Sol and Micro Set are not the same as a top coat. They soften and adhere the film during application, but they do not protect against wear. Use them during step six, then seal separately afterward.
For play-worn figures, accept that any waterslide decal will eventually wear at contact points like hands, hip joints, and neck studs. No top coat makes a decal truly play-proof. Display pieces hold up well for years; daily-play pieces do not.
Choosing the Right Paper Brand and Printer for Dark Minifigure Decals
The paper brand and printer type both affect how your dark-part decals turn out, sometimes more than the design itself.
Inkjet printers handle both clear and white waterslide paper well and are the most common choice in the hobby. They produce vibrant color but the ink is water-soluble until sealed, so the post-print clear spray step is mandatory. Most hobby-grade white decal paper from brands like Papilio, Bel Inc., and Koala Paper is designed for inkjet.
Laser printers fuse toner with heat, which makes the printed image more water-resistant on its own, but you still need a clear coat for adhesion and durability. Laser paper is less forgiving on curves because toner film is stiffer than inkjet ink.
If your design needs true white printed elements on clear paper, a white toner printer (such as the OKI or UNINET UniPress) is the pro solution. These lay down an actual white toner layer, which means you can sometimes use clear paper on a dark part and still get white visibility without an underlay. They are expensive, but for high-volume customizers they eliminate the entire paper-choice dilemma.
For most hobbyists, the practical answer is an inkjet printer plus good white decal paper. Spend your money on quality paper and a sharp blade rather than specialty printers until you are producing customs regularly.
FAQs
What is the difference between white and clear waterslide decal paper?
Clear waterslide decal paper is fully transparent except where you print ink, so it works best on light or white surfaces where the background shows through. White waterslide decal paper has a built-in opaque white backing that blocks the surface color, making it the right choice for dark minifigure parts where you need white elements or accurate colors.
Do you need to clear coat waterslide decals?
Yes. Clear coating seals the ink into the film before soaking and protects the finished decal from wear. Apply two to three light coats of clear acrylic spray over the printed sheet before cutting, then seal the applied decal with a matte or gloss top coat matched to the surrounding plastic.
Can you print white on waterslide paper?
Standard inkjet and laser printers cannot print white ink. To get white on clear paper you need either a white toner printer that lays down actual white toner, or you use white decal paper which has the white backing built in. For most hobbyists, white decal paper is the easier and cheaper route.
Can you use clear decal paper on black minifigure parts?
Only if your design is fully dark or metallic with no white or light colors. For most designs on black parts, clear decals disappear. Use white decal paper instead, or paint a white underlay on the part before applying a clear decal.
Are waterslide decals better than stickers for LEGO minifigures?
Waterslide decals conform to curved minifigure surfaces, leave almost no visible edge, and look closer to factory printing than stickers. The trade-off is that they require more skill, sealing, and careful trimming. For display figures, waterslides look far better; for play-worn figures, either option will eventually wear.
Final Verdict: Which Paper for Dark Minifigure Parts?
The decision rule for clear vs white waterslide decals on dark minifigure parts is straightforward. If the part is darker than medium gray and your design contains white or needs accurate light colors, use white decal paper and trim carefully.
Reach for clear paper only when your design is entirely dark or metallic, or when you are willing to paint a white underlay first. For everything else on dark ABS, white paper is the reliable choice that hobbyists and clone trooper customizers have settled on for years.
Pair the right paper with good surface prep, a proper seal coat, and patient trimming, and your dark minifigure customs will look closer to factory printing than any sticker ever could.