
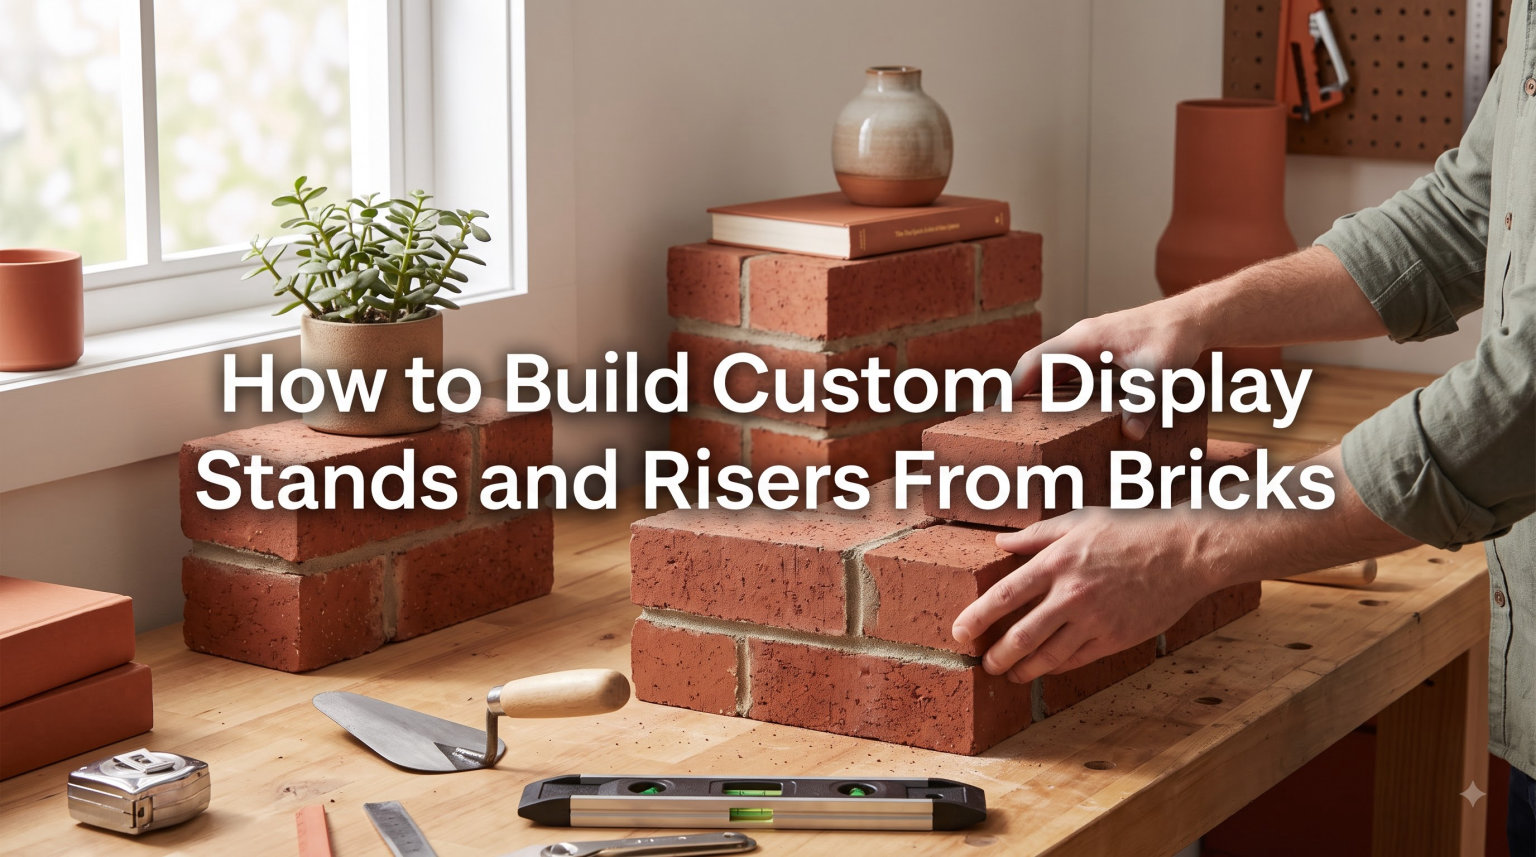
Custom display stands built from bricks transform a jumbled shelf into a showcase. I built my first brick riser for a row of twelve LEGO minifigures, and the difference the same afternoon was huge – the collection looked intentional instead of crowded.
Our team has been building, breaking, and rebuilding brick display stands for years, and this guide collects everything that actually works. You will learn how to build custom display stands and risers from bricks, which bricks to pick, how to keep them stable, and how to tailor the design for minifigures, sets, or retail product displays.
Table of Contents
What Bricks to Use for Custom Display Stands
The word “bricks” can mean three things in this hobby, and each gives a different result. Pick the right material before you stack the first layer.
Standard LEGO bricks. Regular 2×2, 2×4, and 1×2 plates and bricks are the most versatile. They click together without glue, so you can rebuild and reconfigure endlessly. I use these for 90% of my own stands.
LEGO baseplates. A 32×32 or 48×48 stud baseplate gives any riser a rock-solid foundation. Baseplates also stop rows of minifigures from sliding backward when you bump the shelf.
Technic bricks. Technic bricks with their holes and pins make stronger structural frames. They are heavier and cost more, but for large or load-bearing risers, they are worth it.
Real masonry bricks. If you mean literal clay or concrete bricks, those work for permanent home decor and buffet risers. They cannot be reconfigured, but they offer a rugged, industrial look and hold heavier items like plants or product samples.
Slope and wedge pieces. Slope bricks (like 33-degree and 45-degree slopes) are the secret to angled displays. They let minifigures appear to lean forward toward the viewer instead of standing flat against the wall.
Quick rules for choosing bricks
Match brick system: stay inside one brand (LEGO, Mega, or compatible) for tight fits.
Combine plates and bricks for strength – plates handle horizontal loads better.
Use a baseplate wider than the top tier, ideally 1.5x the top width for stability.
Save odd specialty pieces for accents, not the core load path.
Tools and Materials You Will Need
You can build a basic tiered stand with very little. Here is the exact kit I keep on my workbench for a 3-tier minifigure riser that holds about 24 figures.
Materials
1 x 32×32 stud baseplate (the foundation)
24 x 2×4 bricks (for the lower riser walls)
12 x 2×2 bricks (corners and accents)
18 x 2×4 plates (the top tier surface)
6 x 2×2 plates (levellers under slopes)
4 x 33-degree slope bricks (angled display accent)
2 x 1×8 plates (front lips to keep minifigures from falling)
Tools
Brick separator tool (for safe disassembly)
Small flathead screwdriver or tweezers (for tight tolerances)
Measuring tape
Optional: grip gloves (helps with brand-mixed bricks that fit too tightly)
Optional: light sandpaper (2000 grit) to ease joint friction on stubborn bricks
Real talk on cost and sourcing
You do not need to buy new. BrickLink, Pick a Brick, and local used-brick bins on marketplace apps are gold. I built my 3-tier stand for less than a single pre-made acrylic stand of similar size, and mine can be taken apart in 60 seconds.
Step-by-Step: How to Build Custom Display Stands and Risers From Bricks
Below is the exact build sequence I use for a basic 3-tier riser. Follow it once and you can adapt the pattern to any size.
Step 1: Plan your tiers on paper
Sketch a top-down view of each tier. Mark the back wall, the front lip, and the spacing between minifigures. A simple drawing stops the build from drifting asymmetric.
Step 2: Lay the baseplate
Place the 32×32 baseplate on a flat surface. Make sure the shelf underneath is level. A 1-degree tilt here becomes a wobble at the top tier.
Step 3: Build the lower back wall
Stack 2×4 bricks along the back edge of the baseplate, 4 bricks high. This is your tallest wall and the structural spine of the whole stand.
Step 4: Build the middle tier
Move forward 8 studs. Lay plates (not bricks) across the gap to create the middle surface. Use 2×4 plates side by side. Plates are thinner and create the right height difference between tiers.
Step 5: Build the lower front wall
Stack 2×4 bricks 2 high along the front edge of the baseplate. This creates the smallest tier and keeps front-row minifigures visible.
Step 6: Add the front lip plates
Snap 1×8 plates along the top of each tier. They sit on the front edge and stop minifigures from sliding off when you bump the shelf.
Step 7: Add slope accents
Place 33-degree slope bricks at the back of each tier, angled toward the viewer. They frame the minifigures and give the stand a finished look.
Step 8: Test the stand
Place a few heavy items on each tier and gently nudge the shelf. If anything shifts, the brick count is wrong – add a row of plates to the base or extend the back wall.
Design Variations for Every Collection
Once you have the basic 3-tier build down, the geometry opens up. Here are the four variations I use most often.
Tiered risers for minifigures
Tiered risers are the classic brick display stand. Each row sits higher than the one in front, so every figure is visible. I keep a 3-tier and a 5-tier version on the shelf behind my desk.
Angled stands for vehicles and sets
Use 33-degree slopes at the base to tilt a vehicle or starship about 15 degrees. The angle catches the light and makes details pop. The trick is to anchor the slope with at least 4 studs of contact on the baseplate.
Modular stands for growing collections
Modular design means each tier is its own self-contained unit. Connect them with a few 2×2 plates on the side, and you can rearrange, expand, or rebuild any single tier without touching the others.
Single-tier risers for heavy items
For heavier collectibles or retail products, skip the multi-tier look and build a single solid platform. Use 4×4 or 6×6 bricks, never less, and double the baseplate width. This is also the right approach for real clay bricks used as buffet risers.
Stability and Safety Tips to Prevent Wobble
Forum readers consistently complain about one thing: a wobbly stand. Here is how to keep yours solid.
Bottom-heavy design. Place 60% of the total brick count in the bottom third of the stand. A tall, narrow stand with a heavy top will always wobble.
Wide footprint. The base should be at least 1.5x the width of the top tier. A wide base gives a low center of gravity.
Interlock each layer. Stagger bricks so vertical seams do not line up. A running-bond pattern is far stronger than a stacked pattern.
Reinforce corners. 2×2 bricks at every corner stiffen the wall dramatically. Skipping them is the most common rookie mistake.
Anchor to the shelf. For taller or kid-friendly displays, add a few adhesive putty dots between the baseplate and the shelf. It is invisible and prevents sliding.
Mind the weight. A standard LEGO 2×4 brick holds about 1.5 lbs before clutch strength fades. Do not put a brick-built riser under a heavy diecast without doubling the base.
Common Mistakes to Avoid
These are the traps I have fallen into or watched others fall into. Skip them and your stand will be solid on the first try.
Single-brick base. A base only 1 brick tall will not support anything. Start with at least 2 bricks or 4 plates of foundation.
Mixing brands mid-stack. LEGO and compatible bricks can fit too tightly or too loosely. Stick with one system per stand.
Top-heavy tiers. Putting the largest surface on top and the smallest on the bottom feels intuitive but inverts the load balance.
No front lip. Without a 1×8 plate or a 1×1 brick lip on the front edge, minifigures will fall forward in the first earthquake.
Ignoring shelf depth. Measure your shelf depth before you build. A stand that is 1 stud too deep will hang off the edge and tip.
Glue. Do not glue bricks together. You will lose the ability to rebuild, and resale value drops to zero.
Frequently Asked Questions
How do I make a display riser?
To make a display riser, build a stepped structure starting with a wide baseplate, then add a shorter back wall, a middle plate surface, and a small front wall. Add a 1×8 plate along the front edge of each tier to keep items from sliding off. The base should be at least 1.5x wider than the top tier for stability.
How do I make my own display stand?
Start with a flat shelf and a 32×32 stud baseplate. Plan the top-down layout, then build a back wall 4 bricks high, a middle plate surface, and a 2-brick front wall. Test with a heavy item, then add slope accents and front lips. The whole build takes about 30 minutes once you have the bricks sorted.
How do I make a DIY display board?
A DIY display board is a flat surface mounted vertically for hanging items. Build a 32×32 baseplate, then add wall segments around the edge to box it in. For minifigures, mount 2×2 plates on a vertical wall in a staggered grid. Slope bricks at the top add a finished frame.
How do I build a LEGO display stand?
Build a LEGO display stand by stacking 2×4 bricks into a back wall, plates for the middle tier, and a 2-brick front wall. Use a baseplate 1.5x wider than the top for a low center of gravity, add 2×2 corner bricks for stiffness, and finish with 1×8 plates as front lips. Reinforce corners and avoid glue so the stand can be reconfigured.
Conclusion
Knowing how to build custom display stands and risers from bricks gives you one skill, applied a hundred different ways. Start with the 3-tier walkthrough above, then push the design into tiered, angled, modular, or single-tier shapes as your collection grows.
Build one stand this week, even a small one, and you will see your shelf differently. When you do, share a photo in the comments – the community on this site loves seeing what your team builds.