
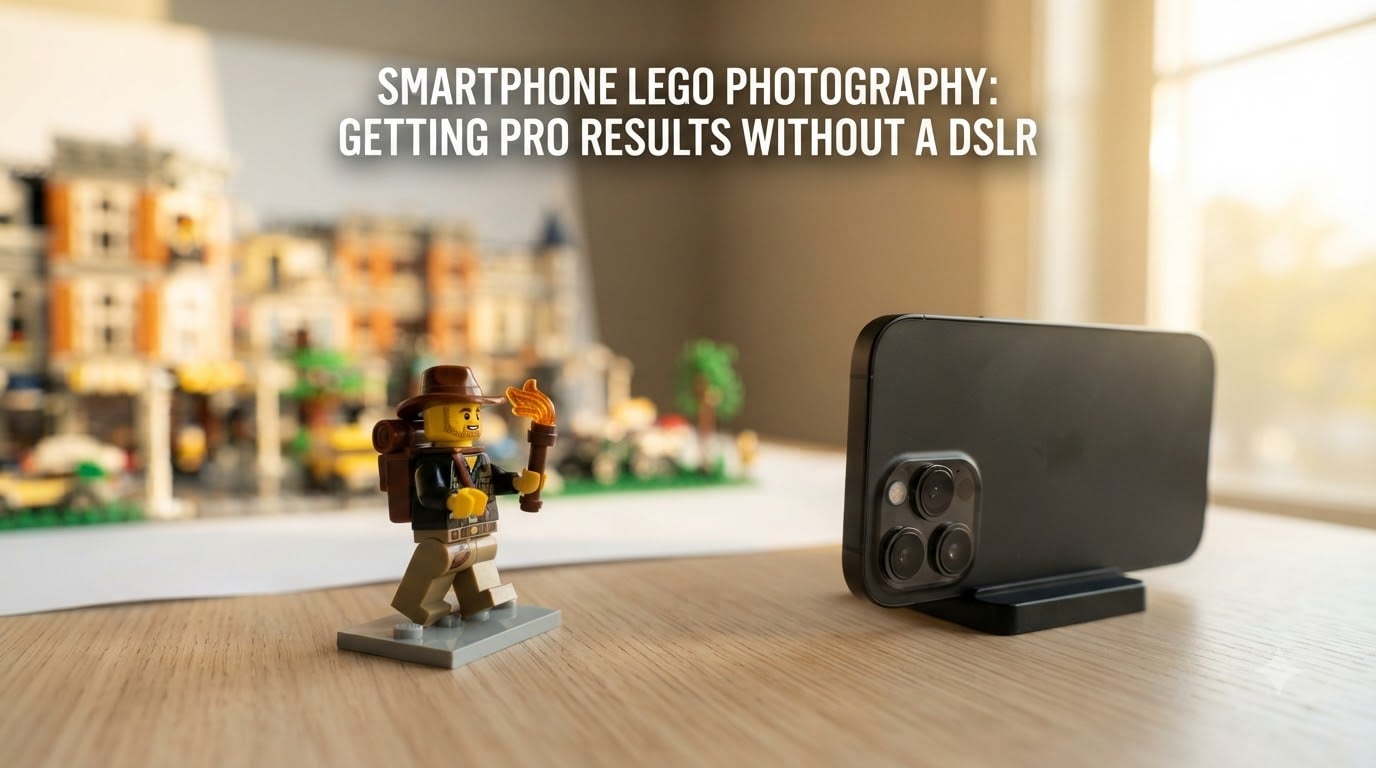
I remember the day I realized my phone could outperform my old point-and-shoot for LEGO photography. It was a sunny afternoon, I had a small castle build on my desk, and I grabbed my iPhone instead of my dusty compact camera.
The result blew me away. Sharp details on the minifigures, gorgeous bokeh on the background bricks, and colors that actually popped. That photo changed how I approach LEGO photography forever.
If you have wondered whether you can shoot real, professional-looking LEGO photography with your phone, the short answer is yes. In this guide, I will walk you through everything I have learned from three years of shooting LEGO exclusively on smartphones. We will cover camera settings, lighting, composition, editing apps, and how to fix the most common problems that make LEGO phone photos look amateur.
Table of Contents
Why Smartphone Photography Works for LEGO
Smartphone cameras have quietly become one of the best tools for toy photography. The sensors inside modern phones are larger and more capable than people expect, and the software does a lot of heavy lifting to make your shots look sharp and well-exposed.
What Modern Phones Can Do
Today’s phones offer features that were exclusive to expensive cameras just five years ago. Computational photography stacks multiple exposures in milliseconds. Portrait mode simulates shallow depth of field. Pro mode gives you manual control over ISO, shutter speed, and focus. Many phones now shoot RAW files for serious editing later.
For LEGO subjects, these features translate into real advantages. The small size of minifigures means you can get close enough to use macro mode. The bright colors of LEGO bricks pop on phone sensors that are tuned for social media. And the flat lighting most people shoot with can be replaced with simple window light, which your phone captures beautifully.
The Smartphone Advantage for Hobby Photographers
I have shot with DSLRs for a decade, and I still reach for my phone more often than my camera bag. The phone is always in my pocket. It has a familiar interface. The photos are instantly editable on the same device. And there is zero barrier to shooting.
For LEGO fans documenting builds, sharing on social media, or just keeping a personal archive, the smartphone removes every excuse. You do not need to charge batteries, swap lenses, or carry a tripod. You pull out the phone, frame the shot, and capture.
Essential Camera Settings for LEGO Phone Photography
The single biggest upgrade you can make to your LEGO photos is learning a few core settings. You do not need to become a technical photographer. You need to understand four things: ISO, shutter speed, focus, and exposure.
ISO: Keep It Low
ISO controls how sensitive your phone sensor is to light. Low ISO numbers like 50 or 100 produce clean, sharp images with no grain. High ISO numbers like 1600 let you shoot in dim light but introduce noise, that gritty speckled look that ruins smooth LEGO surfaces.
For LEGO photography, my rule is simple: keep ISO at 100 whenever possible. Only raise it if the lighting is genuinely too dark and you cannot add more light. Modern phones do a good job at ISO 400, but anything above 800 and you will start seeing noise on smooth surfaces like windows and minifigure faces.
Shutter Speed: Freeze the Scene
Shutter speed determines how long the sensor collects light. Faster shutter speeds freeze motion. Slower shutter speeds let in more light but blur anything that moves.
Since LEGO subjects do not move, you can use slower shutter speeds to gather light without losing sharpness. A speed of 1/60 second works for handheld shots if you brace your elbows. For static setups on a desk, you can go even slower. The danger is camera shake from your hands, not from the LEGO.
Aperture and Depth of Field
Aperture controls how much of your image is in focus. Wide apertures create shallow depth of field, where your subject is sharp and the background is creamy and blurred. Narrow apertures keep everything sharp from front to back.
For minifigure photography, shallow depth of field looks incredible. It isolates your subject and creates that pro-looking bokeh effect. The challenge with smartphones is that most do not have true adjustable apertures like DSLRs. Instead, they use Portrait mode to simulate shallow depth of field with software. I will cover that in detail later.
Exposure Lock and Focus Peaking
Most phones let you tap and hold on the screen to lock focus and exposure on a specific spot. Use this constantly. Tap on your minifigure’s face or the detail you want sharp, and the camera will keep that area in focus even if you reframe.
For more advanced control, look for focus peaking in your phone’s manual or Pro mode. It highlights the edges of objects that are in sharp focus, which is incredibly helpful when shooting close-up LEGO subjects at the edge of your lens’s focus range.
Lighting Techniques: Natural vs Artificial
Lighting makes or breaks LEGO photography more than any other factor. I learned this the hard way after months of wondering why my indoor shots looked dull and flat. The answer was always the lighting.
Golden Hour Magic
The hour after sunrise and the hour before sunset produce the most flattering light you will ever find. It is warm, soft, and directional. Shadows are gentle instead of harsh. Colors look richer than they do at noon.
For outdoor LEGO photography, golden hour is unbeatable. I built a small LEGO spaceship and photographed it on a windowsill during golden hour, and the warm tones made the yellow and red bricks glow like they were lit from within.
Window Light Setup
Indoor window light is your best friend for LEGO photography year-round. Find a window that gets soft, indirect light, place a table or chair near it, and position your LEGO build so the light falls on it from a 45-degree angle.
For more control, hang a white sheet or piece of parchment paper over the window. This diffuses the light and creates the soft, even illumination you see in professional product photos. I use a $3 roll of baking parchment from the grocery store, and it works just as well as expensive diffusion fabric.
DIY Lightbox from Household Items
You can build a functional lightbox in 20 minutes using a cardboard box, white paper, and a desk lamp. Cut a large hole in two sides of the box for the light to enter. Tape white paper over the holes to diffuse the lamp. Line the inside of the box with white paper to create a seamless background.
I tested this setup with a single $15 LED desk lamp and got results that looked like a professional product shoot. The key is the diffusion, which turns one small light source into soft, wraparound illumination that eliminates harsh shadows.
Avoiding Flash and Harsh Shadows
Never use your phone’s built-in flash for LEGO photography. The light is harsh, direct, and creates hard shadows that look terrible on small subjects. It also produces reflections on shiny LEGO pieces that are nearly impossible to remove in editing.
If your indoor lighting feels too dim, add another desk lamp or move closer to a window. Bouncing a lamp off a white wall or ceiling creates a soft, even light that is far more flattering than any flash.
Angles and Composition for Stunning LEGO Shots
Composition is the art of arranging what is in your frame. It is what separates a snapshot from a photograph. The good news is that a few simple rules will dramatically improve your LEGO photos.
Rule of Thirds Grid
Turn on the grid overlay in your phone’s camera settings. Most phones have this hidden under Settings, then Camera, then Grid. The grid divides your frame into nine equal rectangles using two horizontal and two vertical lines.
Place important elements along these lines or where they intersect. For minifigure portraits, position the eyes along the upper horizontal line. For wide LEGO city scenes, align the horizon with the lower horizontal line. This single change will instantly make your photos look more balanced and intentional.
Low Angle Hero Shots
Flip your phone upside down and shoot from below your LEGO subject. This low angle makes minifigures look tall, powerful, and heroic. It is the same trick used in movies to make characters look intimidating.
I keep a small LEGO mech on my desk and shoot it from below every few weeks just to see what new backgrounds and lighting I can create. The low angle also lets you include dramatic sky or ceiling elements in your frame.
Eye-Level Minifigure Perspective
Most LEGO photos are shot from above, looking down. This makes minifigures look small and toy-like. Instead, get down to their level. Put your phone on the desk or floor so the lens is at the same height as the minifigure’s eyes.
This perspective transforms your shots. Minifigures start to look like real characters in a world. The scale becomes believable. Buildings tower overhead. The photo tells a story instead of showing an object.
Leading Lines and Framing
Use lines in your scene to draw the eye toward your subject. LEGO roads, fences, and building edges make excellent leading lines. Place your main subject where the lines converge.
Framing works similarly. Use doorways, arches, or windows in your LEGO scene to frame your subject. This adds depth and focuses attention exactly where you want it.
Using Portrait Mode and Macro Features
Modern phones have specialized modes that make LEGO photography dramatically easier. Learn to use them and you will skip months of trial and error.
When Portrait Mode Works
Portrait mode on iPhone, Pixel, and Samsung phones uses computational photography to identify your subject and blur everything behind it. The effect mimics the shallow depth of field that previously required expensive DSLR lenses.
For minifigure portraits, Portrait mode works beautifully when there is enough distance between your subject and the background. I use it constantly for character shots. The bokeh is not as smooth as a $2000 lens, but it is good enough to fool most viewers, and it takes zero skill beyond tapping the shutter.
Getting Bokeh with Computational Photography
The bokeh effect, that creamy, blurred background, is what makes toy photography look professional. On a DSLR, you get it naturally with a wide aperture lens. On a smartphone, you get it through Portrait mode or by getting physically close to your subject.
Many phones also let you adjust the blur intensity after you take the shot. On iPhone, tap Edit, then the f-stop icon at the bottom. On Pixel phones, use the dual exposure slider. Experiment with different blur levels to find what looks natural for your scene.
Macro Mode for Minifigures
Several phones now include dedicated macro modes that focus at very close distances. The iPhone 13 Pro and later, the Samsung Galaxy S22 and later, and many Pixel models can focus just a few centimeters from your subject.
This is a game changer for LEGO photography. You can fill the entire frame with a single minifigure face, capture tiny printed details on torsos, or shoot the texture of brick studs in stunning detail. Hold the phone steady, tap to focus on the detail you want sharp, and shoot several frames to ensure at least one is tack-sharp.
Common Smartphone Mistakes
The biggest mistake is using digital zoom instead of getting physically closer. Digital zoom crops your image and reduces quality. Move your feet instead. If you cannot get close enough, shoot in macro mode or crop later in editing.
The second mistake is shooting through a dirty lens. Your phone spends most of its life in your pocket or bag, picking up dust, fingerprints, and grime. Wipe the lens with a soft cloth before every photo session. You will be shocked at how much sharper your images become.
Props, Staging, and Background Depth
The difference between a snapshot and a photograph often comes down to what is in the background and around the subject. Staging transforms a LEGO photo into a scene.
Scale-Appropriate Props
Minifigures are roughly 1.5 inches tall. Most household props look comically oversized next to them. A real cup looks like a swimming pool. A real book looks like a building.
Find props that match minifigure scale. Aquarium gravel becomes boulders. Dried moss becomes forests. Sandpaper becomes rocky terrain. Tiny LED tea lights become glowing portals. I keep a small box of scale-appropriate props specifically for LEGO photography.
Building Dioramas
Small dioramas tell richer stories than isolated minifigure shots. Build a tiny corner of a cafe with two minifigures having coffee. Construct a small spaceship cockpit with a pilot at the controls. Stage a battle scene with smoke and explosions.
You do not need to be a master builder. A few baseplates, some basic bricks, and a creative idea are enough. I have built entire scenes from spare pieces in under an hour that produced some of my favorite LEGO photos.
Texture and Color Harmony
Backgrounds matter as much as subjects. A blank white wall is fine for product shots but boring for storytelling photos. Add texture with fabric, paper, wood, or sand. Add depth by including elements at different distances from your camera.
Color harmony ties everything together. If your minifigure is wearing blue, consider a background with complementary warm tones. Use the color wheel to find combinations that look intentional. Even simple changes like adding a colored piece of paper behind your scene can transform the mood.
Post-Processing Apps for Mobile LEGO Photos
Editing is where good photos become great. The good news is that your phone already has a powerful editor built in, and there are free apps that take it further.
Free Editing Apps
Snapseed, made by Google, is my top recommendation. It is completely free, has no ads, and offers professional-level tools. Lightroom Mobile has a free tier that includes the basic adjustments most photographers need. VSCO is another solid choice with beautiful preset filters.
All three apps run on both iPhone and Android, which matters since most of us shoot and edit on the same device.
Adjusting Contrast and Sharpness
Most LEGO photos benefit from a small bump in contrast and sharpness. Bumping contrast makes the colors pop and the brick edges stand out. Adding sharpening, carefully, brings out the fine details in minifigure printing and brick textures.
Be careful not to overdo sharpening. Too much creates halos around edges and makes images look crunchy. A 20 to 30 percent boost is usually plenty.
Cropping for Composition
Cropping is the most powerful composition tool. If your subject is off-center or there is too much empty space, crop in to fix it. The Rule of Thirds grid in your editing app helps you place elements along those magic lines.
I often crop my LEGO photos tighter than I initially framed them. A wide shot that includes the whole scene can become a powerful close-up by cropping to one corner.
Troubleshooting Common Smartphone LEGO Photography Problems
Every photographer runs into the same handful of problems. Here is how I solve the four most common ones.
Blurry Photos
If your photos are blurry, the cause is almost always camera shake or missed focus. For camera shake, brace your elbows against your body or rest your phone on a stack of books. For missed focus, tap on your subject to lock focus before shooting.
In low light, your phone uses slower shutter speeds that are more prone to shake. Add more light or use a mini tripod for these situations.
Reflections on Shiny Pieces
LEGO has a lot of glossy plastic, which catches reflections from light sources. The solution is to move your light source or change its angle until the reflection disappears from the frame.
A polarizing filter can also help, though few phones accept clip-on filters. For most situations, simply repositioning your desk lamp or moving slightly to a different angle removes the problem.
Inconsistent Color
White balance shifts when you mix light sources, like a window and a lamp. Pick one type of light for each photo session. If you must mix sources, set your phone’s white balance manually using a Pro mode app.
Noisy Low-Light Images
Noise appears when your phone boosts ISO to capture dim scenes. The fix is to add more light, not to push the ISO higher. Open a curtain, turn on another lamp, or move closer to your light source.
If noise still appears, most editing apps have noise reduction tools. Snapseed’s Details tool includes a Reduce noise slider that does a good job cleaning up grainy areas.
Equipment on a Budget: What to Buy First
You can shoot stunning LEGO photography with zero extra gear. But if you want to spend a little to improve your results, here is what makes the biggest difference for the least money.
A mini tripod costs about $15 and lets you shoot hands-free, use slower shutter speeds, and keep your framing consistent across multiple shots. A small LED panel light runs $20 to $30 and provides controllable lighting for indoor shoots. A pack of white foam board from a dollar store gives you reflectors and diffusion panels.
Skip the clip-on macro lenses you see advertised for phones. Most produce soft, distorted images. Your phone’s built-in macro mode is usually better. The same goes for cheap telephoto attachments. Use your feet to get closer instead.
The best investment is time. Spend a weekend experimenting with the techniques in this guide. Take 50 photos of the same minifigure under different lighting and angles. Review them, learn what works, and apply it next time. Gear matters less than practice.
Frequently Asked Questions
Final Thoughts on Smartphone LEGO Photography
Smartphone LEGO photography has never been more capable than it is right now in 2026. You do not need a DSLR, expensive lenses, or years of training to create images that look professional and tell compelling stories.
Grab your phone, set up a small scene near a window, and start shooting today. The techniques in this guide work with whatever phone you already own. The most important step is the next one you take.