
I learned this the hard way. I spent three weekends applying custom Clone Trooper decals to a squad of minifigures, only to watch the designs start peeling off within a month of light play. That frustration sent me down a rabbit hole of testing sprays, brush-on sealants, and drying methods. This guide shares what I wish I had known from the start: how to seal custom minifigure decals so they actually stay put.
If you have ever finished a custom minifigure and worried about decals lifting at the corners, fading in sunlight, or wearing off under your fingers, you are in the right place. We will cover sealant types, application techniques, and troubleshooting tips drawn from customizers who have sealed thousands of decals.
Table of Contents
Why Sealing Custom Minifigure Decals Matters
Sealing is what turns a fragile decal into a durable part of your minifigure. Without a protective topcoat, water-slide decals and printed designs remain vulnerable to moisture, friction, and UV exposure. A single sweaty hand can lift the edge of an unsealed decal in seconds.
I have tested unsealed decals on display pieces versus sealed decals on pieces passed around at conventions. The unsealed ones faded or peeled within weeks. The sealed ones, some approaching three years old now, still look freshly applied. The difference is the sealant layer.
A proper seal bonds to both the decal film and the plastic underneath, creating a clear barrier. That barrier handles the day-to-day abuse that would otherwise destroy your design. Gloss, matte, or satin finishes are all possible, depending on the look you want.
Types of Sealants: Spray vs Brush-On
Two main sealant formats work for minifigures: aerosol sprays and brush-on liquids. Each has clear strengths, and most experienced customizers end up keeping both on hand.
Spray sealants like Krylon Crystal Clear or Rust-Oleum Painter’s Touch deliver fast, even coats. They excel at covering large surfaces such as torsos, helmets, and capes. The thin mist reaches curved areas brushes struggle with. Downsides include overspray, the need for good ventilation, and the risk of dust landing on wet surfaces.
Brush-on sealants like Vallejo Gloss Varnish or Tamiya Clear Coat give you precise control. They are ideal for small details, edges, and inside helmet parts where overspray would be a disaster. The learning curve is steeper. Brush marks and thickened product are common frustrations until you master the technique.
For beginners, I recommend starting with a spray. The results are more forgiving, and you can finish a minifigure in minutes. Once you are comfortable, add a brush-on sealant for detail work and touch-ups.
Best Sealant Brands for Minifigure Decals
Forum customizers consistently recommend a few products, and my testing lines up with the consensus. Krylon Crystal Clear is the go-to spray for a reason. It applies smoothly, dries fast, and leaves a clear, non-yellowing finish.
Rust-Oleum Crystal Clear Enamel is a stronger choice when you expect heavy handling. It costs a bit more and needs longer cure times, but the durability is impressive. Enamel sprays require more ventilation and longer waits between coats, so plan your timeline accordingly.
Tamiya Clear Coat is the favorite for brush-on application. The jar lasts for years when stored properly, and thinning with Tamiya X-20A thinner keeps it workable. Mod Podge is the budget option. It is water-based, easy to clean, and perfect for casual projects. The trade-off is a slightly less durable finish compared to solvent-based sealants.
How to Seal Custom Minifigure Decals: Step-by-Step
Ready to seal? Follow this process and your decals will hold up for years.
Step 1: Prepare Your Workspace and Minifigure
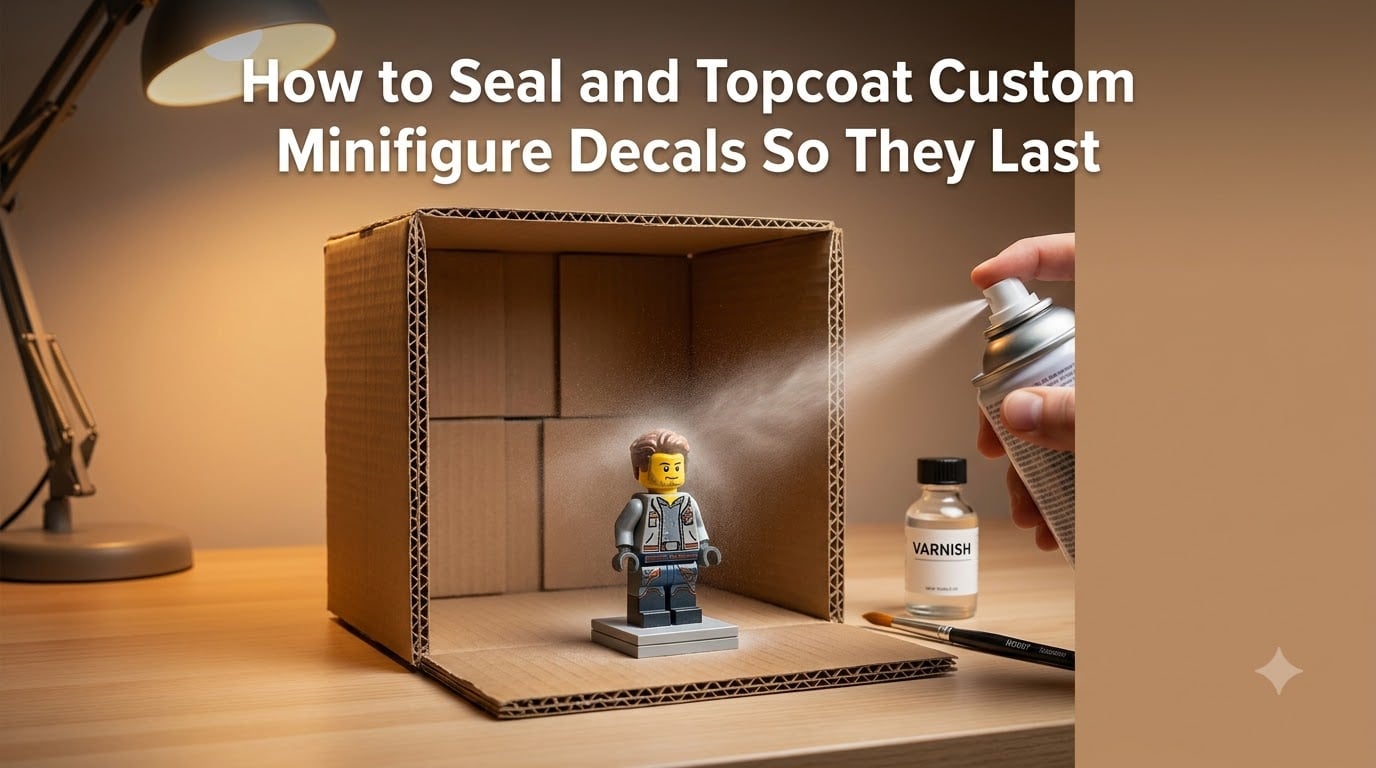
Work in a clean, dust-free space with good airflow. I use a cardboard box as a spray booth for small pieces. It contains overspray and keeps stray particles from settling on wet sealant.
Make sure your decal is fully dry before sealing. Most water-slide decals need 12 to 24 hours to bond to the plastic. Pressing gently on the decal edge should reveal no tackiness. If it feels even slightly sticky, wait longer.
Step 2: Choose Your Sealant
Match the sealant to the project. For a glossy Clone Trooper phase II armor set, I reach for Krylon Crystal Clear Gloss. For matte camo patterns, I prefer Testors Dullcote or Vallejo Matte Varnish. Pick your finish before opening the can.
Step 3: Apply the First Coat
For spray products, hold the can 8 to 12 inches from the minifigure. Use short, sweeping bursts rather than one long spray. You want a thin, even mist. Heavy coats run, pool, and trap solvent that can damage the decal underneath.
For brush-on products, use a fine sable or synthetic brush. Dip the tip and unload most of the product on the rim. Apply the thinnest possible layer with long, smooth strokes.
Step 4: Let Each Coat Dry
Spray sealants are touch-dry in 10 to 20 minutes. Brush-on sealants take longer, usually 30 to 60 minutes depending on humidity. Resist the urge to recoat too soon. Trapped solvents cause clouding and wrinkles.
Step 5: Apply Additional Coats
Two thin coats outperform one thick coat every time. For daily-handled minifigures, three coats is even better. Allow full cure time between applications. Total cure time is 24 to 48 hours for most acrylic sprays and up to a week for enamels.
Step 6: Inspect and Touch Up
After the final coat cures, check under strong light for missed spots, brush marks, or dust nibs. A tiny bit of 1000-grit sandpaper can smooth imperfections once fully cured, but only on gloss finishes.
Gloss vs Matte Finish: Which to Choose
Finish choice comes down to the look you want and how you use the minifigure. Gloss sealants make colors pop and feel slick to the touch. They highlight metallic and bright decals beautifully. They do show fingerprints and minor dust more readily.
Matte sealants mute the shine and blend decals into the plastic. They are the standard for military minifigures, realistic camo, and weathered looks. They hide minor surface flaws but can slightly reduce color vibrancy.
Satin or semi-gloss finishes split the difference. They are my default for most custom troopers and bounty hunters. You can also seal a gloss coat first for protection and finish with a light matte coat for the final appearance.
Common Mistakes and Troubleshooting
Even experienced customizers hit issues. Here are the problems I see most often and how to fix them.
Problem: Clear coat thickens or goes bad in the can. Old sealant is the most common culprit. Sprays older than two years often spit unevenly or clog the nozzle. Brush-on sealants dry and thicken in the jar over time. Solution: replace old product, store sealant in stable temperatures, and add a few drops of appropriate thinner to brush-on formulas that have thickened slightly.
Problem: Brush marks in the finish. Heavy brush pressure and overworked strokes cause this. Switch to long, light passes and do not go back over areas that are starting to set. Thinning your sealant by 10 to 20 percent helps it flow more smoothly.
Problem: Dust particles trapped in the seal. Static electricity draws dust to wet surfaces. Lower your static by wiping down nearby surfaces with a damp cloth. Spraying in a still-air environment, ideally a bathroom after a hot shower that has settled, dramatically cuts down on floating particles.
Problem: Decals peeling at the edges. This almost always means the decal was not sealed at the edge. Hit the perimeter first, then the center. For raised edges, lightly press them down with a fingertip wrapped in a soft cloth before sealing.
Problem: Cloudy or hazy finish. Moisture trapped under the seal or applying coats in high humidity causes cloudiness. Work in dry conditions, ideally 50 percent humidity or below. If the cloudiness has already cured, a light coat of fresh sealant may smooth it out.
Tips for Decals That Last Years
Beyond basic sealing, a few habits will stretch the lifespan of your decals even further. Always handle freshly sealed minifigures by the head or legs, never the decal area, for the first week of full cure.
Display figures away from direct sunlight. UV rays are relentless on sealants and dyes. A closed cabinet or shaded shelf keeps your work looking fresh far longer than a sunny windowsill.
For figures that will be played with heavily, such as kids’ toys or convention giveaways, plan on applying four to five thin coats. That investment pays off in decals that survive drops, washes, and enthusiastic handling.
Keep a small spray booth setup ready. I keep a cardboard box, a piece of wire mesh, and a piece of cardboard angled inside as my go-to seal station. Setup takes two minutes and produces noticeably cleaner results than spraying in the open.
FAQs
Can you topcoat over decals?
Yes, you can and should topcoat over decals. A clear topcoat seals the decal against moisture, friction, and UV light. Apply two to three thin coats of acrylic or enamel clear coat, allowing full dry time between coats. Spray sealants like Krylon Crystal Clear work well for general use, while brush-on Tamiya Clear gives more control for detail work.
How to make decals last longer?
To make decals last longer, start by fully drying the decal (12 to 24 hours), then seal with two or three thin coats of clear topcoat. Use thin coats rather than one thick coat, allow full cure time between layers, and avoid handling decals until fully cured. Store finished minifigures out of direct sunlight and handle them by the head or legs rather than the decal area.
Can you clear coat over model decals?
Yes, clear coating over model decals is a standard finishing step. Both acrylic and enamel clear coats bond to decal film and plastic. Make sure the decal is completely dry and pressed flat against the surface before sealing. Apply thin coats from 8 to 12 inches away for sprays, or with a soft brush for brush-on products, to avoid soaking the decal underneath.
How to seal decals on models?
To seal decals on models, first ensure decals are fully dry and flat. Choose a compatible sealant (acrylic for most water-slide decals, enamel for tougher jobs). Apply two to three thin coats of clear sealant, either by spray at 8 to 12 inches or by brush with light strokes. Allow each coat to dry before adding the next, and let the final coat cure fully for 24 to 48 hours before handling.
Conclusion
Learning how to seal custom minifigure decals transforms custom work from fragile to display-ready. The two-to-three thin coats of clear topcoat are a small investment that extends the life of every minifigure by years. Pick your sealant, set up a clean workspace, and take your time between coats.
Start with a spray can of Krylon Crystal Clear, work in a cardboard box, and apply thin coats with proper drying time. Your decals will thank you with seasons of clean color and sharp detail.